-
Posts
1,001 -
Joined
-
Last visited
Everything posted by HVDB Photography
-
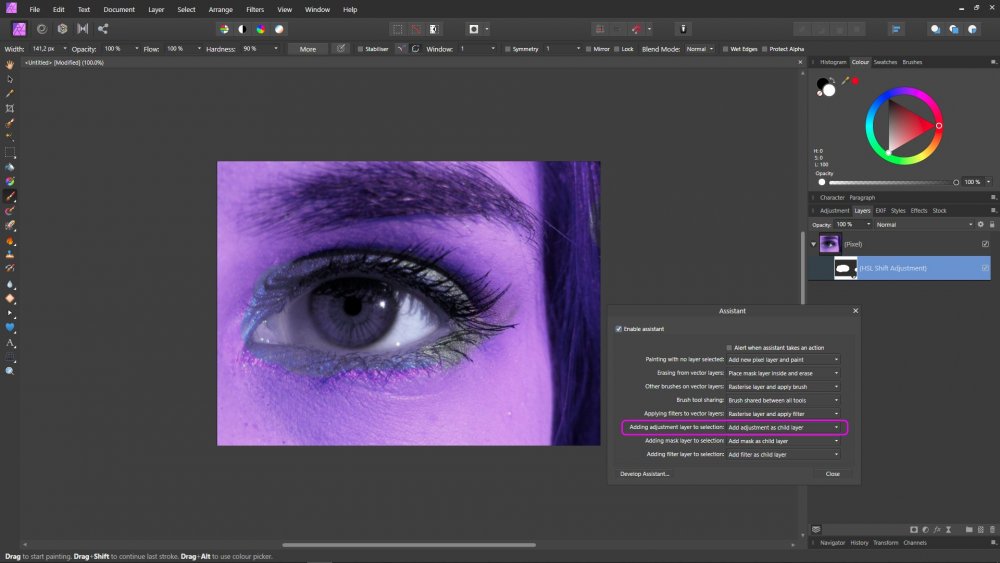
Hi @Rainon Affinity Photo help (F1) : "Adjustment layers also have mask layer properties. Areas of an adjustment layer can be revealed or hidden in the same way as with a mask layer." My workflow would be as follow: CTRL/CMD + ALT + Click to create a luminosity selection. With the selection active, add a curves adjustment. Make the adjustments Click on the little gear icon to open the Blend Options dialog, and apply the effect only to the highlights. If you wish, you can invert (CTRL+I) the curves adj and then use a white brush to paint the effect back in only were needed. Hubert
-

Printing help
HVDB Photography replied to srg's topic in Pre-V2 Archive of Affinity on Desktop Questions (macOS and Windows)
From the help file: "Scaling will embed a specific print resolution into an image's metadata to force it to print at a specific dpi (e.g. 300 dpi). The image's pixel dimensions remain unaffected" ... BUT NOT the dimensions. Which is logical. -
You can upload to Wetransfer https://wetransfer.com/ On the start screen click on the three dots in the circle at the bottom left to request a link
-
I'm running Kaspersky Internet Security. Never had a problem on installing/updating software. Just out of interest which virus software do you have installed?
-

Printing help
HVDB Photography replied to srg's topic in Pre-V2 Archive of Affinity on Desktop Questions (macOS and Windows)
https://affinityspotlight.com/article/understanding-dpi/ -
The 72 DPI Web Resolution Myth Read this first .... https://www.photoshopessentials.com/essentials/the-72-ppi-web-resolution-myth/ You'll 'need to create a macro using equations, see this thread I created my own. See attachment Give it a try .. Resize Document to a Fixed Maximum Size .afmacros
- 11 replies
-
- affinity photo
- macros
-
(and 2 more)
Tagged with:
-
HI @nater973, Via Edit > Preferences > Performance you can define a File Recovery Interval. I don't know if there used to be a default, just check it out. On Windows the files are stored under: %APPDATA%\Affinity\Photo\1.0\autosave But if you didn't get a recovery message when restarting the app ... it may be something severe ... You could also check if there are any crash reports created, %APPDATA%\Affinity\Photo\1.0\CrashReports\Reports Hubert
-
Oh yeah. Works fine when using File > Open = (Pixel) layer But not when using File > Place or dragging it on the canvas (matte or transparent) = (Image) layer, which needs to be rasterized first. (The man sitting on the chair, is a placed JPG-file ... ) But I probably misunderstand it completely ... red cache !!.afphoto


