
HVDB Photography
-
Posts
1,001 -
Joined
-
Last visited
Everything posted by HVDB Photography
-
 Hi @Stitches Another workaround would be to apply a decoration outline colour combined with FX, then duplicate that layer and change the colour and width of the FX of the underlying layer. Hubert
-
Hi, I suppose you know you're using the "Background Erase brush" tool which act somewhat different than the "Erase brush" tool. Hubert
-
RAW to JPEG
HVDB Photography replied to Pubi's topic in Pre-V2 Archive of Affinity on Desktop Questions (macOS and Windows)
Sure ... -
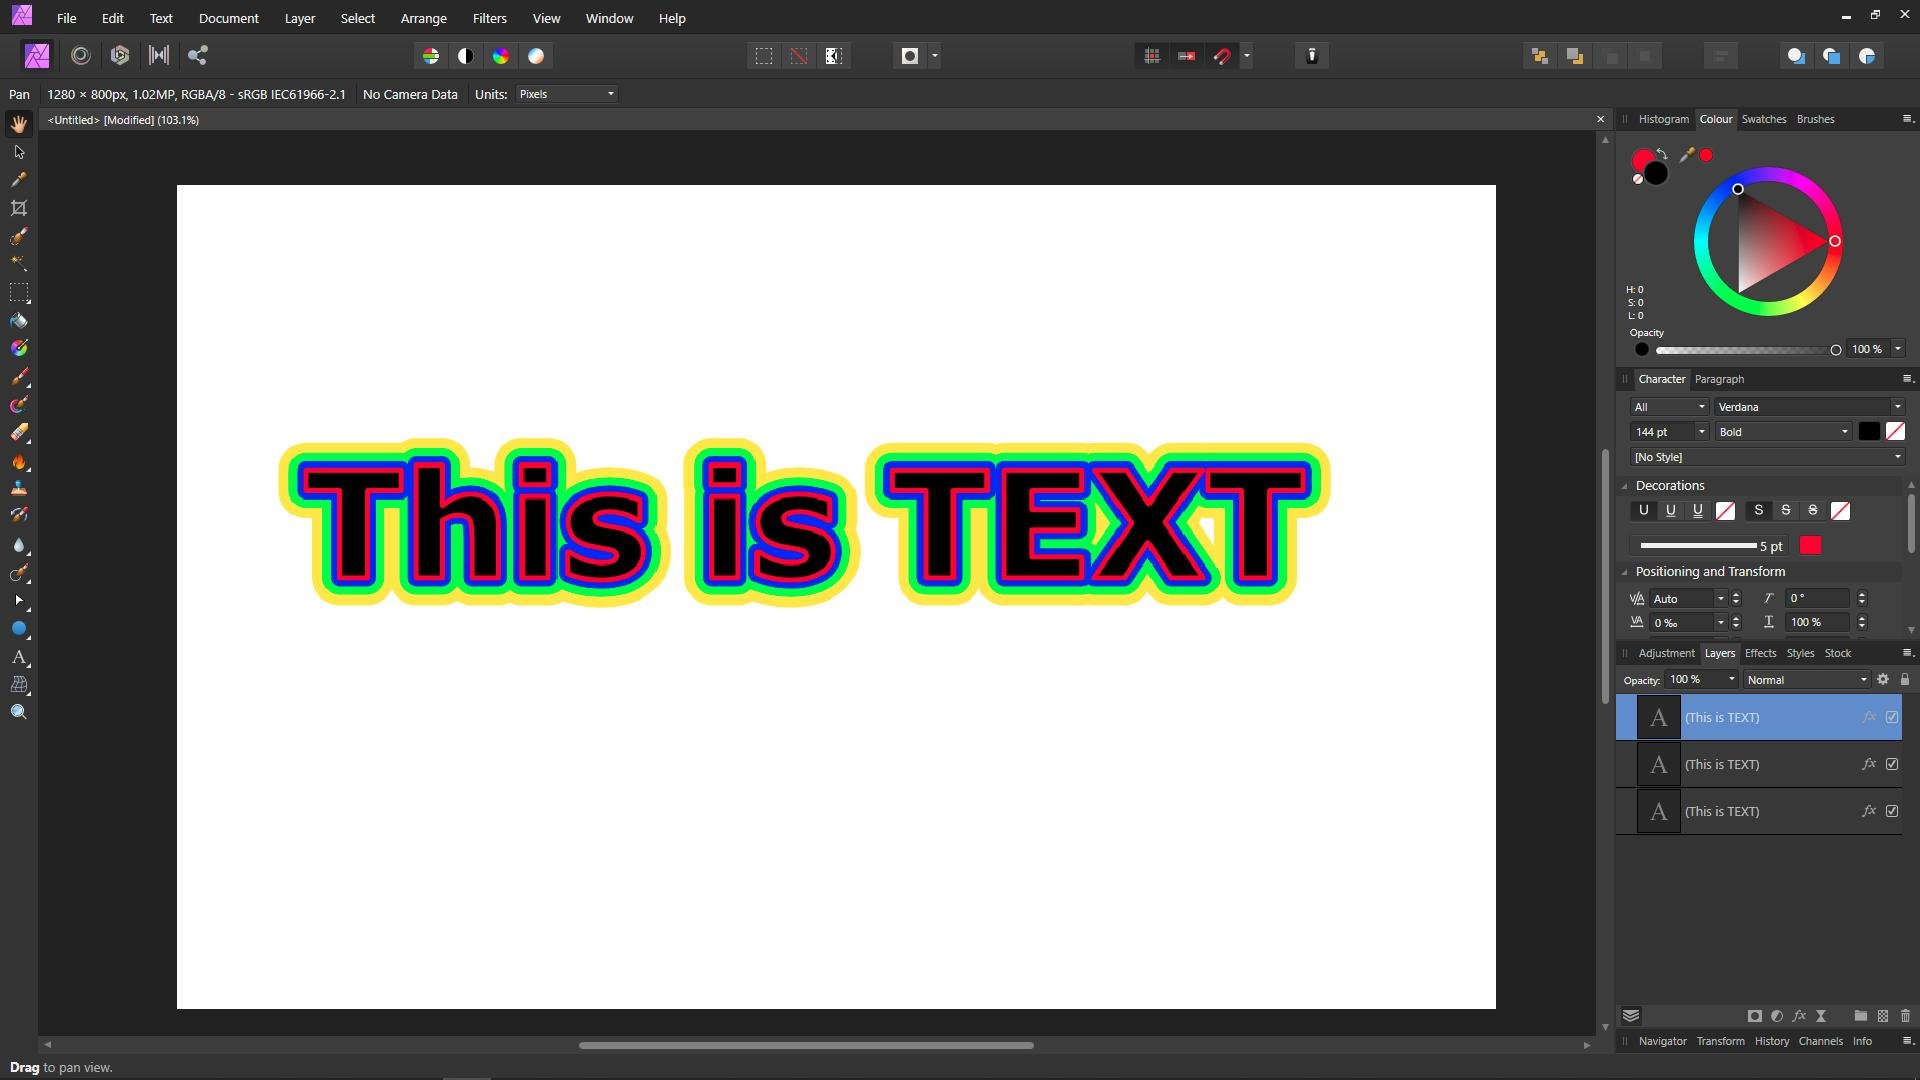
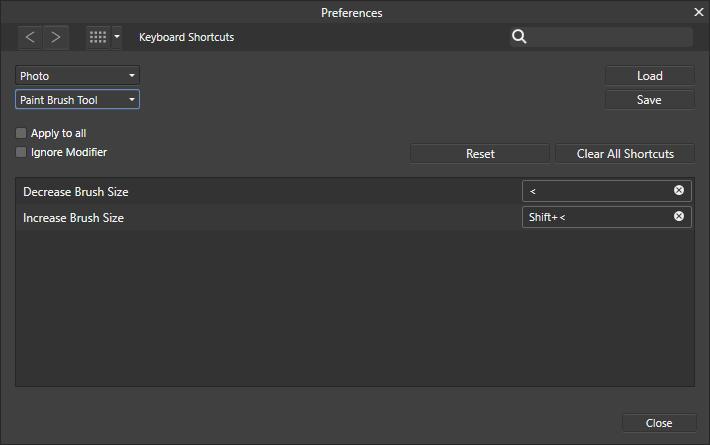
In Photo Go to Edit > Preferences then choose Keyboard shortcuts Second drop down select e.g. paint brush tool and set your own shortcuts I used : Decrease Brush Size : < Increase Brush Size : Shift + > These are easy to work with.
-
Just watch the video in this thread
-
[Edit] Initially a white brush will only work on an inverted mask layer or to restore existing masking.
-
Hi @ApvdG Try this: Add a White Balance Adjustment layer and mask out the unwanted parts Open the Channels panel Right Click on "White Balance Adjustment Alpha" and select "Create Spare Channel" Add a Levels Adjustment layer Now right click on the spare channel and select "Load To Levels Adjustment Alpha" Hubert
-
@rudyp16 Did you finally succeed?
-
HI @MARCI BELL Dozens of video lessons available here :
-
Here's a short video Spiralmask.mp4
-
Invert that B&W layer Right click on it and select Rasterise to Mask To make it a clipping mask : - drag it over the image layer thumbnail until you see a small vertical bleu bar, and release - or right click and select Mask to below
-
Go to Layer > Invert
-
When you add a mask it becomes immediately active = blue background color. Then use a black or white or grey brush to conceal or reveal parts of the parent layer. To refine the mask itself, ALT click on the mask thumbnail. When you're done refining the mask, click on the parent layer.
-
Did you read this article about learning understanding DPI ? https://affinityspotlight.com/article/understanding-dpi/ Hubert
-
Just ALT + click on the masks thumbnail.
-
@1earJim With your subject residing on a dark / black background, I think you would be better of using channels as a work around. Maybe, if possible, you could post the original jpg, tiff.. so we can give it a try... Hubert
-
merge layers?
HVDB Photography replied to kat's topic in Pre-V2 Archive of Affinity on Desktop Questions (macOS and Windows)
In Photo, right click on the group and select "Merge Visible". -
The file appears to be truncated (shorter than expected) !!
-
styles WINTER.. is HERE ! FREE Winter Styles #1
HVDB Photography replied to LyricsGirl's topic in Resources
Very nice. Thank you @LyricsGirl- 3 replies
-
- 1
-

-
- winter
- 1/2 & 1/2 fills
- (and 5 more)
-
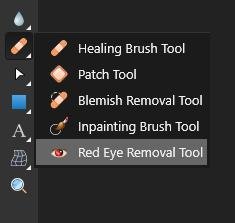
Together with the healing bush > In the fly out
-
You can create a shortcut ...
-
This may help ... !
-
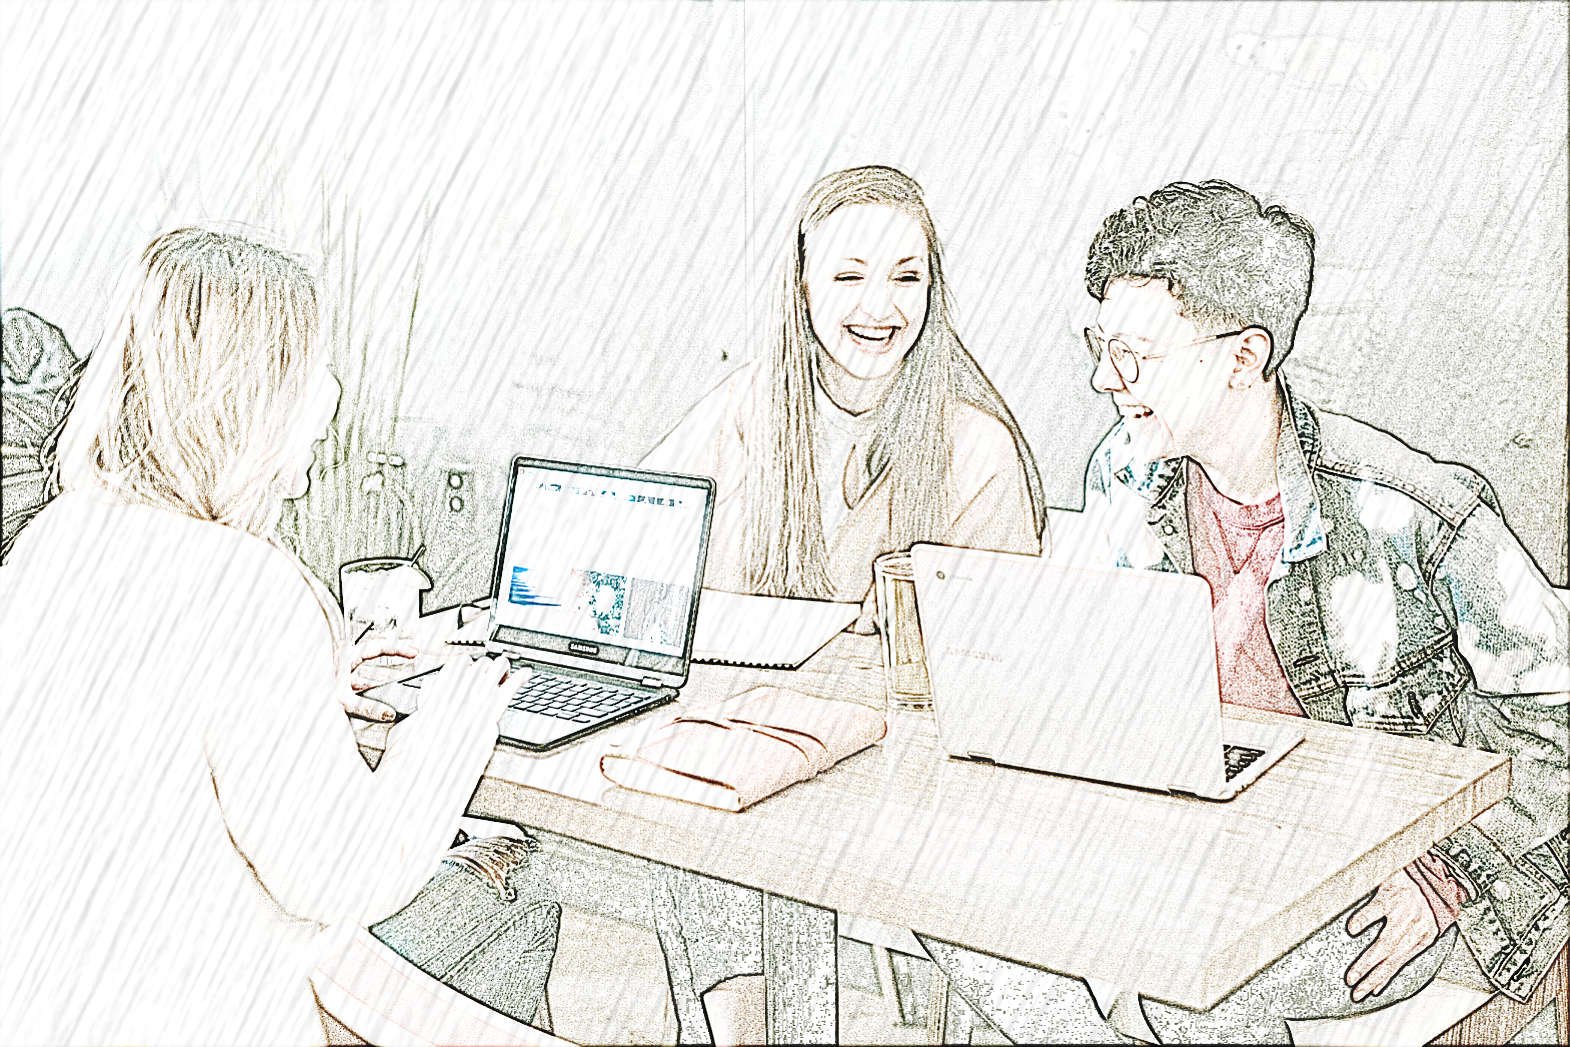
put a copy of the background above the pencil drawing, and set the blend mode to Vivid Light
-
Sure, here's the .afphoto document and the pencil drawing effect macro I used in the document. Pencil Drawing Effect.afmacros rain_effect_03.afphoto
-
Kind of ...