
HVDB Photography
-
Posts
1,001 -
Joined
-
Last visited
Posts posted by HVDB Photography
-
-
-
There's a way to use Affinity Photo more efficiently.
My .afphoto file (see attachment) is half the size of yours !
That's because I'm only using one layer to apply all the adjustments. First I made a selection (selection brush) of the parts that needed to be blurred. Then I did save that selection as a spare channel and renamed it "blur" (see the channels panel).
If you right click on the spare channel and choose "Load to pixel selection" you can reuse it at any time.
I also saved that selection in a file (see attachment).
Via menu: "Select > Invert Pixel Selection" you can switch back an forward to manipulate the opposite part of the image.
Now with the selection active add an adjustment layer and make changes. These changes will only be applied to that selection.
Hope this was helpful.Vintermåker_adjusted.afphoto Vintermåker_adjusted.afselection
-
10 hours ago, firstdefence said:
Looks 3D rendered.
Builded up on what @v_kyr provided
A few common manipulations I often apply:
- 50 % multiply blendmode overlay
- clarity adjustment
- dodge & burn -
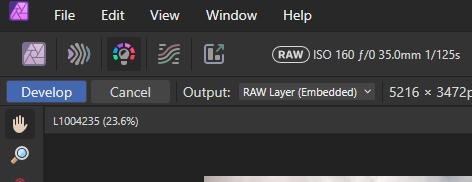
Unlike the OP's JPEG image format, DNG (digital negative) is a type of raw file (I suppose you already know) that will open in "Develop Persona" (AF 16-bit RAW editor), making it a bit more complicated to determine.
It would be useful to provide some file(s) so we can look at. -
Added a few more tweaks

-
9 hours ago, firstdefence said:
let us know the camera model
See the METADATA
-
In the toolbar you can choose Output : RAW Layer (Embedded)

and save your changes as an .afphoto
-
45 minutes ago, R C-R said:
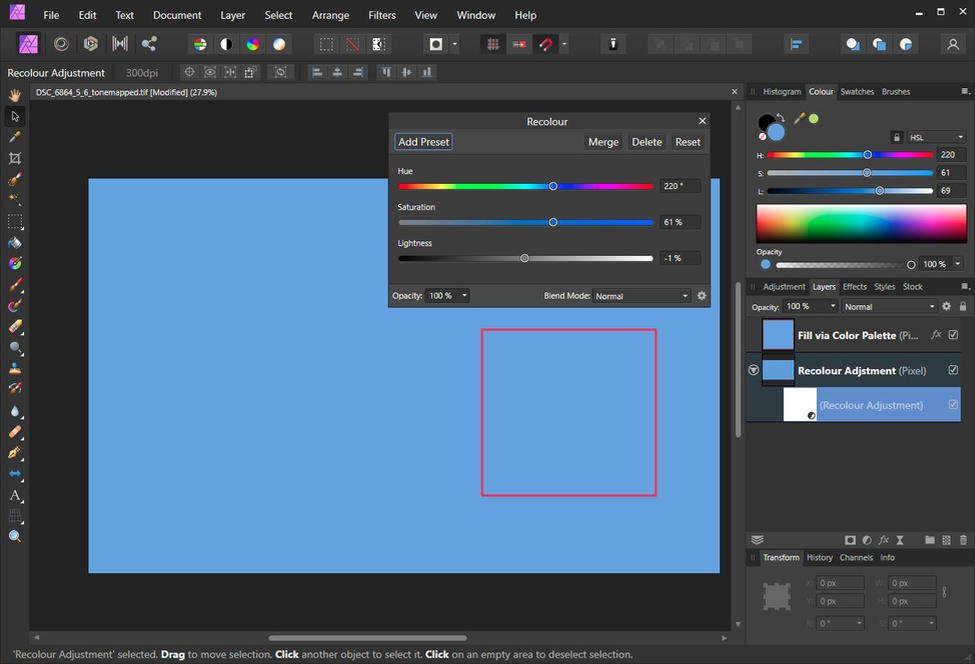
Likewise, in AP V1.10.8 how do you use the H, S, and L numbers from the Colors panel in the Recolor Adjustment, where its sliders use ° for Hue & % for Saturation & Lightness?
Well, I think that's trial and error to reproduce the exact color, as retained in the swatch panel, which then can be add as a preset.
-
In the color palette, the way value definitions are displayed differs from those displayed in the Recolor Adjustment panel.
An easy way to retain that specific color is to add the colour to the swatch panel.
-
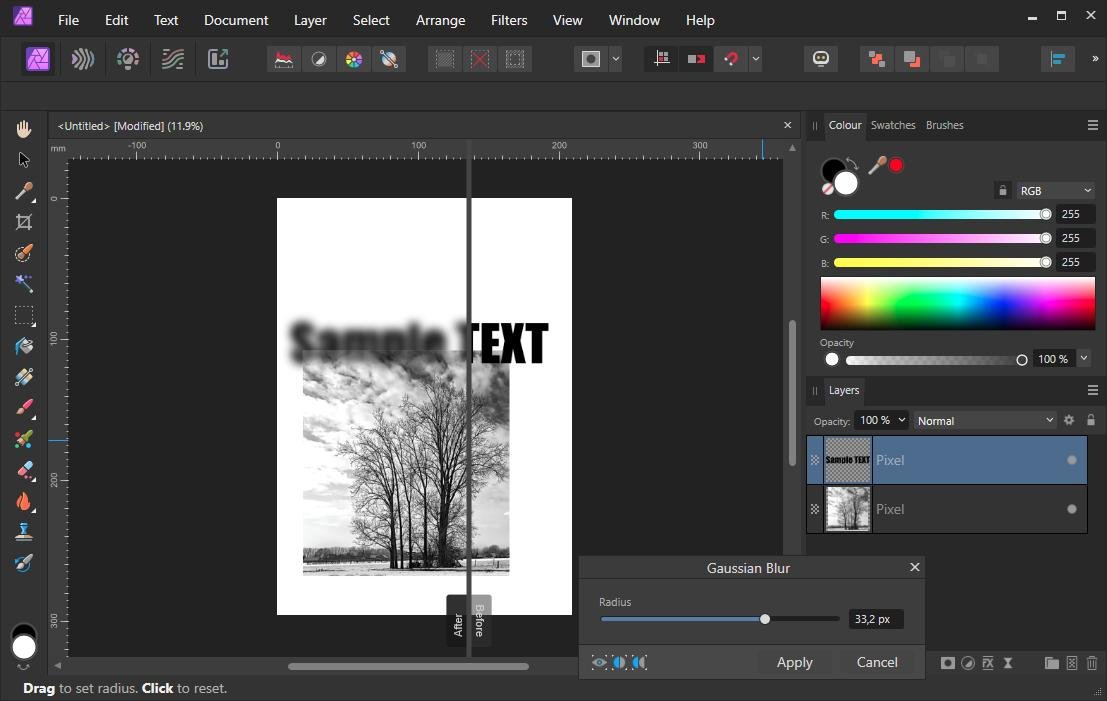
As already mentioned, the TEXT pixel layer must be selected (= thumbnail click => blue background). Otherwise, the Filters\Blur options are not clickable (grayed out).
Another possible cause is that if a pixel selection is active (e.g. on the other layer) and "menu: View\Show Pixel Selection" was not checked, you will not see any change because the text is not within that hidden selection.
-
1 hour ago, Christopher O'Toole said:
Thank you! How do I make that layer active?
just click on the thumbnail of that layer > turns bleu = active
-
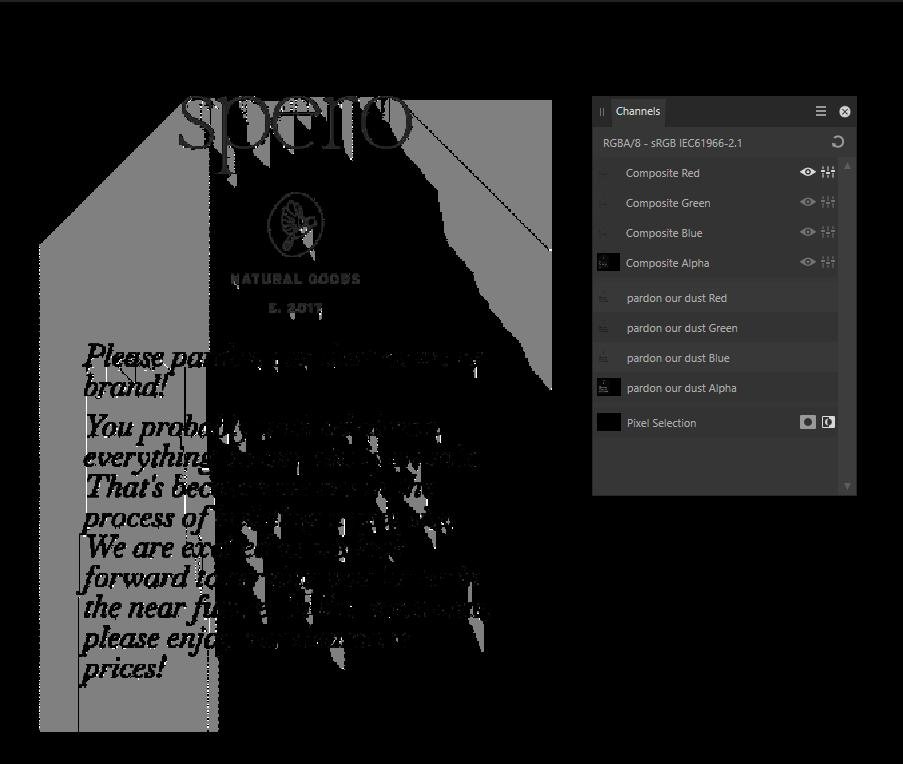
Make the 'pardon our dust' layer active
Go to menu: Window > Channels
The problem becomes clearly visible when you successively click on the red, green and blue composite channels -
The color cast in your shot is caused by the color temperature of the light source that illuminates your scene at the time you take the photo, whether or not in conjunction with an incorrect color balance setting in the camera!!
So, whether you import the photo into Exposure X7 or Affinity Photo or into any other photo editing program, the color cast will inevitably be visible.Calibration should be repeated at regular intervals (preferably monthly) and under the same conditions. I use "Datacolor Spyder Pro" for this, but there are other brands that confirm the same result.
-
Edit > Settings > General
Did you enable "Import PSD smart objects" ?
-
Why using the "Exposure X7" plugin when it's so easy in Affinity Photo?
My monitor is calibrated (Datacolor software), which is recommended if you want to edit photos correctly.
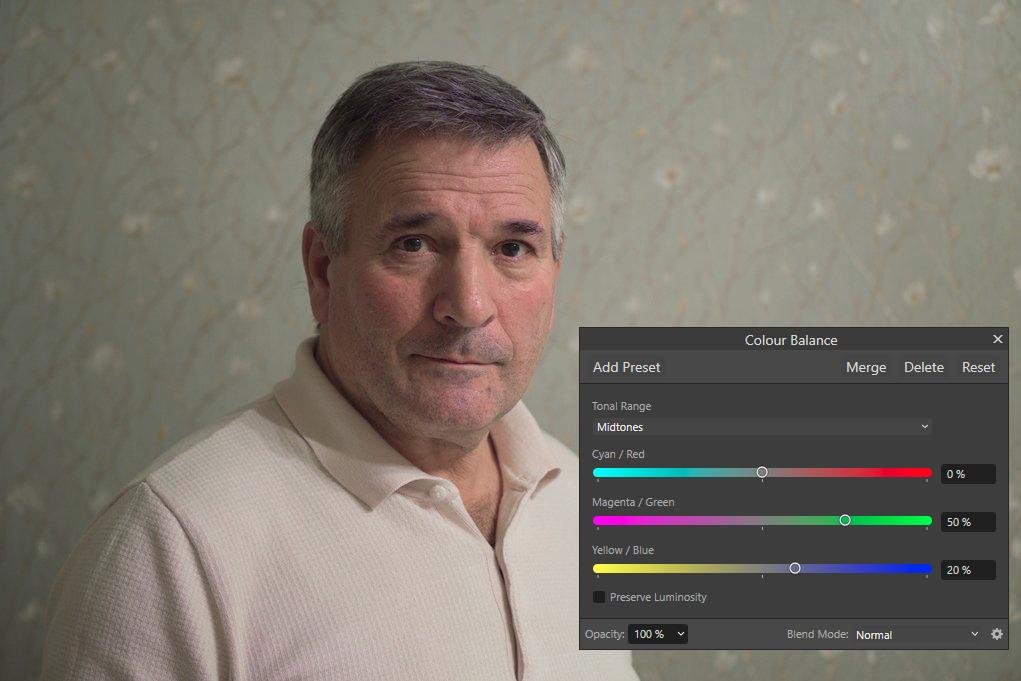
From the original photo it is difficult to estimate what the wallpaper originally looks like, but in any case ....
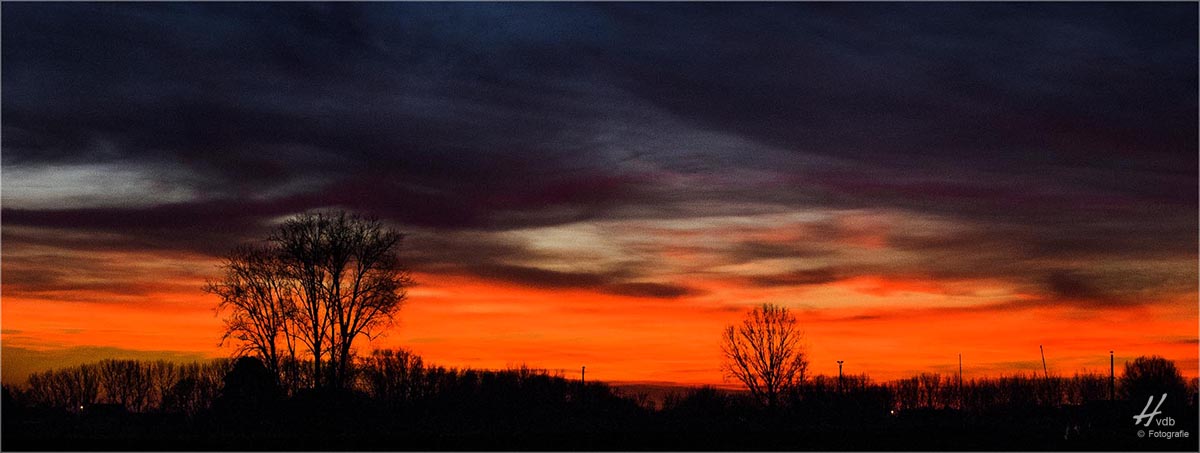
The original (1st) image containes a magenta color cast.
Your third image has a yellow color cast, perhaps intended as a warmer representation.
-
39 minutes ago, verysame said:
Now I switch back to the Basic set
What I meant is that after switching back to the basic category, did you reselect one of the basic brushes ?
-
Hello and welcome to the forum.
Instead of your user name use a logical description of your problem in the topic title.
And using Google translate (like I just did) will provide us a readable explanation of the issue :" I've been working with an affinity photo for two or more years, and suddenly the raw files from the Sony a6000 don't open, what's going on? Please inform "
Hubert
-
Works as expected for me.
Did you select that brush when switching to the other preset category ?
-
-
Hi ChEV,
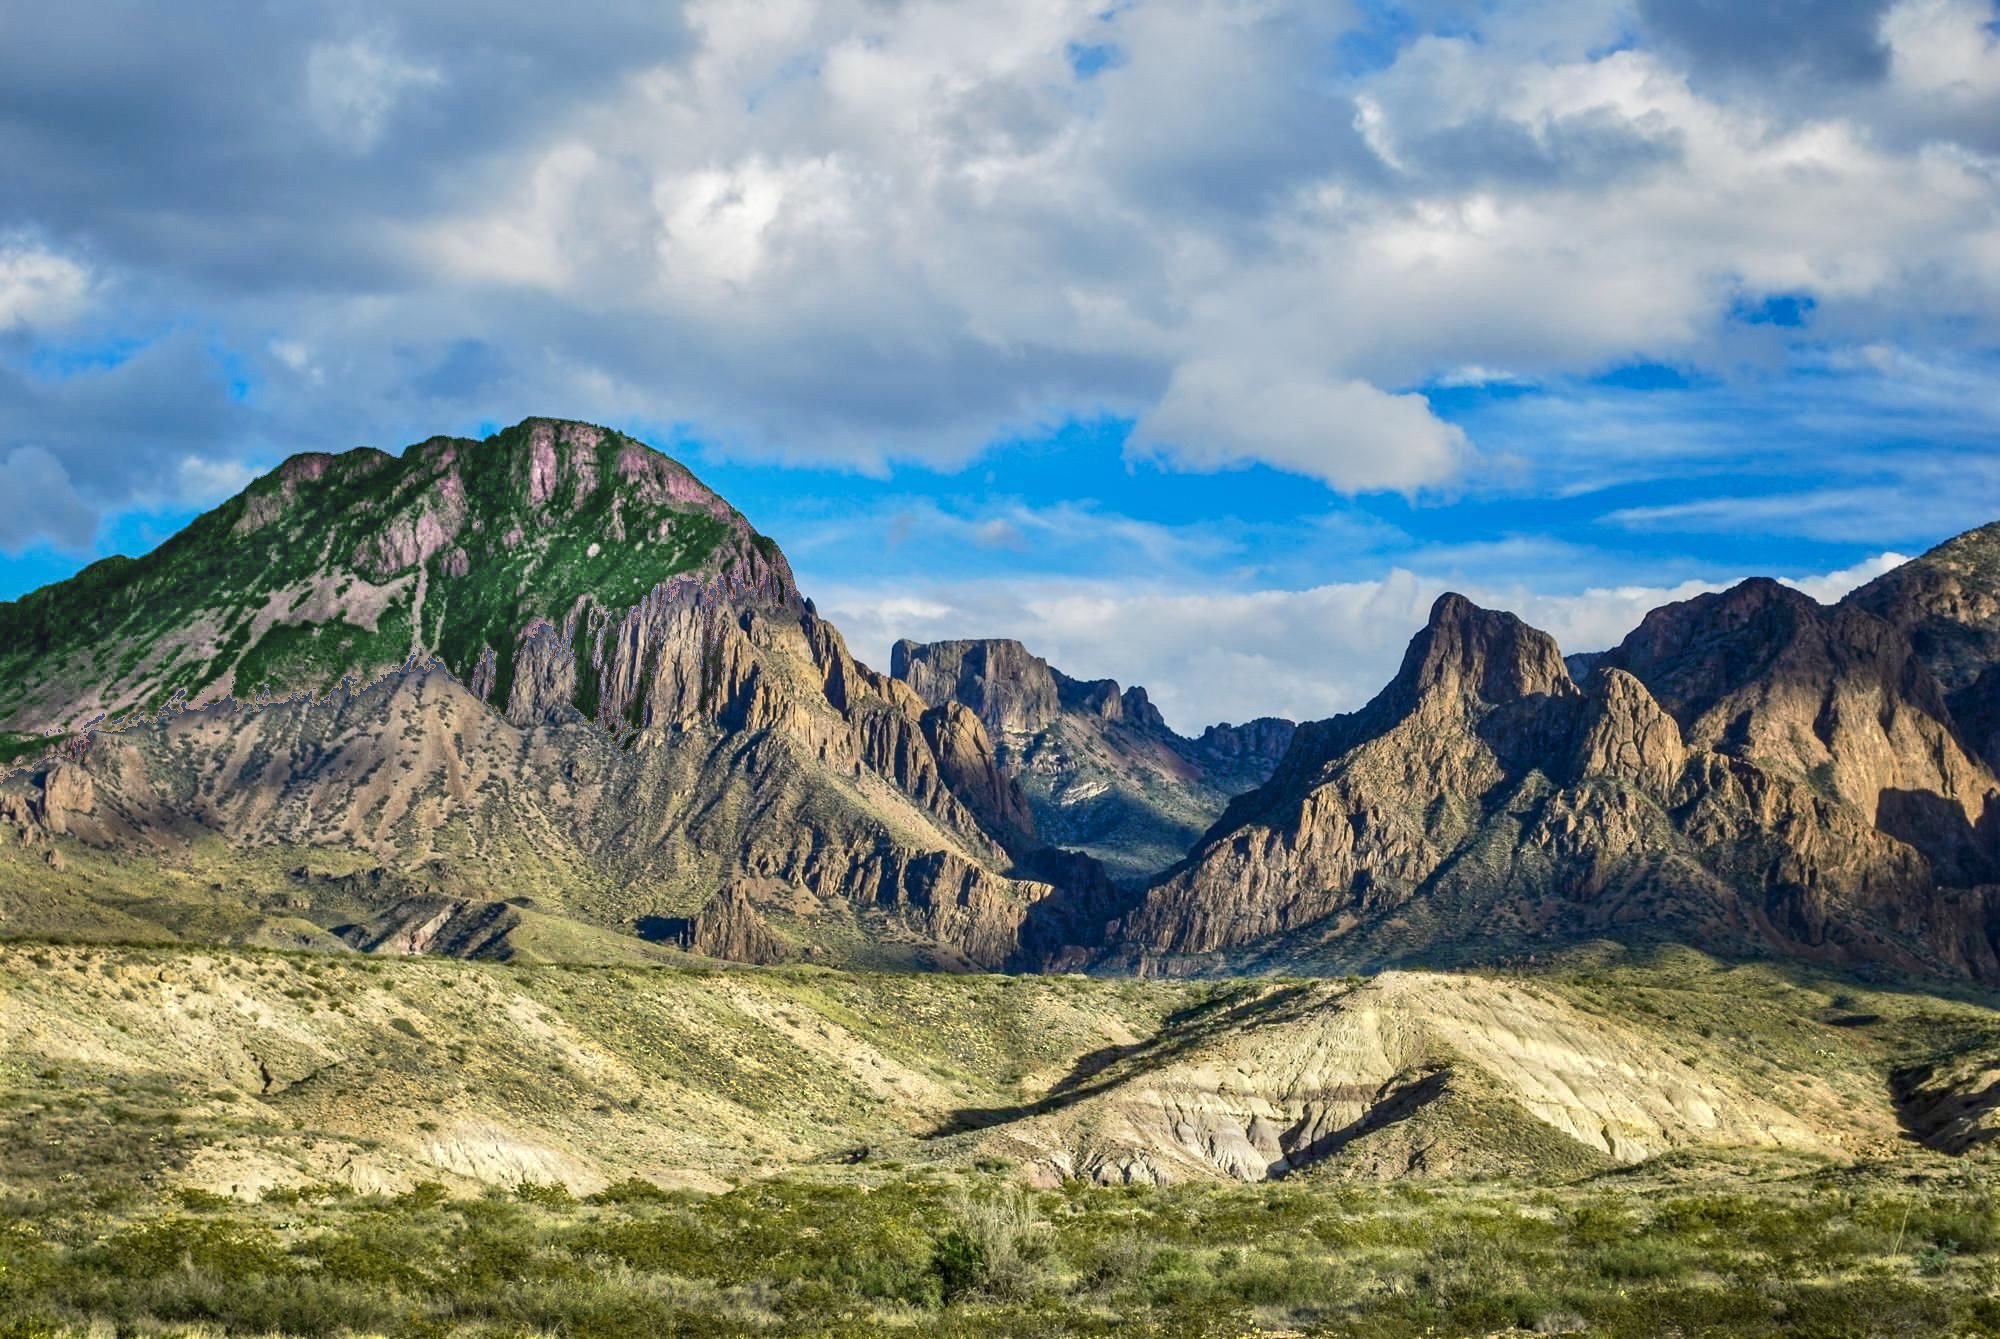
If the intention was to only sharpen the rock, I would add a Unsharp Mask live filter adjustment, then apply the adjustments as desired, invert the mask (CTRL+I or Layer > Invert) and then use a white brush to paint the adjustment back in.
-
I suppose that's because you have three identical image layers on top of each other.
If you're masking the middle one you wont see any changes !!
If you still cant sort it out, please attach the .afphoto file you're working on
-
-
What are your computer specs ?
12 hours ago, Peter Beaves said:I Have edited the file in Appdata
Which file ?
12 hours ago, Peter Beaves said:I notice there are dmp files for each time it’s crashed out but I’ve no idea what to do with them.
Just attach them
-
5 hours ago, kat said:
Most brushes require going over and over and over to delete on mask.
That depends on the type of brush and the settings for opacity,flow and hardness in the context toolbar.


Help with editing issues
in Affinity on Desktop Questions (macOS and Windows)
Posted
@thepiranha
Why export to a PNG file?
Instead choose JPEG or TIFF