

batvink
-
Posts
13 -
Joined
-
Last visited
Posts posted by batvink
-
-
-
Definitely the wrong file. But a very strange occurrence. I did a "Save as..." to create the version I uploaded, but it saved the changes to the original!
Anyway, here's the correct version of the file...
-
@stokerg, thanks for taking a look. For reference I am using 1.7.1.404.
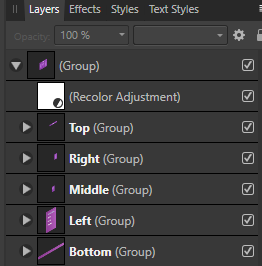
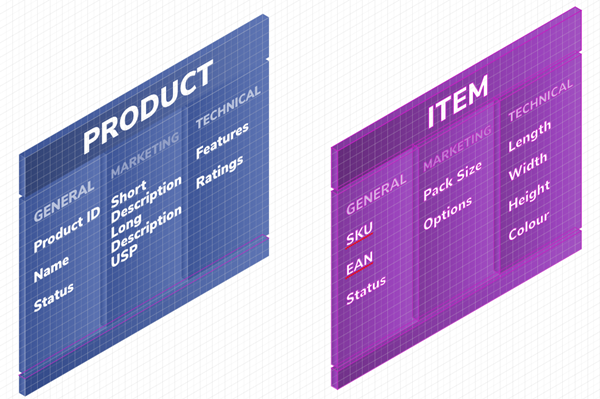
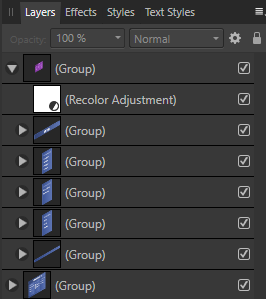
In the attached file, the right-hand purple group is the recoloured one. In case you are getting different results, I have a screenshot here to illustrate. I have added the recolor effect to Top, Right and Middle. Left and Bottom are not recolored. If you look at the thumbnails, you can already see the issue with the bounding box, the images are tiny for the recolored elements.
There is also a recolor at the higher level, which is a remnant of the original issue, where the recoloring did not apply in the export. It is harder to see this in the export now, because I have applied a new gradient color to every shape individually, so that I can continue working. You could reset the base colours of the shapes if you wanted to see this in action.

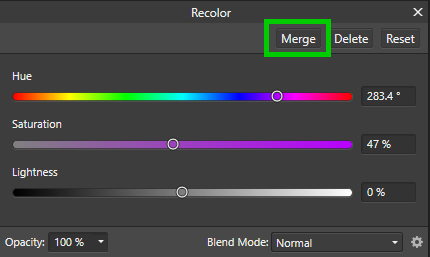
Finally, here is the merge button in the recolor panel, maybe it is something that works in Photo but should be hidden in Designer?
-
I have a number of shapes which I have duplicated, and used the recolor effect to change the second copy.
When I export using the Export Persona, with slices (each slice is a shape and some text), the recolor is not applied. It is still the original colour.
I have recolored the group, so that all shapes inherit the same new colouring. Although there is a merge button, this does not do anything.
I have now moved the recolor to every subgroup of shapes, and the colour has now changed. But as a result, the export dimensions change. Whereas the non-recolored slices export within a box around just the shape, the recolor pushes the boundaries out to the full page (1920x1080). It seems like recolor creates an non-visible composite across the full page to cause the redimensioning.
Am I doing something wrong, or have I found a bug or two? -
1 hour ago, Emeraldz said:
please tell me how or where to d/l this update, I cannot find a link
When you start the application, you get a window telling you about the update.
-
Late to the party but this is achievable.
Add a displacement filter. For the displacement image, use a greyscale ruffled cloth, blur it to get a soft effect
Add the distortion, just a little goes a long way
Load the same displacement image above the flag. Set the blend to hard light and reduce the opacity.
-
Thanks for the quick reply. I don't have Designer, but I will find a workaround I'm sure.
Regards, Steve
-
-
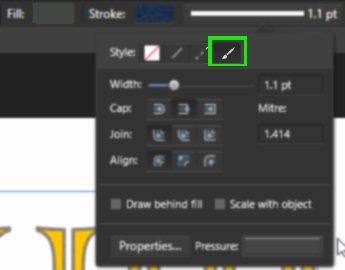
Hi,
I want to use an artistic Brush to outline my text.
- Lines work
- Dashed lines work
- The next option - "Texture" - doesn't do anything. If I click on "Properties", it opens up the Brush editing panel, but with no brush shown. If I select a Brush then open the panel, still nothing.
What am I doing wrong?
Regards,
Steve

Affinity Designer SVG export with reliable scale
in Pre-V2 Archive of Affinity on Desktop Questions (macOS and Windows)
Posted
For anyone wanting the secret recipe for files that can be used with Tinkercad...
That very short list took me 3 or 4 hours to figure out
keywords: SVG, Tinkercad, 3D Print, Creality Ender