Aammppaa
-
Posts
1,798 -
Joined
Everything posted by Aammppaa
-

I don't like the new UI design
Aammppaa replied to Zaxonov's topic in Feedback for the Affinity V2 Suite of Products
Not where you might expect it, but the toggle is there.
-
No. This is not a feature of V2. The new knife tool can be used to rough up shapes somewhat, but I know that this isn't what you are hoping for.
-
Group Thumbnails / UI Design
Aammppaa replied to lxx's topic in Feedback for the Affinity V2 Suite of Products
Go to Layers Panel > Hamburger menu (top right) > Show group thumbnails. -
Select all your Curves and Geometry > Merge Curves Then use Shape Builder to erase the section. Seems slightly hit and miss, but I usually get the result that you are after.
-
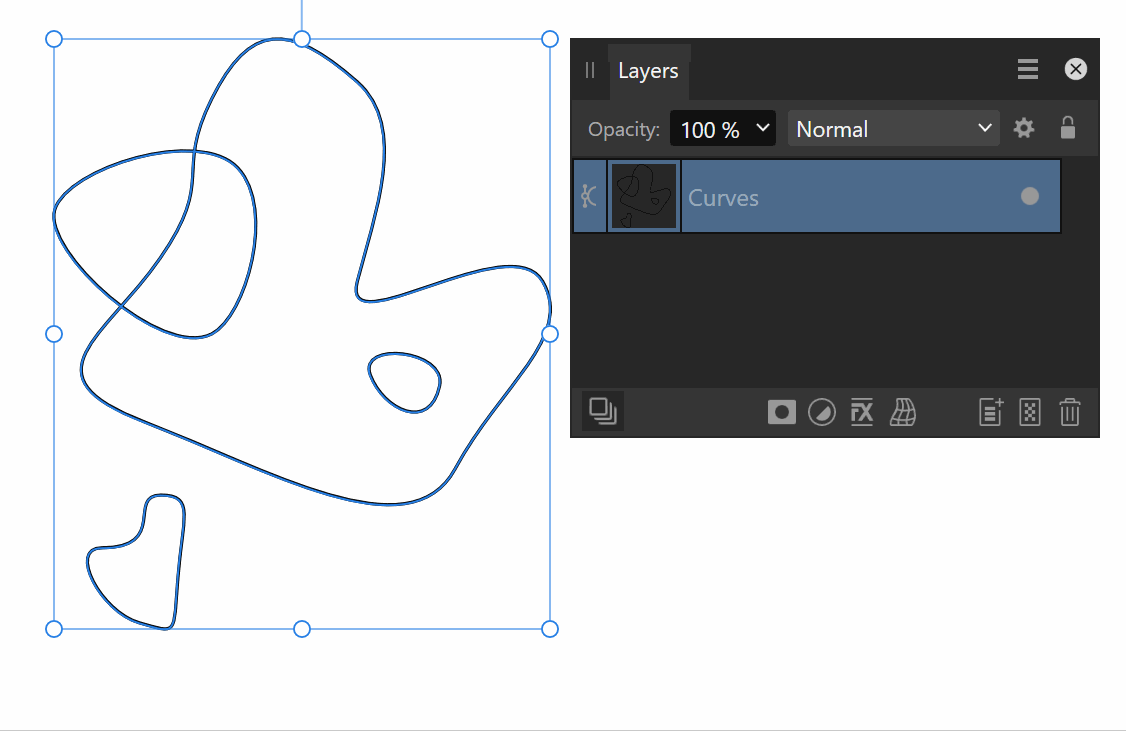
Here is a GIF of Remove Inner Curves... The 4 curves are a single object. The fully enclosed curve is removed. The overlapping curves are added together. The separate curve is left untouched. There is a similar command Fill Holes that works with filled shapes.
-
From the help https://affinity.help/designer2/English.lproj/pages/ObjectControl/cutting.html... Use the Layer>Geometry option called Cut curves with key object to cut into curves and shapes using a previously targeted key object (assigned with -click) in a multi-object selection. For example, you could use a morphed geometric shape to cut into underlying vector content. The stroke and fill of the key object are not considered in the cut.
-
Publisher 2 - finally Global Layers!
Aammppaa replied to Opera's topic in Feedback for the Affinity V2 Suite of Products
I am not aware of any features that have been removed in V2... what are you referring to? -
Designer: stroke shortcut increment
Aammppaa replied to Ideagonal's topic in Feedback for the Affinity V2 Suite of Products
It seems to increase / decrease by a relative amount of 11% so 10pt goes to 11.1pt, 20pt goes to 22.2pt Which seems very arbitrary and not very useful! I think that absolute amounts would be more helpful. No settings to change the behaviour. -
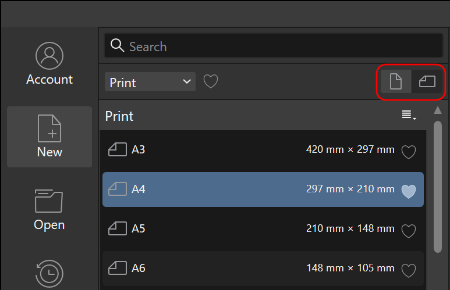
Feature Request: Support Split Tool
Aammppaa replied to XHXIAIEIN's topic in Feedback for the Affinity V2 Suite of Products
Hi XHXIAIEIN, For Slices you need to explore the Export Persona. To get evenly sized slices I would use the new Quick Grid feature to draw some evenly sized rectangles, which can then be resized to cover the export object. Then convert the rectangles to Slices in the Export Persona, before finally exporting as PNG / JPG. -
Yes it could be. Perhaps another Mac user could comment?
-
I do not experience this behaviour, and so far as I recall, never have. Here is a GIF from my system... I wonder why you are getting different results?
-
[AD] Isolation Mode
Aammppaa replied to luispedrofonseca's topic in Feedback for Affinity Designer V1 on Desktop
I find the new command "Hide Others" to be the best method of isolating a selection. Ctrl + H to hide others. Shift + Ctrl + Alt + H to show all. Similar shortcuts on Mac no doubt. -
+1 for the ability to make measurements permanent. It really does feel like all the work has been done, barring the last step!
-
Thought a reply might help out others (such as Guz) since your post shows up when people search for data merge.
-
Data Merge is a feature of Affinity Publisher. https://affinity.serif.com/en-gb/tutorials/publisher/desktop/video/494072789/
-
affinity designer Clown Triggerfish (stylised)
Aammppaa replied to VectorVonDoom's topic in Share your work
So crisp and yet so grimy at the same time. Love it. -
You need to use the Contour Tool.
-
Contour tool needs improvement.
Aammppaa replied to Pixelplucker's topic in Feedback for Affinity Designer V1 on Desktop
Having to duplicate the original shape prior to adding a contour is a terrible workflow! What if I want 3 contours on my hexagon, equally spaced. And then the client asks for a pentagon instead. There are so many unnecessary steps in Affinity to make this change when compared to competing software. I came from Xara, where the change requires 1 click of the mouse wheel to change the underlying shape from 6 sides to 5, and all 3 contours immediately follow suite. -
Was frustrated again today by the lack of interaction between Power Duplicate and the Point Transform Tool. Please Serif look again at this. You have 2 useful tools that don't work together, and there isn't a good workaround.
-
@kalmdownI really think that The point transform tool is the solution you are looking for.
-
@kalmdownHave you looked at the point transform tool? https://affinity.help/designer/English.lproj/pages/Tools/tools_pointTransform.html
-
A bit more explanation...
-
It would be interesting to see the original AI generated image. That way the work and skill you put into the retouching would be apparent, and it might help others see what is possible with AI and human interaction?
-
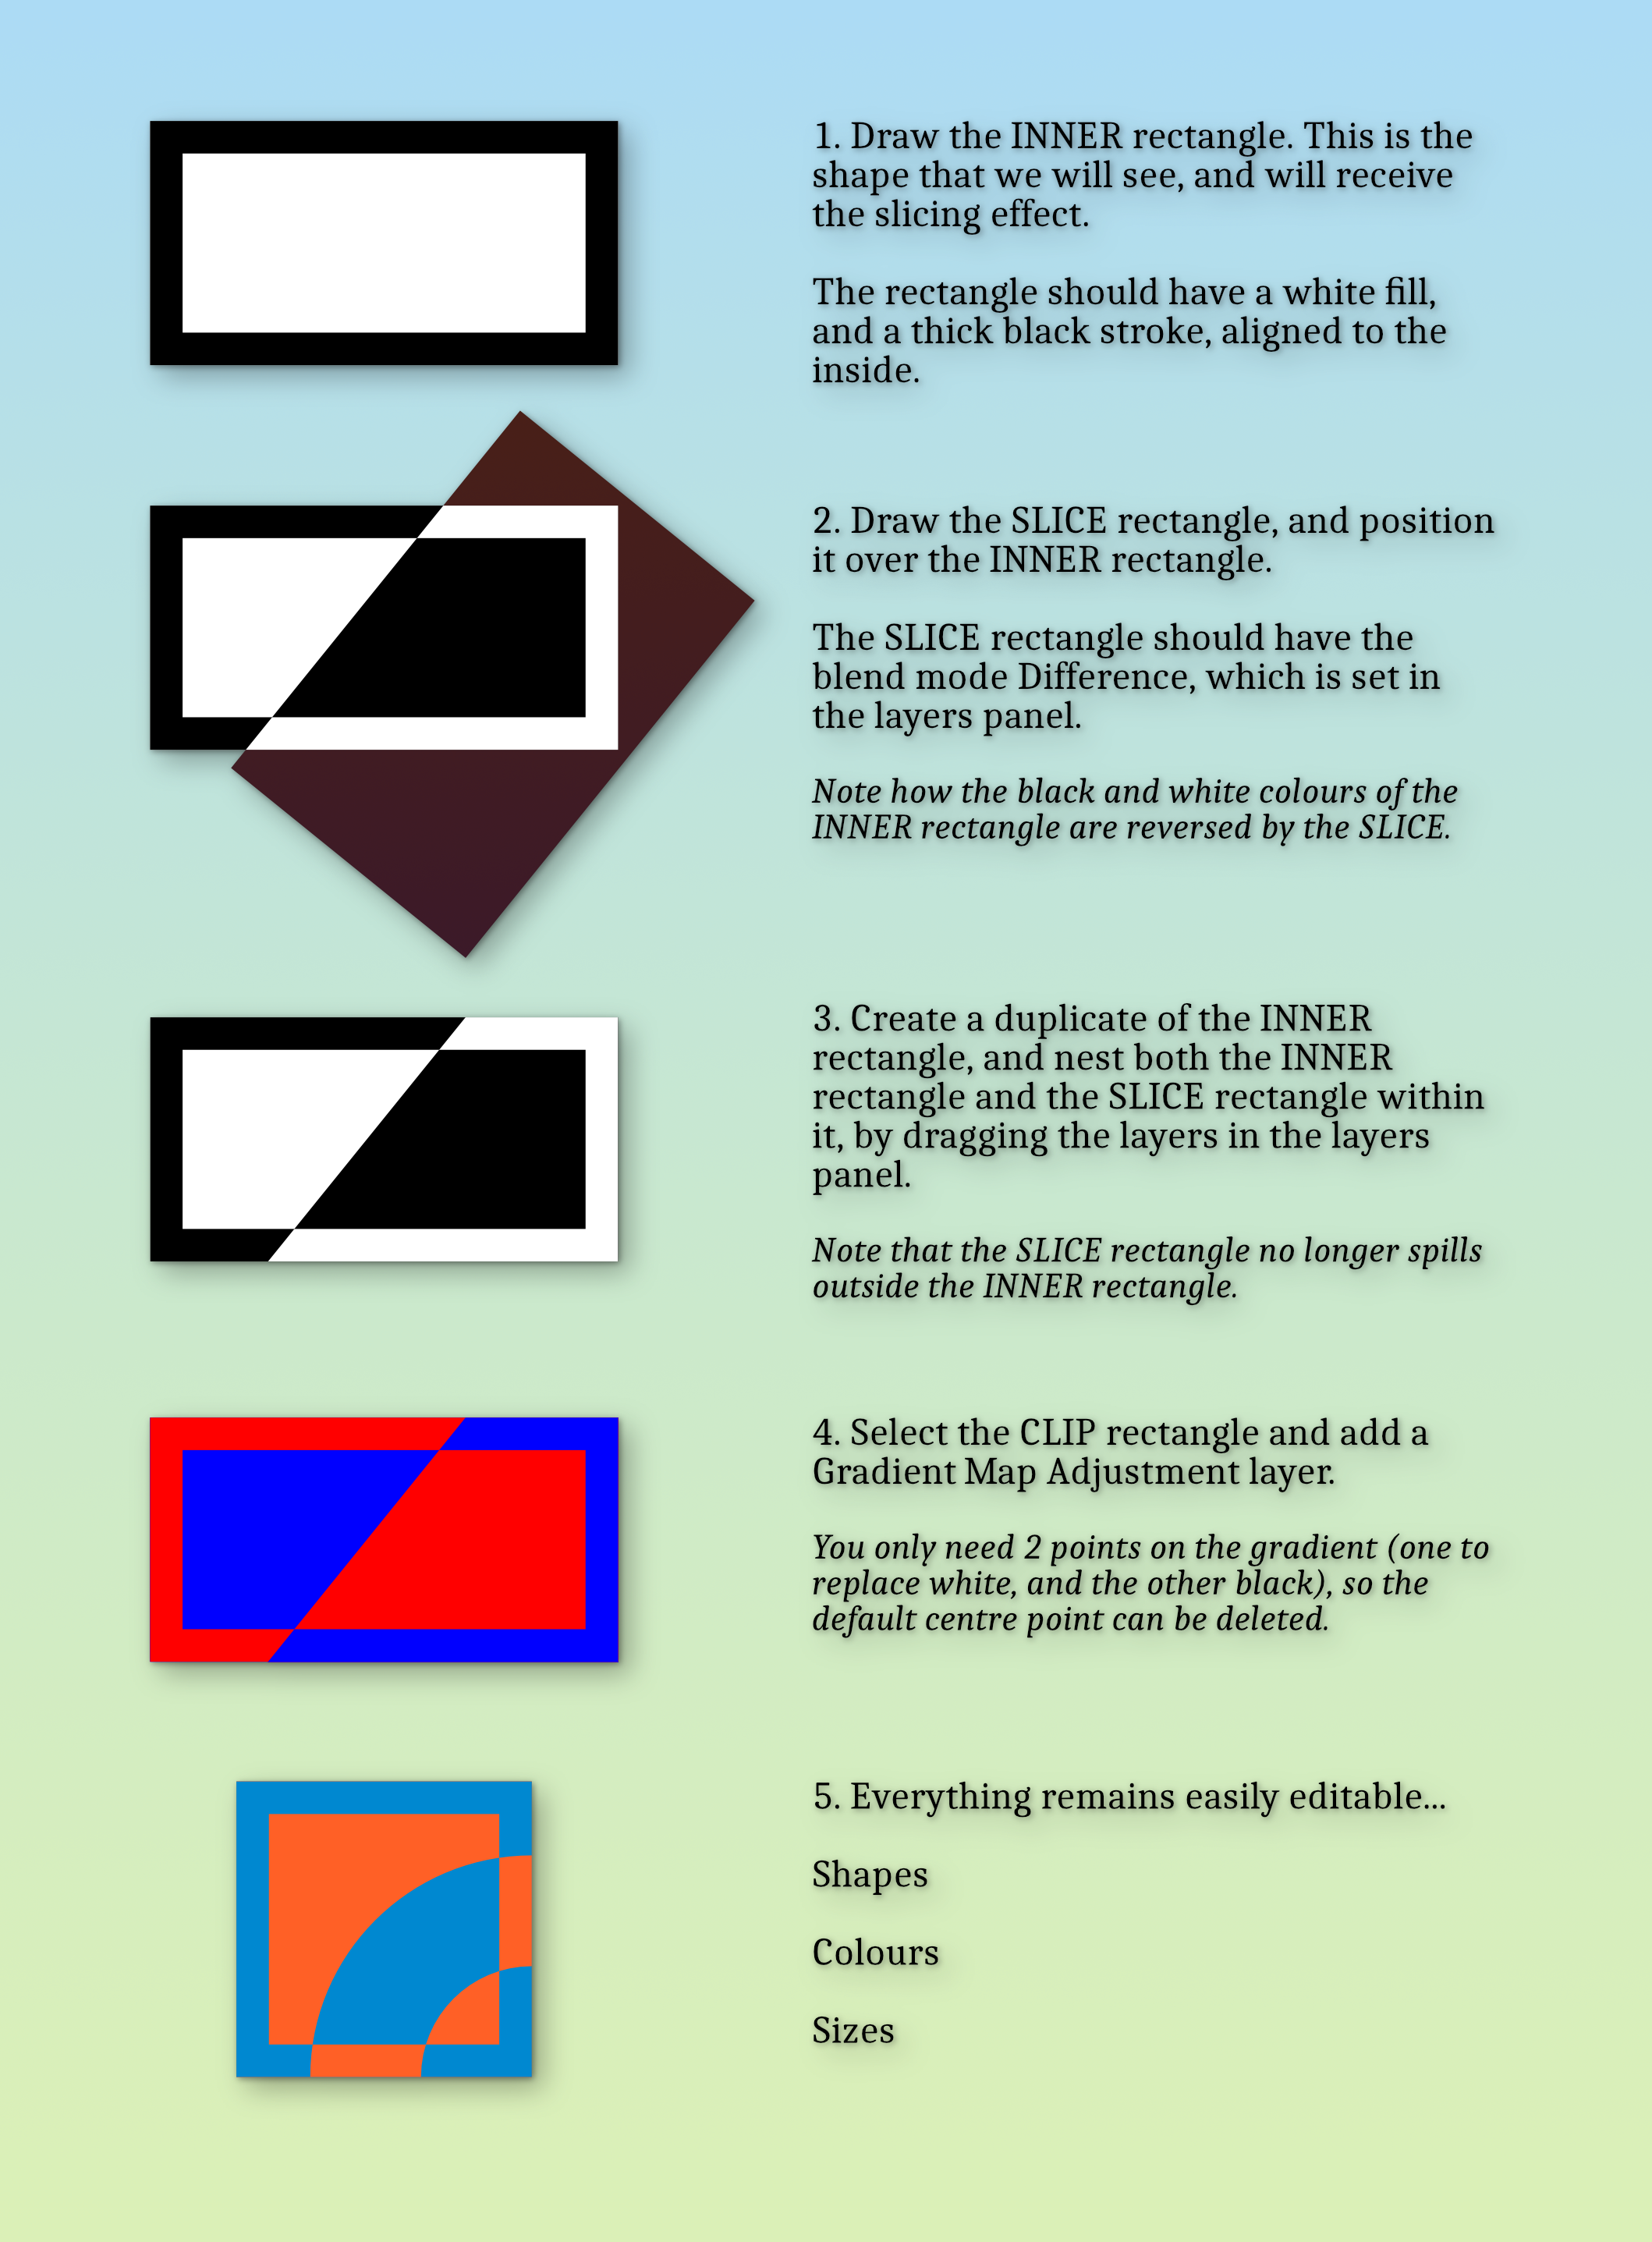
Here is a fun way... You will have to tear the various layers apart to see what is going on. The underlying geometry is a horizontal rectangle with a diagonal rectangle overlaid. The diagonal rectangle has the blend mode Negation, so inverts the black and white of the fill and stroke of the horizontal rectangle. These two rectangles are enclosed in a 3rd rectangle which clips the diagonal to the correct dimensions. Ensure that the inner horizontal rectangle has its stroke set to Inside, so that we can still see it. Finally a gradient map adjustment is used to colour the black and white geometry. The benefit of this approach is that everything remains easily editable... Want to change the stroke thickness? Just change the stroke of the Inner rectangle. Need to reposition the diagonal slice? Just move the diagonal SLICE rectangle. Different colours? Change the colours of the Gradient Map. And it all moves and resizes as a single object. Hope this helps! Diagonal Invertion by Gradient Map.afdesign