Lusco Fusco
-
Posts
38 -
Joined
-
Last visited
Everything posted by Lusco Fusco
-
I mean the points in the corners and in the center of the lines of the frame that you are creating, which you drag to change their size. Ok, this works! Also, to the right of the dimensions boxes, there is a small icon to lock the aspect ratio once defined. Thanks!
-
Hi. I've been searching, but I can't find a way in any tutorial, although there must be one: in the export persona, how to give the slices a default aspect ratio (1x1, 4x5, whatever ...), and not having to move the sliders by hand, almost impossible to adjust the size with pixel precision. If anyone knows where that option is, I would appreciate the help.
-
Blend ranges improvements
Lusco Fusco replied to Lusco Fusco's topic in Feedback for Affinity Photo V1 on Desktop
Thanks a lot. I had discarded that option because investigating options I had read that changes in blend ranges could not be recorded in macros ... It is a good solution, very grateful! -
The blend ranges tool is, for me, one of the top three affinity photo tools. With all the virtues it has, it still has two defects that in my workflow suppose a few thousand extra clicks every month, which I would like to save myself: 1.- Presets. Is it technically impossible to create the option to save three or four defined curves, which in the end are the ones I use 95% of the time, so that I don't have to adjust them a hundred times a day? 2.- It is extremely annoying that every time you open the tool it appears in the center of the screen, covering the image you are working with. The box should appear by default in the lower-right side of the screen, or at least appear where you left it the last time you used it. I hope to see these improvements that would undoubtedly make our work more fluid in some of the next updates. For the rest, great work and congratulations, very happy with the software. Thank you.
-
Here is why I downgraded to 1.8.3 from 1.8.4
Lusco Fusco replied to Claude Fiset's topic in V1 Bugs found on Windows
I have had to go back to version 1.8.3 as well, due to inability to use a Wacom Intuos (a new tablet, not an old one). First time an Affinity photo update is worse than the previous one. I trust that there will be a version that fixes these problems soon. -
Meh. It worked the first time. After a while working, it starts to hang, I try to close it and it crashed. I open it again and it shows the same problems as before, in addition to the impossibility of working with the move tool, and several brushes ... Right now I can't waste more time. Uninstalling this version, installing 1.8.3 and I'll have a look around the forum waiting for someone to solve this problem.
-
Yep, but as i said, everything worked fine for me 🤷♂️
-
Ouch, gonna try... Don´t understand the need of this change, everything worked so smoothly on 1.8.3 Anyway, thanks for your help.
-
Yes to the first two. As for custom mapping regions, I never had to configure them previously. And I don't see why I should alter the tablet settings when it works perfectly in the rest of my editing programs, as well as in the previous version of Affinity ... Rather it seems obvious that developers should locate the problem and fix it, doesn't seem to be so complicated.
-
Yes. It works perfectly in the rest of the software, as it worked perfectly in the previous versions of Affinity. It just works wrong in the last update ...
-
Since the last update 1.8.4 I am not able to work with my Wacon Intuos pen. Multiple errors, it does not restore the default size of the image when double-clicking, it does not displace the image when dragging it, some brushes do not work ... I hope you find the problem, otherwise I will reinstall the previous version. Thank you!
-
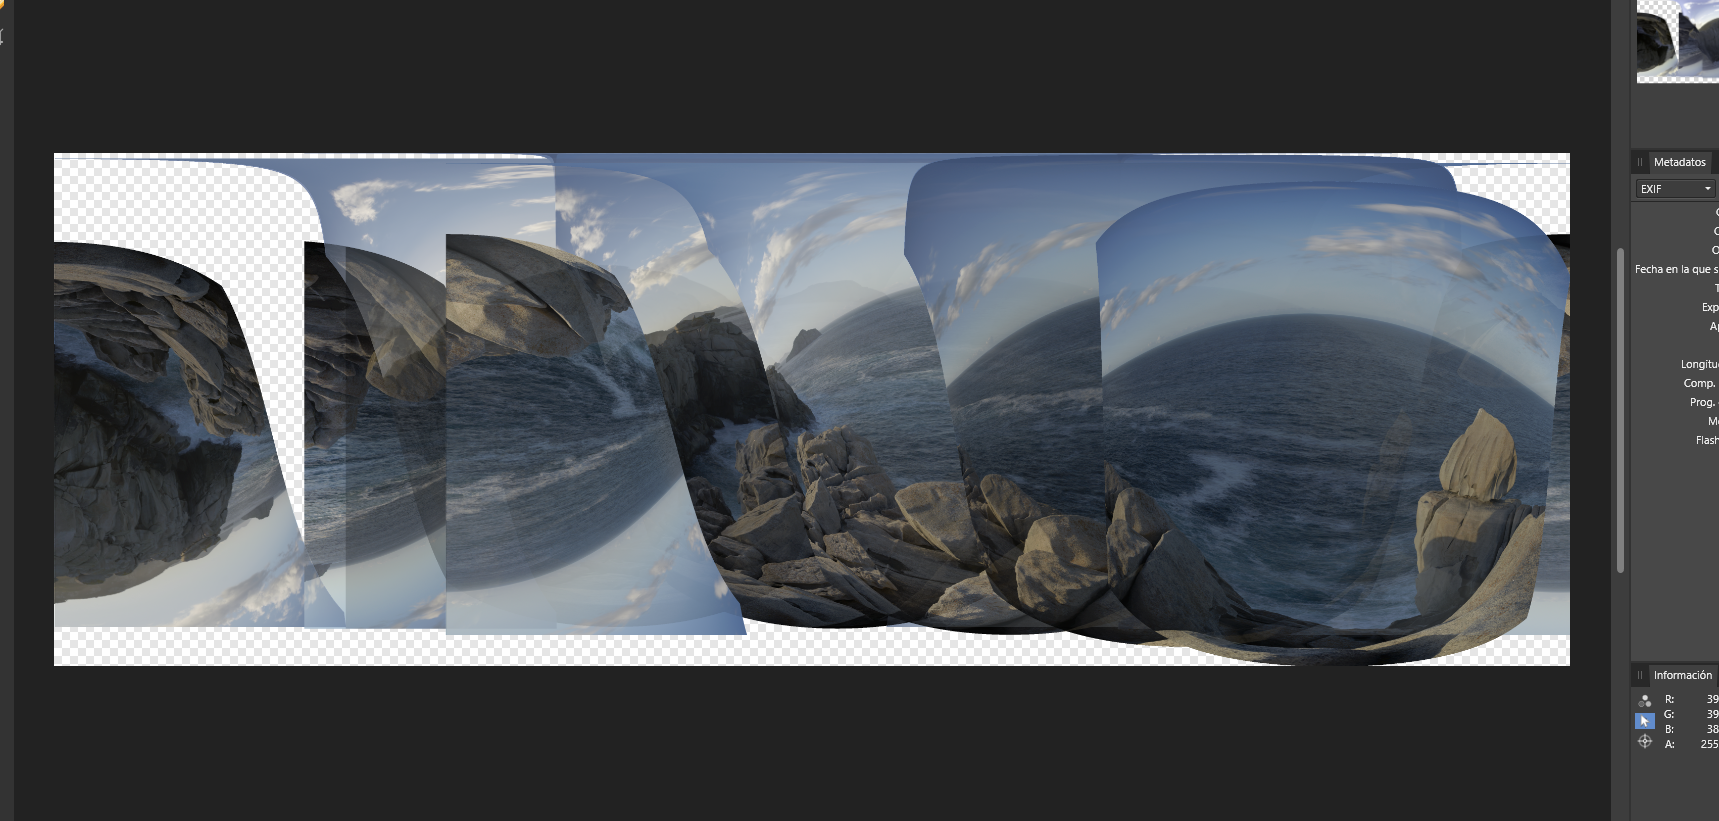
After the last update, Affinity is having troubles to correctly rendering panoramas. Attached sample image. Image Composite Editor stitches this same serie of images seamlessly.

-
🤔 At least in my software version there is no box to align images in the focus stacking function.
-
Thanks a lot! Best wishes.
-
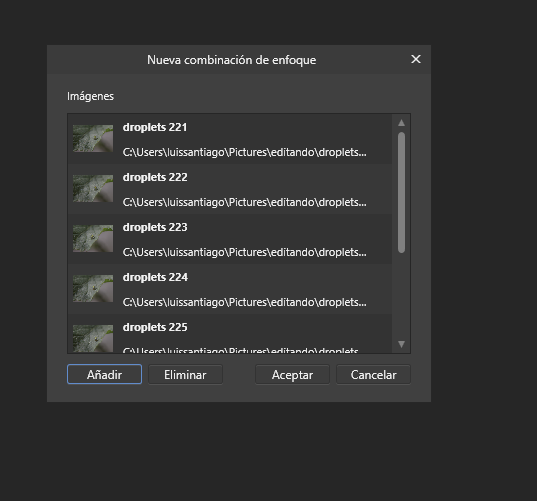
Thank you, I had overlooked this. This fixes the theme for simple stacking. Not so for focus stacking. I have a series of macro images of dew drops on blades of grass, in which they are slightly moved from each other by the wind. This makes the result not ideal. If I stack them, with automatic alignment, ungroup and export them (one by one), and upload them to focus stacking, the result improves. So I was wondering if i could send them directly, after ungrouping and cropping,to focus stacking without exporting them. Or, failing that, how to export all layers at once, so that each layer, now aligned and cropped, would give rise to a separate tif file.
-
Hi there. Is it possible to send from a document a number of layers you are working with directly to stack, (or focus stacking, or Pano, or hdr ...) without having to export them first and then create a stack? Thanks.
-
My copy has not crashed yet, but although just after the update it seemed faster, now it is slow in some operations (load images for stacking, for example), and show certain lagg when moving layers to adjust them ... Operating in Windows desktop.
-
Thanks Toltec, gonna try this way.
-
Hi. The linear gradient always comes out by default with one white end and the other neutral gray. 99% of the time I use a white end and it's another black one. Does anyone know any way to save this gradient as default? Thank you very much and greetings.
-
https://en.wikipedia.org/wiki/Toltec_(Castaneda)
-
Thank you! This clarifies the matter, as one could not expect less from the wisdom of a Toltec ... Now I just have to move my assemblage point to a position that allows me to find a method to use these luminosity masks.
-
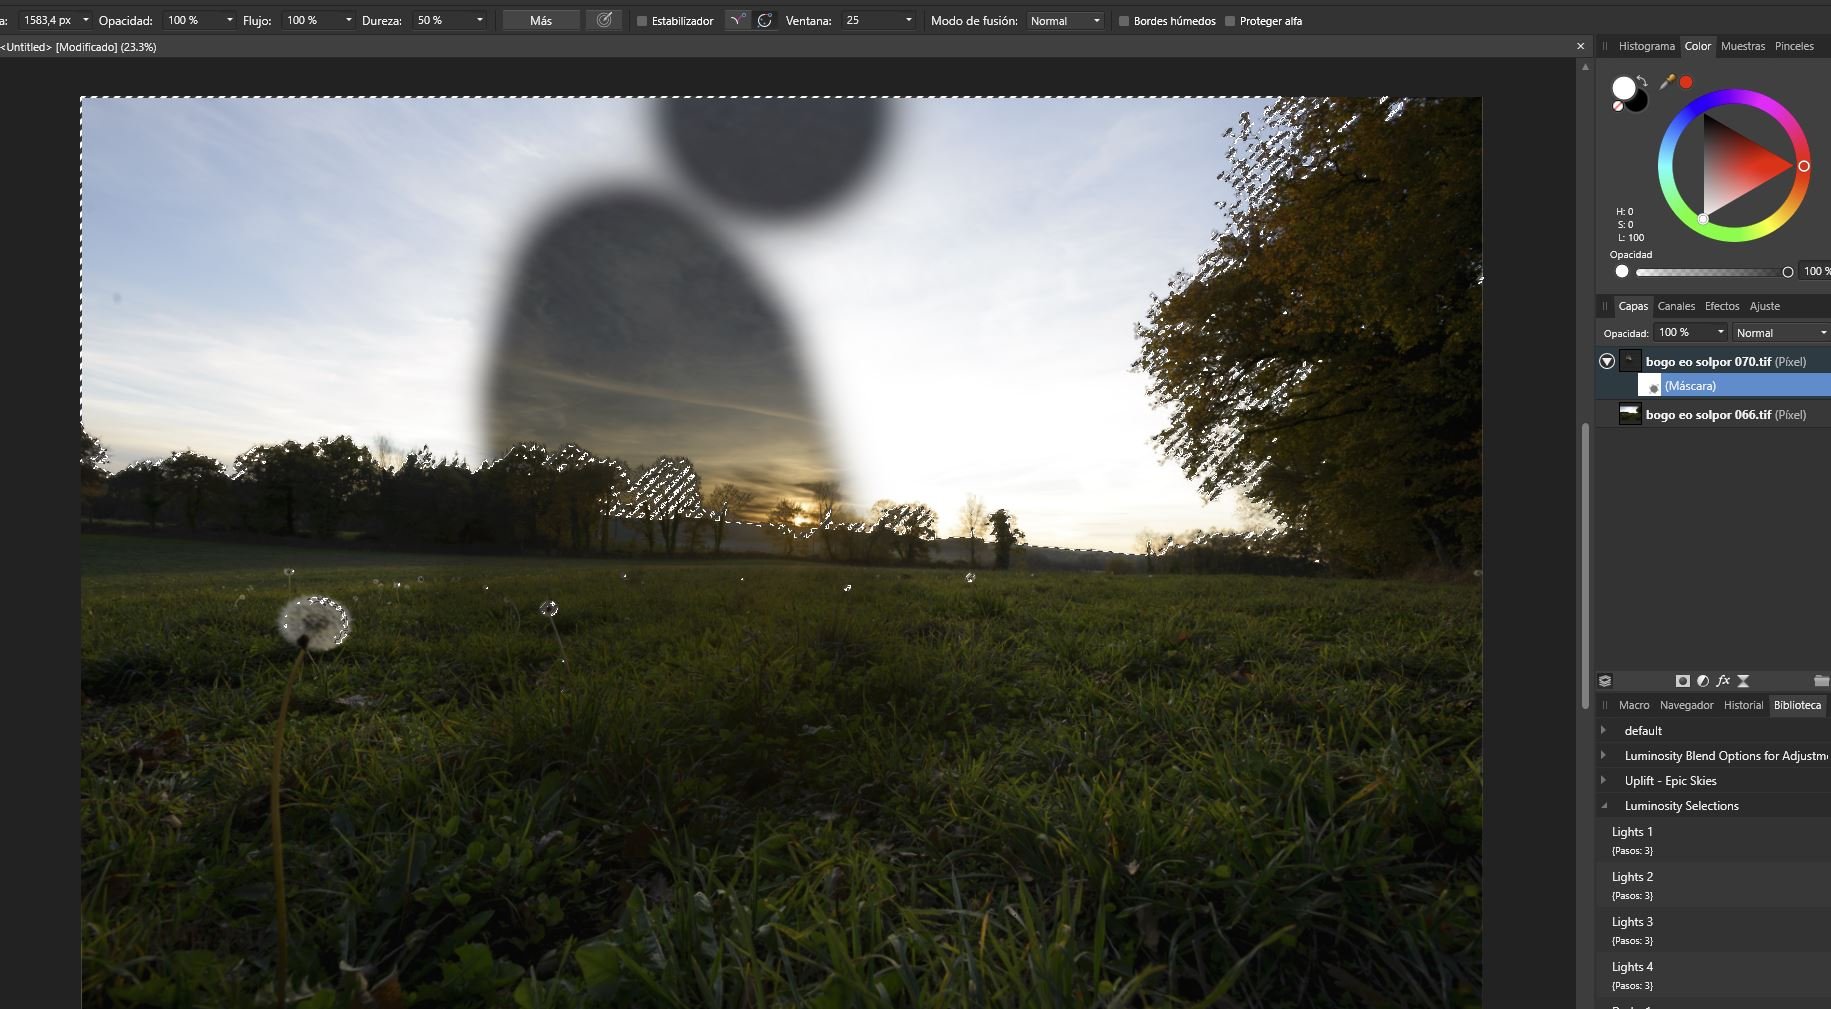
Thank you alfred, but hardness is not the problem, attached a screenshot with hatrdness at 100%, same effect... Also, how could i see if a luminosity based selection is feathered, and if so, avoid it? Thanks again
-
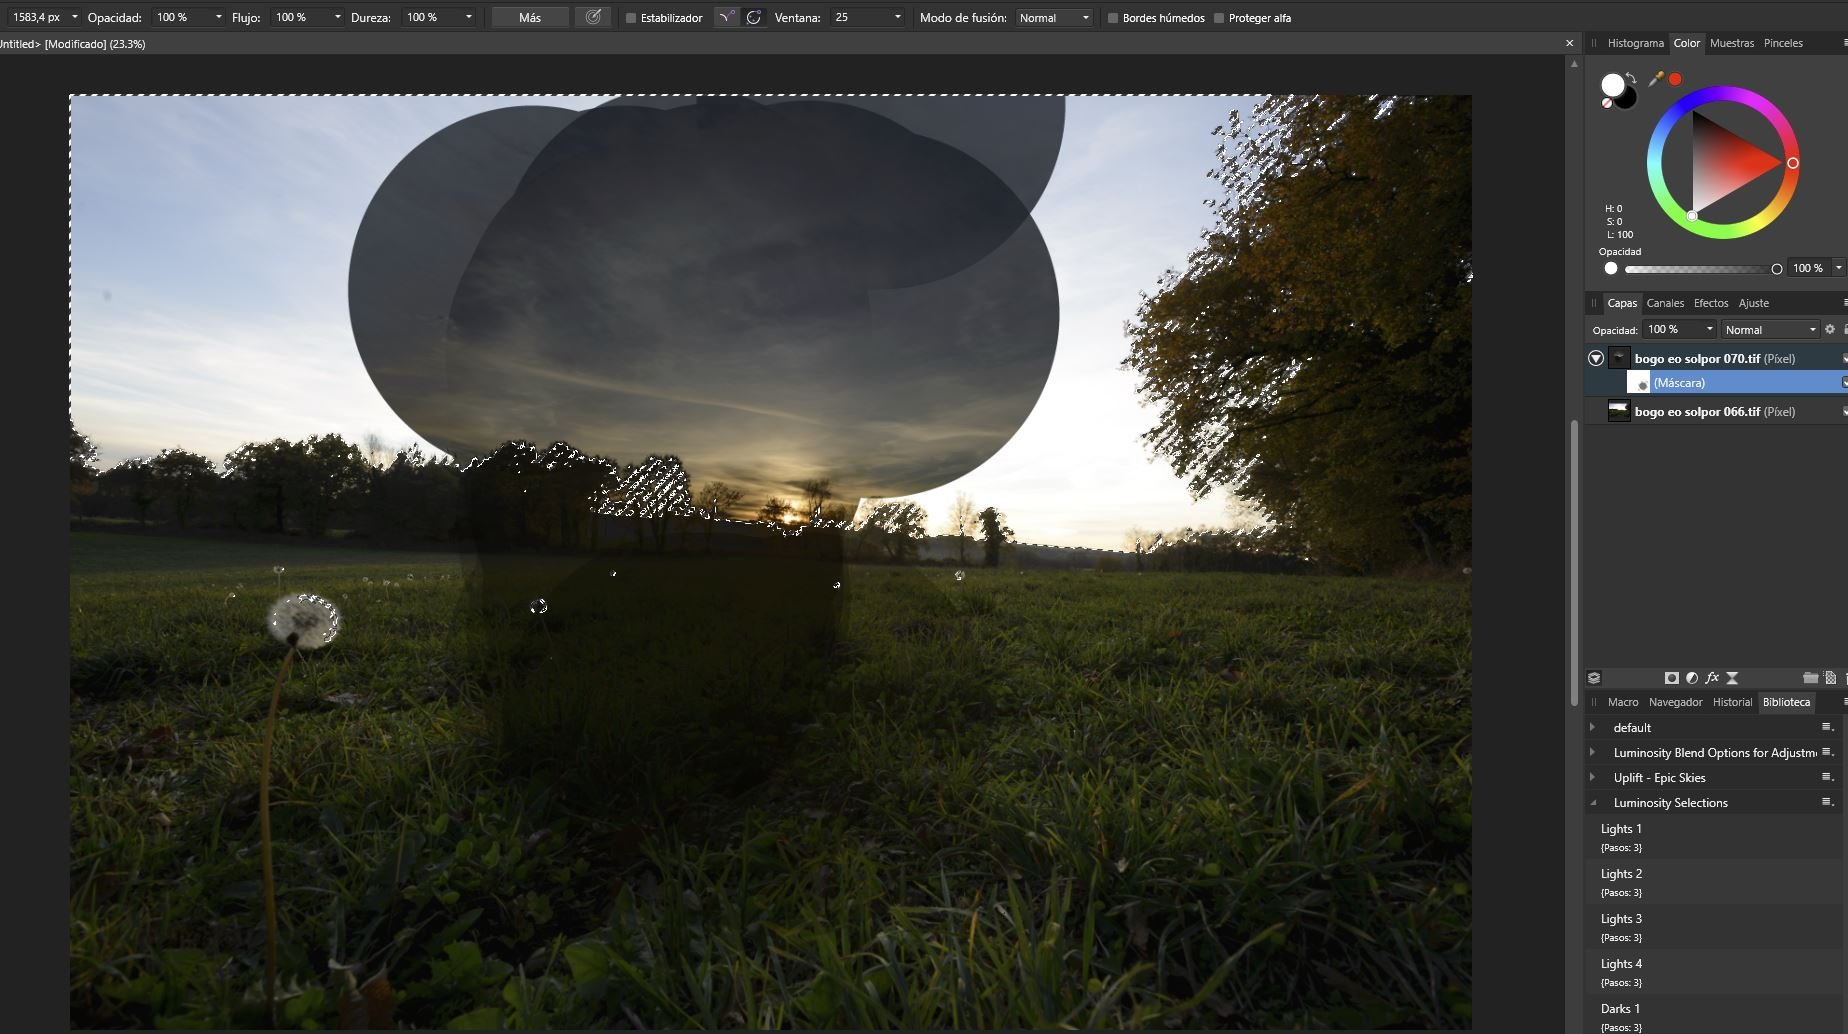
Ok, here is something that escapes me and, although I had many turns on it, I can not find the solution. It is assumed that with an active selection, the brush should only paint within the selection. Well, I load two images, add a mask, invert it to black. I select the lower image, make a selection based on luminosity, return to the mask, I paint on it with a white brush at 100% opacity (not alfa protect selected) ... and: 1.- Despite having opacity in 100%, I have to paint several times in the same place to get an absolute white that totally reveals the image. 2.- When I am on the edges of the selection, the brush also paints OUT of the selection ( altough although with lower opacity (!?) ) It must be something very obvious that I am overlooking, this process I have done a thousand times in GIMP without problem. Please, if anyone has any ideas or suggestions, I would greatly appreciate it.
-
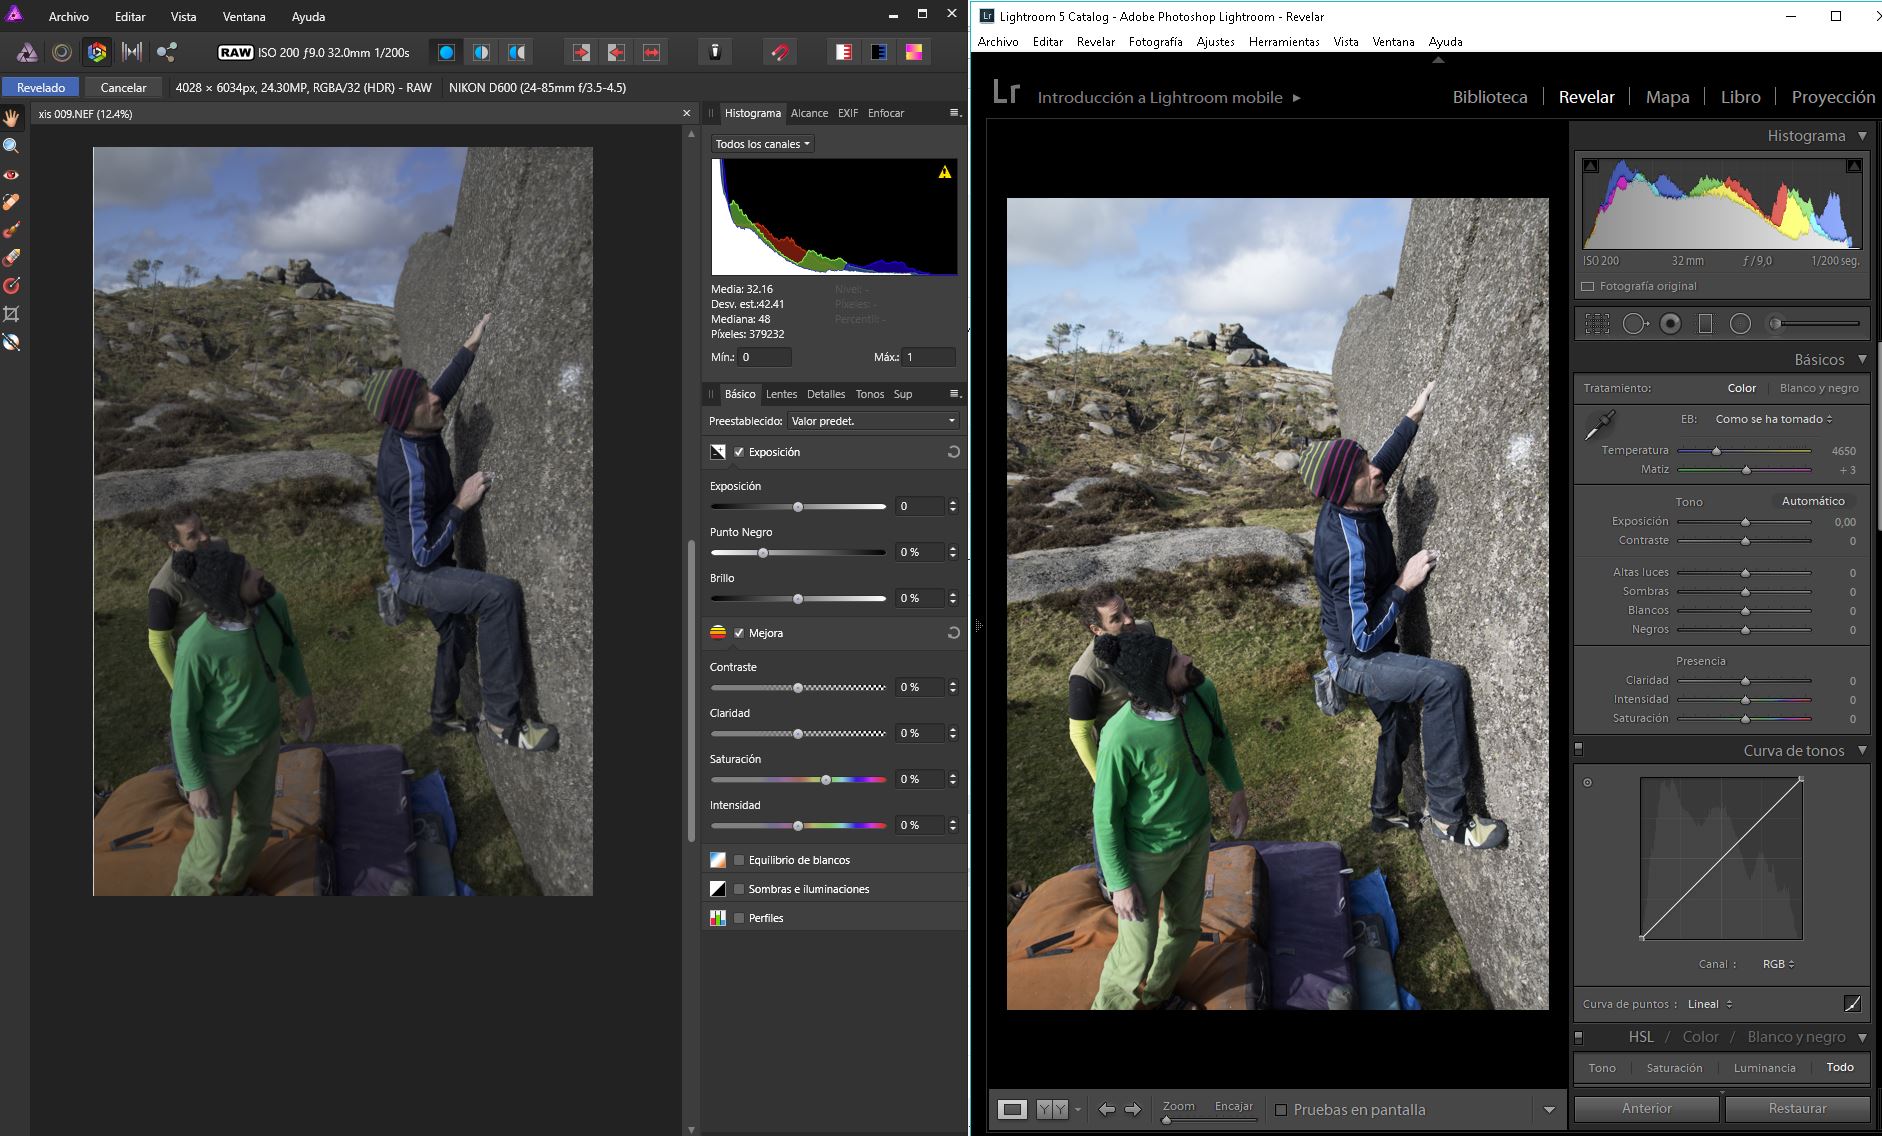
Yes, there is something strange with the RAW developer, just take a look at the histogram, same RAW file flat opened in Aff and LR
-
It would be very useful to apply dodge and burn as a gradient, not just as a brush. Also, Also, it is a nuisance that the box of the blend range opens always in the center of the image with which you are working. And having to move it aside, each and every time you open it, so that it does not hinder the vision of the changes you make. Thanks and regards.