gdenby
-
Posts
1,887 -
Joined
Everything posted by gdenby
-
The Affinity work is fine. But I too do not see much of a suggestion of "BTM." I don't play drums, but have been reading music for quite awhile, and I've always seen beat quavers on a single line. To me, that suggests an "M" better than the descending row you are using. It seems you are looking for a better symmetry. Myself, if it isn't important to have the quaver conform to drum notation, I'd make it so the three note dots are low-hi-low to be more like an "M" and try to space them to echo the drum cymbal upper line. Your Choice. ...And having the dots open like they are whole note messes w. my mind. :)
-
 I get the same result as R C-R. The measure unit cannot be present. Likewise, using Mac.
 -
You post should probably be over in "Questions & Feedback" section. However, an answer. For the final color wheel donut, make on with a conical gradient fill. Blue or which ever at 0 & 100% position, and the other 2 at 33% & 66%
-
Here's a "kinda" works. The problem is that it depends on snapping, and the snapping features work on the rectangular bounding boxes, and their centers. I made a small circle, and power duplicated it. Then drew a single 5 point star. Manually copied it to center over each circle. I needed to be zoomed in because snapping the 2 centers together was awkward. I tried a couple of other things. What worked somewhat easier was to us the polygon tool. I converted the poly to curves so I could inspect the node positions of the shape. I did a coarse positioning of the stars, and then zoomed into 800%. With centers turned on to be visible, I was able to fairly quickly get positions to within a thousandth of an inch. Seems like it should be not to hard to come up with a routine that would list the poly node co-ordinates and create stars or whatever centered there.

-
Pen tool / line
gdenby replied to GlennC's topic in Pre-V2 Archive of Affinity on Desktop Questions (macOS and Windows)
You can also use the stroke properties & pressure settings. Change the opacity variance, goto maximum in this case. Assuming you are using a mouse, not a pen and tablet, then go to the pressure setting and make the curve a parabola. Altho' it doesn't give quite the same control as using a gradient, as R C-R describes, it can also be used w. curved lines. For a straight line, you can also use the transparency tool with a radial blend. -
UPDATE to 1.5
gdenby replied to LSDJE's topic in Pre-V2 Archive of Affinity on Desktop Questions (macOS and Windows)
You need to use the App Store application, and then click on the updates icon along the top bar. If you have the most recent purchase version. 1.5.4, you can d-load the most current beta 1.5.5 by going to the forum Affinity Beta support section for Mac Beta. -
The gradient in the circle can be applied from the pre-made "rainbow" style. After the style is added to the selected object, the foreground color sample will show the rainbow. The next object drawn will have the same fill. That rainbow can also be transferred to the stroke coloration attribute. Does this get at what you are trying to do?
-
Line Textures
gdenby replied to alphawham's topic in Pre-V2 Archive of Affinity on Desktop Questions (macOS and Windows)
Not strange. Photoshop has had 28 years more to get where they are. I suppose sometime during that period, someone went "OK, I'll write some code that moves a bitmap along the x/y values of a bezier curve. And then write some more code to delete the bitmap info, and redraw it when the curve is altered." Might not be all that hard to do. A few of the layer fx are bitmap drawings that scale w. the associated vectors. Still, I'd rather the developers put effort into something more useful. I can do a reasonable manual trace of a vector with pixels. But having something like a blend tool that will offer the ability to transform many shape nodes with a few clicks, instead of manually shifting hundreds, it not thousands of points, would be lots more valuable. -
I don't have AP, but am supposing that the brush engine in AD is the same. I suspect that part of what is happening is that the brush stroke is being anti-aliased. For instance, if you zoom in on a 1 pixel line, you will see that it is several pixels wide. And on 1 pass, all the pixels will be somewhat washed out, as they are being blurred into the background. So far I haven't noticed that the anti-aliasing can be shut off.
-
I don't have a Wacom anymore, but my recollection is that you may need need to use a pen on the tablet, even though it works at the same time as using a mouse. I do get a brush stroke variation from choosing velocity and using a mouse. Not easy to use, but there is an effect on the brush. I'm using an Apple wireless mouse. Your case is different. Try this. If the stroke was created w. a brush, not a pen or pencil, select the object and go into the stroke dialogue. Along the top you will see that the brush icon is highlighted. Change that to solid line, then change the properties and continue by changing the pressure. The pressure curve controls both the line weight and opacity. When I finished, I see that the brush stroke icon is re-activated.
-
You can hand tweak strokes, tho' it is not much like using a tablet. After the stroke is drawn, the stroke attributes panel allows variations pressure width and properties such as opacity to be added. Fx and transparency can be used to modify the look for a more organic touch.
-
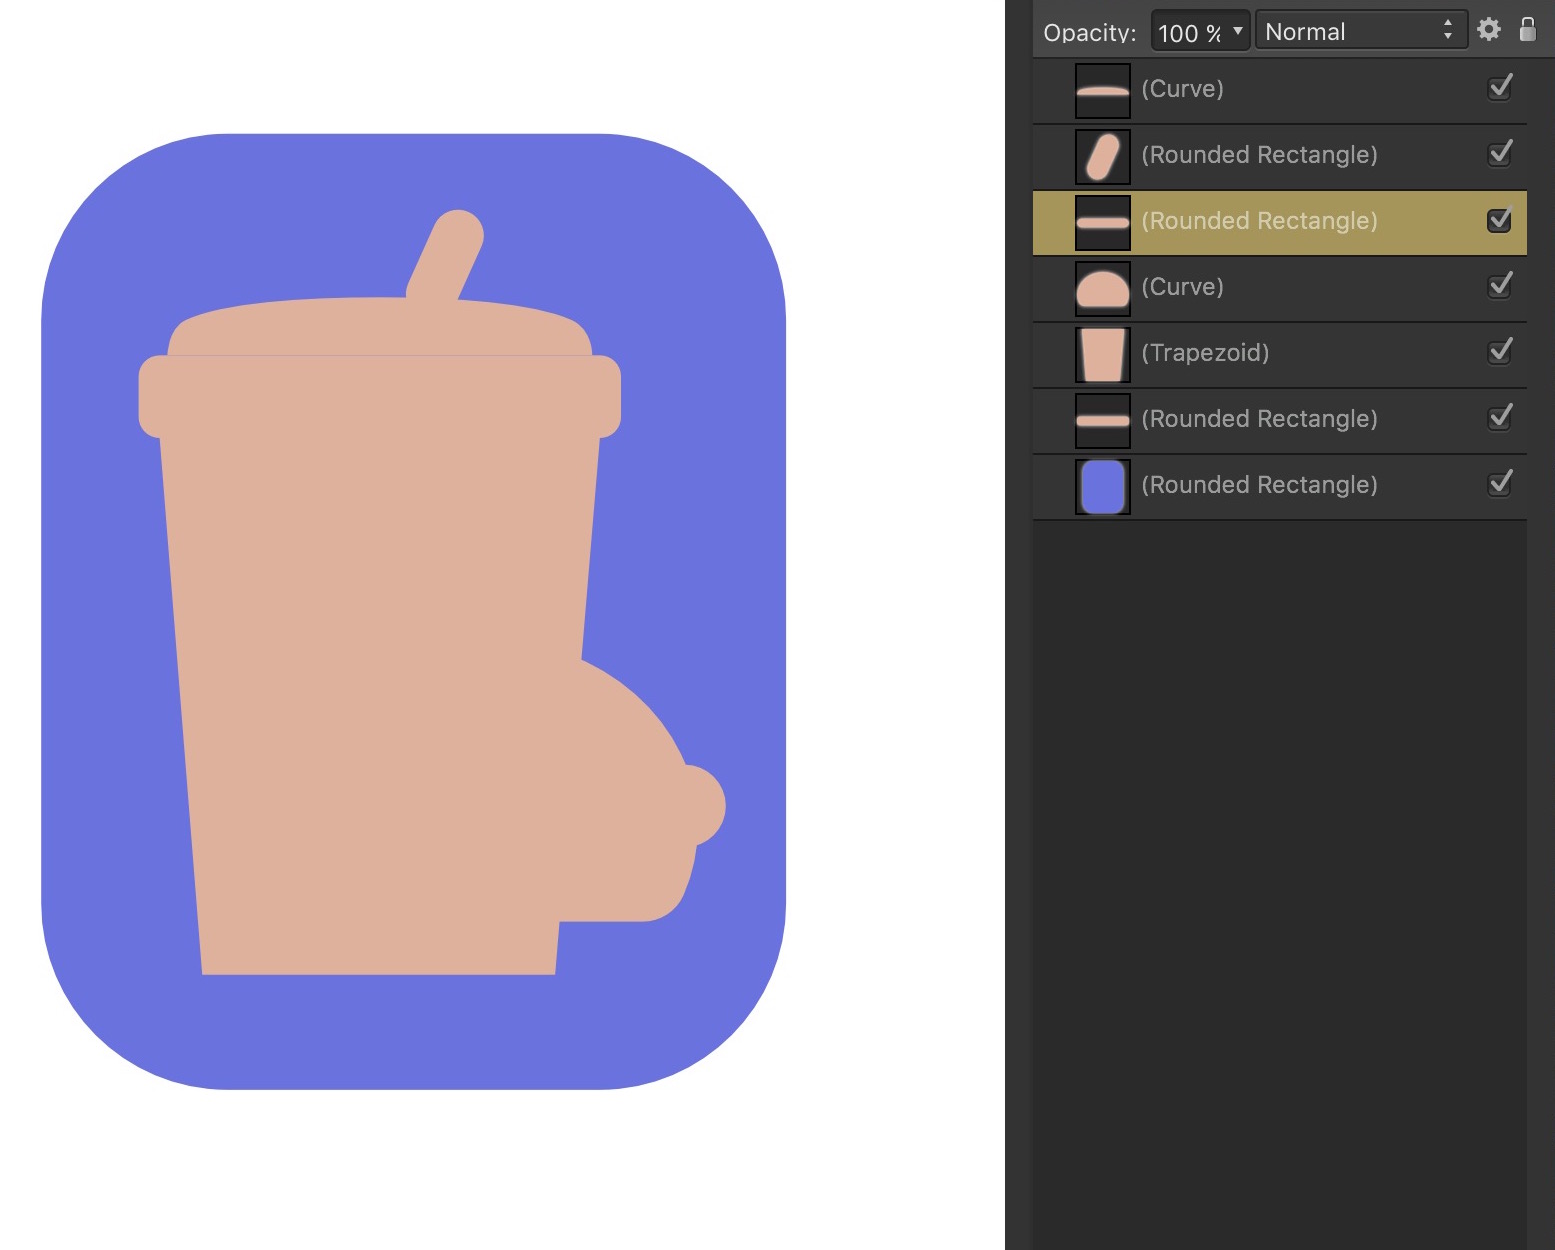
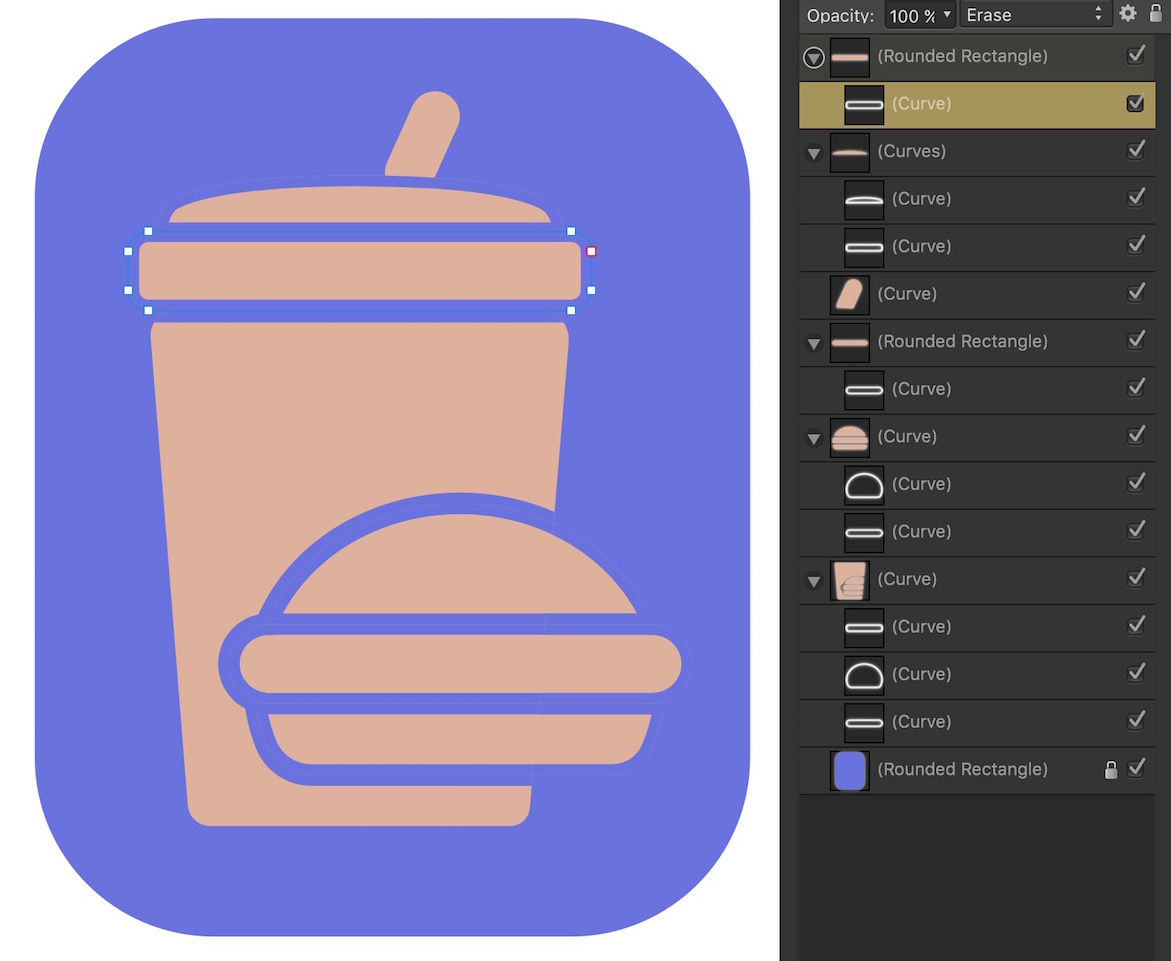
Here's an approach I came up w. There are some tweaks still needed for the final image, as there are some "ghost" lines, but the process works tho' somewhat tedious. It relies on the "erase" blend mode. I used several shape tools, and turned some to curves to adjust the shape. I then duplicated all of them. I removed the fill from those, and added a 10 pt. stroke. Then I made the blend mode erase. At that point I had white lines, as the erase effect goes all the way to the background. So I had to nest several copies within each of the primary shapes. Not an elegant procedure, I'm sure there are better methods. But the level of erase can be adjusted w. the opacity modification and transparency tool, leading to interesting fade effects.
-
But to generalize: What about evenly spaced question marks?
-
affinity photo Compositing easy and funny in Affinity Photo
gdenby replied to Richard622's topic in Share your work
Fun image. It is delightful when the software encourages play. -
I think the basic reason you got a pixelization is that the image is too small. Too few pixels to begin. And it had lots of .jpg artifacts. I don't know how to resample the image w. AD. I would suppose AP would do that. I tried some medium sized images, about 500 px on a side. Had similar results. Resampled them in GIMP to about 1800 px. After using threshold on the placed resampled image, I had much less pixeliness. Worked better if I placed them rather small, applied the threshold adjustment, and then scaled them up. Got smoother blobs. Oh, and I was using the luminosity blend mode for the threshold adjustment. You might also try posterizing to 2 - 4 levels, and then adding B& W adjustment. That way some of the similar color contours in the original pic might be preserved.
-
To date, AD requires on to do this semi-manually. Here is a method I'd use, tho it can be somewhat clumsy. Make sure snapping is turned on. Select the polygon tool, and set the number of sides equal to the number of triangles you want. The number of sides above 48 has to be entered by hand in the number box, not selected w. the slider. Select a center point, and constrain the polygon for proportion and center while drawing it to the size you want. Copy the poly, and scale it up to where you want it. For triangles, which are default drawn w. the bottom side horizontal, the polygon will need to be rotated around its own center to bring a facet to horizontal. Draw the 1st triangle over the horizontal facet of the poly. Now move the center of rotation of the triangle till it snaps at the center of the poly. Duplicate the triangle (Edit menu, duplicate.) Now rotate the duplicate the required number of degrees by manipulating the rotation handle. I.E. 60 degrees for 6, 5 degrees for 72. The is where it can be awkward, doing it manually. When I've tried doing it from the transform dialogue, the triangle rotates around the center of its bounding box, not the rotational center. Then continue using the duplicate command repeatedly which will then continue adding more triangles and rotating them around the center of the poly. Delete one of the polys, and draw a circle from the origin of the remaining poly. Repeat so the triangles are within the ring. Or just use the donut tool. One reason many folks are waiting for a blend tool is that one can just select a circle, draw a triangle on it, and enter the number of duplicates to be made, assuming there is an option for "blend along line."
-
Different monitors have different color gamuts. Really high end ones display most of the visible spectrum. Low end ones, down around 80% of sRGB, which is lesser than Adobe RGB. And they tend to have different biases. Some are more green than others. Back when I started doing CG, less expensive monitors tended to be rather blue, just because the blue phosphor was cheaper, and the image would be brighter, but color shifted. 2 things to consider. Most human light receptors are not for color, but B&W. If the composition works in B&W, it will probably work in color, tho' humans perceive different colors as having different luminosities, so saturated blues appear darker than saturated yellows. That warps perception a bit. Humans tend to auto balance color gamuts. Otherwise traditional paintings, and most printed material would look quite unnatural. If the image has a reasonable color balance, people tend to interpret the color space as spanning the spectrum. Also, most contemporary computer displays are more similar than various inks and dyes used in prints. Transferring a monitor image to paper can lead to completely strange results.
-
Also, hello jeffwllms, I think it is a reasonable supposition that AP will be better for painting than AD, just like AP is better than AI. And the Adobe product are pretty much the standard because some of what they do was 1st done by them decades ago. (Personal opinion, I think Corel Painters is a better imitation of traditional media) The thing I like about AD is how one can use both vector and pixels resources in the same package. I've only begun to use the pixel capabilities in the past few weeks. They are well beyond basic, and when used within precision vector objects which have vector masks, all of which can be reshaped, and have various blends and opacities, I'm getting some very interesting results. Very innovative. I expect the Affinity apps may break some new ground of their own.
-
I'm a little unclear about your questions. Assuming you are using Designer, the Selection brush only works on pixels when in the Pixel persona . Its snapping capabilities are to pixel color boundaries. The magnet button is not part of its operation. The magnet button turns on or off snapping for vector objects in the Draw persona. Maybe take some time, and watch the online videos. I have been doing computer graphics for decades, and while I'm pretty familiar with general operations, every application will have lots of specific ways of doing many things.
-
affinity designer Retrocomputer - My first steps in Designer
gdenby replied to Cartman's topic in Share your work
"DOT MATRIX WITH STEREO SOUND" Clearly a vision from the future... err, wait... Splendid work. -
Creating Styles
gdenby replied to FMA's topic in Pre-V2 Archive of Affinity on Desktop Questions (macOS and Windows)
Make an object w. a fill. Make sure it is selected. Click on the gradient fill tool. Open up the "type" list, and choose bitmap. Find the image you want to use, and select it. Then use Add style from selection. I think the crucial step is using the gradient tool to link to the image. In most cases, the "Make style from selection is after fills and blend modes are used w/o using the gradient tool. -
New user basic questions
gdenby replied to EWH's topic in Pre-V2 Archive of Affinity on Desktop Questions (macOS and Windows)
There have been a couple of earlier threads about upgrading from the Apple Store. I only use one computer, but the instructions that worked were: Move older version to trash. Empty trash. Login to A. store account and download current version. Open. I have to admit, I'm always antsy about trashing anything. But it worked. So now I have the 1.5.4 AD from the store, and the 1.5.5 beta is recognized as the default app for opening files. -
affinity designer modular watercraft illustration
gdenby replied to Michelangelo_'s topic in Share your work
The straps that hold circle seat, tho' a small thing, are completely convincing. And the black tubes shown inside the one red pontoon cut away are very subtle. I'd love to see just the outlines to get an idea of the various vectors that make them. -
If you bought Affinity Designer, Goto: affinity.serif.com/en-us/designer/workbook/ It is a good basic reference, and mostly lots of hands on tutorials. Don't miss the video tutes online, also. They go by quickly, and you might want to take notes.
-
Optional for the fun of it