Timbo59
-
Posts
7 -
Joined
-
Last visited
-
I think I have found the answer to this... The document in the illustration being slices was a jpeg. The original document I used to obtain slices (before the upgrade to 1.7.2) was an .eps. Each object on the .eps had been drawn as an individual component and was therefore easy to export as slices. A jpeg could just be cropped to achieve a similar result. Sorry for the bum steer.
-
 carl123 reacted to a post in a topic:
Slice Tool no creating a slice
carl123 reacted to a post in a topic:
Slice Tool no creating a slice
-
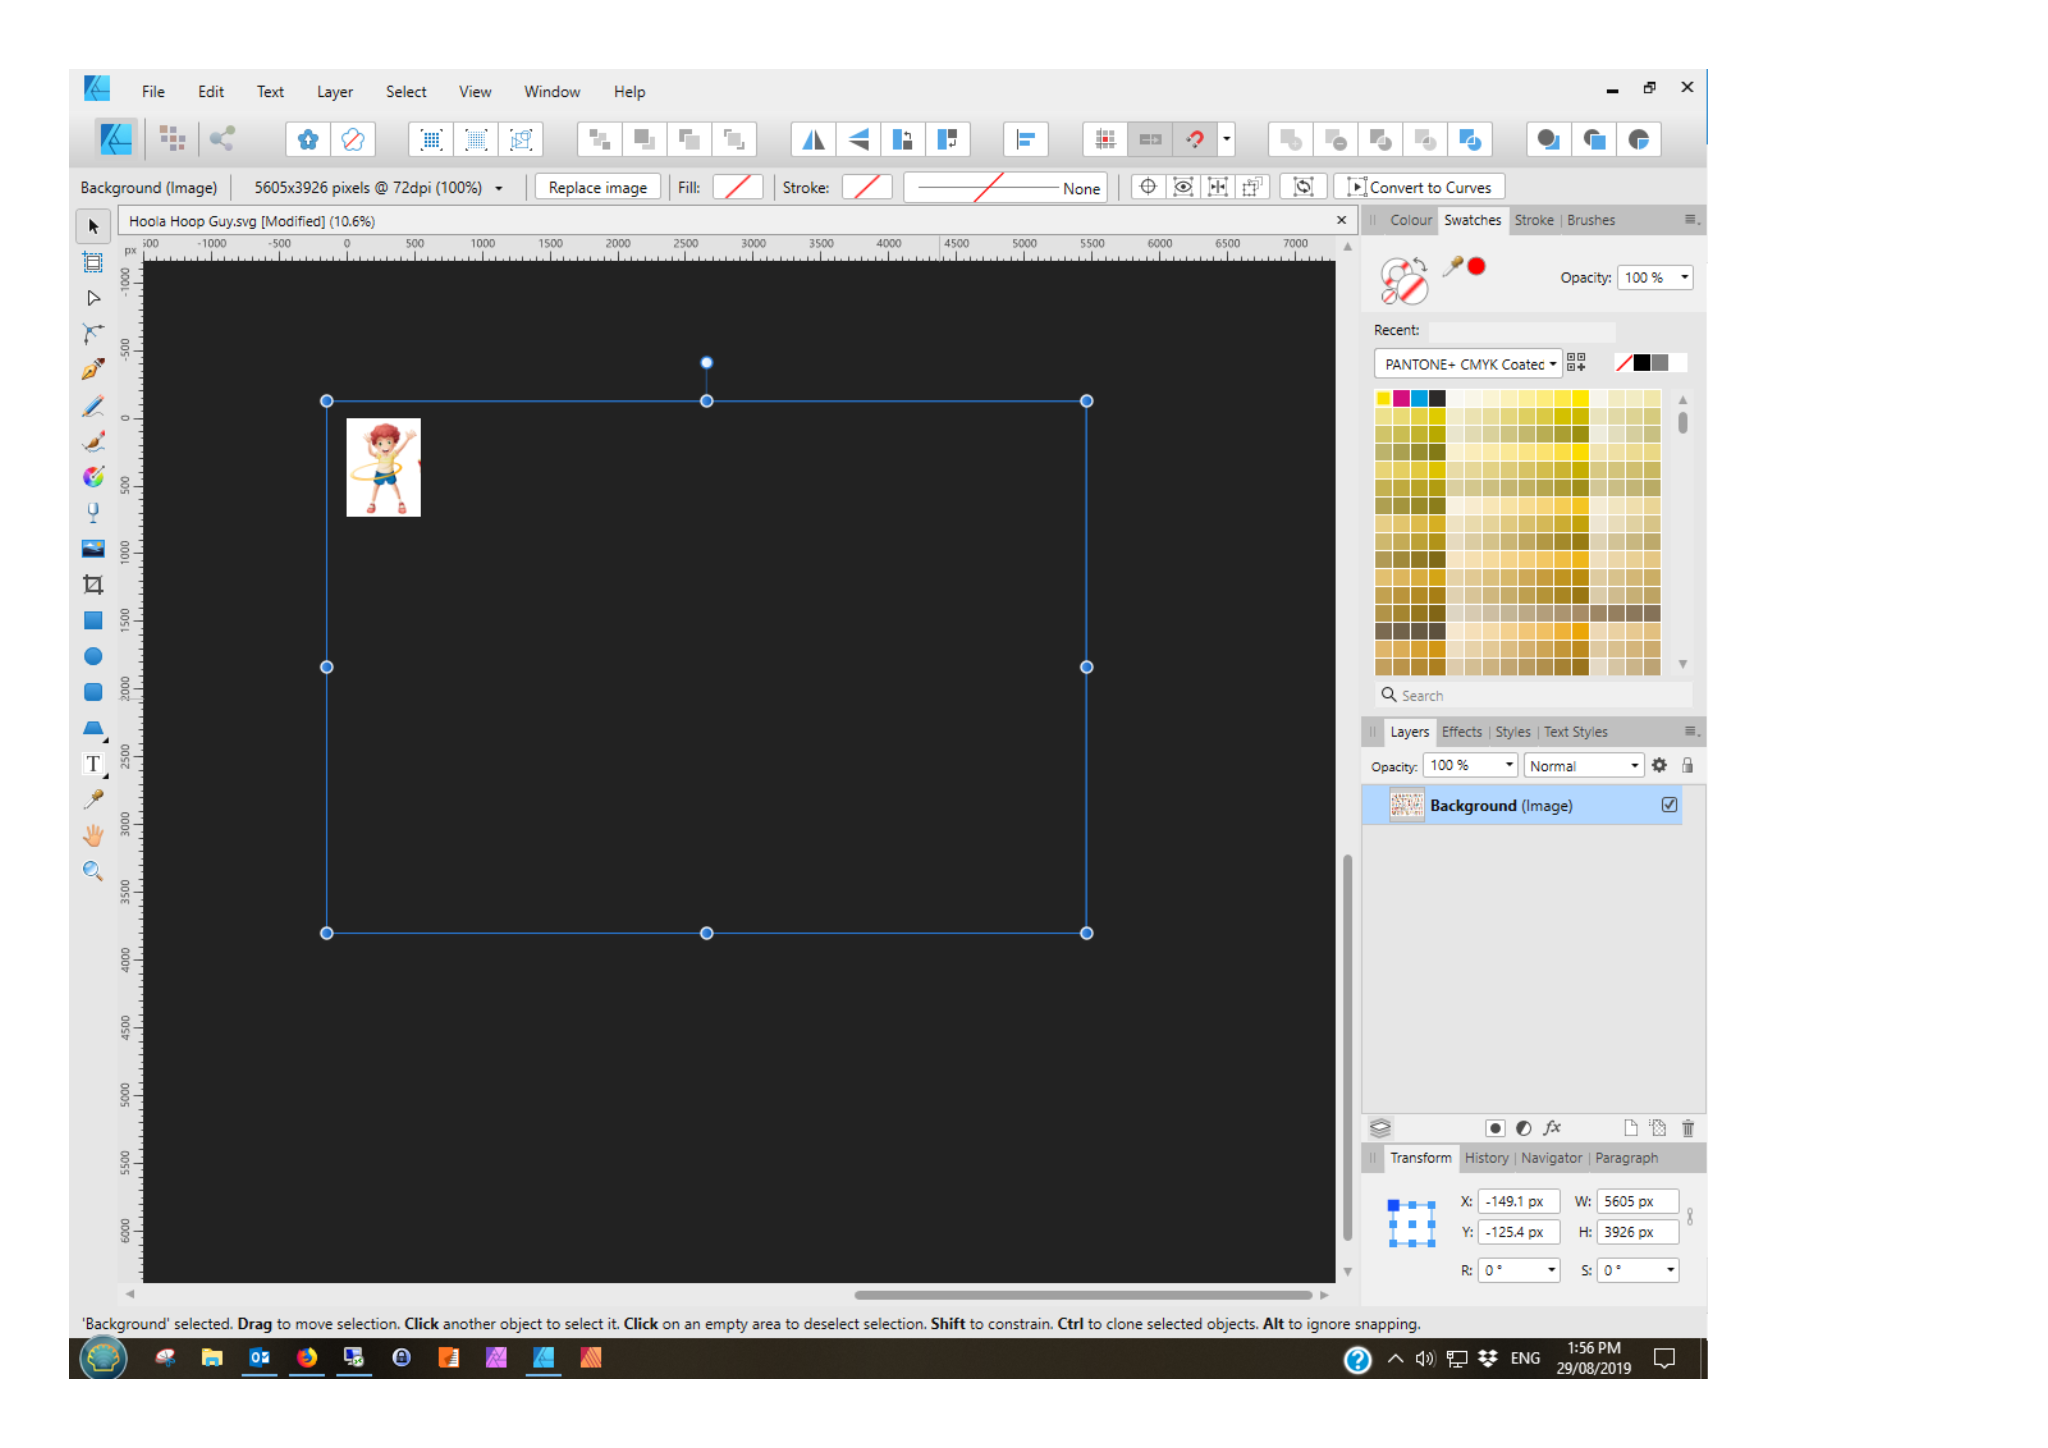
When using the slice tool in Photo to export an .svg (for print) the slice export appears to export normally, however, when that slice is then opened in Affinity Designer, the slice shows but the rest of the document from whence the slice came from is sitting in the clipboard area. Not really a slice, is it. When I move the image around, I see other objects from the original file displayed on the page. A similar thing happens when I import the slice into Affinity Publisher. This has worked before and only seems to have started (not creating proper slices) since the update to 1.7.2 recently. Attached are two files, the original slice created with Photo - Hoola Hoop Guy.svg and a screen shot of Designer showing the slice and the clipboard - slice.png. Hoola Hoop Guy.svg

-
Just had another go and the same thing happened when I entered a position value for each node, however, this time I moved each node slightly and then back again and the blending between the colours came true and worked correctly. I am assuming this is a rendering issue and it may just be confined to my laptop. Unless someone else has the same issue, I will assume its my problem.
-
Alfred, You are correct about the midpoint bars, however when following the tutorial none of the midpoints were changed, so I didn't change them. After I had completed the tutorial and things didn't look right, I tried altering the midpoint bars but got exactly the same results. As I have said, this only occurs if you place a copied node onto the gradient line and then type in its value. If you drag it manually with the mouse, the blend between two colours is shown correctly.
-
Affinity Designer for Windows v1.5.0.5 Guys, Sorry to mess you around but I have just answered my own query. The gradient can be reproduced but only if you copy nodes and move them into position along the gradient line using the mouse. If you type in the values, you don't get the blending between colours. Go figure.
-
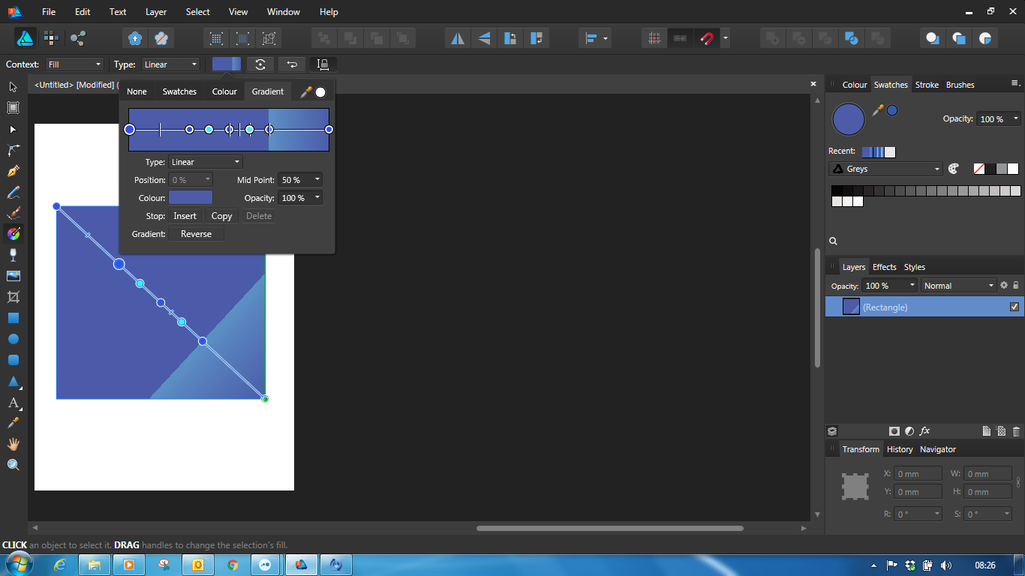
Affinity Designer for Windows v1.5.0.5 I have tried to follow the Complex Gradients Tutorial pausing the video at every step and following it to the letter, however the gradient shown in the video cannot be achieved in the Windows version of Affinity Designer, unless I am doing something wrong. I have tried to replicate the video at least four times but each time I get the same results. There is just no gradual grading between the nodes. Attached is a screen shot of the finished result.
-
Guys, Has anyone experienced a crash when using the swatches palette? I have had it occur twice, once when I tried to change the fill of an object and the second time when I tried to change the stroke colour of the same object. I had changed from greys to colour and selected a colour from the palette and nothing happened so upon a second click, the crash occurred. Just tried it again so I could post the screen shot with the error message but, in the mean time I had upgraded to v1.5.0.5 and it doesn't do it anymore. Must have been reported before and now fixed. If that's the case, well done Serif.