

JenM
-
Posts
24 -
Joined
-
Last visited
Posts posted by JenM
-
-
Hi Sagan - The easiest way I've found to locate an object is to double-click directly on the little icon (picture of the object) of the applicable layer. Be sure you have a check-mark in the "visibility box" on the right hand side of the layer. Clicking on the layer icon changes the view to zoom right in on that particular object and then if you zoom out a little everything is right there.
Hope this helps, there's nothing worse then being frustrated with new software!!! 🙂 Jen
I have some YT tutorials and a Skillshare course on Affinity Designer.
This link allow you to watch the course for free: https://skl.sh/32qtnRt
YouTube tutorials for Affinity Designer: http://www.youtube.com/channel/UCU_Y96iOVu_M-f1xWDEN2TA
-
Hi. I was wondering if anyone else has seen this in the new version.
 The buttons on the context toolbar are blurry instead of nice and crisp. The persona buttons are affected too. I tried both of my monitors and the outcome was the same. Anyone have any ideas about a fix??
Thanks Jen
-
Great illustration.
-
Hi. Hope you're having a great day. I finally finished this video!! Wow! I doidn't realize it's been two weeks since my last visit. I've added a bit of fun to what can be a typically boring tutorial. Please let me know what you think. Thanks so much for watching and don't forget to subscribe to my channel for more Affinity Designer tutorials!!
-
Great tutorial! Thanks. :-)
-
Congrats on your milestone !! Woo-Hoo!
Glad I found your channel - just subscribed.
There is so much to learn in photoshop. Right now, I'm having fun with Designer.
I'm building my tutorial library!! See my YT channel:
www.youtube.com/channel/UCU_Y96iOVu_M-f1xWDEN2TA
Looking forward to your next video. :-) Jen
-
Hi everyone,
I'm changing up my YouTube Affinity Designer tutorials! Check this one out and tell me what you think.
I'd love to hear your feedback. Thanks so much. Jen
- GarryP and Patrick Connor
-
 2
2
-
This is GREAT!
Thanks for taking the time to give them all names and the marker numbers too.
-
Awesome! Thank you so much :-)
-
Hi -
I added this video to my YouTube channel the other day and thought I would share here with all of you too! :-) A friend of mine asked me to create this video because he purchased some info-graphics on the internet but couldn't figure out how to separate them into different files.
In this video I go over how to use the Export Persona in Affinity Designer and Affinity Photo to capture and save specific portions of your images, designs, and illustrations. I show you how to do this in the four most common file formats: JPEG, PNG, EPS, and PDF. It's a simple way to breakout portions of an illustration or design and export just the portion you want - even if the objects are on separate layers within the project. So, if you've captured something from the internet, bought something from a designer, or even photographed something you wanted to use in your art, this video will show you how to quickly capture just the parts you want and save/export them for use in another program, project or design. Thanks so much for watching. Happy Creating. Jen
-
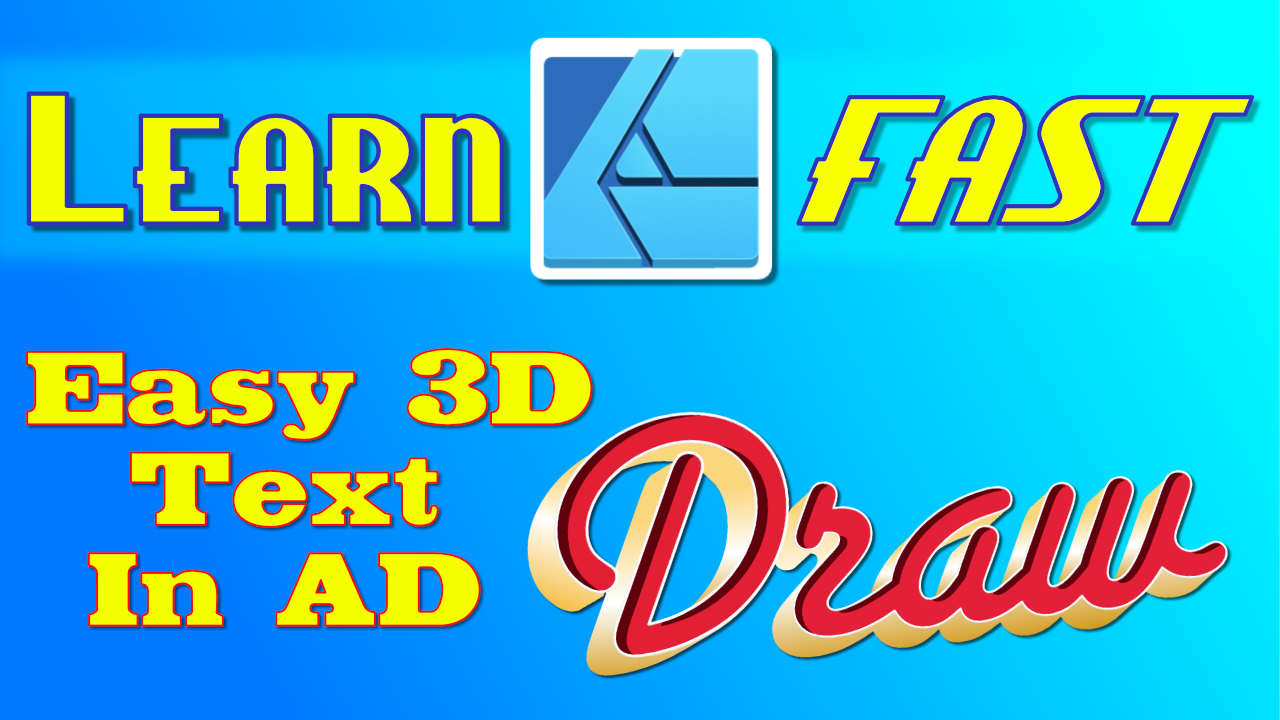
This video is an excerpt from my -soon to be launched- "Learn Affinity Designer Fast" e-course. The most complete and comprehensive course on Affinity Designer.
In this video I'll show you how to customize the object defaults, which allows you to set the fill color, gradient, opacity and noise values. You can also set all of the variables for the stroke, including color, gradient, opacity, noise, style, width, cap, join, alignment, draw behind, scale with object, and pressure curve values. This includes using a brush stroke!
Being able to set the defaults for your objects whether it is just for that document or globally for future documents, is a great time saver. Your workflow will be come more efficient and your creative juices can flow freely without getting bogged down in the details. Setting defaults is a great web design tool for all you app creators out there.
Enjoy and happy creating!
Jen
-
In this video, I show you how to create a simple dot pattern using ellipses. Using the alignment tools and snapping feature, it’s very easy to set up a pattern. Once your pattern is ready, it’s a simple matter of using the copy and paste functions to create multiples and keep them aligned perfectly. You’ll learn how to move, align, flip, and rotate objects using keyboard shortcuts and menu options.
If all this is too much right now, jump over to my website: www.jencodesigns.com and you can purchase the original Affinity Designer file from my Comic Text video that includes the dot pattern asset I used, the color palette, and all of the illustration layers, objects etc.
Don’t forget to SUBSCRIBE to my channel - It really does make a difference.
Thanks for watching and Happy Creating. Jen
-
I'm in !! Sounds like a fun way to practice my Designer skills!!
LOL, Jen
-
This looks awesome!
You could always add some effects or shadows to some of the text that would accent it - so it's not all the same.
Great job! Keep up the good work :-) Jen
-
The Secret to Sexy Curves is a 19 minute video about how to use the pen tool in Affinity Designer. I share the secrets to a perfect sexy curve and together we cover everything you need to know to successfully use the pen tool to create your own sexy curves. This is a great video for both beginners and intermediate users.
You’ll learn how to join lines, add and delete nodes, determine the perfect placement for a node, and how to use and adjust the control handles. I’ll show you the shortcuts to moving in and around your artwork, and we’ll even set your mouse up to zoom in and out as you work with the pen tool. In no time at all you’ll be an expert user of the move, node, pen, and view tools.
Join me in exploring the versatility of using the pen tool for all types of drawings: perspective, graphic designs, illustrations, fantasy, manga, cartoons, silhouettes, and literally anything you can trace with the pen tool. Using the pen tool is considered a core skill in creating digital media. Take your time, practice, and you’ll find it becomes easier every day.
I’ve had a great time creating this video for you. If you like it - if you learned something - please show a bit of appreciation by subscribing to my channel. It really does make a difference. Feel free to leave comments, suggestions for future videos, and don’t be shy; go ahead and share your art with us. :-)
Thanks for watching, & Happy Creating. Jen
Timelapse segment begins at 15:00
Final summary & and complete illustration starts at 17:30- Patrick Connor, LaLaLa, pioneer and 3 others
-
6
-
This short video is about how to create offset paths in Affinity Designer. Offset paths are a powerful tool that designers use to create exact duplicates of a vector object shape and then use these duplicate as individual vector objects. With the ability to create an exact size for your offset, you've have a powerful tool to create fantastic eye catching layers in you digital art. Creating offset paths in Affinity Designer is quick and it's easy. I show you how to setup the keyboard shortcut and with one click you are ready to create offsets for any object, shape, text, or line. Offset paths are one of the secrets that designers use to create stunning computer graphics. Create your own website graphics, digital art, blog posts illustrations, instagram images, and go ahead and brag on twitter! Happy Creating :-) Jen
-
Awesome brushes. Thanks for sharing :-)
Jen
-
Hi - I'm Jen from Jenco Designs. I've been a member for awhile, just wanted to re-introduce myself. I've started creating video tutorial for Affinity Designer.
I'm having a blast discovering the ins-and-outs of Affinity Designer and Photo. I'll be making lots of tutorials to share what I've learned.
For me it's all about learning, sharing, growing, and havin' fun! Jen :-)
-
Hi -
I've been a member of this forum for quite a wile and I always find worthwhile content, and open sharing of ideas, and everyone helping each find solutions to issues. I started my YouTube channel "Jenco Designs" about a year ago and have posted 10 beginner tutorials for Affinity Designer. I love working with AD and have a blast making these videos!
If there is something you'd like a video about, leave a comment and I'll do my best to address it. I appreciate your comments and suggestions. My goal is to help everyone have as much fun as I have working with the Affinity programs. :-) Jen
Here's my latest video.
-
-
Hi -
I've got AD (ver 1.5.5) on a macbook pro and am trying to create a compound object using the geometry tools and holding down the option key while selecting the objects. It works using the Shift key (to do destructive changes) but not when I use the option key to create a compound object. I can hold OPT key down and select top layer, but when I try to select the lower layer, it just selects the lower layer and doesn't keep the top layer selected.
Anybody have an idea how to fix this ??
Thanks in advance, your help is greatly appreciated. :-) Jen
-
Thanks for sharing all your good stuff and making it easier to find. :-)
-
These look AWESOME ! Just in time for spring !! Thanks so much. :-)


Export all artboards using export persona on Affinity Designer
in Pre-V2 Archive of Affinity on Desktop Questions (macOS and Windows)
Posted
Hi Serge - Yes you can export all of them at one time using the Export Persona. If you want separate files - one for each artboard, select multiple layers by selecting one, holding down the shift key and select the last one, or holding down the command key to select multiple files that are not next to each other. Once you have them selected, select "Create Slice". Then go the the "Slices" tab and your individual slices should be there. Use the same shortcuts to select them, then select "Export Slices". If you want all of your artboards together in one file, you can just use the Export function from the top menu bar, select File, then Export. Happy Creating! 🙂 Jen
I have some YT tutorials and a Skillshare course on Affinity Designer.
This link allows you to watch the course for free: https://skl.sh/32qtnRt
YouTube tutorials for Affinity Designer: http://www.youtube.com/channel/UCU_Y96iOVu_M-f1xWDEN2TA