

jwst
-
Posts
22 -
Joined
-
Last visited
Posts posted by jwst
-
-
Publisher 2 on Windows 10
1. Place a PDF in the document so it is embedded
2. Save the document.
3. Check that File -> Save is greyed out in the menu
4. Double click the embedded PDF and make a change to the PDF, and then close the PDF edit window
5. The document shows the changed PDF
6. The File -> Save is still greyed out in the menu
7. Export or print the document to show that the changed PDF is changed in the export or print.
8. Close the document. Publisher does not prompt to save it.
9. Re-open the Publisher document to verify that the change to the PDF was lost, and not saved.
-
-
Wow! I have access to an old iPhone and I opened "PDF Export.pdf" from my post above in the iPhone and YES it has the transparency effect.
On my Android phone, opening with MS Office - no transparency effect, just the rectangular image.
So Apple Yes. Windows, Android No. If I have time, I'll try it on Linux later today.
-
Well, yes, your pictures all have the transparency effect.
When I open the file attachment from my post "PDF Export.pdf" it doesn't have the transparency effect - it's simply the rectangular image. I don't normally use the standard Adobe Acrobat Reader, but it is the same in all my PDF readers, including Adobe Acrobat Reader Version 2022.003.20282. I've attached a screen clip.
I'm amazed and flabbergasted that you say that the PDF I included is "in the lower left" (on my screen it's upper left, but no worries). It does have the same text problems as my exported PDF, but it shows the transparency!!! And you say that's the actual "PDF Export.pdf" 567.23 kB that is attached to my post, which I can open from the post and it looks like the image below. I opened it in my usual PDF reader, in Adobe Acrobat Reader, and in Affinity Publisher 1 and 2 (using Open with..), and placed it in Affinity Publisher 2 (using place) and they all look the same - no transparency.
Just to check my sanity I re-exported the original Publisher file from Publisher-2, and the result was the same. For the sake of interest I opened the Publisher file with Designer 2 (open with...) and exported PDF with the same result.
But what is so amazing is that when you open the attached "PDF Export.pdf" file from the post in MacOS that it shows the transparency effect, but it does not show it from any of my PDF readers, or Affinity Publisher versions on Windows.
I hope this kind-of helps! (some different PDF library for Windows and Mac with some incompatibility with Publisher/Designer output?)

-
I did some more checking. System Memory usage after Photo 2 crashed was the same as the memory at the start of the tests (5GB)
Checking GPU:
Photo 2 defaulted to the integrated (Intel) GPU, but running the test again, GPU memory use was insignificant as Photo 2 consumed more system memory.
I changed the setting to use the dedicated (NVIDIA) GPU and likewise GPU memory usage was insignificant in the test, with zero Virtual Memory.
Photo 2 crash came after its memory usage reached 9 GB and I tried to open the next RAW image.
I set zero pagefile some time ago to improve a particular aspect of performance since 16GB physical memory was plenty. As far as I can see, allocating a pagefile would only defer the crash until the pagefile is full, as I understand it - though my understanding is probably not perfect. So I think zero pagefile means Commit Charge is all allocated into physical memory, until it runs out, which is what looks like is happening.
I have some screen dumps from Task Manager if you want them.
-
Windows 10 64 bit, Photo 2.0.0 16GB RAM
My process, recording the Memory from Task Manager after each action. This is system memory (not GPU VRAM mentioned in another topic) I did this simplified process after getting memory warnings and a crash doing real work.
(1) Drag a RAW image file onto Photo and wait for it to open
(2) Develop
(3) Export as a JPEG
(4) Close the document by clicking the MDI window close-X and choose "don't save"
Repeat until crash
The result:
Starting memory after opening Photo = 478MB
Seq (1) Dragged (2) Developed (3) Exported (4) Closed
1 2.4GB 2.14 2.25 2.13
2 3.56 3.33 3.49 3.37
3 4.43 4.27 4.46 4.34
4 5.67 5.46 5.64 5.36
5 6.68 Photo window crashed when "Develop" clicked - but Photo was still 'running' - icon in taskbar and showing in Task Manager.and errors with other open apps with error messages shown and apps became unresponsive/frozen
Task Manager showed 15.8/15.9 GB committed memory, showed Affinity Photo with 6.768 GB memory, 0 cpu, 0 disk
After ending Photo on Task Manager it showed 9.1 /15.9 GB committed memory. This seemed high compared with the memory listed for running processes. Pity Task Manager doesn't let you save its display - and my screen capture app was frozen
 Memory usage is not something I watch in my normal daily life, so I can't be certain that it is abnormally high, but it feels like it. I will check further tomorrow after rebooting, to see if memory might be leaking.
-
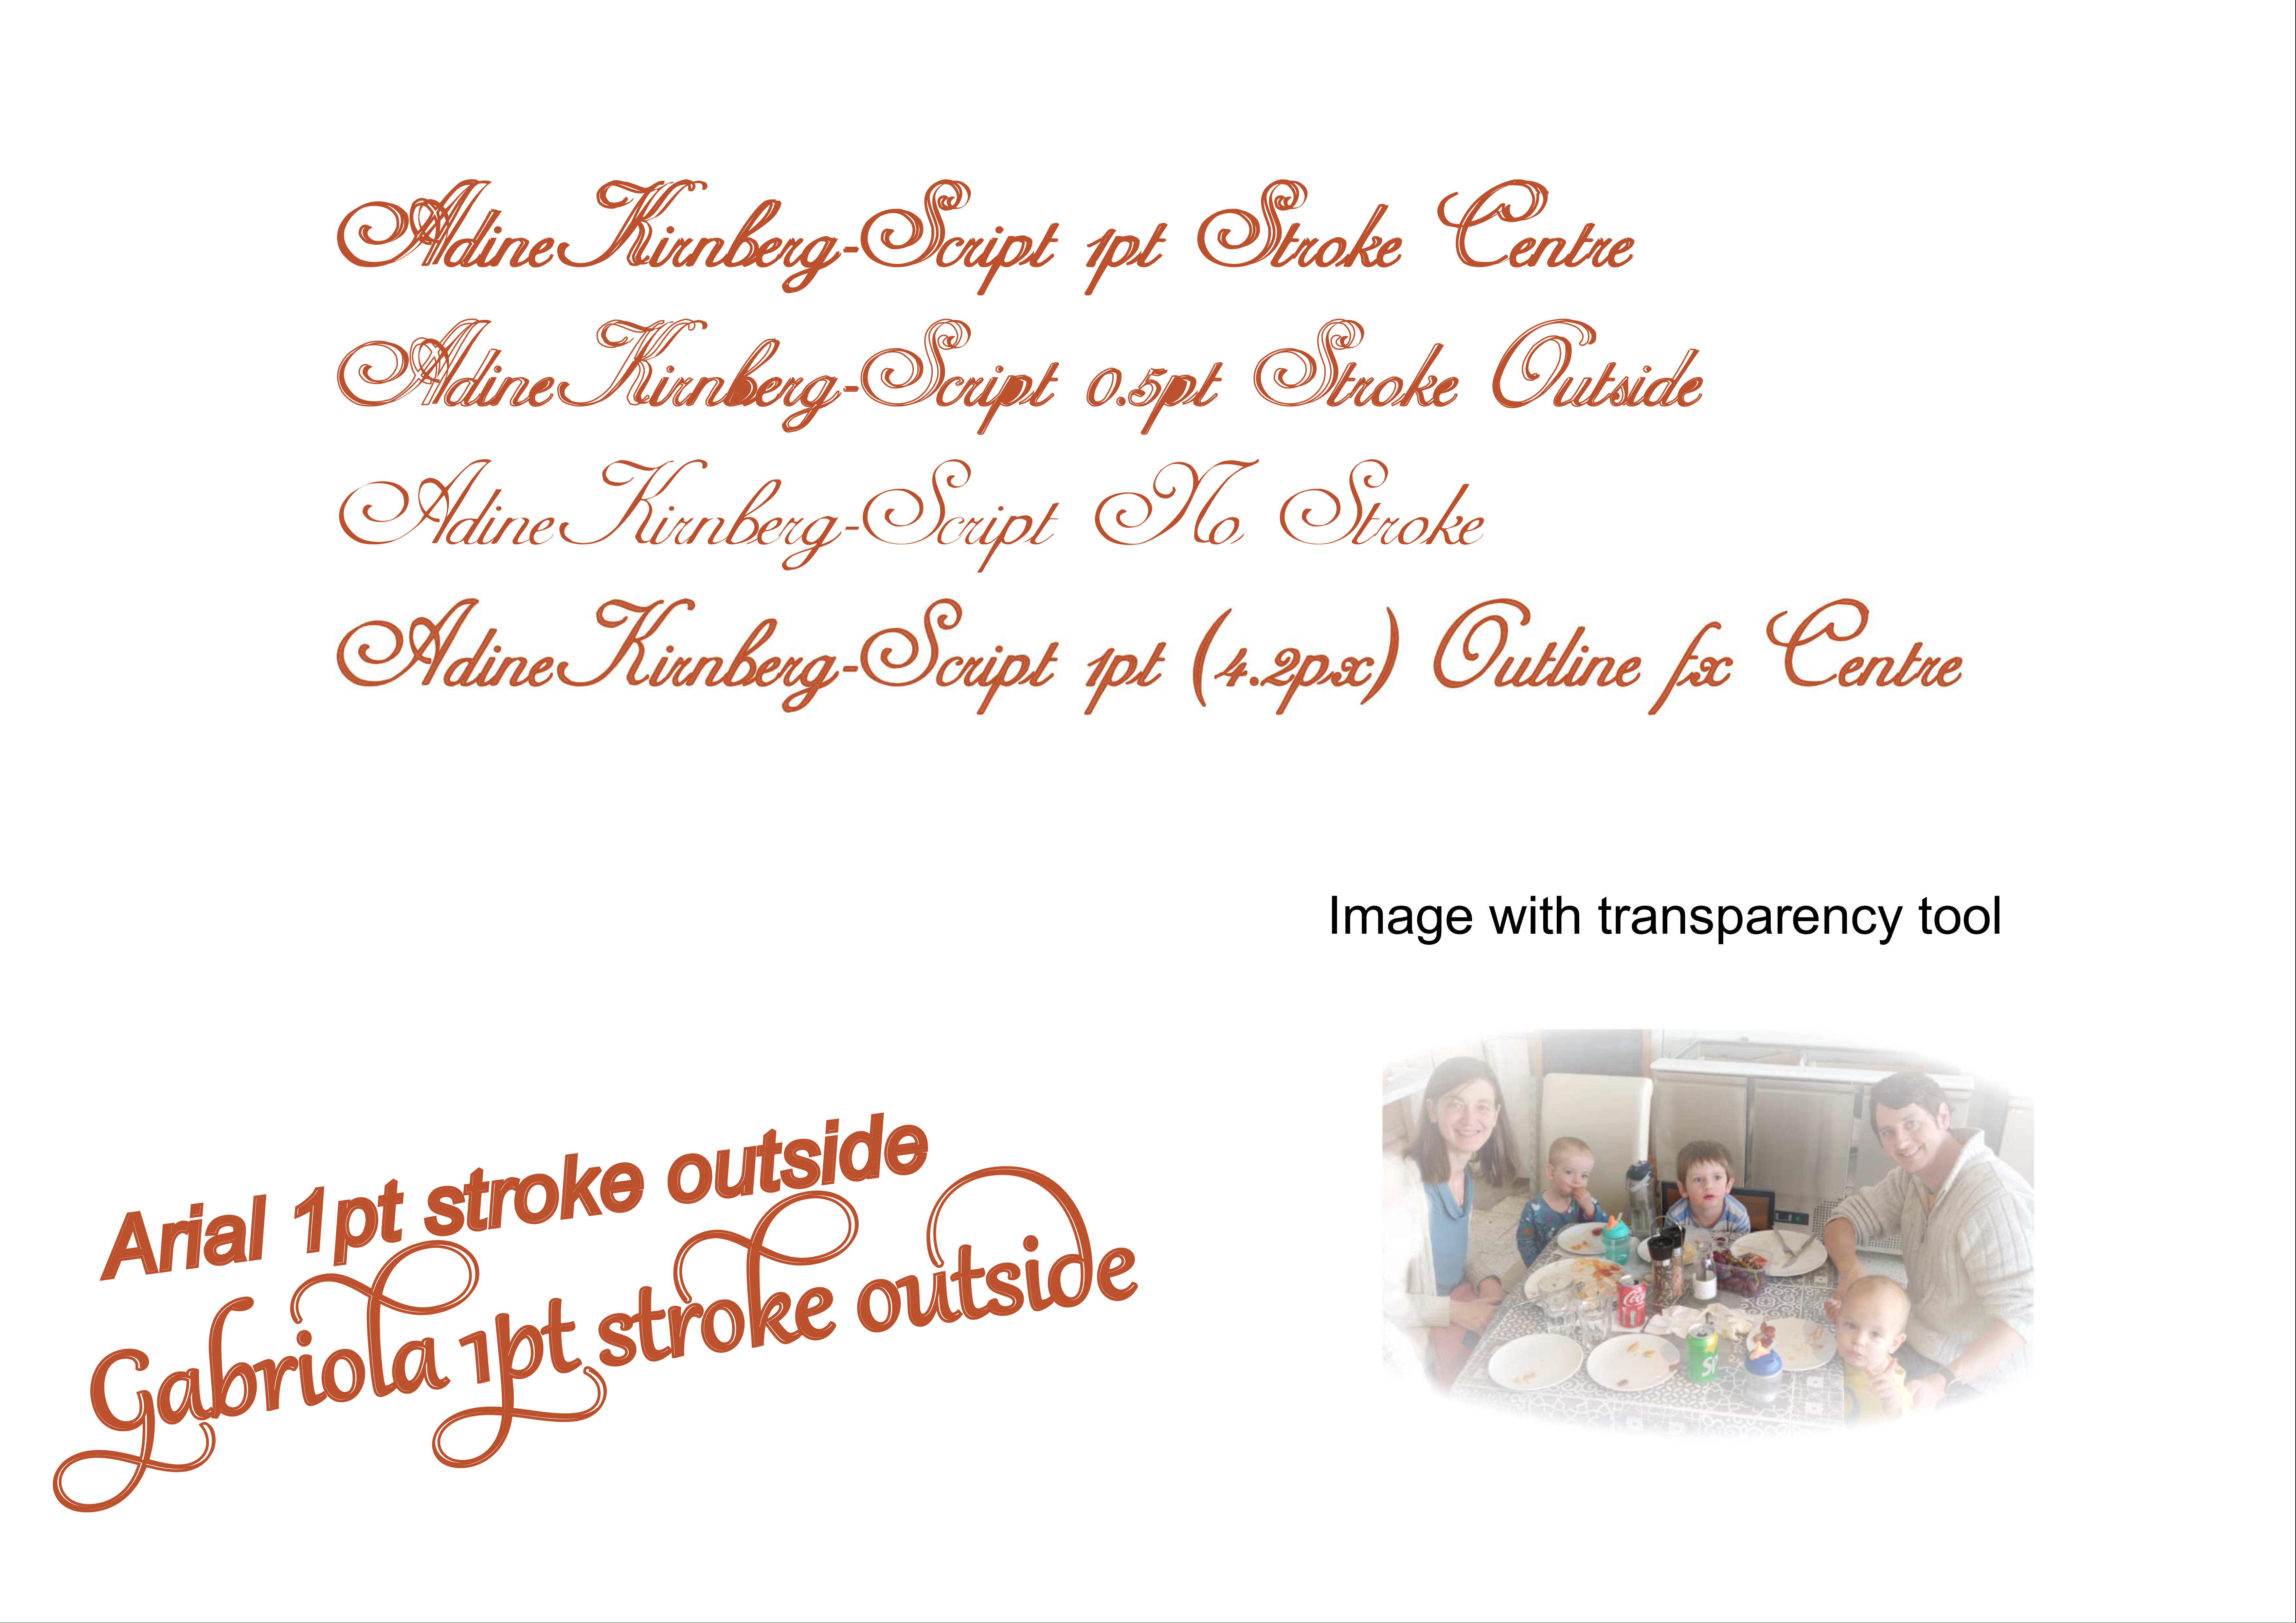
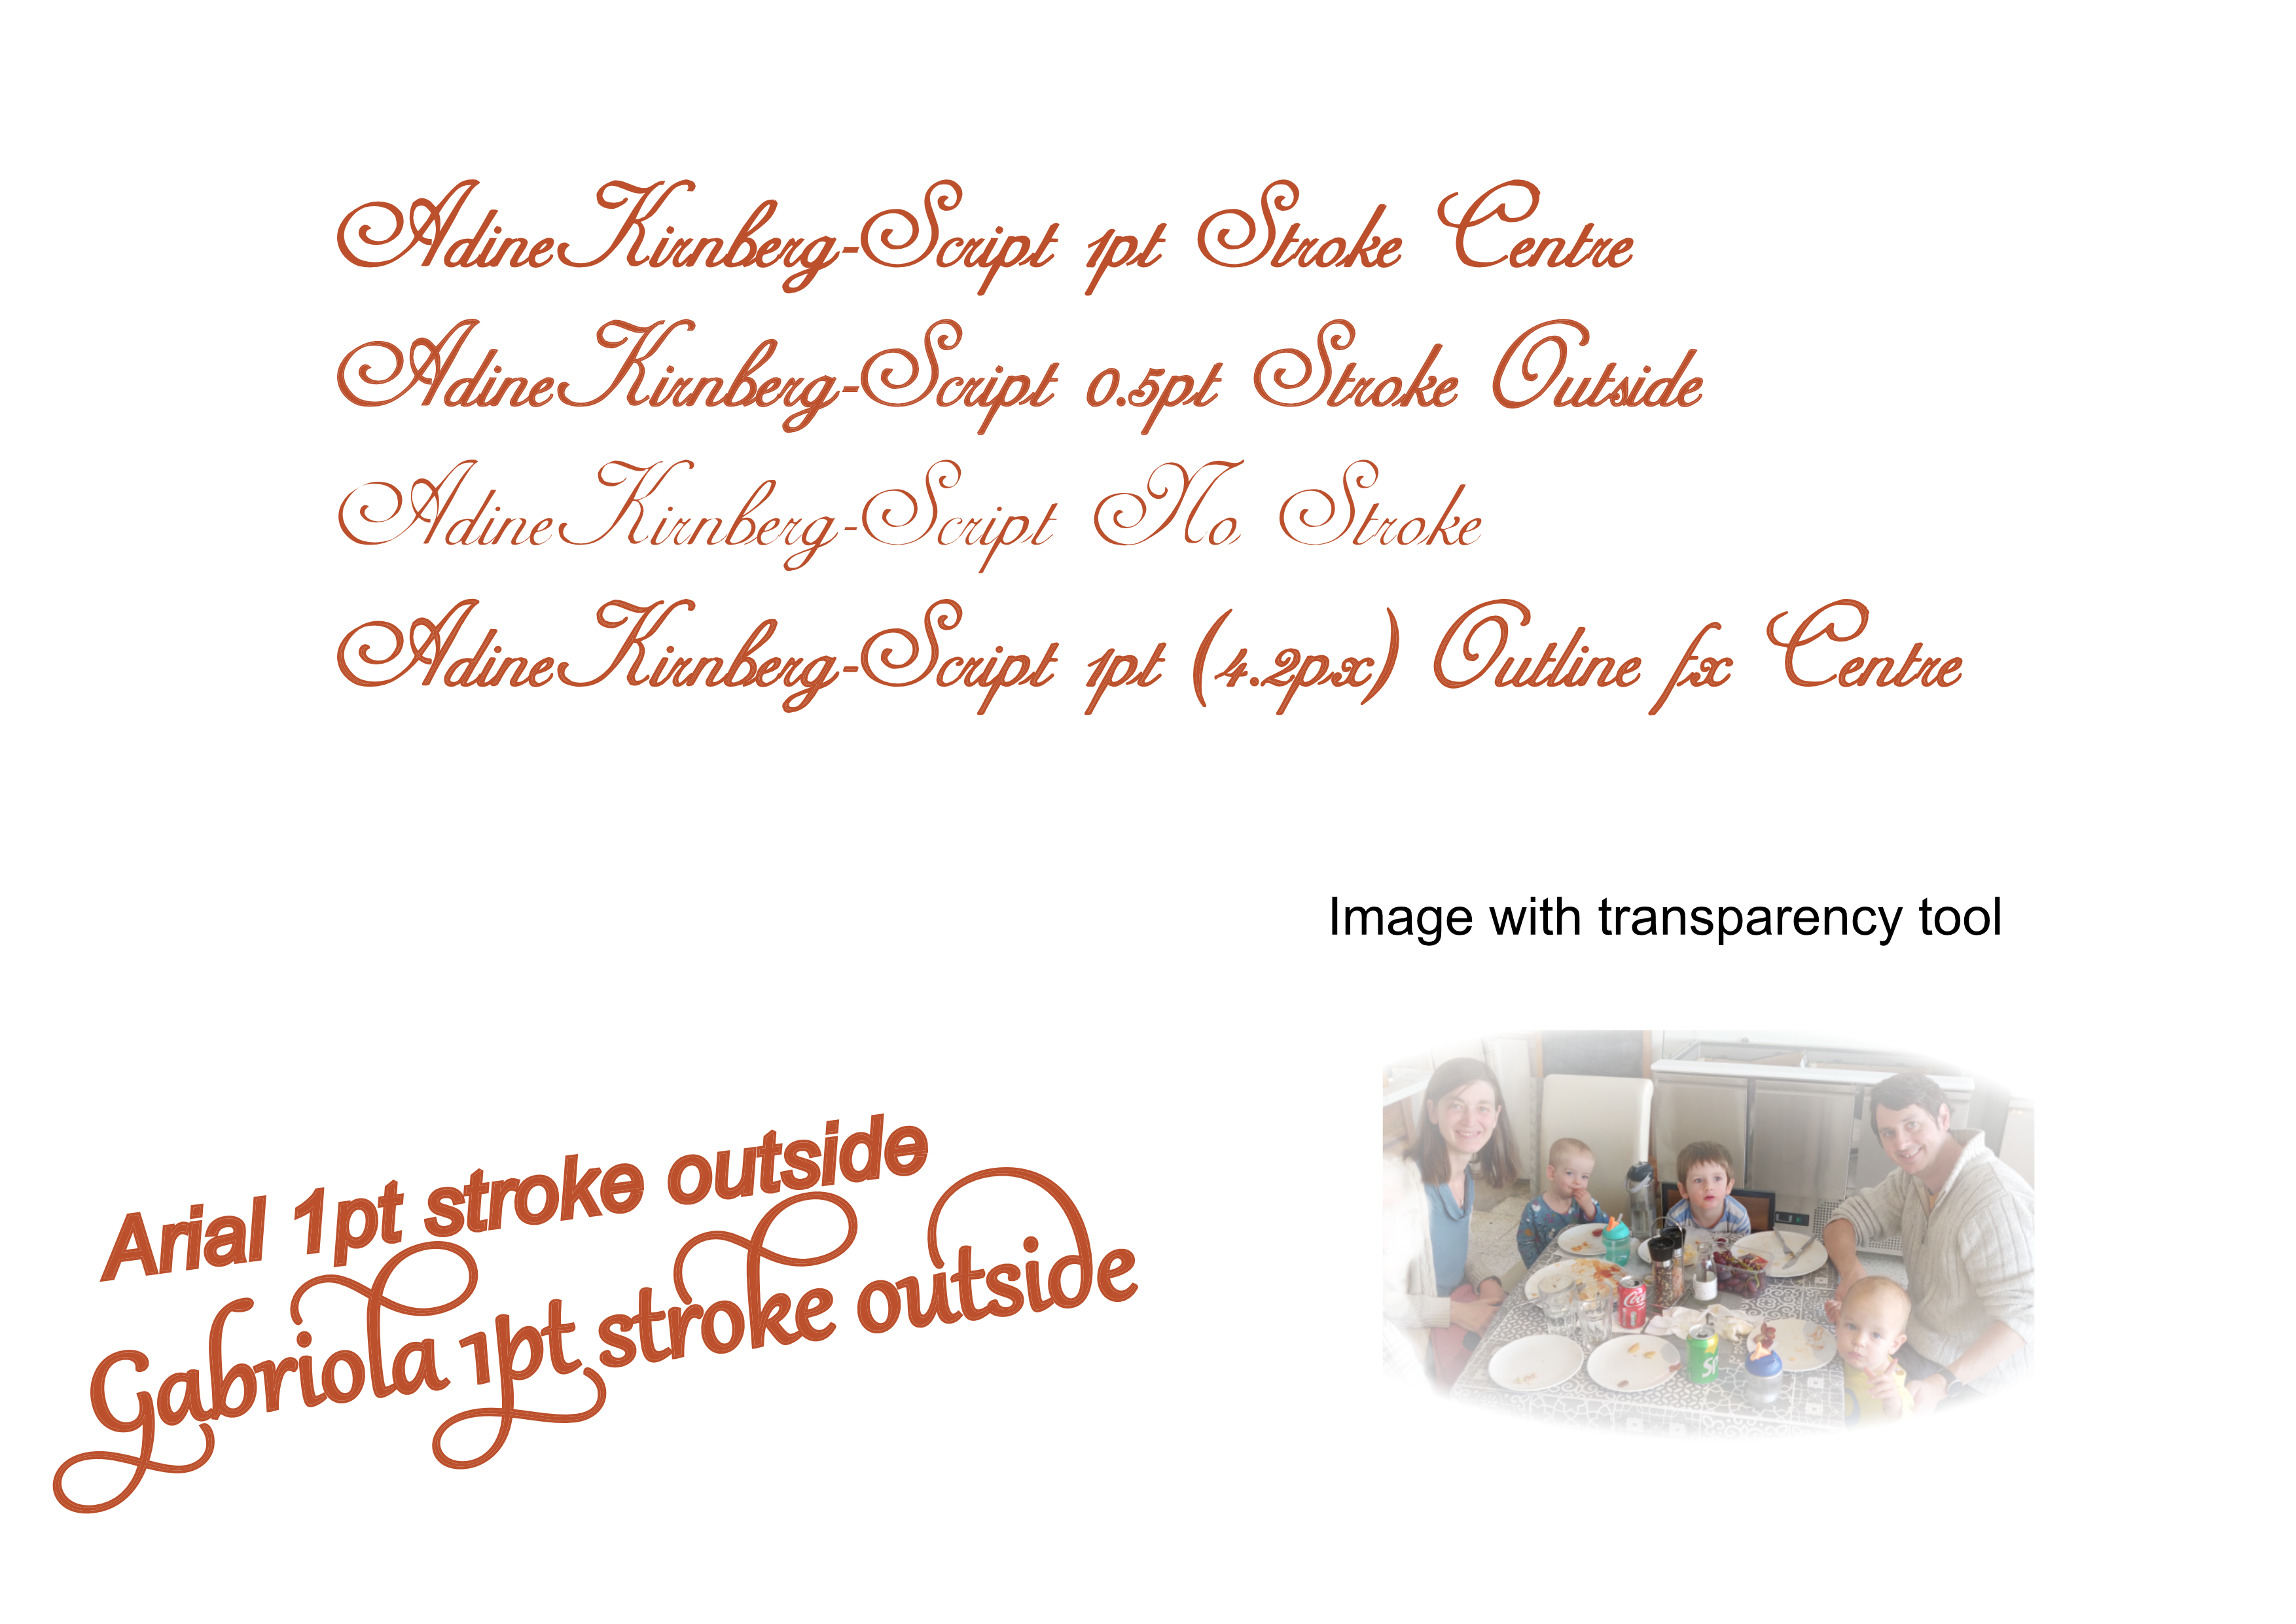
This is one of two reports for this file, so ignore the image for this report, please. Just look at the text.
Windows 10, Publisher 2.0.0, Microsoft Print to PDF, Lexmark printer with PCL and Postscript drivers.
"Stroke Centre" means stroke aligned to centre
"Stroke outside" means stroke aligned to outside
I also showed that the Layer FX "Outline Centre" prints correctlyAll the text is Artistic Text
I've attached these files:
PNG Export.png: This is correct - what it should look likePDF Export.pdf: Shows some "stroke outside" errors
Print to PDF.pdf: using Microsoft Print to PDF. Shows print output, showing the stroke rendering errors in the two script fonts. This is a correct representation of printing - I also printed from Publisher to my Lexmark printer using its PCL driver and its Postscript driver, and both prints are the same as the "Print to PDF"
Arial also shows a problem too if you magnify it. It's barely noticeable on my paper prints but under bright light it is there too with Arial. But I think this issue also shows in the PNG Export, so it might be a different issue.
Print to PDF.png: To confirm what printing looks like without having to use an app to display it.
Fonts
I've demonstrated with two script fonts, also included.AdineKirnberg.ttf was used for my daughter's wedding invitations (not by me) so I chose it for their Wedding Anniversary Card - where I discovered the problem.
Gabriola.ttf is a Microsoft font. I tested with Gabriola from a high quality source just in case the AdineKirnberg font was in some way substandard and that caused the problem.
I used basic Arial for comparison. It shows a different problem under magnification, but that also shows in the PNG export, so might be a different issue. Same faint pale line also shows in the "Outline" FX on the PNG Export
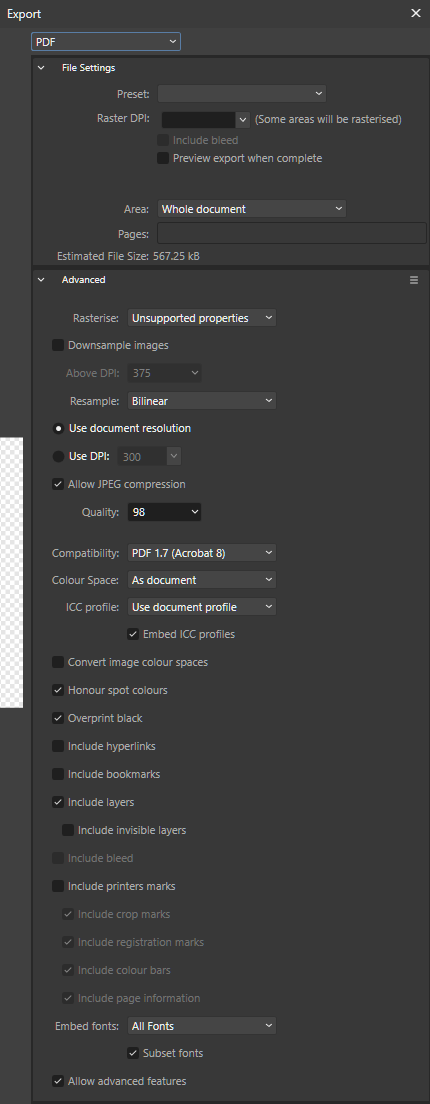
I've included the Publisher file and a screen dump of the PDF Export settings.

PDF Export.pdf Gabriola.ttf adinekir.ttf Print to PDF.pdf Print and PDF Export bugs.afpub
-
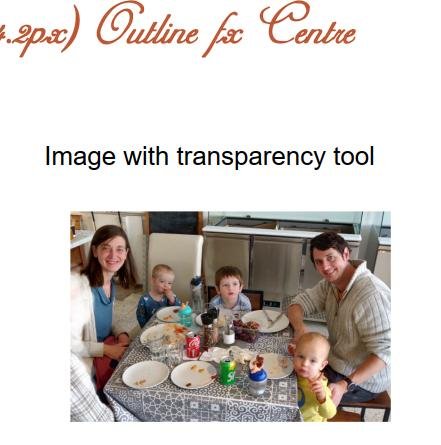
This is one of two reports for this file, so ignore the text for this report, please. Just look at the image.
It's an Image layer (not pixel)
Attached files, exported from Affinity Publisher
PDF Export.pdf shows the image with the transparency tool ignored
PNG Export.png shows what it should look likePrint and PDF Export bugs.afpub is the Publisher File
If also included a screen dump of the PDF Export settings
-
Sorry this is way after the sell-by date of this topic, but from my point of view I won't argue whether it's a bug or not, but it is accepted that scaledness is a property of the scaled text frame. Therefore it should be accessible as a text frame property in the text frame studio so it can be set/reset numerically. That's where I looked when I had the same problem, and actually deduced the reason, but the scaled property of the text frame is not included in the Text Frame Studio.
Apologies if this same issue is in a more recent topic, or if I ought to have created a new topic. I hope someone sees this post and understands my point.
-
Quote
5. Can the bitmap fill be locked to allow resizing, re-positioning, rotation of the parent object without affecting the fill?
YES: Convert the shape to curves, then select the node tool. Everything you do with the node tool selected keeps the fill static.
-
A kind of solution ... Sorry this is a few years late, but I had the same issue and found this topic so others might too. After reading this topic I decided there was no real solution, so just carried on with what I wanted to do ...
which was that I wanted to distort the shape, so converted it to curves and then used the Node Tool to move nodes - and the bitmap stayed without resizing or changing. So there is a kind of solution: change the shape to curves, then use the Node Tool to resize the object. The bitmap fill is still editable and you can change it with the Fill Tool.
-
+1 to this. I'm doing white text in Publisher
-
I can't find any reference to this so ... I have some text with an image pinned to it. I select the text and use the font size selector in the context toolbar or the font size selector in the Character sidebar to increase the font size. As I hover over the larger font size on the selector, the text changes in the text frame. But when I click on the larger font size to select it, the text reverts to the previous size.
But if I select the text and then type the new font size into the selector box instead of using the drop-down, then it 'sticks' and the text keeps the new font size as expected.
If I unpin the image from the text, then the selectors work properly.
I think I might also have seen this effect without any image, if I select the whole text frame to change all the text on the frame. The attachment shows the effect with the pinned image.
Publisher beta 376, Windows 10 Home 1803
-
Yes , my v305 crashes opening all PDFs I've tried, with the option "Favour editable text" checked. If that option is unchecked the PDF opens.
Windows 10 Home v 1803 Intel i7-4700MQ @ 2.40GHz, 16GB RAM
-
How clever is that! Thank you MEB - yes I must have clicked that button at some point instead of the wrap settings button.
(I did look for "warp" but then I found "wrap"
)
Thank you!
-
I'm not really able to reproduce the exact steps that got this document to this state, so I've attached it so you can see, and maybe find out what's going on.
It's an image that I've cropped using the vector crop tool. I also made the image into a Symbol, but that might not have anything to do with it.
Text wrap does not wrap round the actual image, but round a different position. Playing with the Top and Bottom Distance from Text settings of the Text Wrap dialog box, with negative values for the bottom makes the text wrap more nearly round the actual image, but still not right.
I tried putting the image in a picture frame, but it made no difference.
-
I've come up against this in Publisher Beta, but I checked and Designer is the same.
I want to have a Callout Ellipse with text in it. I want the callout ellipse below the object it is pointing to.
The adjustment handle for the position of the pointer moves along a straight horizontal line at the bottom of the ellipse. There is no way to move the pointer around the ellipse to point it upwards.
So I have to change the orientation of the callout ellipse. I can do that by rotating it manually using the rotation handle, or I can flip it about a horizontal axis using the flip icon in the toolbar. In both cases the text re-orientates with it. It is not possible to specify the text orientation separately from the shape it is in.
I suppose this is not so important for a symmetrical shape, or a shape than can be fully adjusted independent of its orientation. But it is significant for a shape like the callout ellipse, which can't be full adjusted independent of its orientation.
-
Both resolutions are 1920 x 1080, and I have no scaling set (so a window on the larger display fits exactly the same on the smaller laptop display, but smaller in actual size, of course.) I did have scaling, but had a problem with VMware player, as well as windows on the larger display not fitting onto the smaller one, so I gave up on it, and they are both native 1920x1080.
-
Affinity Designer Beta 1.5.0.4
Just playing, really - to see what 3D effect would do to Frame Text...
- Select a text frame
- Tick 3D in the Effects Panel
- The 3D settings opens to show opacity and radius settings
- Slide the Radius slider fully to the right (to 100px). No change to the text frame
- Slide the Radius slider back to 0
- Click the cog to open the full Layer Effects dialog. It opens at 3D
- Now repeat the movement of the Radius slider in the full dialog box
- As soon as there is an attempt to move the slider, it raises Unhandled Exception Code: 0x80004003
-
Affinity Designer Beta 1.5.0.4
Entering Frame text, press Return/Enter to start a new line. The cursor stays where it is at the end of the line just entered. It should move to the beginning of the new line.
Start entering more text, and the text starts where it should, at the beginning of the next line.
------------------------------------------
By the way, it would be nice to have an option to show non-printing characters. I did miss that ability when I was trying to work out what was happening when I pressed Return/Enter.
-
Affinity Designer Beta 1.5.0.4
I have Windows 10, Extended Desktop on 2 monitors. Usual setup of laptop on the left, larger monitor on the right, but, perhaps unusually, I have set the larger monitor as my "Main Display" (Windows 10 display Settings).
I have Affinity Designer open on the larger monitor - my Main Display. The small setting dialog boxes open on the other display - on the laptop For example, click "Paragraph" on the toolbar, and the little Paragraph settings box opens on the laptop display. I drag it to my Main Display to use it, and then close it. Click the Paragraph button on the toolbar again, and it opens on the laptop again.
I think the little settings box should always open first on the same display as the main Affinity window for the first time in a session. Then I could drag it somewhere if I wanted to. After it's been closed once in a session, then it would be nice for it to open where it had been dragged to, but otherwise it should open again on the same display as the main Affinity window.


Trace or Vectorize Tool Still Missing?
in Feedback for the Affinity V2 Suite of Products
Posted
I don't have a problem using a separate vectorizer, such as the one in Inkscape. It's a one-off conversion process, so it is not disruptive for me to do the vectorization and then import it into Affinity. In these days of rapidly developing AI, and also the specialist nature of vectorizing I can see a valid reason for leaving that process to an external application.
However ... when I saw the Vector Flood Fill tool announced for AD2.1 I did have hopes it would work like Inkscape's - in other words Vector Flood Fill even in bitmaps. For certain cases the Inkscape vector fill is much better for achieving a good vector result than using the actual vectorizing function.
So I am disappointed that the new Vector Flood Fill tool in AD2.1 doesn't fill bitmaps.