MarvinR
-
Posts
119 -
Joined
-
Last visited
Everything posted by MarvinR
-
Ash and the folks at Affinity have always done right by me in the past and I take him at his word. They brought us this far and I believe they will bring us more in the future. I don’t like the fact that some people are belittling the honesty and integrity of anyone based on absolutely nothing other than a crazy personal view. Let things work out and then make a decision that suits you.
-
While I personally was sad to hear this news I can understand these things do happen. I thank you for the past 10 years of using your products and giving me a chance to do things that I could not have otherwise afforded to learn and use. I congratulate you on all you have accomplished. I hope what comes next respects the policies and plans you have established for the Affinity line. Peace Marvin
-
@MaryOJ I am on a Mac and these are the Plugins folder locations and uninstall method that I used. If you are on a Mac the V1 Plugins folder is in the folder Library/Application Support/Affinity Photo/Plugins and for V2 the folder is Library/Application Support/Affinity Photo 2/Plugins Beware if you do go in and start messing with the files in the Library folder it is possible to foul up your Mac so you may want to get an experienced friend to help you. I have only been using the Mac for about a year myself so I am very cautious. Now by default the Library folder is a hidden folder on the Mac. To reveal it open Finder, select the folder on the left for your user name, on the main menu bar at the top of your screen and select View, and on the popup that is displayed you will see the option "Show Library Folder", just check the check box for Show Library Folder and the Library folder will appear in your user name folder. I am on a Mac so I used the standard uninstall steps of dragging the app from the Applications folder in Finder to the Trash can. If you are on Windows I can't answer where the plugins are or what the uninstall steps should be. I hope this information helps. Peace Marvin
-
@MikeTO and @walt.farrell Thank you. Did as @MikeTo said and turned on Show Text Flow and that let me see the symbol when not selected when editing a V1 document in V2. As you can see from the sample I posted, I am a light user of Affinity Publisher and because I had not used it in nearly a year I was going through the V1 Workbook drills to get familiar with things again. Thank you both for your assistance and time in figuring this out. I will put User Error in the Title so the folks at Affinity don't have to mess with it. Peace Marvin
- 9 replies
-
- 2
-

-
- text frame
- overflowing text
- (and 4 more)
-
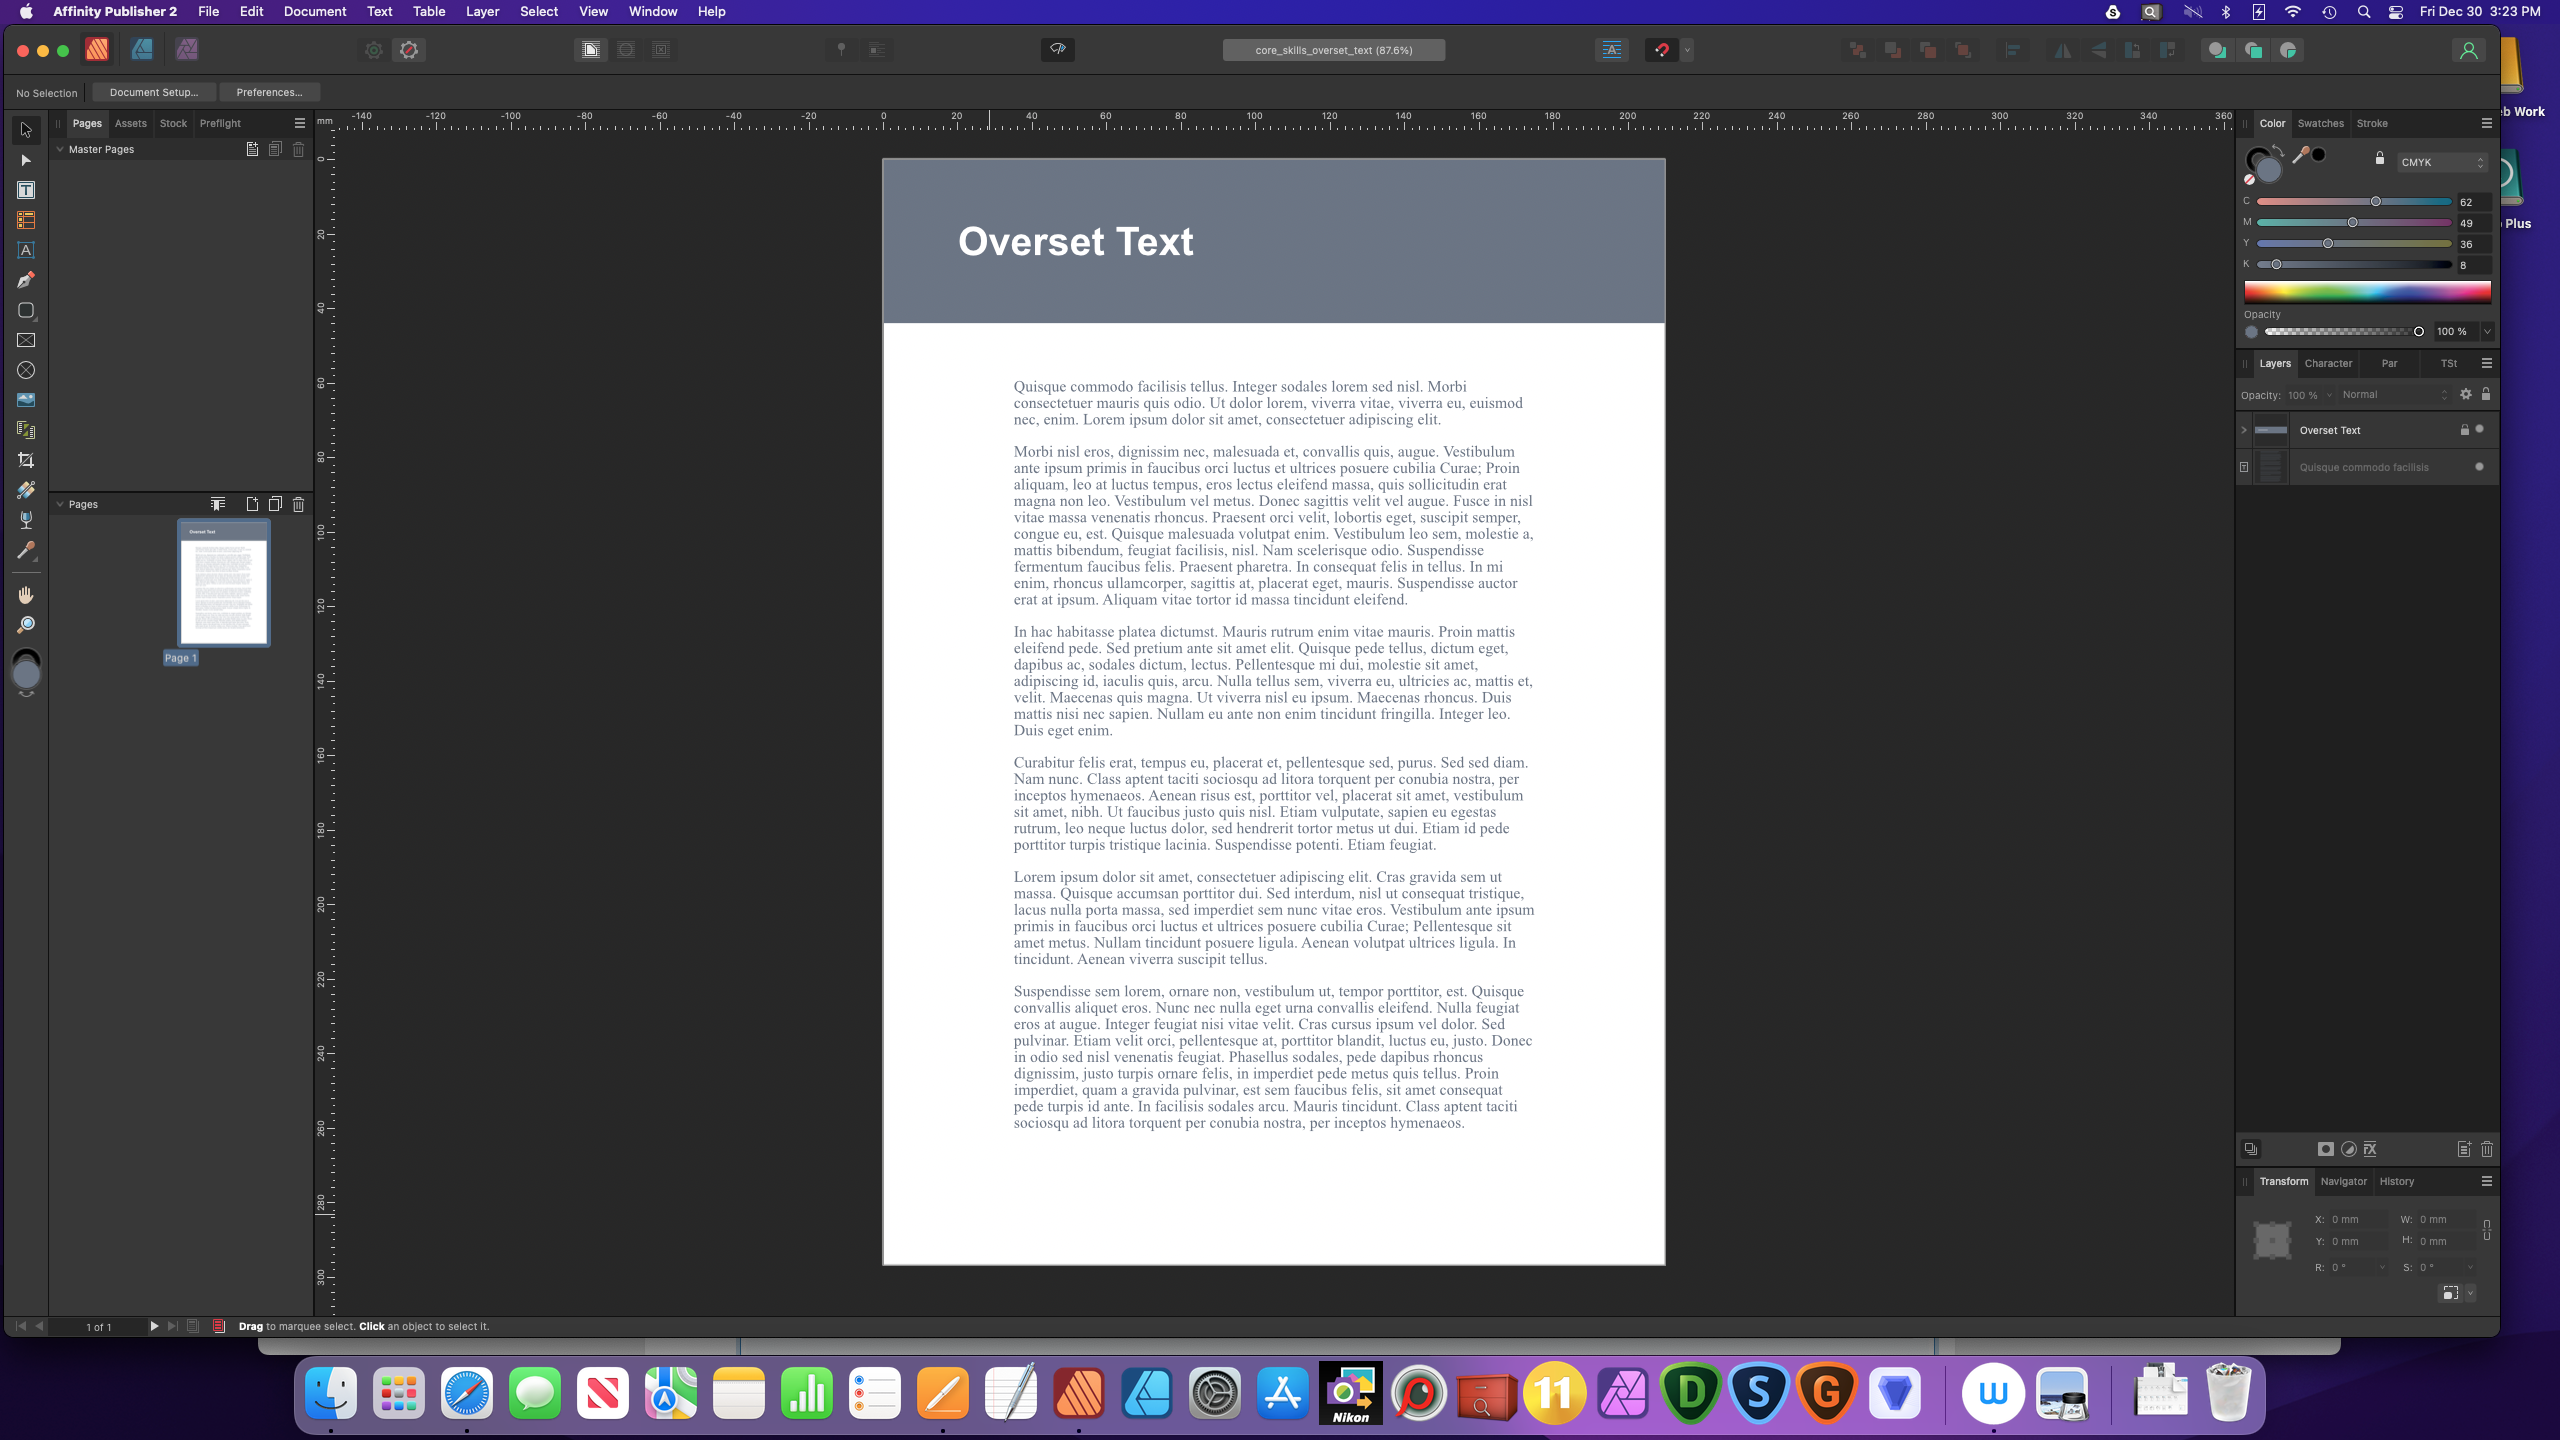
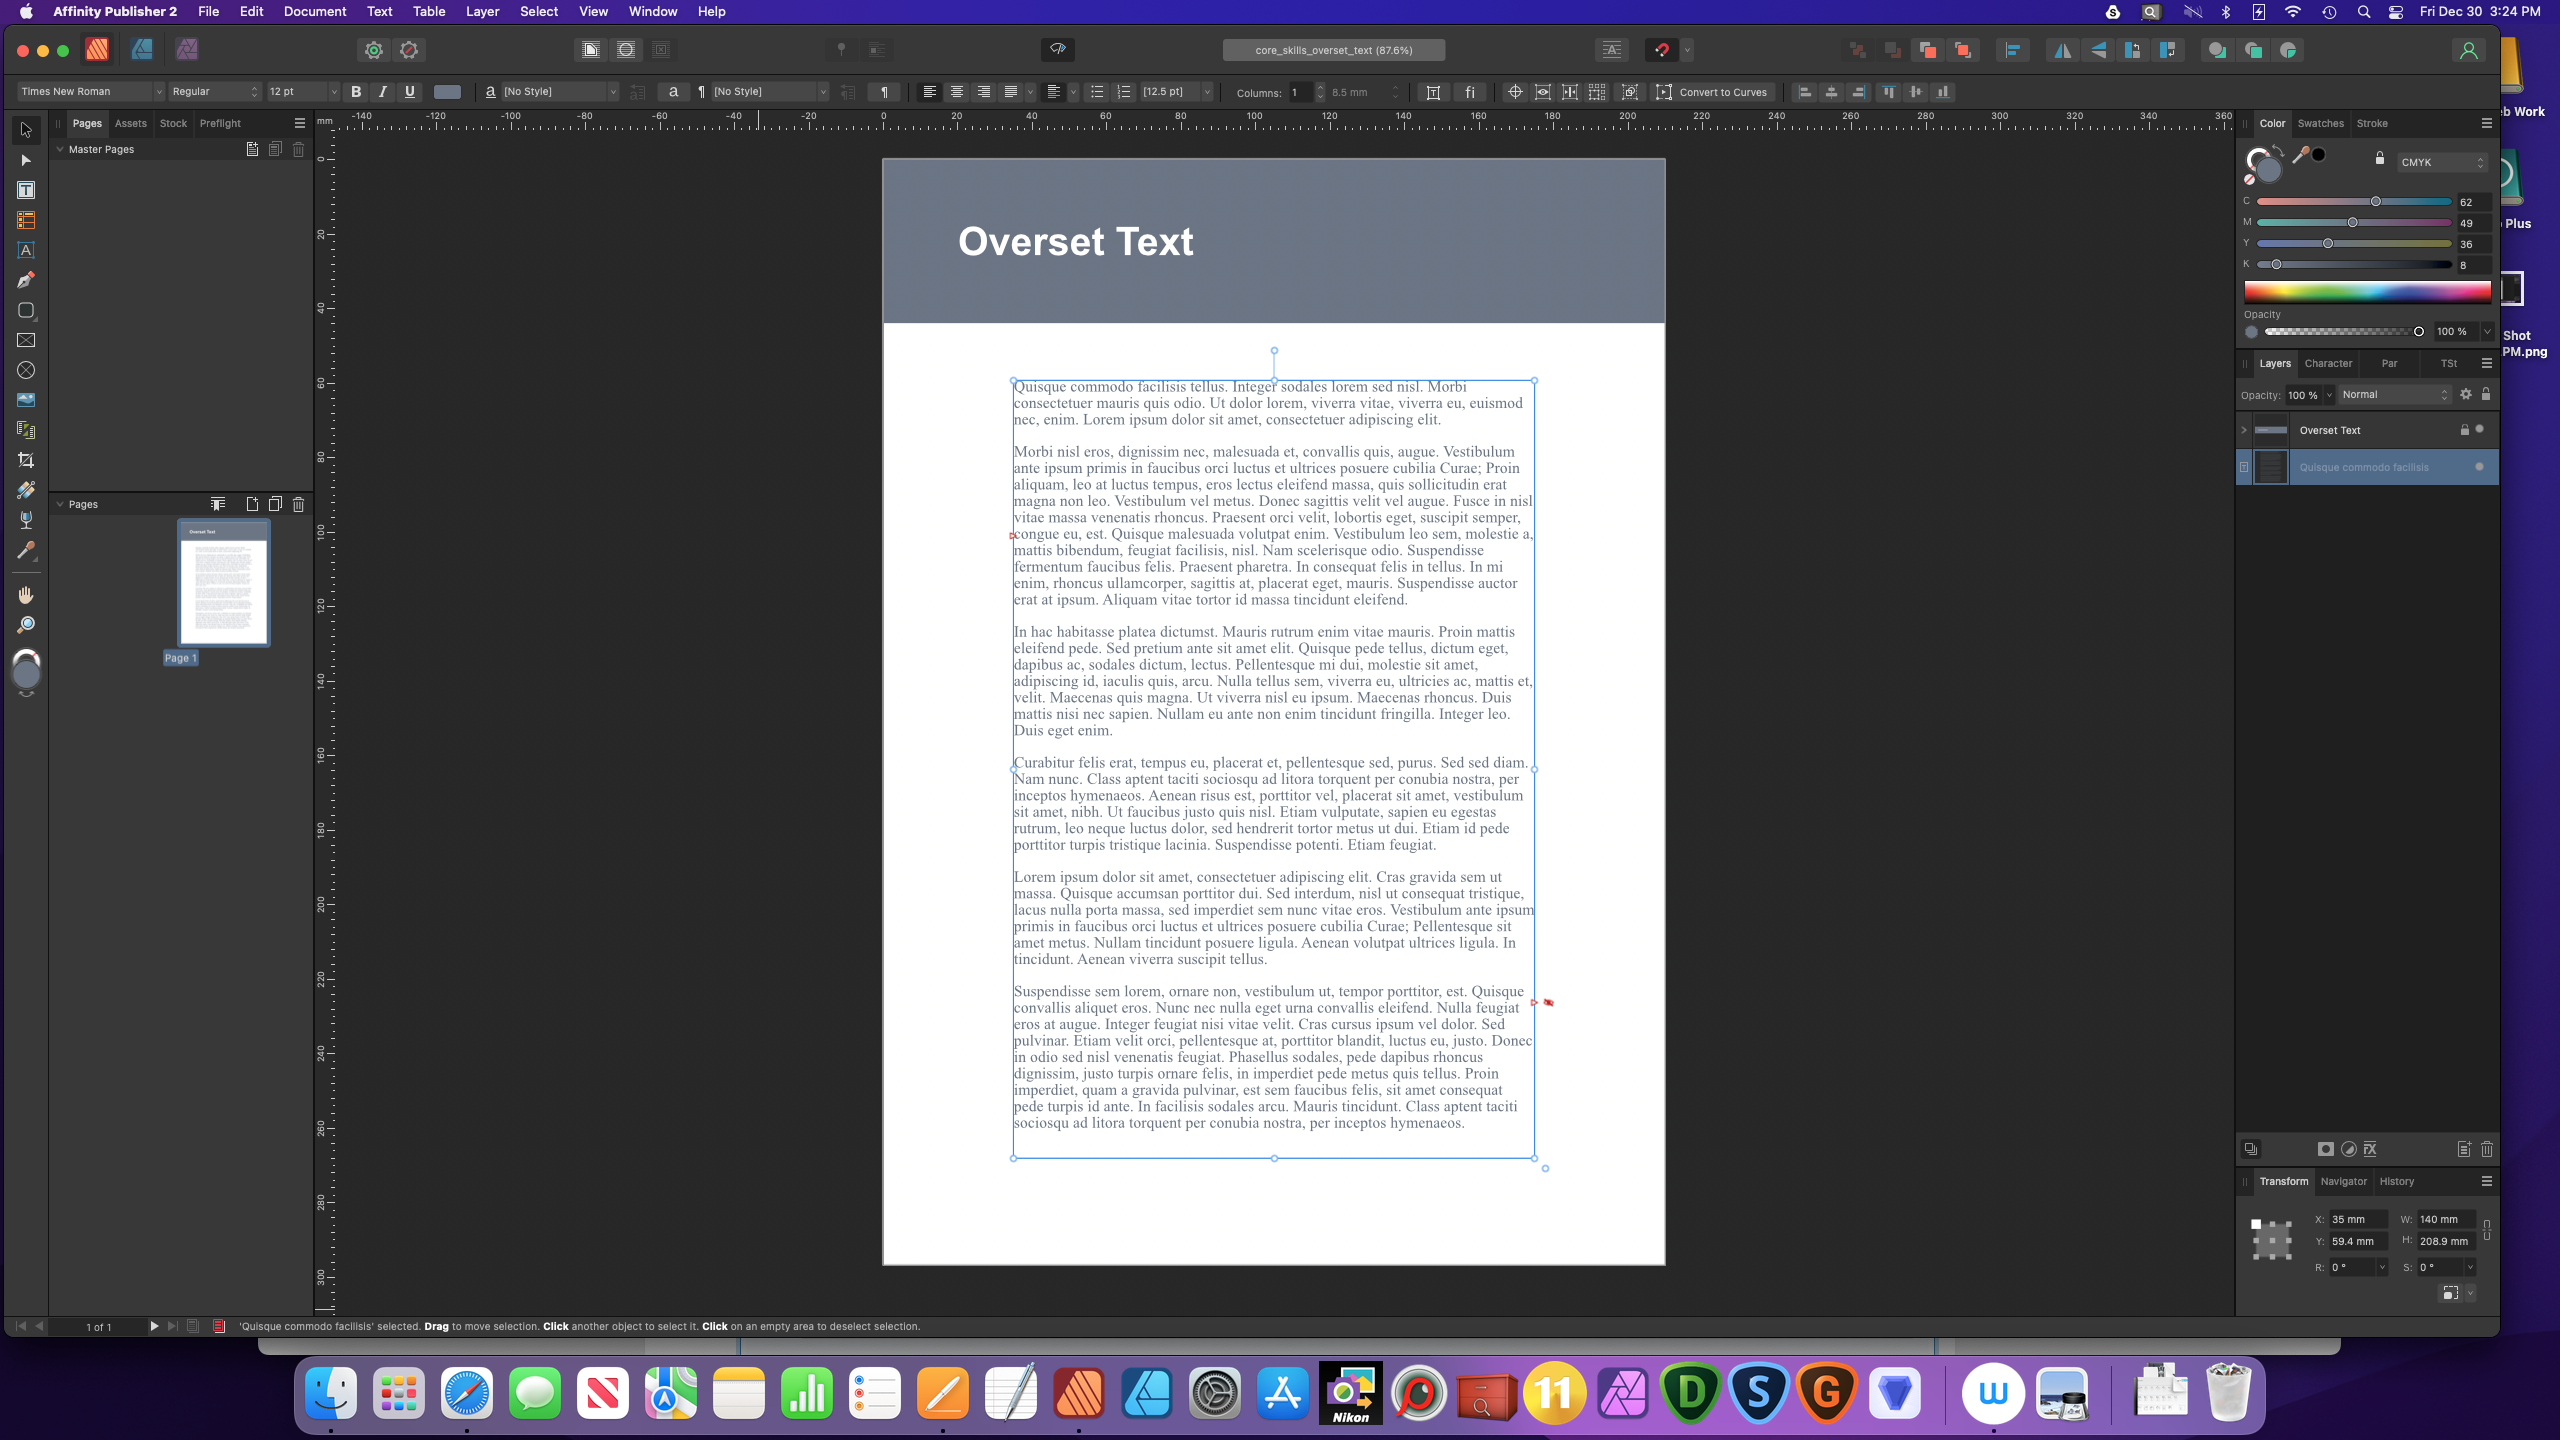
@walt.farrell I have attached screen shots and the V1 document I found this error. It is one of the documents from the Affinity Publisher Work book. One screen shot is when the Text Frame is not selected and one screen shot is when the Text Frame is selected. This does not occur when you create a document in V2 and edit it in V2. In that situation it works perfectly. But, from what I see here it would effect those editing in V1 and expecting to get that warning icon. Mac mini M1 (2020) 16GB Monterey 12.6.2. and Affinity Publiser 2.0.3. Thanks core_skills_overset_text.afpub

-
@walt.farrell It looks like I was updating as you were typing. The situation I describe only occurs when you are editing a document created in V1 with V2. When you create the document in V2 and edit in V2 it works exactly as the help file and you describe.
-
In Affinity Publisher Help under "Frame text" it says that a red circular icon should appear on the right side of the Text Frame when when the Text Frame is not selected and there is text overflowing. All the other indicators show up but as described in the help file but this one does not. I tested by creating Text Frames with the Text Frame Tool and filling them with text that overflowed and the red circular icon never appears. I looked at the Text Frame Panel and did find an option for turning it off. So, I think it is a bug. I am a very light user of Affinity Publisher so this may not be a big deal but it looked like have the visible warning of overflow without having to select the text frame would be very useful. Mac mini M1 (2020) 16GB Monterey 12.6.2 Thanks Edit: Did more testing. This situation only appeared when editing a Version 1 document in Version 2. It does not occur if you create the document in Version 2. Adjusting title to reflect this.
-
Looks like it is fixed in 2.0.3. Thanks.
-
My Feedback: THANK YOU
MarvinR replied to md_germany's topic in Feedback for the Affinity V2 Suite of Products
Deleted. -
My Feedback: THANK YOU
MarvinR replied to md_germany's topic in Feedback for the Affinity V2 Suite of Products
I too appreciate the Affinity products, the response I had when I’ve had questions, and the learning opportunities you have provided. They have all been great. I enjoy using your products very much. -
Affinity Photo V2 Workbook?
MarvinR replied to DiederikvdS's topic in Feedback for the Affinity V2 Suite of Products
There are Quick Start guides for all the V2 products at https://affinity.serif.com/en-us/learn/ There are also copies of the help file pdf and keyboard layouts, for each product and links to the training videos. I know these won't satisfy the needs of everybody but these materials should be helpful to most people. Peace Marvin -
If you search the forum using the word Ventura you will see a report and a confirmation that this is a problem unique to that Mac OS. You may want to read that and see if it is the same as the problem you are experiencing. Since you say you are using the latest Mac OS that may be the problem you are experiencing. Hope this helps. Update: See you were typing at the same time I was. Glad you found the workaround Peace
-
I took the easy fix. Use the Wacom pen until I have to run a macro then I use the pen to position the pointer and tap the Wacom pad with my finger. Dumb but it works. Did the same in version 1.
-
I like what was done in the Develop Persona in Affinity Photo. I use Affinity Photo in the last step of my processing. Today I had plenty of time to really test the output I could get from binging my RAW files into Affinity Photo after my first two steps of culling and adding IPTC and keyword data. So, instead of developing the RAW file in my regular editing software and sending a tiff to Affinity Photo I took the RAW file directly to Affinity Photo. What I found throughout the day was I was getting as good or much better final product with Affinity Photo, the result file size for the .afphoto was much smaller because it held the linked RAW file instead of a tiff file, and it had read and loaded the key words from the Xmp sidecar. I think if had a way to create presets that would let me populate several of the Metadata fields I could simply paste in the keywords for a photo and go straight to Affinity Photo from my culling of photos. I intend to keep working like this until I hit a snag that I didn’t encounter today. What I would like to see is: A way to click and have a larger area for the metadata fields so it would be easier to type in the data and paste in keywords. Something like an option button on the Metadata Panel. The current area and print is too small to work with for a long period. Anything to make entering that data would be good. Not having this now is not a problem that would prevent me from going from culling, to meta data entry in another app and all development. In short, the changes in the Develop Persona are going to give me a better or equal final product, save file storage space because of smaller afphoto sizes, and save me from having to maintain multiple RAW converters. Nice job by the folks who worked on this rewrite in any capacity. Thanks. Peace Marvin
-
@PPPPeter ~/Library is a hidden folder in your user folder. This article shows how to access and display this hidden folder along with other information: https://www.macworld.com/article/671158/how-to-show-hidden-files-on-a-mac.html Hope this helps.
-
In the New Batch Job dialog the selection titled Available Macros is not displaying the macros correctly. For example in my Library Panel I have these macro categories in this order: Default Uplift - Epic Skies Image Styles Editing Macros - Marvin Effects - Marvin Here is what happens in the list of Available Macros on the New Batch Job dialog: Default - displays the Macros for Default category. This is correct. Uplift - Epic Skies - displays Macros for Default category. This is wrong. Image Styles - displays the last seven macros in the Editing Macros - Marvin category. This is wrong. Editing Macros - Marvin - displays three items from Editing Macros - Marvin and the items of Effects - Marvin. This is wrong. Effects - Marvin - displays the contents for the Default category. This is wrong Here is how I got into this situation: 1. When upgrading I selected existing data in V1 to be brought into V2. 2. When I started to back process some files and reference the macros I saw the problem and figuring something we astray during the upgrade process. 3. To correct the problem I exported the Categories, then deleted them from the Library Panel, and then imported the Categories again. The macros run fine. However, they cannot be executed as a part of a batch process because although they appear in the Available Macros dialog they are not found because (and this is my best guess) the indexed item in the dropdown list does not in reality relate to the actual position/local of the macro. Therefore, the macro selected is not executed and no files are processed. Also, no error handling seems to be done and the program just exits without doing the batch process and no error message is displayed. I don't see a way a user can correct this situation short of maybe putting all macros in the Derfault category. And, I am not eager to do that. Hope this information helps in identifying the cause of situation. Mac mini M1 (2020) Monterey 12.6.1 PROBLEM RESOLVED: This morning the problem was resolved. I simply kept shifting the orders of the macro categories and when I hit on an order that worked I stopped shifting. My best guess is that one of the categories that was moved to the bottom is corrupt. Anyway, there is nothing that the testers or developers have to do on this matter. Peace Marvin
-
In Affinity Photo V1 I would run a use File-->New Batch job to select a group of TIFF files and save them as .Afphoto file. Since the .xmp files for each of the TIFF files was in the folder with the TIFF files the information in the .xmp files would populate the Metadata Panel. In Affinity Photo V2 this is not working. The .xmp files are not populating the Metadata Panel. Also, when I bring in a RAW file and there is an .xmp file in the same folder the Metadata Panel in the Develop Persona is not being populated. I don't know if this was a planned change from V1 to V2 or if it is a bug. If it is a bug I would be nice to have it corrected so we can Batch process a group of TIFF files and have the .Afphoto file created (it does that now) and the Metadata Panel populated (not happening now but used to). This may not be a serious bug because a person can still batch and create the .Afphoto files and then import the metadata. But, I'd like to see it on the list to be corrected. Mac mini M1 (2020) 16GB 1TB Monterey 12.6.1 USER ERROR: Today while doing something else I saw that there is now a check box in "Preferences-->General" that says "Load metadata from XMP sidecars". Once I checked that box the metadata was imported from the .xmp files as was done in V1. So, there was no bug it was user error on my part. Peace Marvin
-
@AshI have enjoyed using Affinity Photo for several years and appreciate your more than generous pricing, the fantastic learning opportunities provided through the past years, the friendly and prompt in answering questions and solving problems over the years. For me the Affinity team has always delivered a great product, lets me doing editing I would not be able to do otherwise, and enjoy improving my skills. Thank you to your whole team. Peace Marvin
-
Yep. I hope they can get it fixed in an early patch. But, they look to have a pretty full plate.
-
@Murfee and @Joe Frazee This morning I tested by exporting a JPG file with several keywords. Like previously when I checked to see if keywords were fully copied to the JPG file only the last keyword in the list was this displayed. However, I then did something I didn't think of doing yesterday when testing, I opened the same JPG in the software NeoFinder and all keywords were displayed. So, there is a problem with the way keywords are being handled but it appears that they are not being lost upon export. If you have another way to check the presents of keywords in a JPG or TIFF you might want to see if you see the entire list of keywords there. So if you are counting on the keywords to be in the JPG when uploading to stock photo sites or other sites that use keywords it looks like other tools can see all the keywords. Hope this information is of use to you both. Peace Marvin
-
When you export to TIFF or JPEG and the keywords are comma delimited only the last keyword entered shows up in the exported file. This same thing happens on iPad with latest updates and Mac running Big Sur OS. This has also been reported in the Mac version portion of the forum. UPDATE: Tried to test on iPad by changing commas to semicolons. In multiple tries the keywords field was no updated after clicking OK. I believe there is a serious problem with the whole keywords module when it comes to editing and exporting. 2ND UPDATE:This morning I tested by exporting a JPG file with several keywords. Like previously when I checked to see if keywords were fully copied to the JPG file only the last keyword in the list was this displayed. However, I then did something I didn't think of doing yesterday when testing, I opened the same JPG in the software NeoFinder and all keywords were displayed. So, there is a problem with the way keywords are being handled but it appears that they are not being lost upon export. Instead it appears to be the display of all keywords in JPG and TIF files generated by AP. Hope this info helps.
-
@Joe Frazee I just tested exporting to TIFF on iPad and get the same results. So, it appears it isn’t restricted to a certain Mac OS or the file type a person exports to. I would certainly think other Mac or iPad users would be experiencing the same thing. If they are I hope they don’t remain silent.
-
@Murfee I just tested on my iPad and get the same result of only the last keyword being saved in a generated JPEG when using comma as a separator.
-
@Joe Frazee I am on a Mac with Big Sur and I am experience the same as you reported. Using commas as a separator only shows the last keyword when exporting to JPEG file. This is a bug.
-
@walt.farrell and @markw thank you both for your advice I do appreciate it very much. EDIT: I copied the plugin files from the V1 Plugins folder to the V2 Plugins folder and everything worked like a charm. Again, great of you fellas to take the time to comment and give me the benefit of your guidance. UPDATE: Ended up that after testing I had to uninstall/reinstall Topaz Labs Photo AI and copy the app to the Plugins folder for V2. Finished testing the and everything worked fine. Peace Marvin