Checkmate
-
Posts
133 -
Joined
-
Last visited
Everything posted by Checkmate
-
 I'm not sure whether there are common 'regulations' regarding how much baseline shift and font sizing to apply to a superscript/subscript character, but I always find the defaults are not quite the amount I'm looking for! Is there any chance you can add some options to the superscript and subscript buttons in the Character panel? I often find myself adding custom styles to parts of a text block just to get a slightly different super/subscript effect, rather than using the buttons, but then when I want to change the whole paragraph size a little I obviously end up losing the super/subscript.
-
- 1
-

-
- superscript
- subscript
- (and 2 more)
-
I have now gone completely Adobe-free on my laptops, both home and work. I can't say I miss much at all, because I found their distort tools a bit confusing and unintuitive. If I want to apply perspective or 'box based' distortion, what I do is open up Inkscape (free) and use their perspective tool. It's not ideal, I know, but it's pretty simple to paste my object into Inkscape, draw my container shape, then apply the perspective tool after selecting both. Then I simply copy and paste the result back into Affinity. All I really need in Affinity (for the most part) is to be able to select the bounding box corners individually like in the Fireworks video above, then adjust paths or groups to fit a chosen shape. Yeah more complicated transforms would be great down the road, but this is what I would use regularly.
-
I can already see from the beta that load times have improved by about 20% - hopefully even better with the final release. Also there's a nice new splash screen to look at - never was a fan of the old one :-D
-
I've just reinstalled windows 10 on my laptop (Core i3, 10GB RAM, Samsung SSD) and tried loading Affinity Designer and Photo. By default Windows has 185 fonts installed and I added just 13 more. My load times are roughly 25 seconds for Designer and 21 Seconds for Photo. I think this is slow, especially considering its a fresh Windows install. In fact, I can start up my laptop from cold in under 30 seconds, so is there something going on regarding the font handling that differs from other, quicker loading apps? The splash screen does spend most of its time on the 'Loading Fonts...' bit, but surely I have around the bare minimum for a Windows PC?
-
Hexadecimal color code (improvements)
Checkmate replied to chips's topic in Feedback for the V1 Affinity Suite of Products
The issue isn't about generating the hex codes. We can all do that in a number of ways. It's about the usability of the colour picker. -
+1 for this option too. I've just been importing a couple of different PDFs into AD, one of which was created in Excel (I needed a table). The PDF import seems to choose Frame Text for some cells and Artistic Text in others (depending on what text options are selected during import). Now what I want to do is scale the table vertically to fit a particular gap, whilst retaining the correct font aspect ratios. Frame Text is good for this but Artistic Text will end up all 'squished'! If there was an option to 'Convert to Frame Text', it would save me looooads of time. I always use Frame Text, but in my example above I have no choice but to start out with Artistic Text.
- 105 replies
-
- 2
-

-
-
- Frame Text
- Art Text
- (and 3 more)
-
I've been getting annoyed with this too. I never use the 'slice' tool, I always use the 'select' tool when exporting. Couldn't the export persona just default to the first tool in the list, then people like me and VectorCat could move the arrow to the top of the toolbar?
- 1 reply
-
- 1
-
-
Sneak peeks for 1.7
Checkmate replied to Ben's topic in Feedback for the V1 Affinity Suite of Products
This would be *extremely* useful for creating a 'long shadow' effect in icons etc. (See attached image) Right now I tend to duplicate the parent object, then edit the nodes along a 45° axis. Extruding would save loads of time!
-
Hexadecimal color code (improvements)
Checkmate replied to chips's topic in Feedback for the V1 Affinity Suite of Products
How about an extra section in the drop-down for 'Mixed'? When working with UI design and anything with a web element, the starting point is often a hex code. I've lost count of the number of times I've started with a client's hex code from their website, then introduced a 'darker' and 'lighter' version of the same colour (for a new logo design etc.) The easiest way to do this is by sliding the L up and down on the HSL colour mixer. In this sort of web-centric workflow, a 'combined' colour picker makes a lot of sense. -
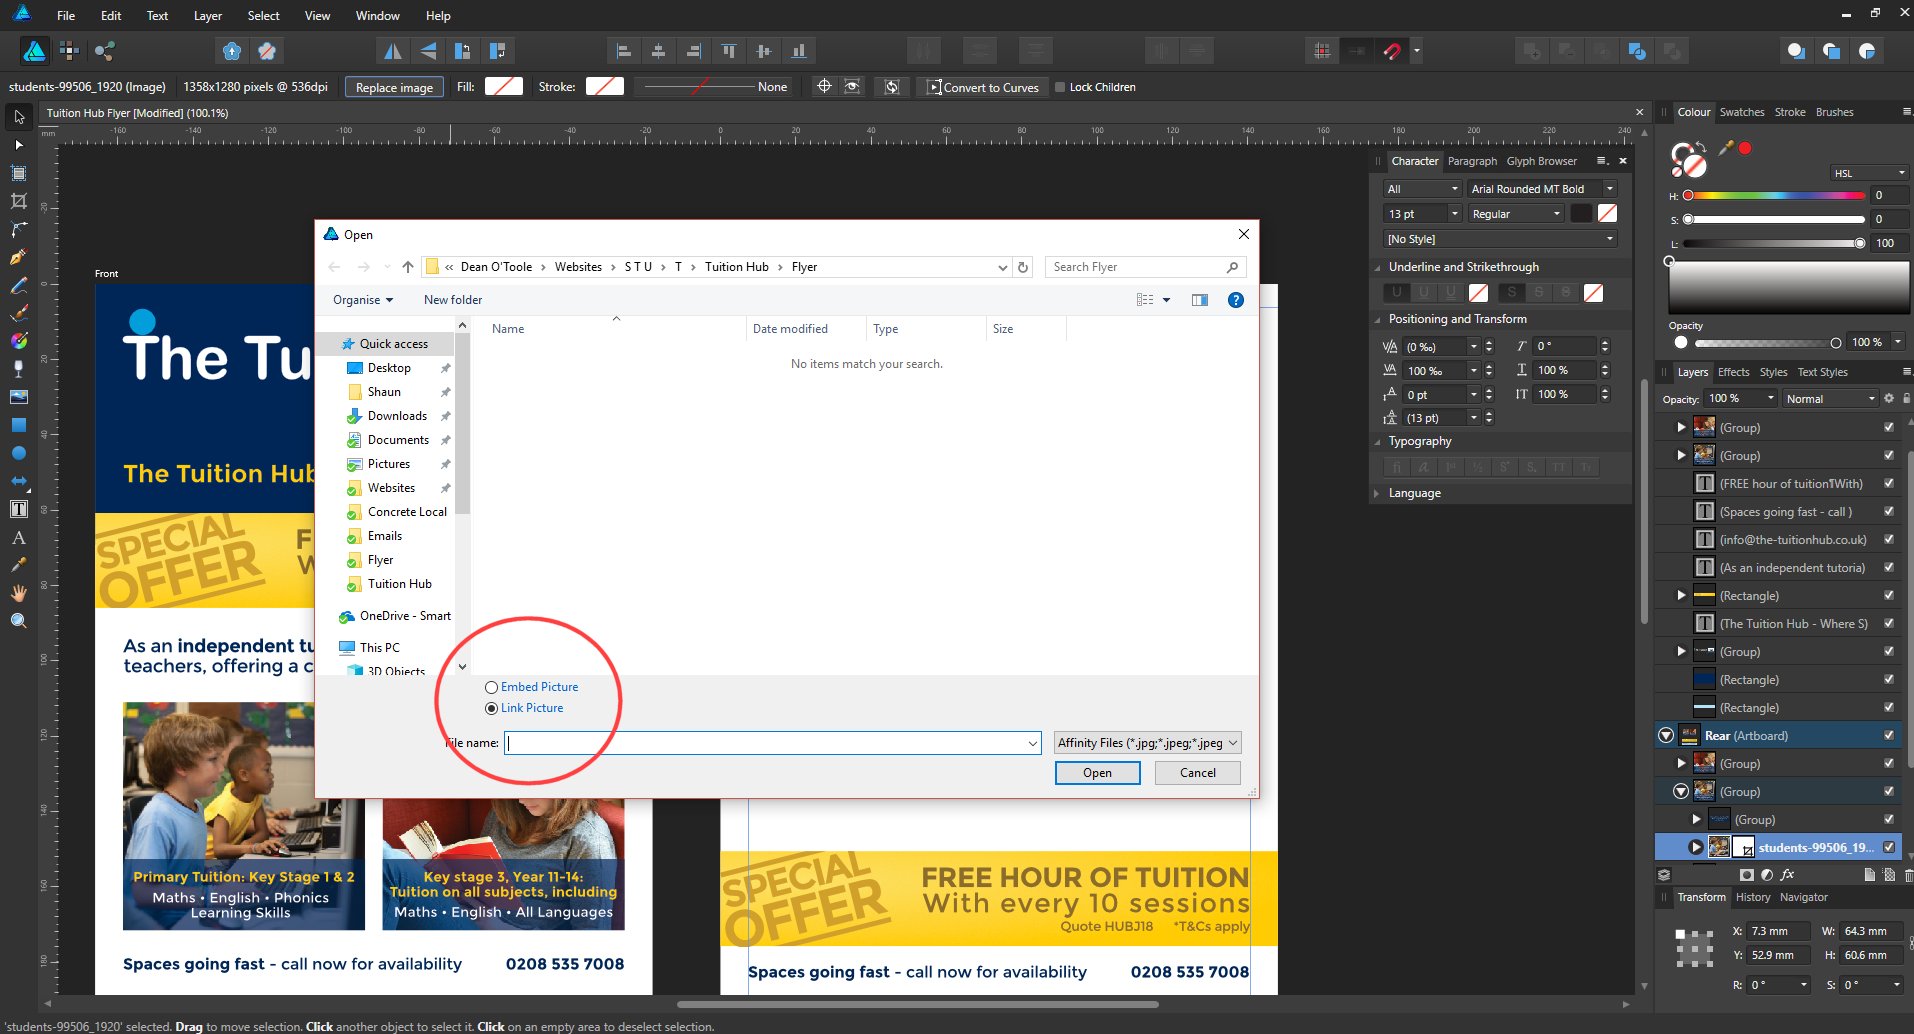
I just went to replace an image on an AD document and noticed this new option for Embed/Link. I haven't seen this mentioned on any changelogs - have you accidentally pushed out the feature too early? I also noticed images I tried to rename on my computer were throwing up an error because the file was 'already open in Affinity Designer', so it seems to be working.
-
I'm also having trouble with this 'extra pixel' bug. If I set my artboard to a width in pixels, I expect my exported image to be the same width in pixels. I don't really want to have to mess with pixel grids etc, I just want Affinity to recognise the exact pixel values I've chosen. Any intentions to fix this?
-
Hexadecimal color code (improvements)
Checkmate replied to chips's topic in Feedback for the V1 Affinity Suite of Products
Agreed, I hate the process of a cumbersome drop-down menu, just to paste a hex code in. On a similar note, it would be useful to support 3-digit hex codes too (ie. #333 being the shortened version of #333333) as these are regularly used on modern websites. Currently pasting #333 will result in Affinity converting it to #000333, which is obviously a totally different colour. -
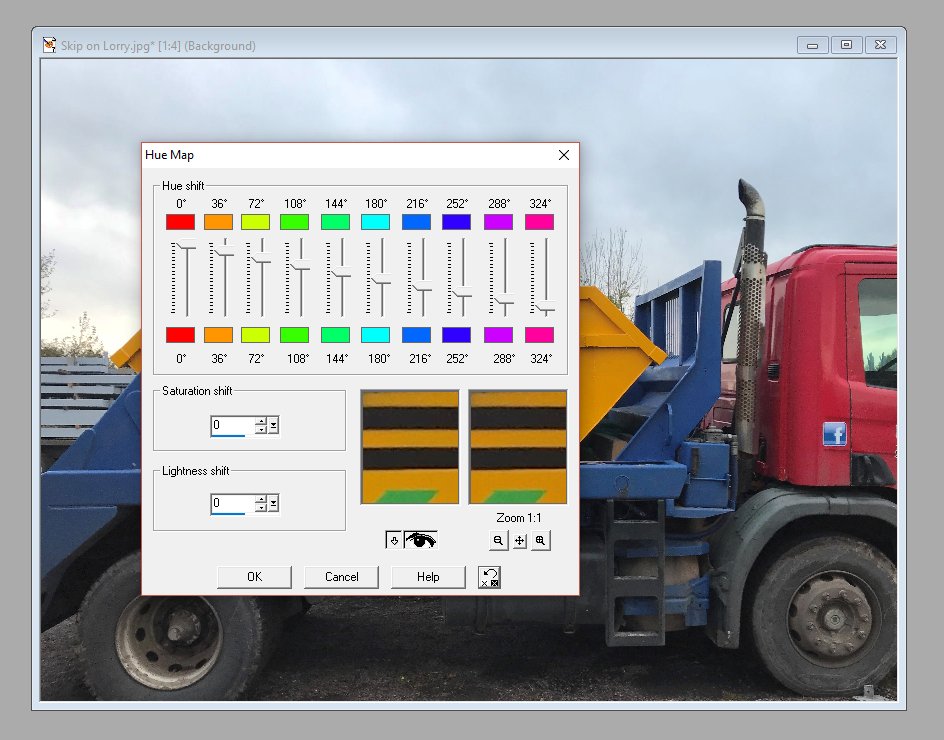
I've been trying to replace a particular colour in an image with a different hue in Affinity Photo. I've been playing around with the 'Colour Replacement Brush' tool and the 'Selective Colour' adjustment layer, but neither of these achieves the process as simply as the 'Hue Map' in Paint Shop Pro 7. In PSP, I simply go to the 'Hue Map' option and adjust a slider (or two) based on the colour I need to change (see example screenshots). Is there an equivalent in Affinity Photo that doesn't require any selection or time-consuming brush work?
-
Is there an option to remove the raster texture part of these brushes to leave just the vector outlines? I tried exporting an EPS of a logo I designed using Daub Inker 'Quick&Dirt' and the file size was pretty huge at 300dpi. In the end, my workaround was to export a hi-res PNG then trace this in Inkscape to create a rough outline of the brush strokes, then copy and paste them back into Affinity. I separated the different colours of brush to maintain my layers and make tracing easier. Ideally I'd like a tick box in the Brushes menu that says 'remove raster textures' or similar.
-
Ah I see - I had expanded the layer to show the mask on its own line, but then I was clicking on the name of the mask layer, not the thumbnail! What's the benefit of limiting the selection of the crop layer to just the thumbnail?
-
Maybe I'm doing something wrong, but when I try to select the mask layer in the layers panel, it always selects the image too.
-
I have a few questions regarding images placed in an Affinity Designer file and the eventual resolution/file size: Is it best for eventual PDF file size to pre-crop images before placing them in my document? ie. does the PDF file still contain image data that falls beyond the edges of pages or masks? Does the AD crop tool achieve the above the same as pre-cropping would? How do I 'uncrop' an image? There doesn't seem to be an option for removing any crop I've applied to an image (beyond stretching the handles back out and trying to line up with the original image edges). I've noticed placing an image in my document and exporting to 'PDF for Export' without any alterations to the placed image results in a large file size (the original image DPI is maintained). However applying the crop tool (even a tiny amount) suddenly results in the image taking the DPI of the document (and bringing the file size right down). Is this intentional? Shaun
-
Convert node to smooth on only one side
Checkmate replied to Checkmate's topic in Older Feedback & Suggestion Posts
I didn't know that! I'll give it a try. Still would like the buttons though. -
I'd like to see some additional options in the node type selectors. Currently I can: Convert to Sharp Convert to Smooth Convert to Smart However, more often than not I want to add a handle just to one side of the point, effectively joining a curve to a straight segment. The only way to easily do this is to drag on the joining line to add handles to the 'inside' of the nodes at either end, then adjust these nodes after. My suggestion would be 2 more options to the above: Add handle to left Add handle to right I appreciate there might be occasions where those need to be 'Add above' or 'Add below', but this could be calculated, surely?
-
Hex field in all color palettes... any thoughts?
Checkmate replied to jboissy's topic in Older Feedback & Suggestion Posts
Agreed. -
[AD] Font Style Sort Order...
Checkmate replied to Cristian Dragos's topic in Older Feedback & Suggestion Posts
I was totally going to post this exact same thing! Agree 100% -
Combining panels for fewer clicks & repetition
Checkmate replied to Stephen_H's topic in Older Feedback & Suggestion Posts
I'm all for combining panels - having separate Paragraph and Character panels always seemed odd to me. On the combined colour/swatches panel I would go as far as to suggest HSL, RGB and RGB Hex could appear on the same screen, with one set of sliders dynamically updating the other. This is because i might sometimes want to add, say, a bit of red to a colour, then lighten/darken it. This means switching between colour types. I appreciate that CMYK should remain separate though. -
AD & AP - Remember my settings of last use
Checkmate replied to vjsouza's topic in Older Feedback & Suggestion Posts
I agree on this suggestion - I have to select 'Area: Selection without background' every time I'm exporting a transparent logo, even within the same session. Gets a bit tiresome to see it always default to 'Whole document'. Even better would be the option to right-click any selection and have 'export objects' show up in the menu. -
I think the guides system in general could do with some extra features: Setting of the origin (as mentioned above) Ability to click on a guide and edit its coordinates in the context toolbar 'Mirroring' of guides on a page - most designs I make require matching guides left-right or top-bottom. Right now I have to jump through hoops:Drag from the ruler to add a guide Go to Guides Manager and set the exact position I wanted (making a note) Work out the width of the document Deduct the position of the first guide from the width Add a new guide and type in the calculated figure in Guides Manager Option to run guides across all artboards Ability to 'Lock Guides' in position I quite like Illustrator's use of a 'guide layer' that can be locked/unlocked/hidden from the layers panel. This would accomplish some of the above.
-
I'm getting the following startup times on my i3 with SSD and 10GB RAM: AD cold - 28s AD warm - 24s Ai CS4 cold - 14s Ai CS4 warm - 10s I'd definitely appreciate the fixes Mark mentioned above.