- S -
-
Posts
814 -
Joined
Everything posted by - S -
-
 You're not doing anything wrong. It's not possible to select a layer when recording a macro in the Windows version yet. As per your post, it will just say "Cannot record Set Current Selection" if you try. The video also shows renaming a layer when recording a macro, this also isn't possible in the Windows version yet. If you try to do so, it will say "Cannot record Set Description". Hopefully it will be possible in the next update.
 -
Sure, in which case you can type the decimal value manually if you really need to use a 5.3px brush.
-
It can do what it wants behind the scenes. I would just rather select a 5px brush. Then pressing the bracket key moves it to a 6px brush, then the other bracket key moves it back down to a 5px brush again. I don't see the use of it showing a 5.3px brush.
-
Yeah, and I see no point having the brush size to a fraction of a pixel either. It reminds me of FOSS Linux software where they do things like make DPI to two decimal places just because they can. Not sure why, but it drives me nuts.
-
On the Colour panel, click on the lines icon, then select 'Wheel'.

-
I thought I was the only one that this annoyed. :) Even going to Edit > Preferences > User Interface > 'Decimal Places for Unit Types', and setting it to 0 decimal places for pixels, the bracket keys still don't change brush size by 1 px every key press, therefore I have been unable to find a work-a-round so far. So I too would be interested in knowing as well.
-
A brush in it's basic form is pretty much just a repeated pattern. Like so: So in your second screenshot, by having the brush spacing set to 200% the brush should be spaced far apart. Therefore if you create a new layer and single click with that brush, only one instance should occur due to the wide spacing. Is this not what you're experiencing, or am I misunderstanding the issue?
-
It's because even though the marching ants aren't visible, there's an active selection in the document. 1) Go to Select > Deselect, to deselect the selection 2) Click on the top 'Car' layer again 3) The Clone Brush tool will now work OK.
-
You can upload the file if you want and I'll see if I can reproduce it. In addition, there was a similar issue reported in the bugs section regarding the Inpainting and Healing brushes stopped working. I don't know whether your issue with the Clone brush is related to this or not, however you could also try resetting Affinity Photo as per Post No.6 in the below link and see if that resolves the issue. Inpainting stopped working
-
If you turn off layer visibility for the four letter layers that are clipped to the top car layer (by unticking them), does the clone brush tool work as expected on the top layer then?
-
Were they shot in Canon sRAW or mRAW format? If so, it's possible that it's related to this post (See post No.2): Affinity Photo - Error reading CR2 files Although this was posted in the Windows bug section, rather than Mac, so it refers to the SerifLabs raw engine. If I'm not mistaken, I think Affinity Photo on Mac has a choice of two RAW engines which can be toggled from View > Assistant Manager, but I'm not sure whether this issue applies to the Apple (Core Image RAW) engine as well.
-
Affinity Designer - Isometric Grid Drawings: Part 1 (Single Planes) Affinity Designer - Isometric Grid Drawings: Part 2 (Multiple Planes) Affinity Designer - Isometric Grid Drawings: Part 3 (Layers and Compounds)
- 15 replies
-
- 1
-

-
- new
- Architecture
- (and 3 more)
-
Which adjustment layers doesn't a 'TIFF with Affinity Layers' file support? The workflow is more to do with the way Affinity Photo works (as in 'File > Save' and 'File > Save as' wants to default to .afphoto, so you need to use Export for anything else). However, if you open a file that was previously saved as a 'TIFF with Affinity Layers', pressing CTRL + S or going to 'File > Save' will re-save the file as 'TIFF with Affinity Layers'.
-
You can use the layered TIFF files instead of afphoto files. Other than not having a 4GB file size limit, I'm not entirely sure what advantages the .afphoto file format has over 'TIFF with Affinity Layers' anyway.
-
You could save your Affinity (.afphoto) files as TIFF files. However if you want all the layers to be kept so that you can re-edit them again in Affinity Photo, you need to make sure you select 'Save Affinity Layers' in the export dialogue box, otherwise you'll lose your layers.
-
Yeah, I miss the numerical fields in Curves too. If you're interested, the following Photoshop video is pretty good for showing the output points being compared visually between Curves and Levels: https://youtu.be/gXU0222GP5o?t=434
-
Different brushes have different default settings depending on what they were created to draw like or mimic. Some are a constant size, some change size or opacity/flow depending on pen pressure, etc. So, you're probably better off going through all the different default brushes and seeing if you can find a brush that already draws like you want it to. However, if there's a particular brush where you really want to override these default settings, then you can do so by doing the following. Although the hardness setting only works with the standard round brushes. 1) Select the brush you want to modify in the Brushes panel 2) Click on the brush settings icon in the top right corner 3) Click on the 'Dynamics' tab 4) Change the desired setting to 'Pressure' and adjust the slider Screenshot:
-
It may be easier to give an example of what you're trying to do. However, if you mean when using the Brush tool, in the brush tool context bar there is a 'Protect Alpha' check box. In addition, from the layers panel you can create a new layer, then clip it as a 'Clipping Layer' to the layer you want to draw on (for example a line art layer, flat colour layer). The following video is a Clip Studio Paint video, but the concept of 'Clipping Layers' works similarly in Affinity Photo. https://youtu.be/HcC1HSJg9yY?t=290
-
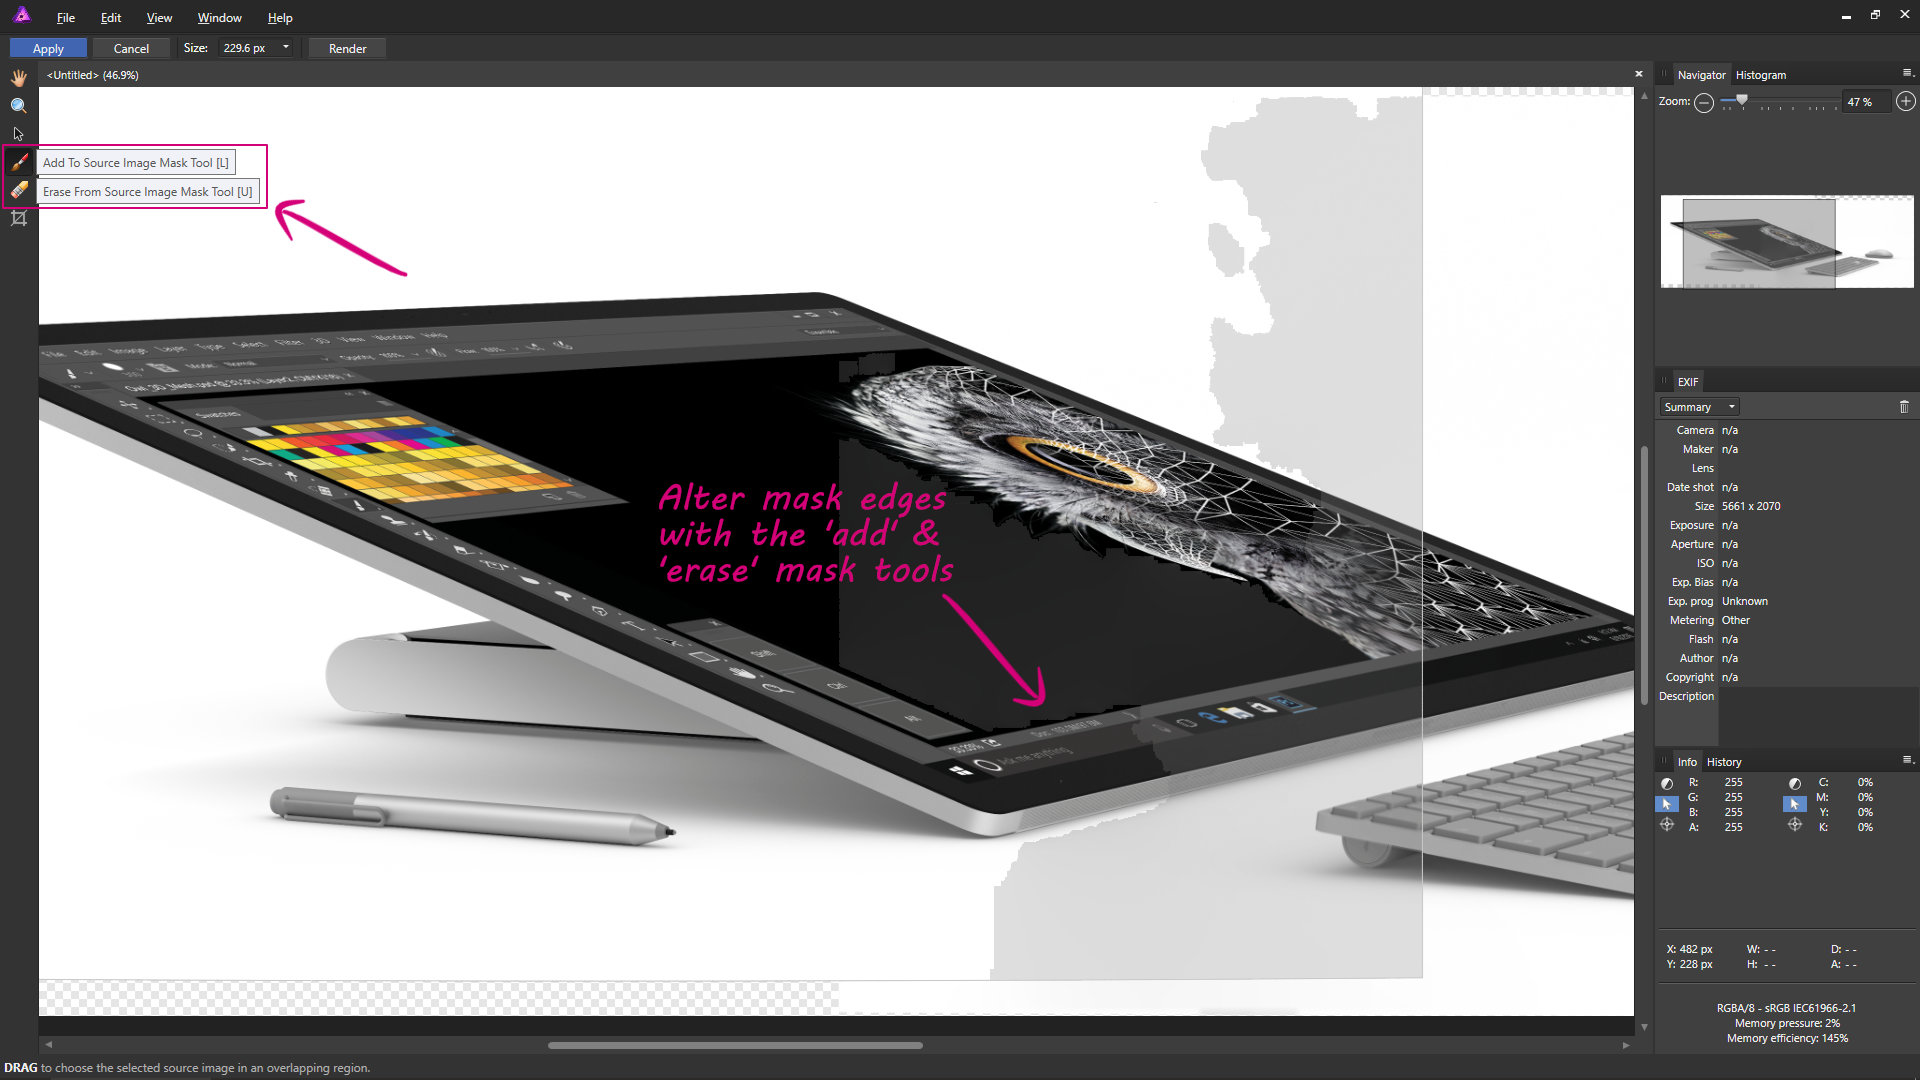
I wouldn't read too much into it, it's just the terminology used that's funny. :) I think the 'Stuff' tool is likely the 'Add to Source Image Mask Tool' and 'Erase From Source Image Mask Tool' in the Panorama persona. Although it would be better if the algorithm could handle stitching contrasting edges better, you may be able to improve the panorama by manually altering the edges of the panorama mask with these two brush tools. Screenshot: Even though the following video doesn't deal with your exact problem, you can see these tools in action here: https://vimeo.com/161038267
-
AP paintbrush issue
- S - replied to Fivel's topic in Pre-V2 Archive of Affinity on Desktop Questions (macOS and Windows)
Are the images you're editing stacked layers? I.E. You went to File > New Stack to stack the astro images on top of each other (and the Live Stack Group mode is set to 'Total')? -
Yes, which means they both fill up firewall logs with blocked outbound connections, as there's no option to disable this in the software. Affinity Photo (1.5.1.54) tries to connect to: crashes.seriflabs.com s3-eu-west-1.amazonaws.com Affinity Designer (1.5.2.58) tries to connect to: go.seriflabs.com affinity.serif.com productio-webelast-18qf56z6auzuz-1088999861.eu-west-1.elb.amazonaws.com I haven't however seen any connections to doubleclick and googlevideo, so maybe the OP is using an older version. I guess we'll find out more when he replies.
-
For some reason the settings are split. So although the Library panel is in that location, the Macro panel is in Edit > Preferences > Keyboard Shortcuts > Photo > Miscellaneous > Toggle Macro Panel.
-
In a previous post it was mentioned that there was possibility going to be an option to disable this. Please can you concider this again because as it is there's no way to stop Affinity products from filling up firewall logs with blocked outbound connections.
-
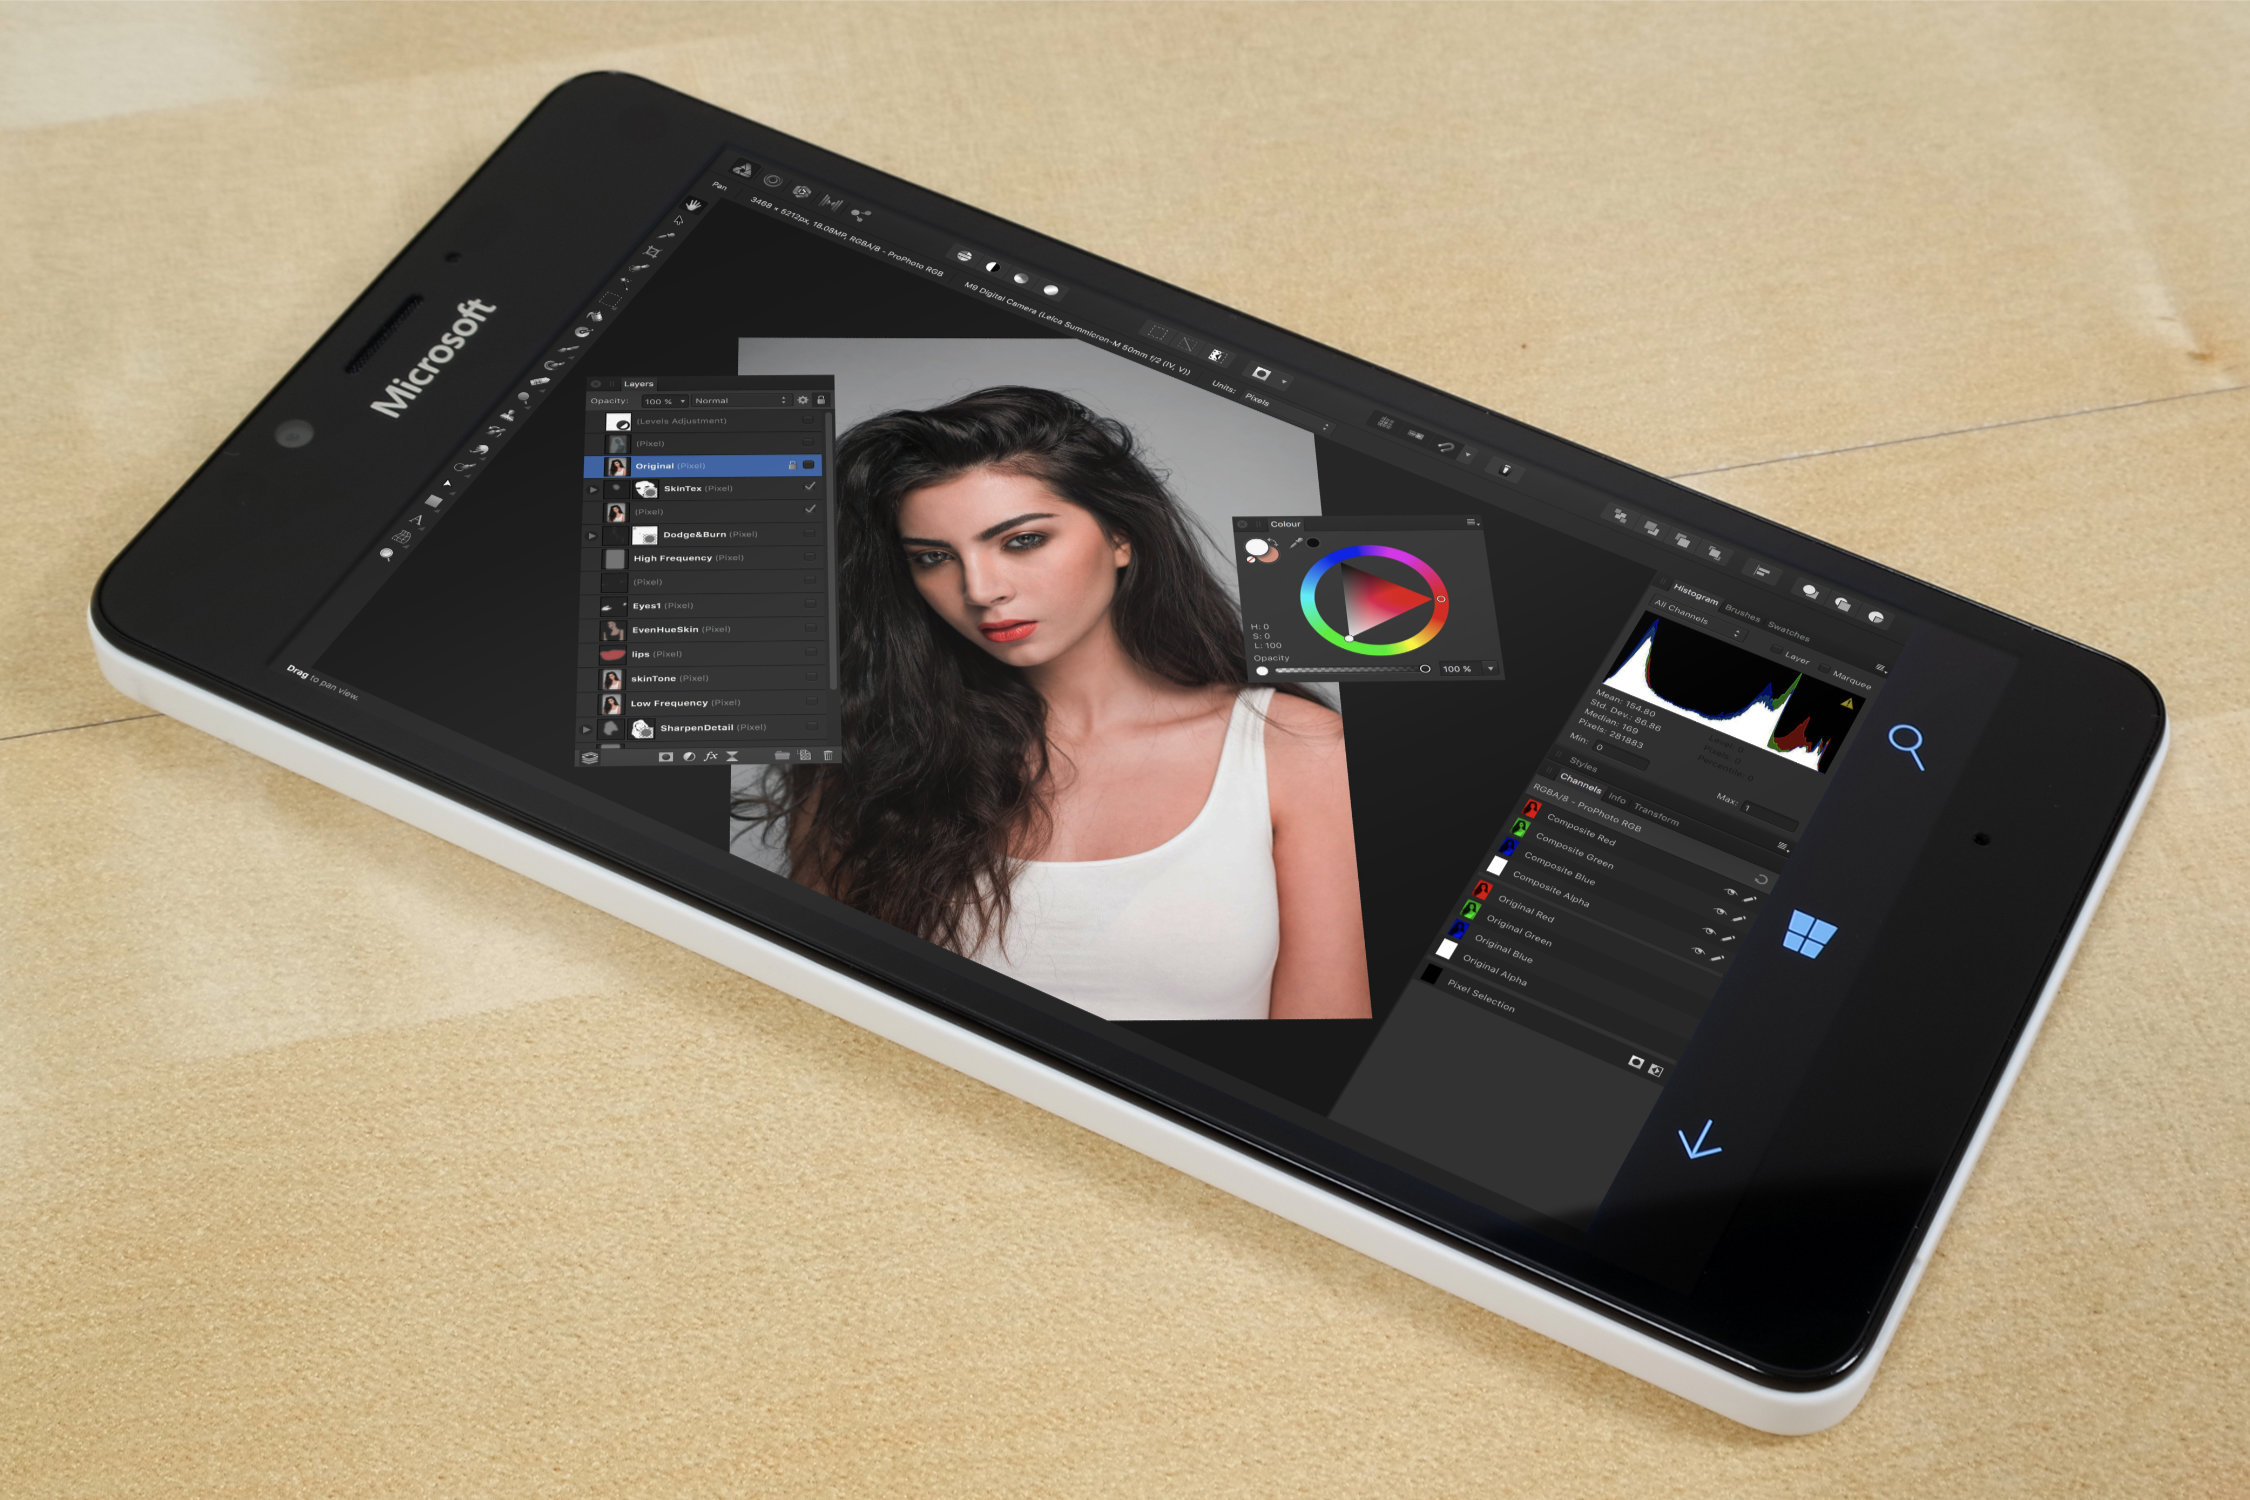
I second this. It'd be incredibly useful for when retouching on a phone. :)
-
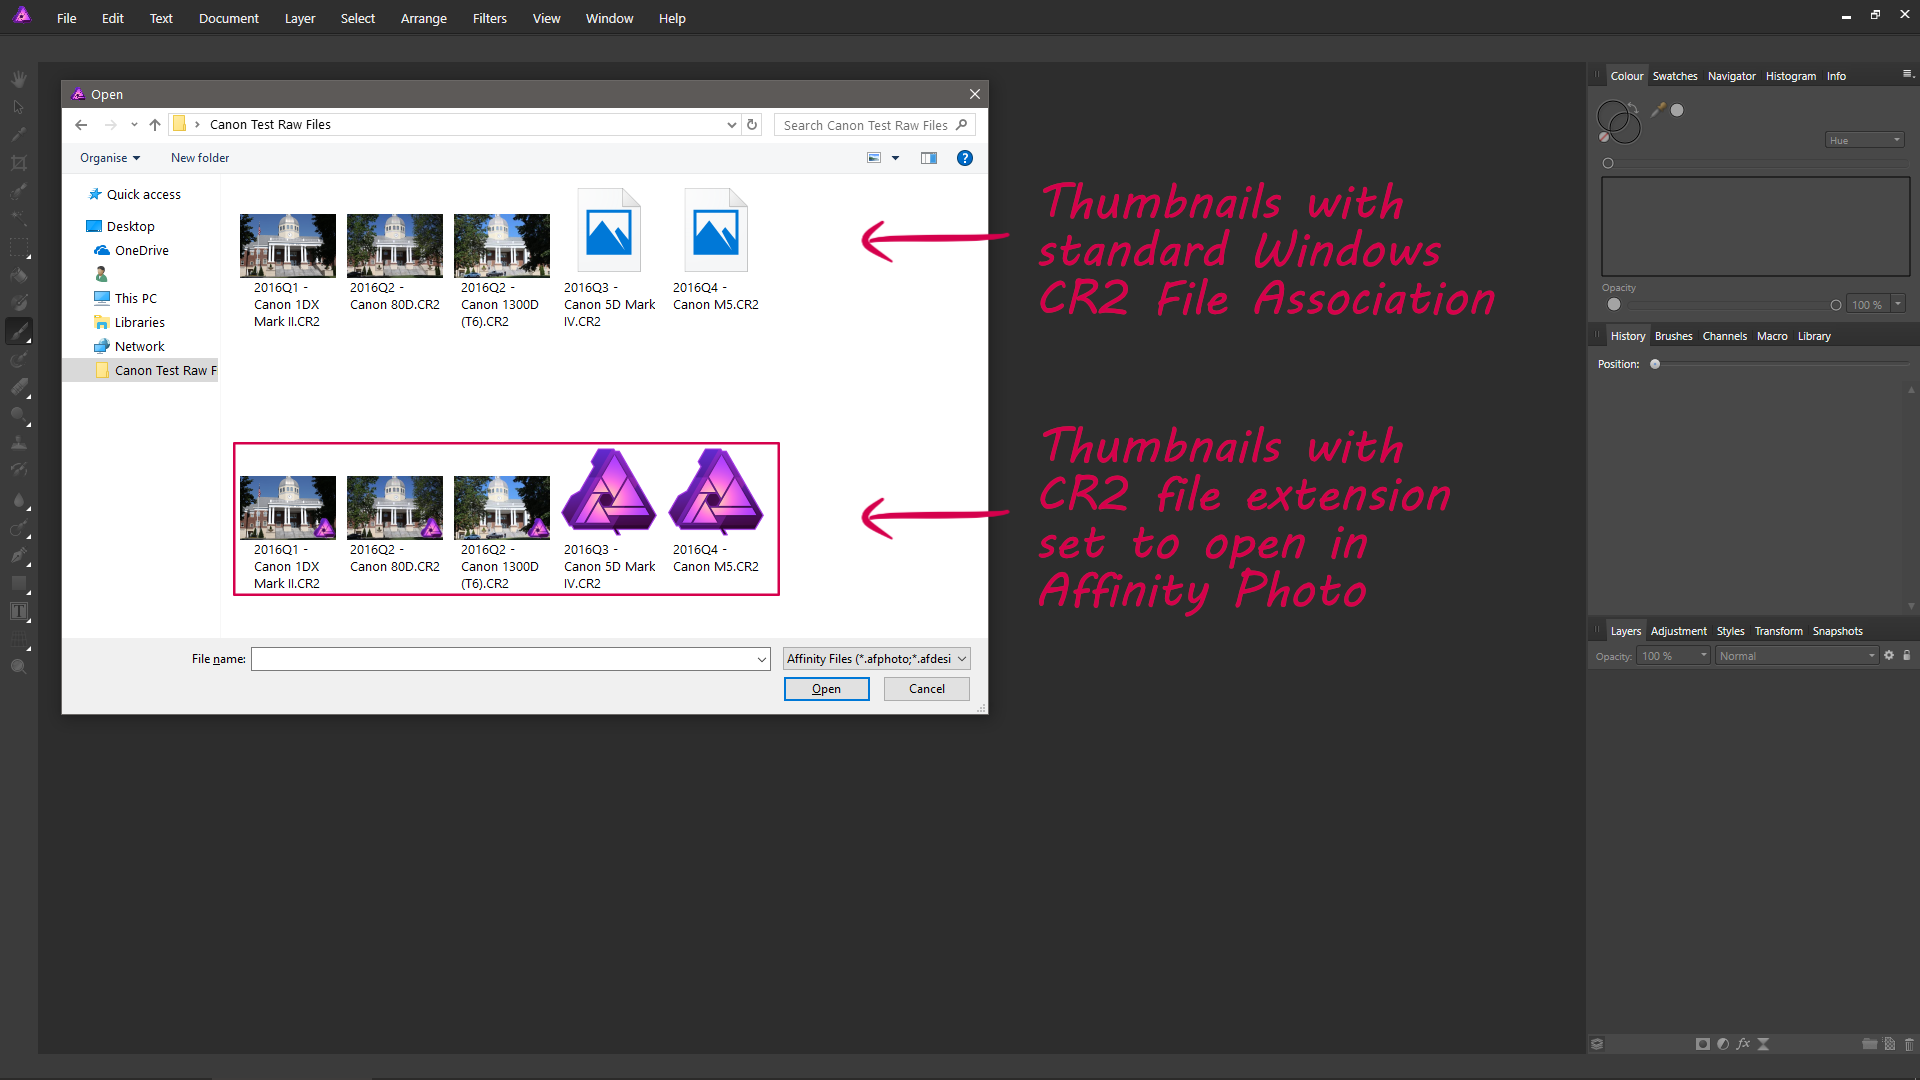
I'm not sure that this is an issue with Affinity Photo, as the Affinity Photo open dialogue uses Windows File Explorer. I'm using Windows 10 and both Windows File Explorer and the Affinity Photo open dialogue show cr2 thumbnails natively without installing any codecs. The cr2 files also open OK in the standard Windows Photos app. The official Windows File Explorer camera raw codecs are installed automatically through Windows Update, although there's a delay between when new cameras are launched and when the codecs are pushed out for them. I've just tested to see which cameras are supported in the current version of Windows 10 (14396.953) and Canon cameras up to 2016Q2 have codecs installed to display thumbnails, those released afterwards haven't yet had codecs pushed out to display them (although I would imagine the Windows 10 Creators Update (15063.11) will probably add codecs for the Canon 5D Mark IV & Canon M5 raw files). If you're running a fully up-to-date version of Windows 10 and your Canon cr2 camera raw files are from cameras released before 2016Q3, then I don't know why they aren't displaying for you. Maybe third-party software is creating a conflict with Windows File Explorer? Possibly a corrupt Windows File Explorer thumbnail cache? Unfortunately I don't know as it's not something I've experienced first-hand, however they should be displaying OK. Screenshot: Links to CR2 files used in the screenshot: 2016Q1 - Canon 1DX Mark II 2016Q2 - Canon 1300D (T6) 2016Q2 - Canon 80D 2016Q3 - Canon 5D Mark IV 2016Q4 - Canon M5