dkistner1111
-
Posts
39 -
Joined
-
Last visited
Everything posted by dkistner1111
-
Oh, duh...snapping! Well, I take heart from your "Eternal beginner" moniker, Psenda. I don't work much in the pixel persona in Affinity Designer. Maybe I should branch out and try some new things!
-
Drawing a rectangle over the image was what I used to try to do, but I couldn't get the size to constrain properly so it was hit or miss. I must be missing something on selecting on one layer and then clicking into another one, because I can only get it to copy the original image to the new layer. Is that what you meant, v_kyr? I did try this, and it works a good bit better better for my purposes: 1. Cmd-J to copy the selected layer (which only has the image on it). 2. Convert new layer image to curves (Cmd-Enter). 3. Click to apply a solid color to the vectored image. That allows me to manipulate the new rectangle if I need to (e.g., increasing its size 10%), but does give me the original image size without having to write down the numbers. Thanks, guys, for pushing me to try something new!
-
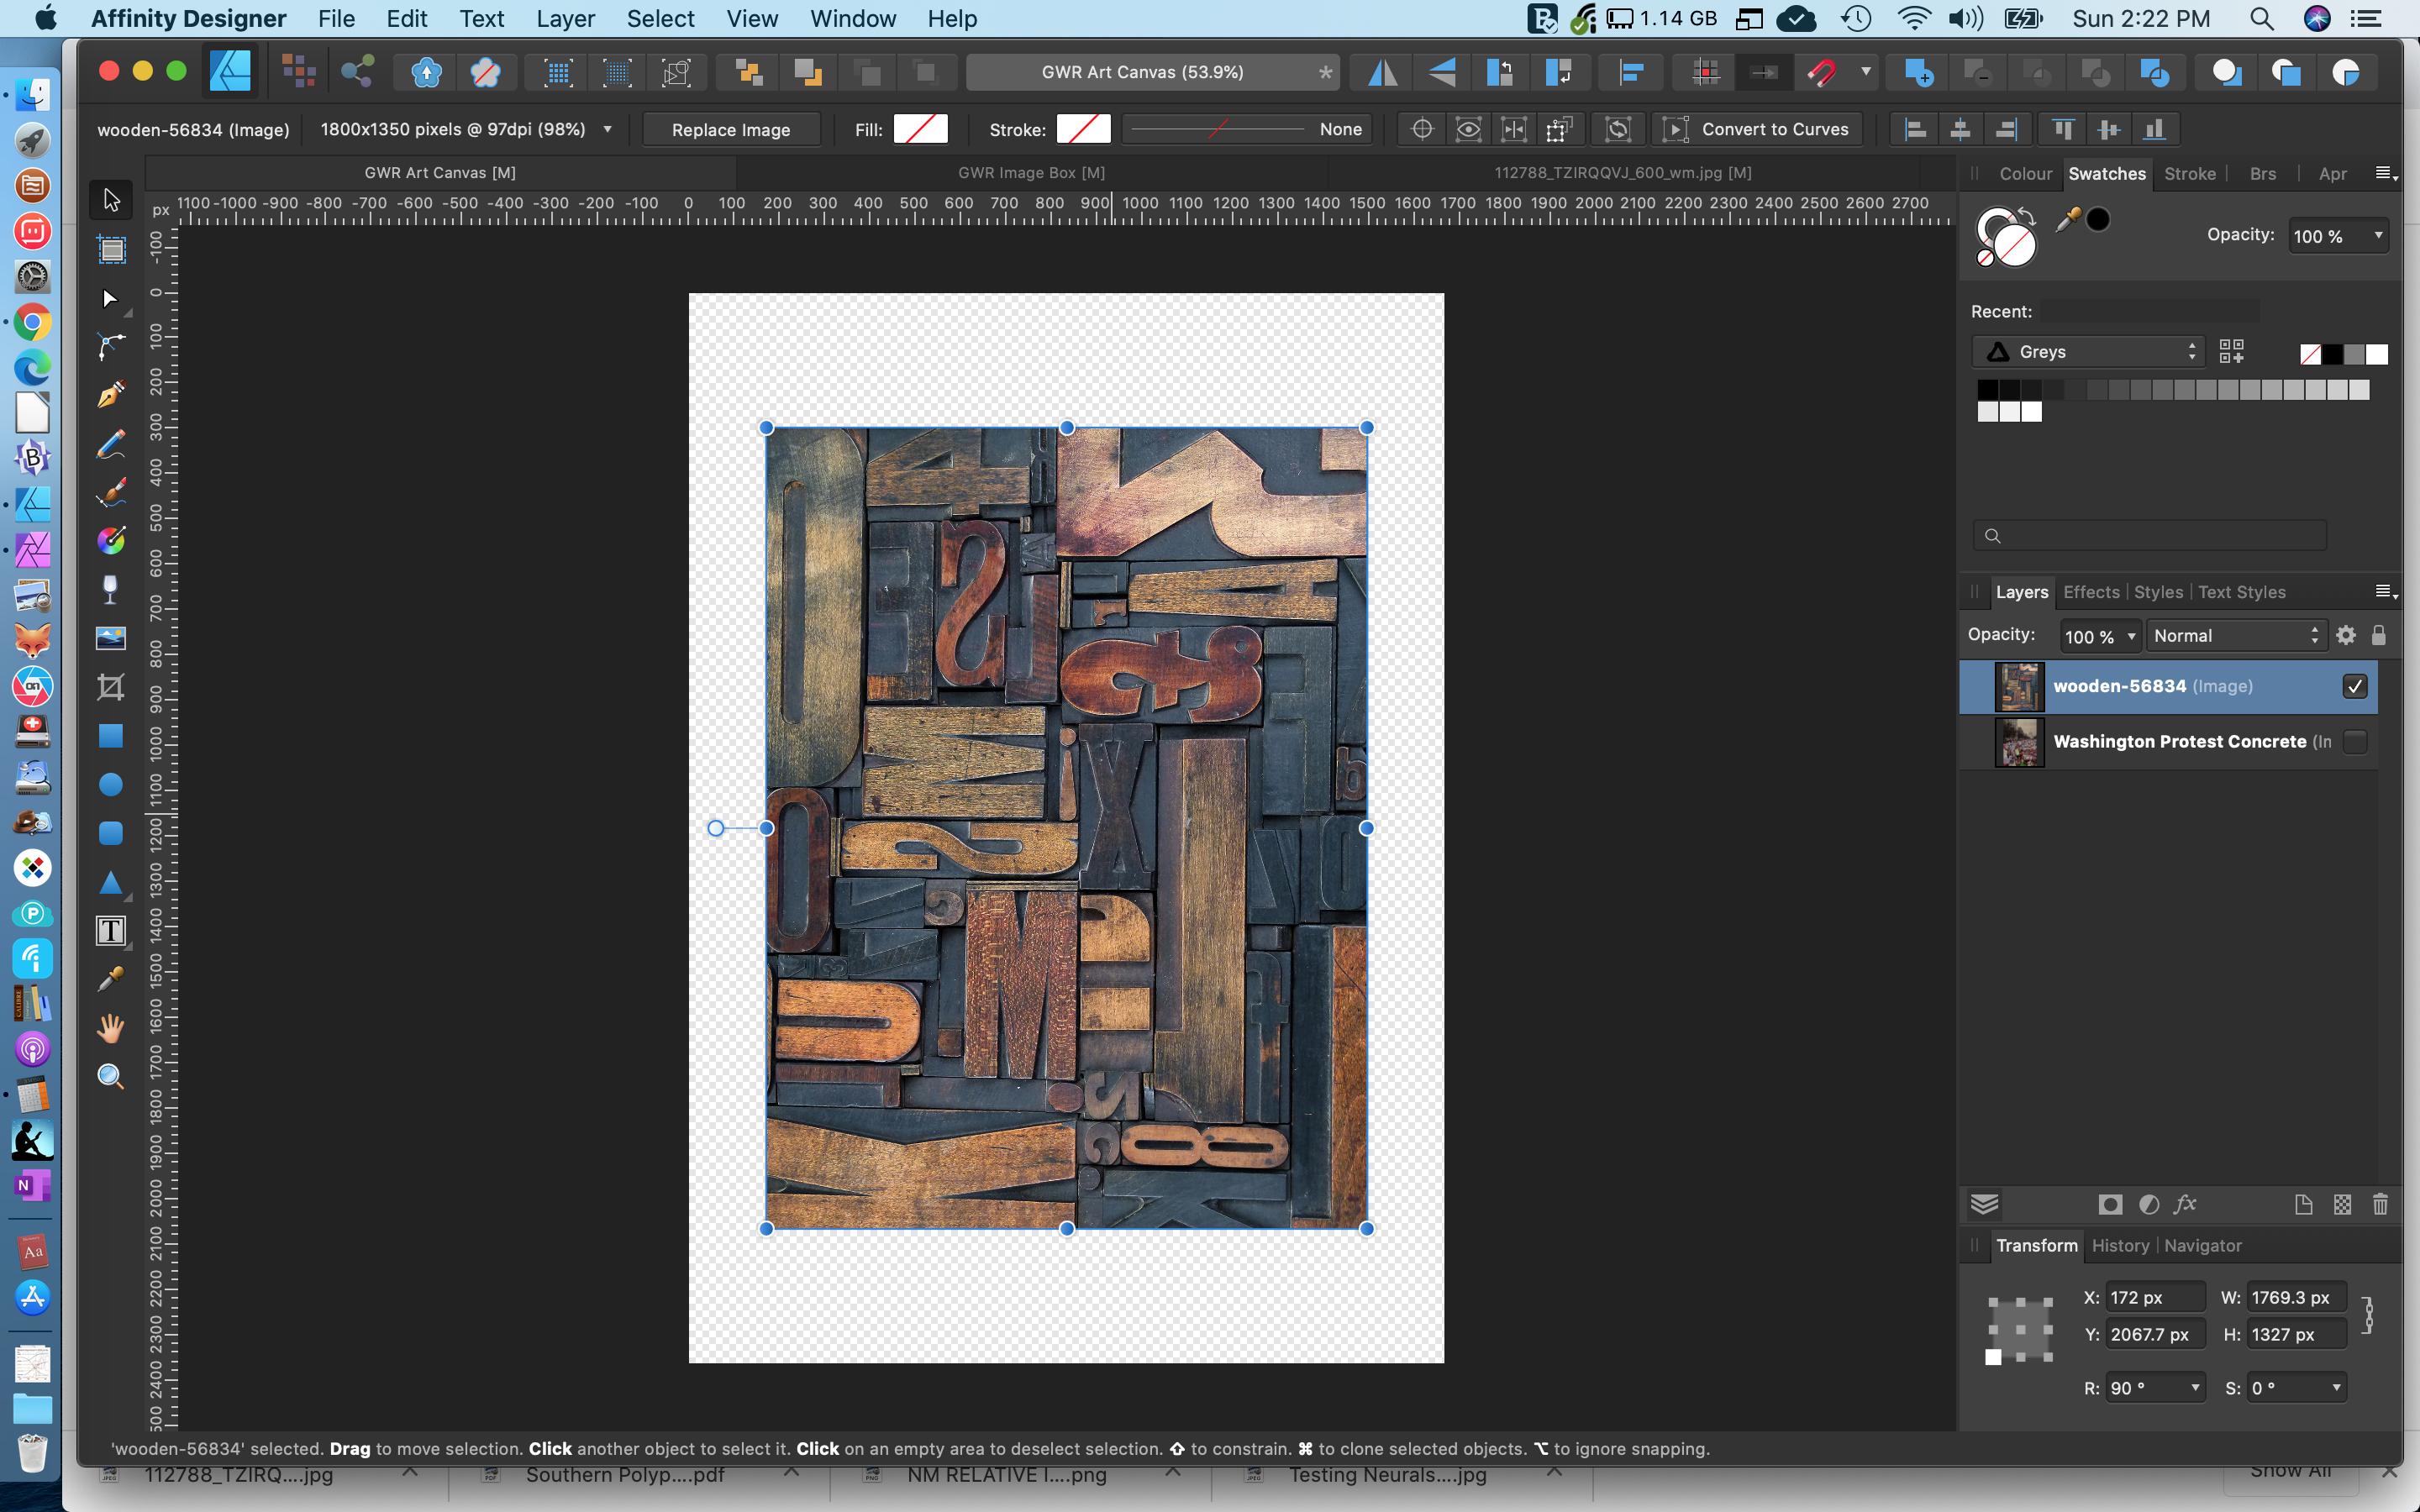
This seems like it should be a no brainer, but I can't figure it out. What I want to do: 1. Select an image. 2. Copy the size/shape to a new layer, without the image. Currently, I have to: 1. Select the image. 2. Write down the W and D because my old brain won't remember it. 3. Open a new layer. 4. Select the rectangle tool. 5. Drag a rectangle. 6. Adjusting the W and D to match the original image size. Surely there is an easier way to do this. Can anyone help me?

-
Thank you. I will go there.
-
I had a bad crash on my early 2013 Mac along with my Time Machine backup failure and essentially have had to start over with a clean install (Mojave). I've managed to get the system restored and Affinity Publisher and Affinity Photo installed, but the download of Affinity Designer from the App Store just hangs and won't download. I've tried everything, including the last resort: walking away and sleeping on it! I don't know if I dreamed it or not, but it seems to me that in the distant past I had to get support for this same kind of thing with the App Store. How do I get Affinity Designer reinstalled without having to buy it again? I've already bought it for desktop and iPad, along with Affinity Photo and all the books!
-
DM1, thank you so much. I was able to get it fixed finally.
-
My pCloud location login takes me to the wrong account. I cannot access any of my resources. I need to know ASAP how to revise login info from Affinity for iPad apps...or, if not possible, how to delete a Location. My new iPad is worthless to me if I cannot do this. Please help!
-
Letter Spacing in AD for iPad
dkistner1111 replied to LastGrasp's topic in Pre-V2 Archive of Affinity on iPad Questions
Ah, thank you, DM1. I called myself looking for it there but I must have missed it. It still would be very nice to have a gesture-based way to do this! -
And while we're at it, how does one edit one's forum settings one is automatically notified of replies to one's posts? I forgot to set it to Notify above.
-
I set up my pCloud log-in with a different email address from what I use for my Affinity iPad software, and when I first set up a Location to pCloud on my iPad, I was not able to access the files I needed. I went to pCloud and shared the folders with my Affinity email address, but in Affinity iPad there does not seem to be a way to change the log-in information for the account so it logs in with my Affinity email and not the original pCloud account email address. After searching in vain for how to change the log-in for this Location in Affinity iPad, I thought I'd just delete it and add it again with the correct password. But I can't figure out how to do that either. Help!
-
Letter Spacing in AD for iPad
dkistner1111 replied to LastGrasp's topic in Pre-V2 Archive of Affinity on iPad Questions
I'm here to ask another question and have been reading through all the questions to see if it's already been answered. In the case the OP posted, the way I would handle this is to convert the type to curves, then space the individual objects (letters) using the alignment tools, then tweak if needed. Which leads to my question: On AD iPad, how do you convert type to curves? I do this very, very frequently, and that desktop Cmd-Return gets used a heck of a lot. Is there an equivalent for the iPad, preferably gesture-activated? -
Alternative export format
dkistner1111 replied to Maurizio02's topic in Feedback for Affinity Publisher V1 on Desktop
As far as export possibilities are concerned, I would dearly hope we can export to the Kindle format, retaining CSS styling without hard-coding in HTML. We publish poetry books and have to do some custom styling to get the formatting to handle correctly in the digital version. It's simple once it's set up, but it doesn't lend itself well to typical off-the-shelf prose formats. We always have to tweak the actual CSS. For example, I have a style called "NewLine" that is applied to the entire document (like a body style), coupled with "NewStanza" and "NewDoubleStanza" styles that handle things like this: {NewStanza}*First line of stanza 1. [NewLine}Line 2 that may run long and wrap down, with the runover automatically hung. {NewLine}Line 3 ditto etc. {NewStanza}The start of a new stanza with additional X points of leading and "Keep with Next" protection {NewLine} {NewLine} {NewLine} {NewDoubleStanza}A new stanza the same as a regular {NewStanza} but with double the amount of leading. *{NewStanza}, e.g., is CSS: < p class="NewStanza" >[Text]</p > I am doing all our poetry book publishing (futurecycle.org) by first styling in Libre Office for the printed version (because we dumped all Adobe products), then importing into Calibre to effect the HTML manipulation so I wind up with the clean styling and no hard-coded junk, then finally working in BBEdit to finalize the HTML before uploading to Amazon for the Kindle version. I'm hoping to switch completely to Affinity Publisher for this entire workflow sequence. So far I'm knocked out by how slick AP it's looking and already feel at home with it because I've been using Affinity Designer for our cover work since it came out. Before I put in a lot of testing effort with the Publisher beta, I need to know if you plan to have a STYLE-based (not hard-coded HTML) export to Kindle/export to ePub choice. See below. In the attached two files, the CS- one is exported from Libre Office as HTML. The hard-coding is completely hopelessly unworkable and what I want to avoid. I could care less if machines can read it; I've got to be able to read it myself and train other people in how to create and debug it. The KD- file was an import of the .odt file from Libre imported into Calibre, put through some automatic cleanup via routines I had to program, and then just the body pulled into the middle of the document header and footer for some manual cleanup in BBEdit and CSS tweaking. The KD- file is the kind of file I want to wind up with on an export from Affinity Publisher. (BTW, to explain why I did not link the CSS: Amazon KDP kept changing how it all worked and I didn't trust them. I'd love to be able to link CSS in Publisher and wind up with an export of what I need.) CS-RD-Arabesque-Interior.html KD-RD-Arabesque-Interior.html -
They added a PDF export that flattens. It's the one that has (Flatten) at the end of it. I have had no difficulty since then.
-
Hey, you guys rock.
-
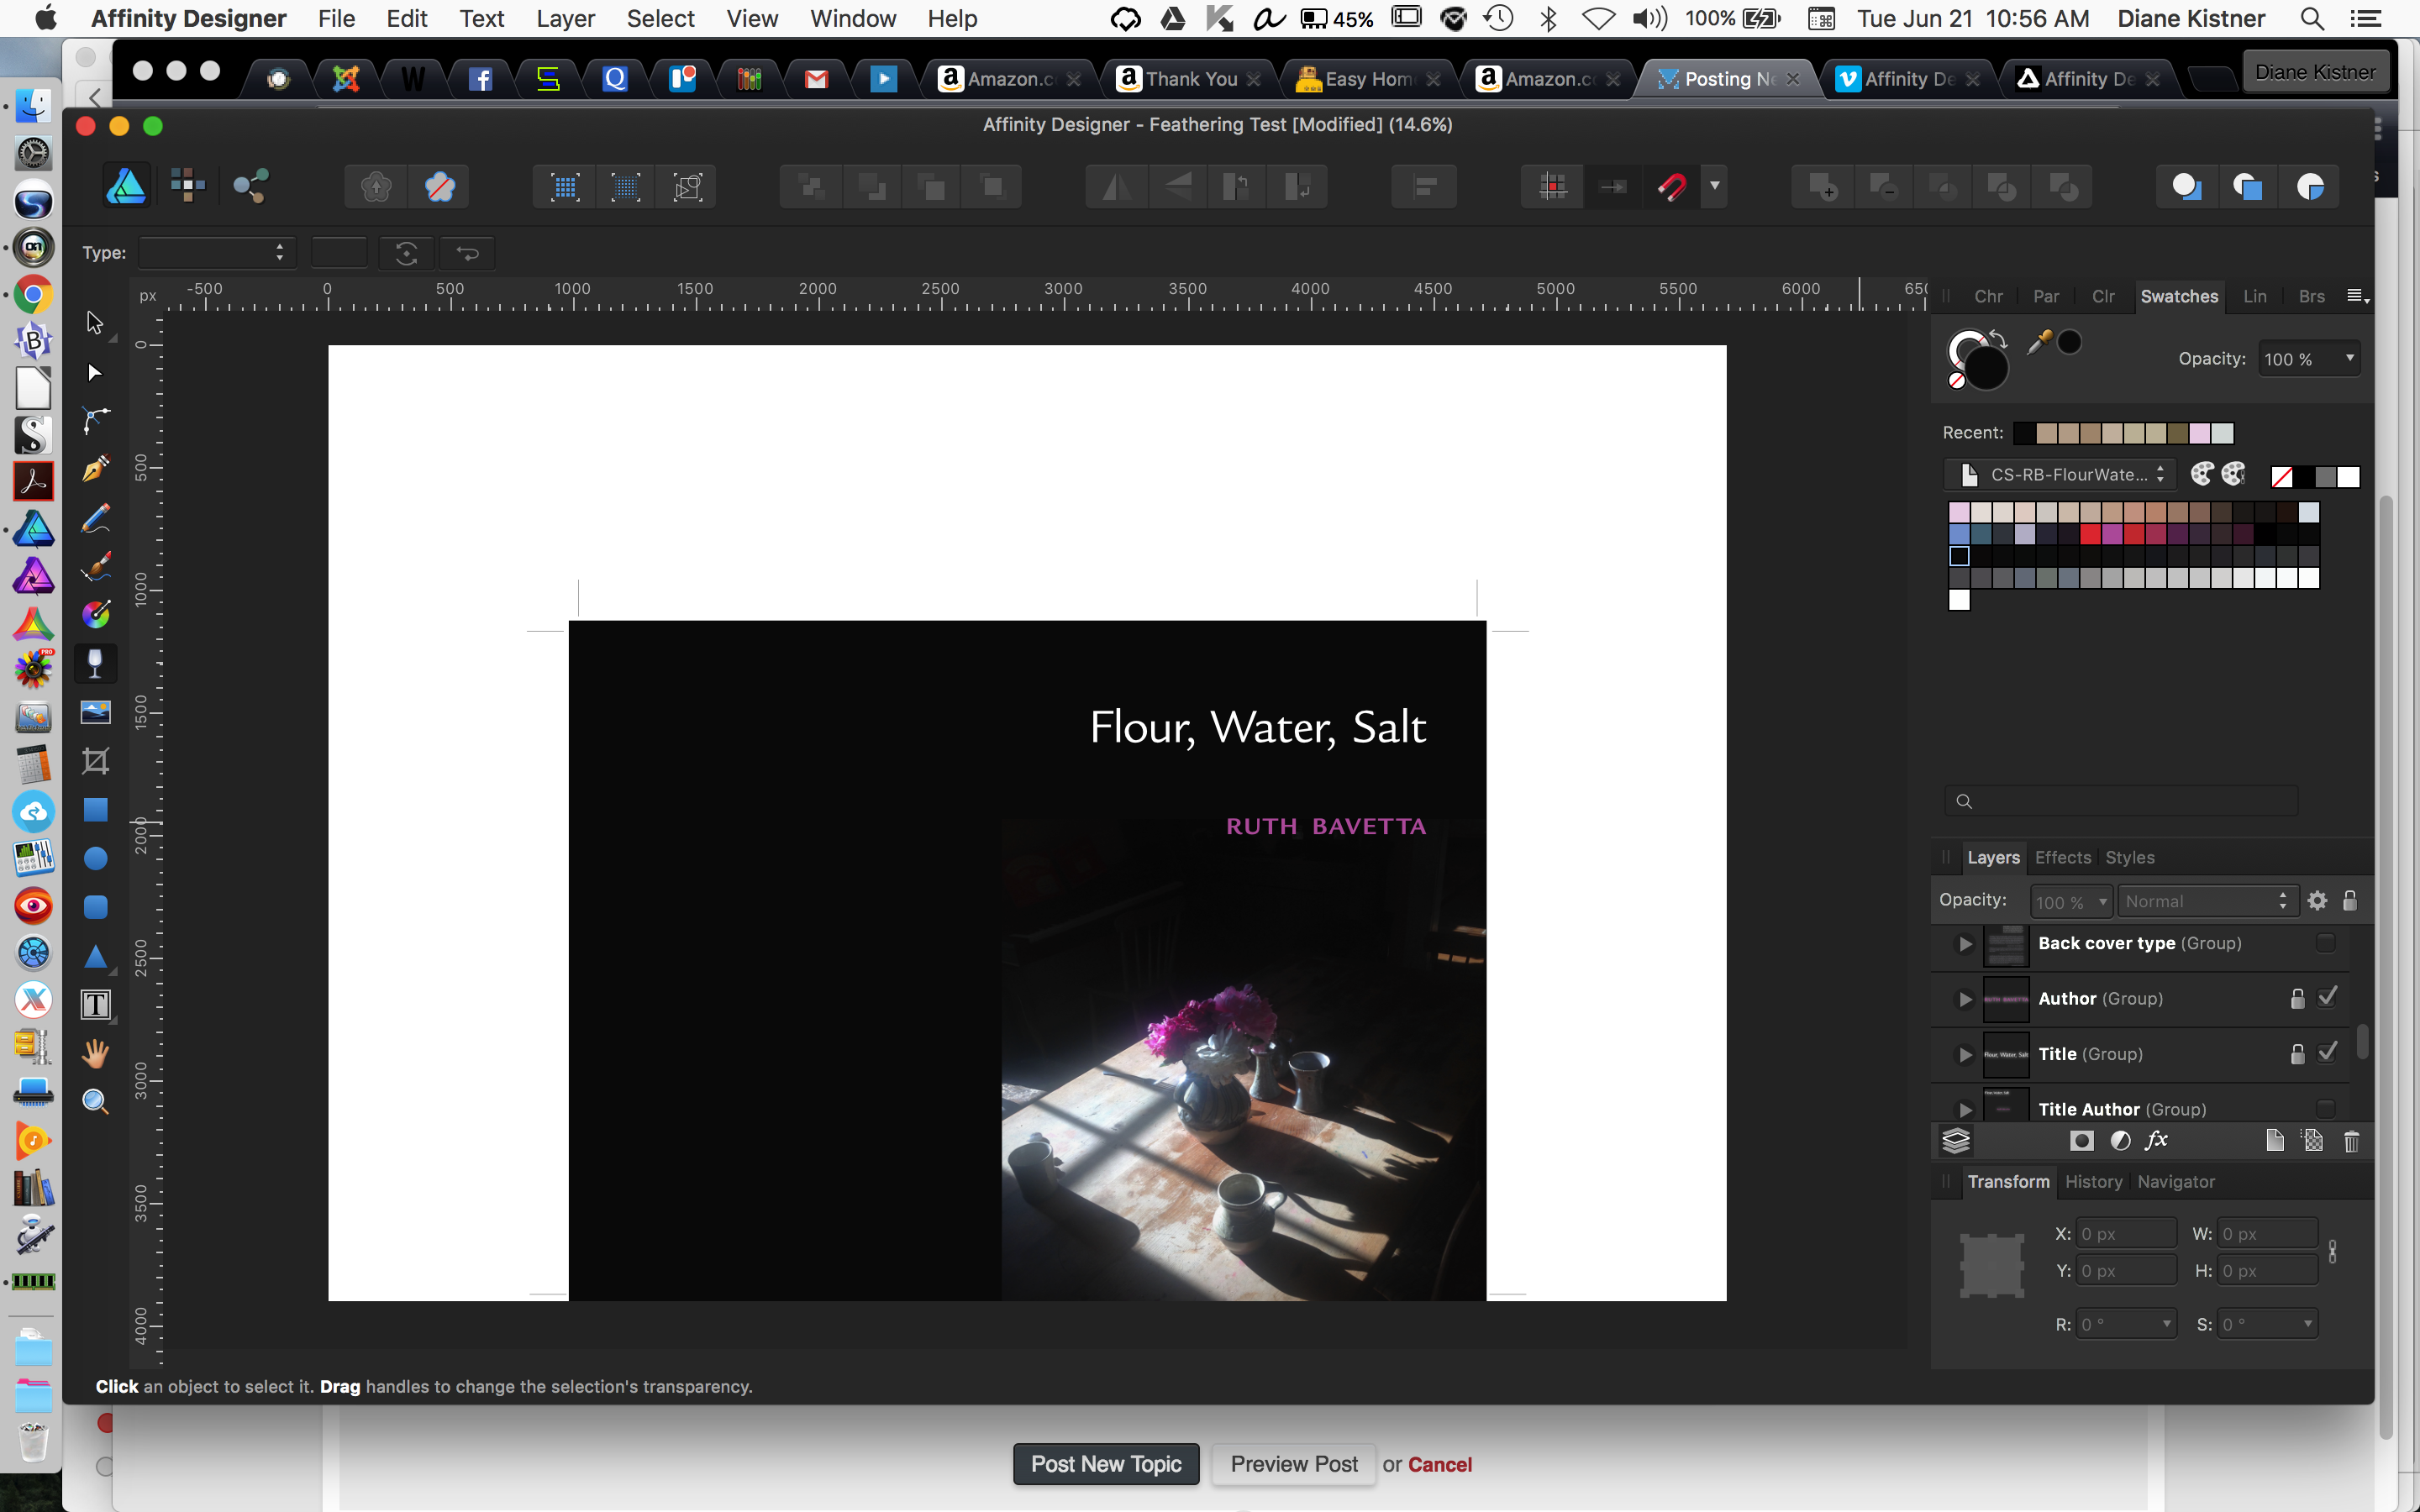
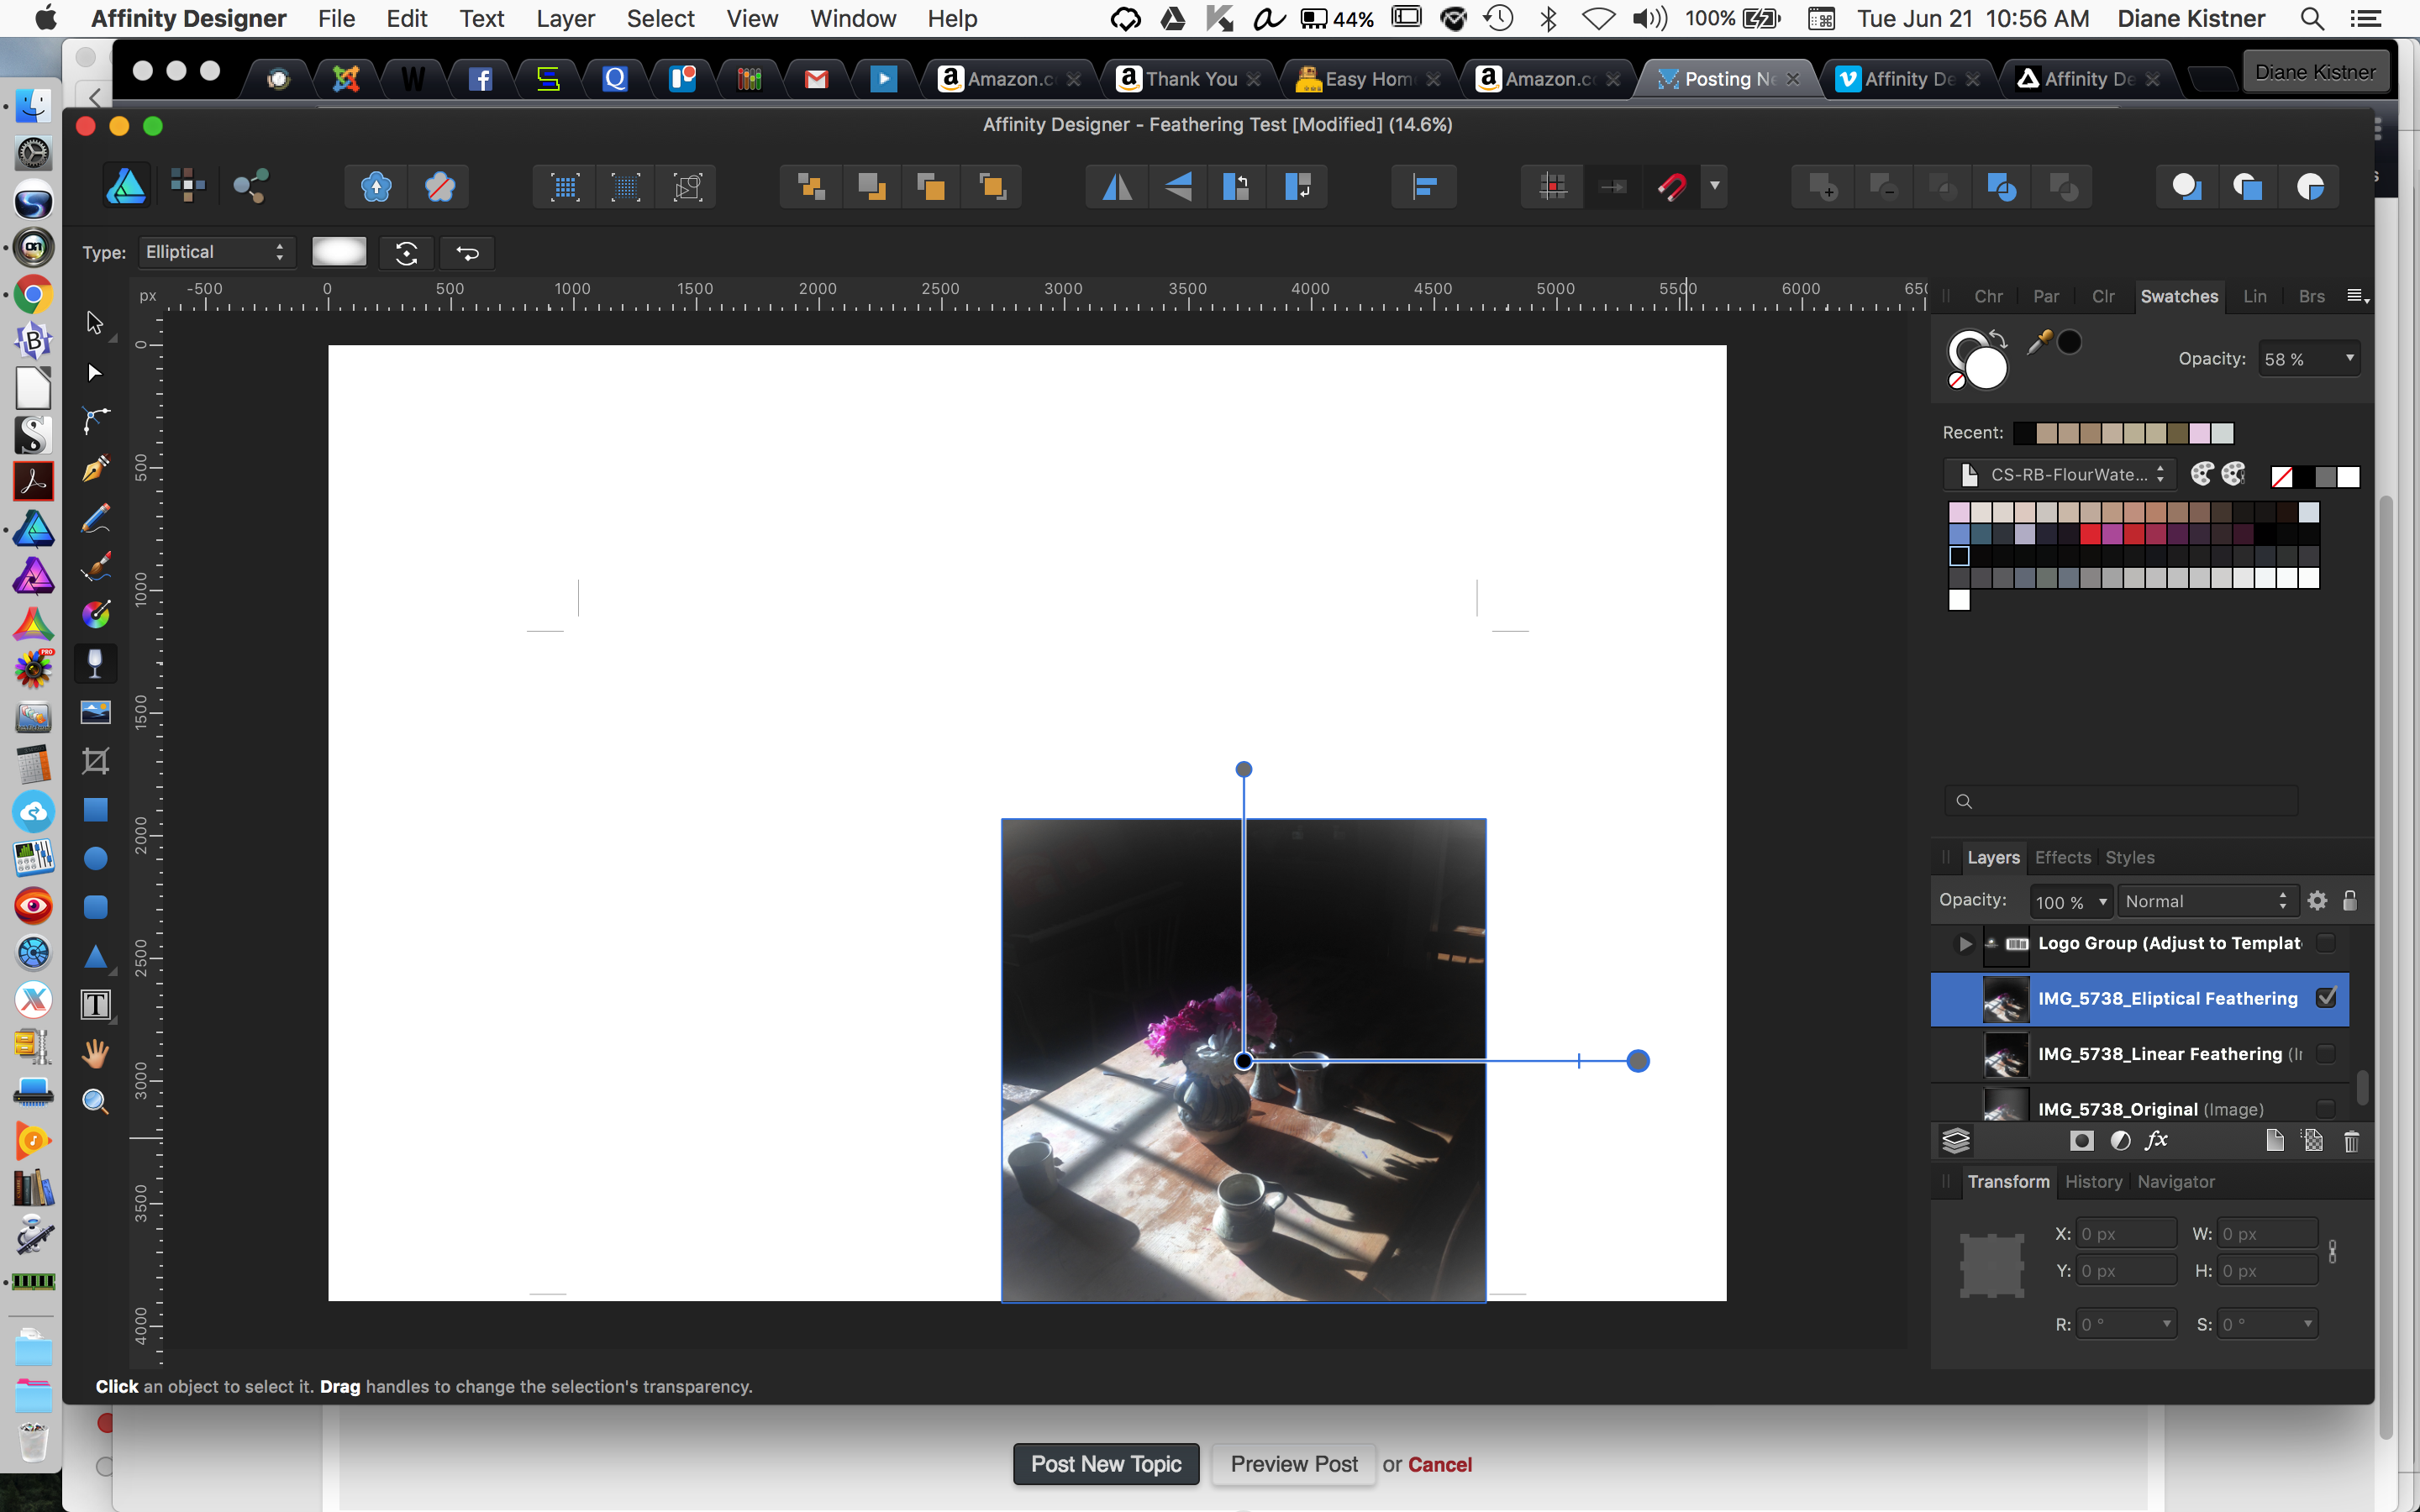
Well, duh! I was watching Affinity Designer tutorials this morning, something I must make more time for, and discovered the Transparency Tool with balloons tutorial. And there is the solution to my problem of not being able to feather the edges of photos to blend in with color-matched backgrounds. Once I get skilled with this tool, it will give me far more control than Illustrator's simple edge-feathering tool has. But the Elliptical type doesn't quite work the way I'd like it to, being that I often need to feather the edges of square or rectangular shapes. Linear works well, but then I have to make a copy of the photo for each edge I need to feather (usually two) and manipulate further in what should be a one-stop process. It seems to me that a logical place to add a feathering-type effect would be here to allow for both vertical and horizontal adjustment on a square or rectangular shape. Something like the Elliptical type but more squarish. Or maybe there is a way to adjust the Elliptical type to make it more squarish? I'll keep playing, but I wanted to let you know that this was a real relief to me to discover. Thanks, folks!
-
I really need feathering. As it stands now, I have to send my images that need feathering to my sister, who has the Adobe products, to do what used to be a very simple thing. It's the only way I can blend a smaller image into a background without a lot of extra work in other programs. It's very helpful that we can create a color palette from a document (i.e., the image) and find a background that comes close, but there is still the matter of the hard edge. Nothing else I've tried works as well as the old simple feather from Illustrator. Please, please, please....
-
Glad I found this. All morning I've been tearing my hair out trying to figure out why my artboards were exporting as white. Overlapping artboards it was!
-
This topic is of great interest to me, and I just found this discussion of PD/X-1 vs. PD/X-3 http://www.newselfpublishing.com/blog/index.html#RGB I need to flatten transparencies for CreateSpace and have essentially been letting them do it for me because I didn't know how to do it in Designer, but I haven't always been happy with the results. I did find this: http://www.kenrockwell.com/tech/adobe-rgb.htm So I don't think I'll be following the advice to switch to the Adobe color space. I'm just wondering if anyone has any caveats for using the PDF/X-3 export persona for book covers (or anything else) meant for printing on a digital press. Up until now, I've used PDF/X-1.
-
Thanks a bunch, guys...
-
I know there's got to be a quick keyboard shortcut to activate the Select tool from a Zoom state, but I cannot make any of the shortcuts I'm seeing work. When I zoom up close, then click on the item in the layers list, the selection tool displays on the list; but when I go back to my workspace and click (which is intuitive behavior for me because I feel like I've selected already), I zoom in another level, which I never want. (I'm usually custom-kerning type when I do this.) I have to remember to click the layer, mouse to/select the Selection tool, and then click on the workspace. I'm wasting an awful lot of time having to do this and, when I forget, to undo the extra zoom level, then click through everything again. The screenshots I've attached don't show the relevant cursors, but in the smaller image, I'm clicking on the layer TITLE in the layers list and I've got a selection-tool cursor. When I go back to the workspace, the cursor shows the zoom-plus tool, and if I click on it I get zooming, which I don't want. Ideally, I wish I could change the behavior so when I click on the layer TITLE, it switches me into selection mode in the workspace by default. What am I doing wrong? Or what is the quickest way to accomplish what I'm trying to do? TIA. Diane
-
I'm here on behalf of my 70-something sister, who I'm trying to wean away from Adobe Creative Suite because she's on low fixed income and cannot afford Adobe's highway robbery. She bought Affinity Designer and Affinity Photo, but she is having trouble with her visual acuity diminishing and cannot see the tools. The grey-on-grey scheme may be pretty, but it's not terribly functional for those of us who are getting older. She is very depressed because she depends on her graphic design work to help keep her focus off her painful fibromyalgia, and it's her one great joy in life to be able to do design. She already has a big honking monitor, but the Affinity tools stay too small even when she's at full screen for her to be able to see well enough to work. Is it possible you could add a hover-over-tools feature that folks can enable to be able to see the tools better? I know you've got the tool tips, but they are really too small for people with older eyes (and I am one of them) to be able to read without straining. Or maybe a skin that people can apply who need help in this department?
-
I am not up on all the designer lingo, but I do know I have to flatten any transparency in my cover designs before uploading the 300dpi PDF to my book printer. When I was working with Illustrator, to get the work to look right, I had to untick the default setting for flattening transparency and enable "preserve alpha channel," I think it was called. I can't find a way to flatten transparencies in Affinity Designer. Maybe I just don't understand the terms used (rasterizing, etc.). Can somebody please tell me how I can flatten all the transparencies in an afdesign document? And if it can't be done, what are my options? Is there an export feature that will allow me to accomplish this, as there is with converting to curves on PDF output? TIA, Diane
-
Thanks, guys. When the reference book on Affinity Designer is written and published, I will be one of the first to buy it...
-
This is very basic, I know, but I've been beating my head against the wall for weeks, watching youtube videos, and trying to follow the forum. Nothing works, and I'm beginning to think I'm as dumb as a potato. That, or could it be the trackpad of my new Macbook Pro Retina/Yosemite machine is defective? (Could it be Yosemite is the culprit?) In Adobe Illustrator, changing the color of a selected object (the Background layer in the attached Affinity file) was a simple matter of clicking on the swatch color I wanted to change it to. This doesn't work in Affinity. Double-clicking on the Fill/Stroke swapper brings up the Colour Chooser, where I can select different colors if desired, but clicking Close does not apply the color. Clicking on a swatch color or a color in the color wheel does nothing. Am I just doing it wrong, or is there something wrong with my machine? I tried holding down Control and resetting everything, but I still have the problem. I was using the beta, but stopped because something had gotten screwy (I forget what), so this is the 1.1.2 App Store version. What should I do? Thanks in advance for your help. StartingAffinityDocument-6x9Cover.afdesign
-
'Twould be helpful!