PixelPest
-
Posts
1,828 -
Joined
-
Last visited
Everything posted by PixelPest
-
Mmmh - maybe like so? Cheers P.

-
How is this? Cheers P.
-
While you can´t have it in a single stroke you may like to go with 2 rectangles: Cheers P.
-
If you accidentally erase across the boarder you can paint it back with black - just in the case you didn´t know it already. :D Cheers P.
-
Did you check the sub-menu of "Brushes" already?
-
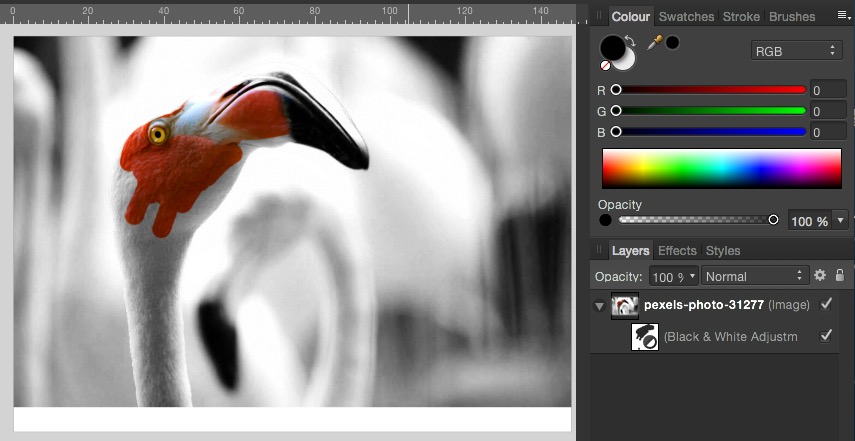
I guess it´s the same workflow as in AD (I don´t have AP): add an adjustment layer to your color raster image called "Black&White" - and on this layer selected paint back the colors with the eraser - for example: Cheers P. PS: MEB is simply too fast for me. :D
-
I think a more robust way is to duplicate the 2 artboards print them out and print then the back side instead of dealing with printer drivers: :D Cheers P.
-
Frame Text Tool should do the trick I guess: Like so? Cheers P.
-
If you´re talking about Affinity Designer. Maybe: Expand the group in Layers panel - select first item - scroll down to the end of the list - hold shift key down and click last item - all items are now selected. If you hold down "shift+alt" you will see only selected items. Cheers P.
-
Kill the fill. :D Cheers P.
-
Have you tries to join these to lines already? Cheers P.
-
Yay! Seems I got the snapping right in the end: Cheers P.
-
But you have to drag it away though - I consider select - drag with alt+shift as the fastest way - no? Cheers P.
-
To enable the Artboard-tool click the little triangke of the selection tool: choose format and hit "Insert Artboard" or if you need a copy with contanet hold alt-key down while click&drag from the former Artboard title. Cheers P.
-
What you want is called "pixel-pefect" graphic - in essence you need enabled snapping and Resampling with "Nearest neighbour" during export: Cheers P. Edit: correction
-
What I´d do is make either a copy of the shape (or an oval -what fits best) - scale it down - add a radial gradient - blur and put it behind the object/shape - fast and efficient to me: Cheers P.
-
That is strange as (in AD - can´t speak for AP) every new layer is above the last selected one here. If none is selected it goes on top of the list. Not so for you? Cheers.
-
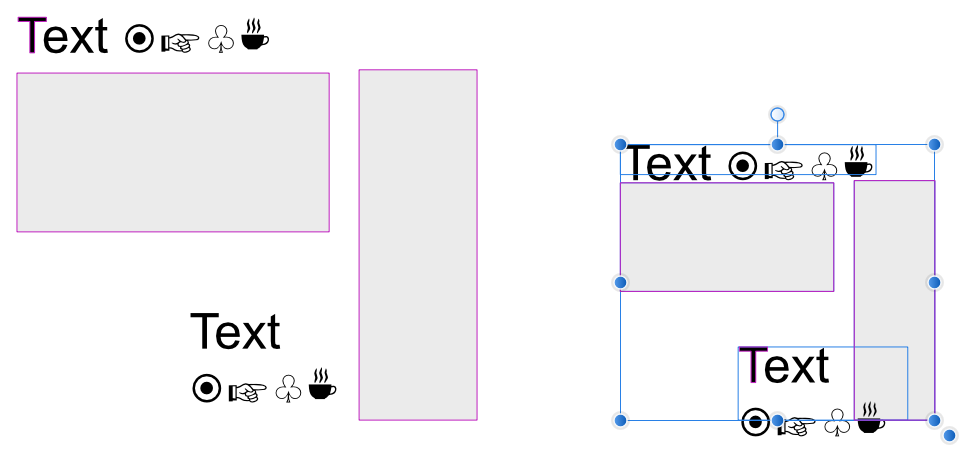
For text and glyphs: When you use Frame Text Tool and the normal scale handles (along shift key to maintain proportions) you will preserve the font size and just scale the graphics: (Maybe you find a way to insert your icons as a text element - Freehand was able to do so - loved it) Cheers P.
-
Thanks guys - I know already how to make my own brushes: But honestly I was hoping the crop markers will do this for me which is not the case obviously. One can dream. :D Cheers P.
-
I thought "my logo color" speaks for itself. ;) Cheers P.
-
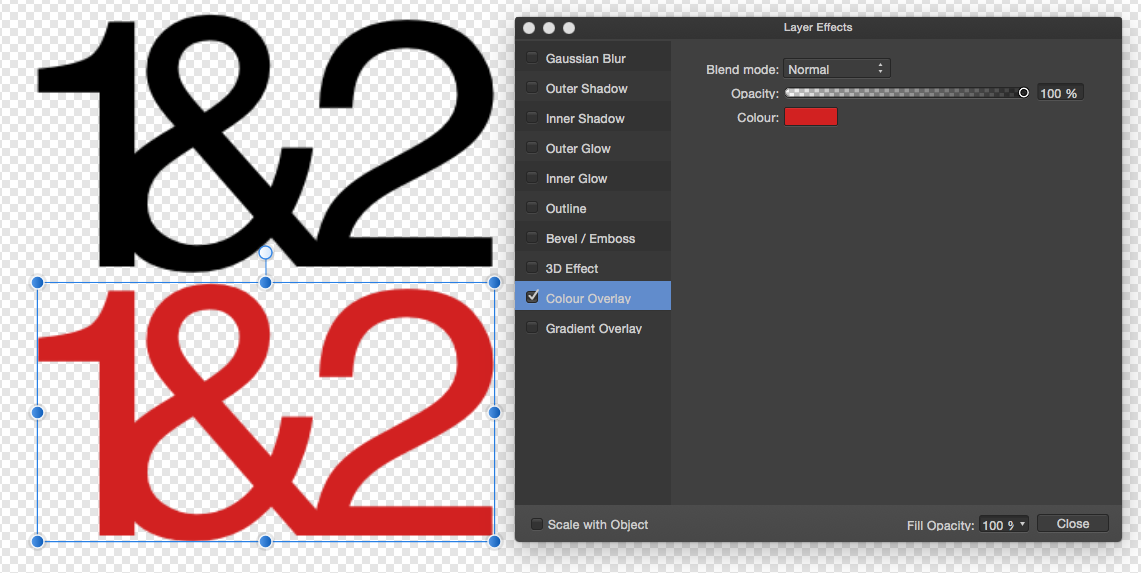
Does this really matter? :D In AD a simpel color overlay will do e.g. Cheers P.
-
Price Issue
PixelPest replied to skkliu's topic in Pre-V2 Archive of Affinity on Desktop Questions (macOS and Windows)
There´s a search function with this forum: https://forum.affinity.serif.com/index.php?/topic/19244-special-promotion-download-of-affinity-photo-at-the-photography-show/ :D Cheers P. -
Sorry Jimmy - I´ve been through all I can think of and even duplicating your settings give me a different result. Can you please upload the AD-file? Thanks. Cheers P.
-
Image Border
PixelPest replied to WelshTony's topic in Pre-V2 Archive of Affinity on Desktop Questions (macOS and Windows)
Ouch. :D Well when resizing the canvas is an option you can resize the image instead (disabling the transparent background of course) - no? I think you´re talking about Affinity Photo. I find it easy in Affinity Designer to add the layer effect "Outline": Cheers P.
-
Here are 5 from the tutorial page about stacking: Stacking: Noise Reduction (1.4) Stacking: Object Removal (1.4) Stacking: Exposure Merging (1.4) Stacking: Long Exposure Simulation (1.4) Maximum Stacking (1.4) Cheers P.