TinPianoMan
-
Posts
85 -
Joined
-
Last visited
Everything posted by TinPianoMan
-
 Hi Callum Thanks for the response. On further inspection, I noticed something was clearly not right with images even before I used the straighten tool. And eventually I tracked this down to an inadvertent resetting of the view quality. I've now set this at bilinear and everything is back to normal. :) For future reference in case this happens again or anyone else has a similar issue, the setting is in Preferences > Performance > View Quality
 -
Here's the latest update on the saga. I used the subtract and combine tricks to rework the text - thank you for highlighting this feature for me, I'd never used it before. I then decided to export all four layers separately as both .eps and .svg and supply them to the printer, along with a psb version that I created with everything in a single file. And still the printer's proof wasn't right. They said they couldn't import the .psb file. So my guess is they were simply trying to bring everything into their system and not actually doing any pre-work. So I bit the bullet and paid for one month's AI to rebuild the file in myself using the very same files I'd sent to the printer. But I've never used AI before and couldn't work out how to do the equivalent of AD's erase blend. In the end, I outsourced the job and sent my AI file along with my layered files. Then I sent the resulting reworked .ai file to the printer and the proof was spot-on. So... what I've learned from this is: designing for the web is infinitely simpler than designing for print AD is much more my kind of tool than AI (which is way too sophisticated for my needs) some printers are less than helpful Thanks once again for all the guidance and input along the way. It's been a long and bumpy road and I'd never have reached the end without the help I got here.
-
Not sure why this is happening, but now when I straighten an image, the image gets corrupted. Have I somehow changed a setting that's causing this?

-
Excellent! Thanks, Mike. The Combine function is another cool feature I was unaware of. This little tip will save me a bunch of time. Much appreciated.
-
Thank you for that, Alfred. I'd never used the geometric toolbar before, so that was quite a discovery. As far as I can work out, you can only subtract individual elements and not groups, but at least I can now rebuild the words and hopefully export them without a hitch. I won't get the flags out just yet, but the day is drawing near :)
-
I'm open to advice on how best to do this. I have four words and need to create this effect for each. I can start again, export in whatever form works best, basically do whatever I need to do in AD. So I'm really just asking how would you do this? Because I created it in AD the way I knew it would work, without the realisation it would be a pain in elbow to produce print-ready artwork.
-
Thanks for the replies, guys. I guess my description omitted a few details. I am using the blue layer as an erase layer solely to subtract from the black layer. I am working with curves but I can recreate if needed as text before I convert to curves. This brief video will hopefully make things clear. :) https://www.dropbox.com/s/ap5wfof3glwc087/2017-03-07_13-38-03%20%282%29.mp4?dl=0
-
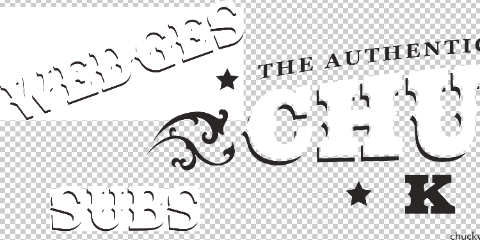
ROUND THREE! Boy, is this taking a lot of work just to get the artwork in a state the printer can use! OK, I think I've managed to get the background set up - by exporting it as a PDF and then opening it in Photoshop if I add an orange background this hides the artefact stitch lines. So far so good. Where I run into problems next is with the erase layers I used to offset the letter shadowing. I've attached a detail to show what I'm aiming for - the first file 'S' is the end result I want; the second 'Sb' shows the blue layer which in AD I set as an erase layer. How can I export this or rework the art so it renders correctly? I've tried PDF and EPS and I get white fill in any group containing the erase layers - as shown in the third image. (The text for the logo - CHU... - exports perfectly, but that was supplied to me and unfortunately I have no idea how the effect was achieved.)
-
Thanks again, Mike. This is really helpful. Most of the work I do is web-based, so I have to tread carefully as I venture into new territory and having no flesh-and-blood colleagues around, it's a godsend to have this forum to seek support. To clarify - the job is only the canvas part as the wagon is made of wood. The canvas will be printed in three components - roof section and two side panels. The roof section width is 3000mm. This printer asks for: PDF or jpg. So I guess I'm going to have the same kind of conversation about profiles and presets as I had with the signboard printer. :wacko: As for the current file dimensions, yes, that's correct the illustration file is currently around 4000px @ 300dpi, taken from the photo original which was 5124px @ 300dpi (usable element around 3000px)
-
Well... I've just had a long conversation with the printer and they confirmed they don't specify a PDF preset or colour profile and PDF/X and FOGRA29 don't mean anything to them. It's only come to light because I need to convert the artwork from AD to a format they can work with. As long as they receive the file in .ai format, they open it in AI and send it to their system. So the key to getting this right is going to be for me to create a faithful .ai file they can work from rather than give them something they are going to convert to .ai themselves. I've just run some tests with different presets and colour profiles and this is clearly where the discrepancy originates.
-
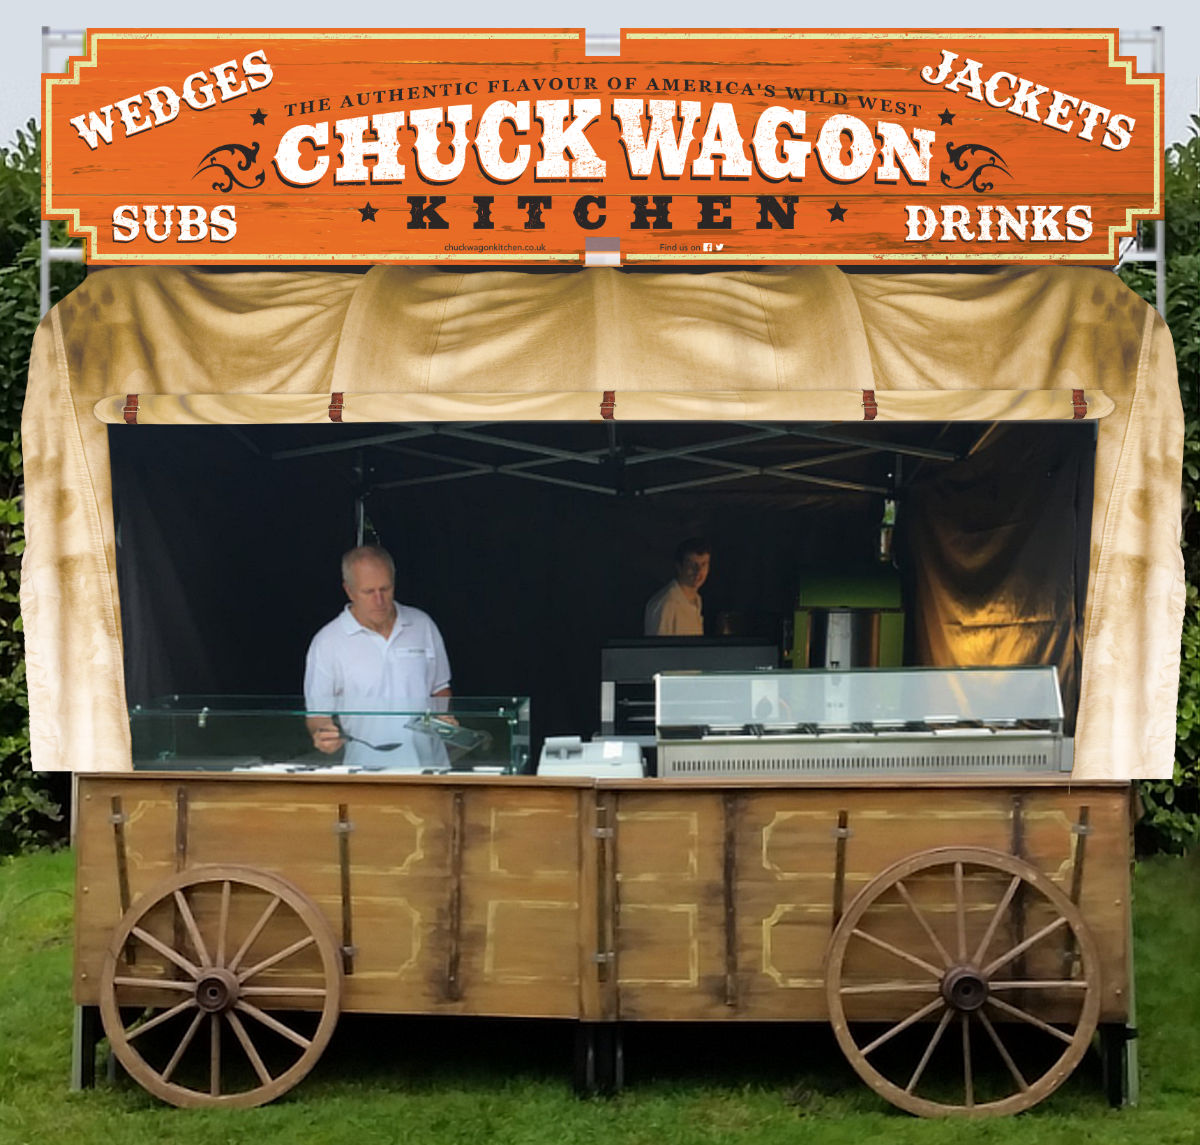
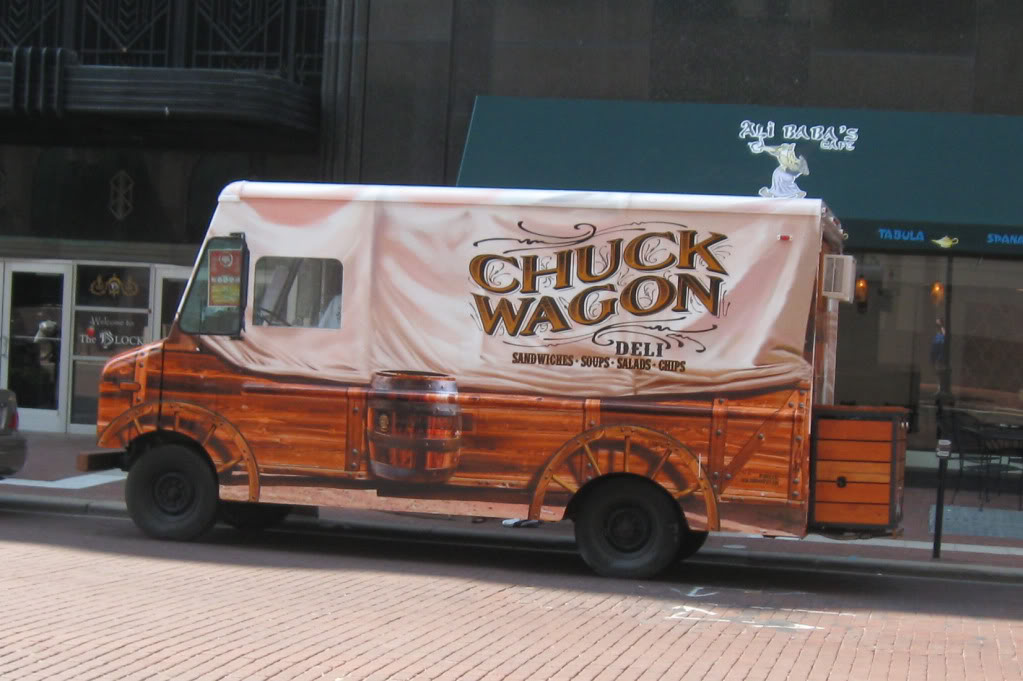
This is a mockup of what I'm talking about (the image with the guy in it). The canvas artwork will be used as a false front for a food stall. So it will be viewed both at a distance and up close. The truck is a found reference - this is the kind of effect we're aiming for.
-
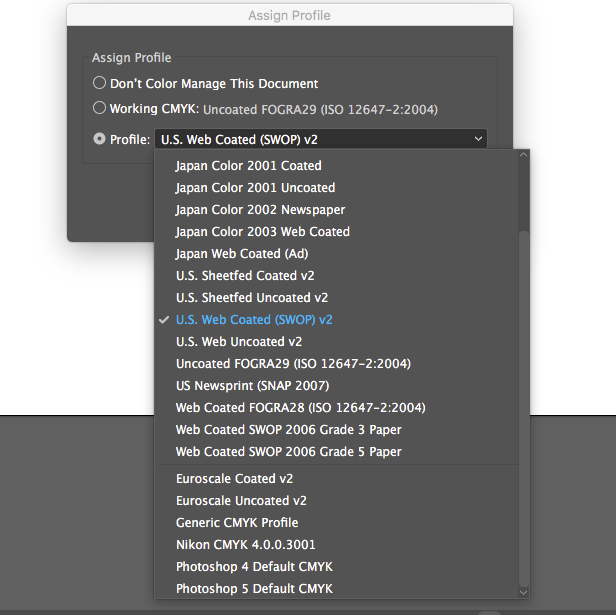
I open up AI and when I check the profile setting, it's none other than US (SWOP). Should I leave it at that or use something else - FOGRA29 maybe or Generic CMYK? I know the printer should be able to advise on this... but I'd prefer a professional opinion ;)
-
Thanks for the step-by-step, Mike, I really appreciate your help with this. I did ask them last week which colour profile they use and the answer from their tech dept was... CMYK :o I sent them a screen shot to show what I meant, but still they just said CMYK. As for that US SWOP profile - that's the default apparently - or else it somehow became the default on my installation and remained so after resetting. I have no idea what it is. I followed your settings when I exported as PDF and used Color format CMYK/8, Color profile FOGRA29, Export compatibility PDF/X-4. And what I got back has those stitching artifacts, a wrongly positioned layer (they scaled it up when it was already s/s) and interference that trimmed part of the text... So I am naturally doing my utmost to make things foolproof - even for a printer :unsure:
-
Thanks Mike. I checked with the printshop and they say they open PDFs in either CorelDraw or AI. I've learned a new term today - stitching artifact. I knew it wasn't technically a keyline, but at least you knew what I meant. :-) I;m going to have to look into the best way to do this from here. One possibility is the do the PDF shuffle Alfred has referred to. I've just downloaded AI on a free 7-day trial, so I'll see how the twice-converted file looks when opened in AI. As I'm working at the limits of my tech skills, I'm not exactly clear what you mean about the transparency element. I've discovered if I export as .eps, the erase layers are converted to black.I need to find a way to output this so it can be used to screen the text and create a flaking paint effect. .
-
Thanks Alfred. I'm not surprised - it didn't seem right when I thought I read it, which I clearly didn't. That also explains why Fido keeps ignoring the bones I give him. :) The PDF shuffle must be what I read somewhere - I'll give it a try. Thanks!
-
Apologies for the delay in catching up with this thread and all the responses (I've been distracted dealing with complications on the other half of this project). First, many thanks for everyone's input. I can certainly relate to the dpi and viewing distance issue - just walking right up to a huge advertising poster shows this principle in practice. Since my original post, where I said I would try creating the file myself, I've now decided to leave it to the illustrator - but this still leaves me with some uncertainty over how best to supply the artwork. I will liaise with the printshop on this, but as a rule of thumb would it make sense to create the artwork s/s so the dimensions are, say, 3000mm x 150dpi? And if so, then is there a way to take that original jpg and convert it in some way so as to minimise the effects of scaling up so much, even if this results in a more illustrative image rather than photorealistic?
-
So... it seems we still have problems! The print shop's spec page says: Artwork can be supplied formats such as: .ai = Adobe Illustrator .cdr = Corel Draw .eps = Universal file type .pdf = Universal file type Mac users should supply an Adobe Illustrator File. This must be saved as Illustrator EPS and post script level 1 or 2. Select PC compatible. but even with the layers supplied in PDF format, they cannot reproduce the artwork correctly. The proof has the same problems as before plus some additional ones! So I am going to try EPS and one other trick I read here after a bit of searching. It seems if I save the entire file as .afdesign I can then change this to .ai and it works like an .ai export. Am I correct in that assumption or have I misunderstood? I tried it and I was able to open the .ai in AD, but as I don't have AI I can't see how it would convert. Simplifying layers? One other query - I have used a grouped layer of flecks in vector format to create the effect of flaking paint - what is the best way to incorporate these layers? At the moment, I have four side-by-side individually rotated/flipped layers which are then duped to intensify the effect. How could I bring this into a single layer without losing the vector format? For some reason, the printshop's proof is picking up a keyline around each of these 4 side-by-side layers even though there is no keyline there - see attached. Here's my layers snapshot: https://db.tt/7eBpQvvBJG
-
I managed to find out the reason for this - and in the process learned all about colour space and the need to be careful about using preference settings and 'use document' settings. One of the problems was CMYK/RGB, another was Generic RGB/sRGB. Anyway, I note it here for future reference, but for now, this is case closed. :-)
-
I seem to have inadvertently changed my colour settings and now cannot work out what I need to do to revert to how it was. On the right is an image I exported a couple of days ago. On the left is the same photo exported today. I've also shown my settings. Any thoughts?
-
Yep, just needed to be a little more patient. All seems to be working to plan, so let's see what the print shop makes of it this time. Thanks again.
-
:D In that case, I'll let it run. I'm used to exports in AP and AD taking a few seconds. Thanks Mike. I'll give it as long as it needs and report back.
-
Thank you Stephen, Fixx and Mike for your help. Really appreciate your taking the time and trouble to respond. After some further experimentation following your input, I decided to rebuild the background from scratch and keep it to a single layer with no screens or blends. I also changed the shadow FX and duped the text layers as suggested - I even worked out how to include a transparent layer between the white and black for offset shadowing to match the logo text. File dimensions are s/s to banner print size: 3420 x 880 mm. DPI set to 200. Color format CMYK/8. Color profile FOGRA29. Export compatibility PDF/X-4. File size is now down from 17.1MB to 3.5MB. So far, so good. But every time I try to export this as a PDF, the export stalls and never completes. Any thoughts on why this is happening?
-
ok. yes, background should be orange but is becoming red. i will send you the file link. thanks Mike
-
the fine keyline is something I was able to fix by overlapping the separate shapes i used to create the border. for some reason the butted shapes produced that gap some of the time. the colour difference you identified is semi-deliberate - it's the bleed. i hadn't included it in my original so had to add it later but couldn't perfectly match it. The orange background comprises two layers - one normal, one screened, with some fine adjustment to the curve shapes that make up the vector work. The bleed area is two more layers created in the same way but not perfectly matched. So the entire background is four layers.
-
Thanks for the replies, guys. I have some more info to give you. First, here's what they ask for: Vector Images Artwork can be supplied formats such as: .ai = Adobe Illustrator .cdr = Corel Draw .eps = Universal file type .pdf = Universal file type Mac users should supply an Adobe Illustrator File. This must be saved as Illustrator EPS and post script level 1 or 2. Select PC compatible. All Vector files must have their fonts converted to curves, or have the fonts sent or embedded into the file if saved as text. Unless stated, images should be saved at a scale of 1:1 and proportioned correctly to its positioning on the final panel. So, yes a PDF would be ok. But after trying some exports as pdfs and viewing them, it's clear this is not straightforward. If i work to scale with using 1px = 1mm, the pdf definition deteriorates at actual print size. To combat this I created a same-size version with the artwork file 3420mm wide. I attach actual size views of these two comparisons as both afdesign file and pdf. Colour is not consistent and the hard shadow effect on the type has is either not rendered or not rendered cleanly.