thomaso
-
Posts
11,608 -
Joined
-
Last visited
Everything posted by thomaso
-
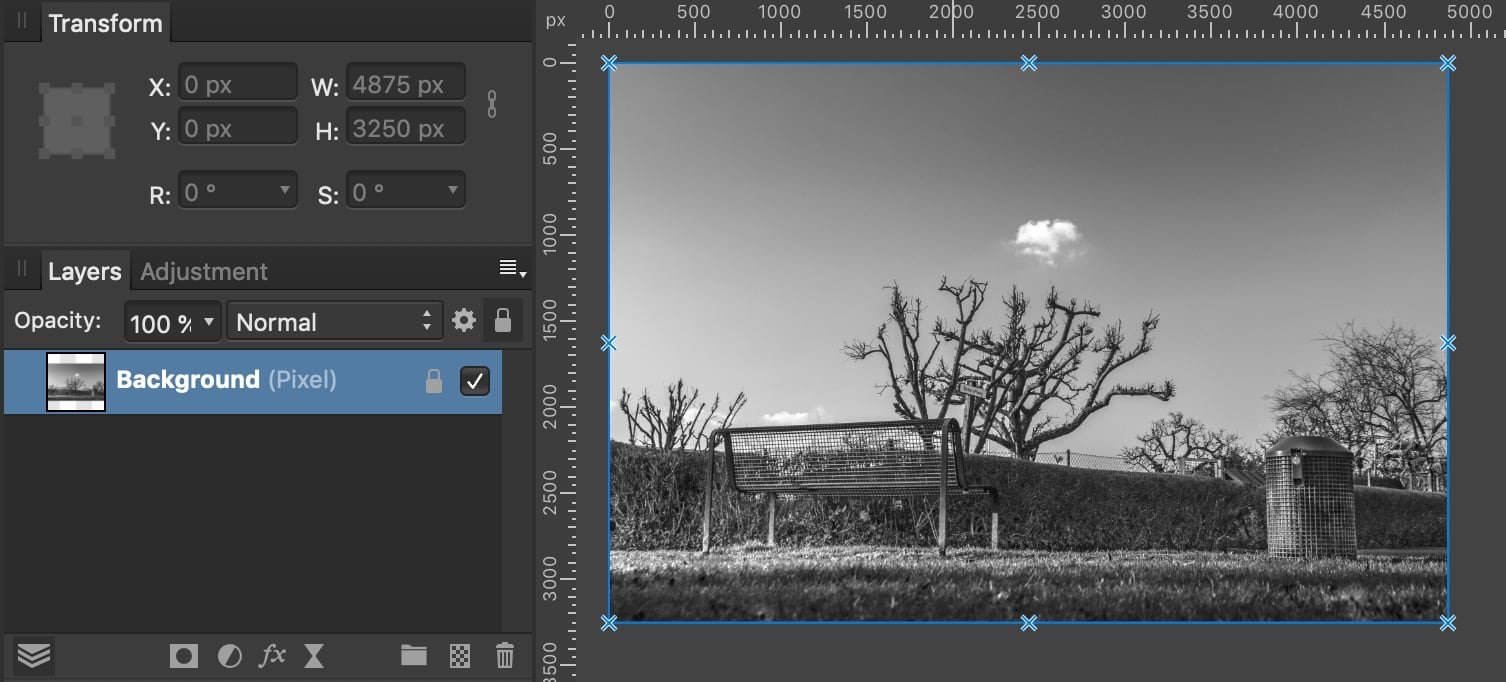
 As assumed, your "Mono" image is not 1-bit (= 0% | 100% K only) but 8-bit grayscale (0 – 100% K). And it is saved with the profile "Dot gain 20%" which may reduce its max. darkness. Also the stars aren't white but ~30% black. Also in APhoto you have various options to increase the contrast for more or pure black & white, for instance:
-
Both doesn't happen to me in macOS, APhoto, V1. After typing the value pressing 'Enter' closes the dialog directly + keeps the feathering preview applied. What versions of operating system and APh are you using? – Does it work without issue if you use the tab key to move from the value field to the 'Apply' button before pressing 'Enter'?
-
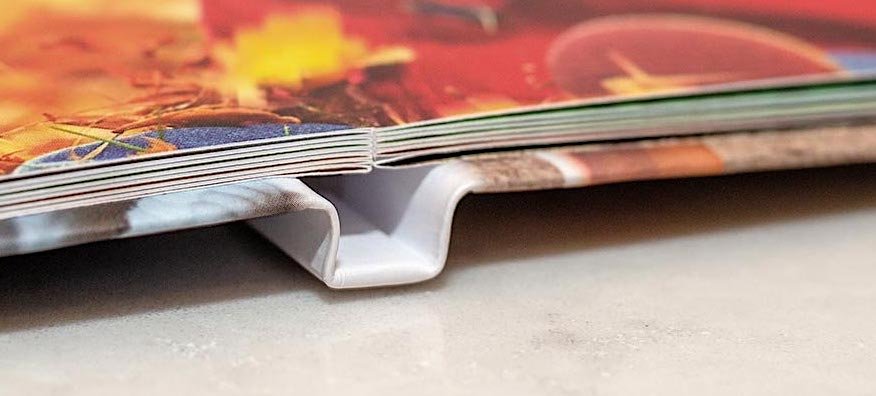
There it might be simpler to use a Picture Frame with a white, inner stroke assigned, especially if you need to edit a bunch of images. For scans with same aspect ratio you could speed up the workflow with a Picture Frame as Master Page object.
-
Hi @Aphotik, welcome to the Affinity Forums! You can't influence or adjust the bleed for certain pages or spreads selectively. If I understand right you want to get the spread in the centre of your book printed as a single page but not as an imposed combination of a left + right page? Technically it would be possible but would require additional effort in the entire process to hande this centre spread differently and separated from the rest of the book … and this might not be worth the extra costs. Another production workflow for the entire book might be an option: It prints the spreads without imposition (from a PDF that was exported as spreads, not single pages) and prints 1-sided only (without the back side of each sheet). Each resulting sheet gets folded in its centre + glued at its backside with the following or previous page. So page 1 gets glued with page 2, page 3 with 4 etc. This way you don't have any bleed or cut in the centre of each spread because each spread is produced as a folded sheet in the full size of 2 pages. – Common names are "flat binding" | "lay-flat binding" | "leporello binding". Nowadays various (online) (photo-)book print services offer this choice.
-
Layers question
thomaso replied to DebSki's topic in Affinity on Desktop Questions (macOS and Windows)
Your layer thumbnail of "Top" seems to indicate that its nested "…jpg" layer is in the layout at a different x/y position than the clipping "Top" layer. In this case the image won't be visible in the layout. To make it appear select the image layer + move it in the layout window to match the position of the rectangle "Top". An alternative way would be to use a Picture Frame instead of a Rectangle. This layer type offers an extra interface to get its nested image automatically centred inside the parent frame object and to scale it in the layout with a slider below the image.
-
There are two gray screenshots in your initial post, unfortunately without any interface that may indicate their properties. It's unclear to me what causes the gray appearance and I wonder what colour space / depths is your TIFF if you say "mono". Can you upload this TIFF? You shouldn't need to create a vector object to assign a certain colour to an image. If I place your black screenshot (RGB.png) in a CMYK .afpub -> press the button "K Only" with the image selected -> assign a spot colour as fill -> it does not result in a muted blue. Same if I export your screenshot as grayscale image first, then place + fill this in Affinity.
-
If you place a picture resource it gets placed as layer type "Image". Then you may choose "Rasterize" to convert it to a layer of type "Pixel". If you open a picture resource it gets placed as layer type "Pixel". Then you may right-click on object in the layout window + choose "Convert To Image Resource". To create a coloured border to a picture an easy way is to assign a "Stroke" via the Context Toolbar to a selected layer. This option is available for "Image" layers, "Pixel" layers don't enable this option. If you prefer "Pixel" layers you can add a stroke at its edges alternatively with a separate "Rectangle" shape object – or with an effect applied to the selected pixel layer, as demonstrated in your linked video. Unfortunately this video simply renames a layer of type "Pixel" into "Image" which may be misleading: the layer icon shows it is still a "Pixel" layer but just renamed. Thus the Stroke option in the Context Toolbar is not available and one remaining option for a stroke creation is via an "Outline" layer effect. In this workflow the rectangle object either needs to … • be placed above the photo layer and have no fill colour assigned, … • or be larger than the photo layer, … or, a lot simpler and comfortable, … • be placed below or above but get the stroke assigned to the rectangle aligned centred or outside but not inside because the photo in same size covers the entire inner area of the rectangle. If it doesn't work for you show a screenshot (with all possibly collapsed layers unfolded) and the layer selected that should display the stroke but does not. For the screenshot it is useful to choose a larger width than wanted to make the stroke visible to the forum.
-
As mentioned there is even a door with 41 cm only – but both appear rather large for a "doll’s house" idea.
-
Note that Affinity does not know 'mono' = 1-bit images but handles them natively as gray in RGB. Thus the workflow is different compared to ID and varies with the document colours space and profile of the Affinity layout document.
-
Layers question
thomaso replied to DebSki's topic in Affinity on Desktop Questions (macOS and Windows)
… I wouldn't say stupid but rather flexible. This thread + tutorial PDF sheds detailed light on the feature which is also described in the Help as "Layer Drop Zones": -
Crop tool in Affinity not working
thomaso replied to Hanan78's topic in Affinity on Desktop Questions (macOS and Windows)
Nevertheless, also in APh you can use AD's cropping method of a masking shape/curve object, and fully regardless of the layer type, it works with "Image", "Pixel" or a selected "Group" layer, too, and thus it may affect an entire document as APh's Crop Tool does: Start: 1. Add masking shape, e.g. 'Rectangle': 2. Choose "Clip Canvas": Result:
-
I think they are meant in scale 1:100, quite usual for architectural plans.
-
If this plan is just for the "Extension" + patio door the various "standard" door widths might not matter. Otherwise, their widths of ~40 to 65 cm could be confusing…
-
Alternatively you can use APub -> Master Page -> Picture Frame -> stroke. This can make it easier to add the white & black frame to a bunch of images.
-
Dun randje om foto
thomaso replied to AvdB-Netherlands's topic in Affinity on Desktop Questions (macOS and Windows)
In your other thread were two methods demonstrated. Don't they work for you? -
The screenshot of your second PDF makes me wonder if your PDF viewing app is causing the problem. – How do the corners appear if you open your PDF in Affinity? If I open your first PDF in APub V1 (I can't open your V2 file) the corners appear, like in my previous screenshot:
- 36 replies
-
- 1
-

-
- affinity designer
- (and 2 more)
-
No, it's simply a habit to avoid pixel layers and instead prefer a non-destructible workflow with linked image layers. This also allows the edges of the stretched copy to be blurred with the masking vector object (of any shape).
-
I'd just stretch copies of the masked outer areas (+ blur/noise if wanted).
-
Is pixel erase the only way?
thomaso replied to Handyann's topic in Affinity on Desktop Questions (macOS and Windows)
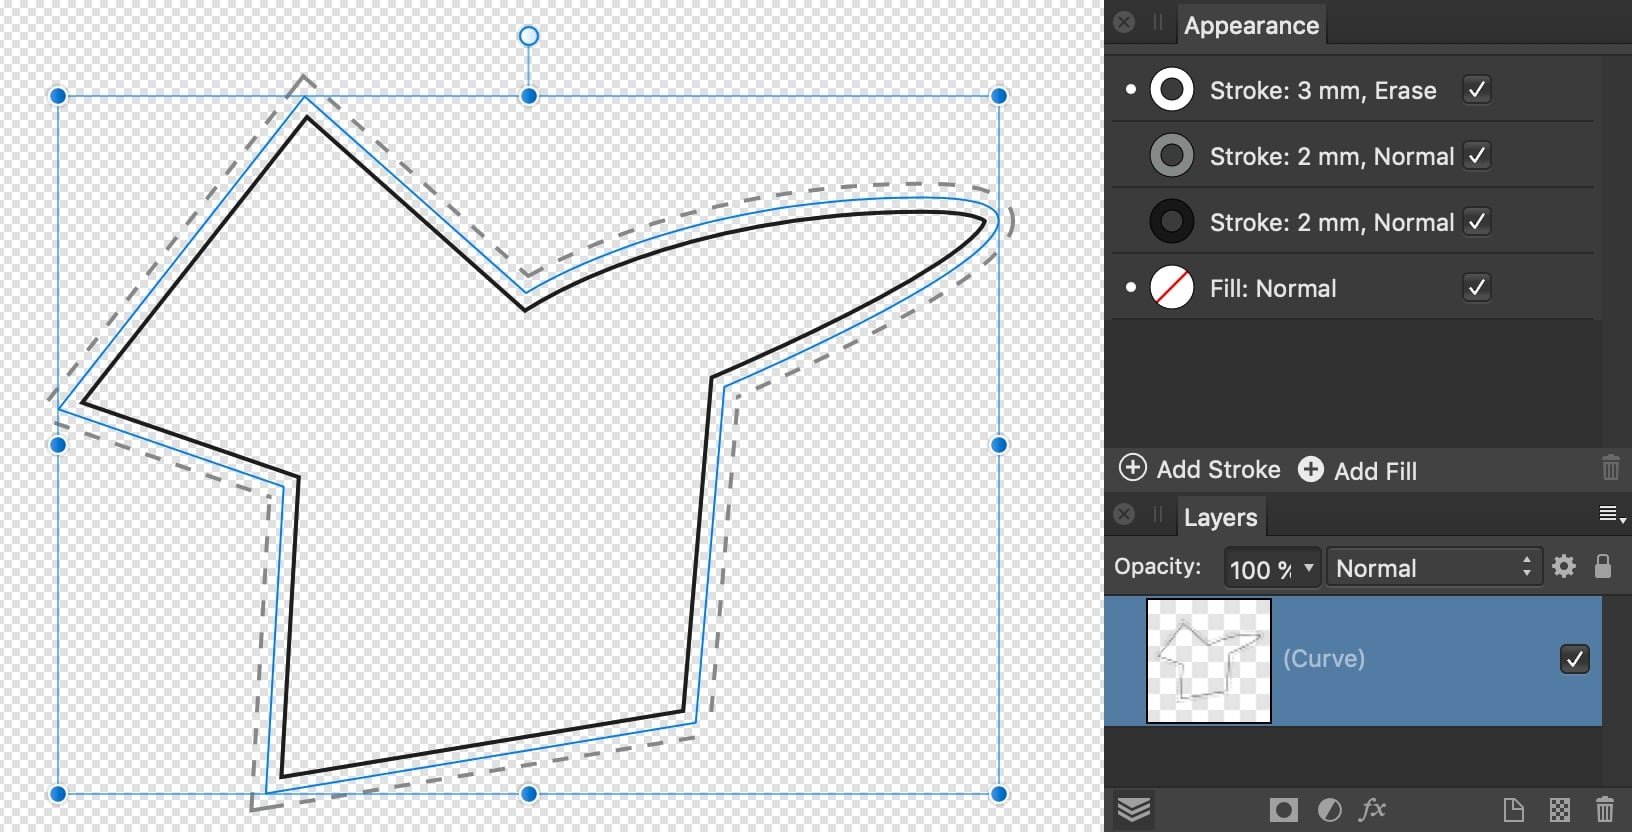
Depending on the number of curves, corners to be fixed or objects to get outlined it may be more efficient to define a multi-stroke setup once + save that as "Style" for multiple assignment with 1 click. EDIT: stupid me, these corners are the consequence of maths and parallel lines … BUT… with this method I don't know a solution yet for the intense outer offset in narrow angles like this. Reducing the 'Mitre' value cuts the corner while increasing the value may increase the offset. – Does someone know how to avoid this here?
-
Is pixel erase the only way?
thomaso replied to Handyann's topic in Affinity on Desktop Questions (macOS and Windows)
I doubt a brush like this will work for every possible corner angle … … instead you could use a PenTool vector curve + apply a multi-stroke setup, like so: Just note, here the white stroke is set to Blend Mode "Erase", this will cause rasterization on export. Alternatively you can use "Normal", it wouldn't occur as such on a white background (page, artboard, paper. Wouldn't this require copied curve objects to allow different strokes for in-/outside?
-
Nothing odd, just unusually customized. They aren't strokes + arrowheads but modified Arrow Tool shapes.
- 36 replies
-
- 1
-

-
- affinity designer
- (and 2 more)
-
Can you describe the specific spots or mark them on a screenshot? To me the PDF appears to display all content of your AD layout screenshot and I can't see a missing corner.
-
Have you tried to store the combination of adjustment + mask in the Asset panel? If it doesn't work you might check the thread below and/or its included links to related topics.
-
Hi @Julez, welcome to the Affinity Forums! In addition to @Old Bruce's hint about collecting all data on 1 common sheet, this video (and the entire thread) may shed some light on your desire to use several sheets or data sources:
-
In the early 90's I used "Debabelizer" to batch scale + create colour palettes of image folders for storage & shipping on 1.4MB floppy disks (before Internet / ISDN). Back then, I loved its flexibility, intuitive interface and speed on a Macintosh IIcx with 4 MB (!) RAM and 40 MB HD. 2011 archive: https://web.archive.org/web/20111023192525/http://www.equilibrium.com/debabelizer/ Your question reminded me of this app, unfortunately the website appears rather confusing nowadays. Nevertheless, it might be worth a try if you need to use batch processing heavily. https://equilibrium.com/debabelizer/