

Big_Stan
-
Posts
224 -
Joined
-
Last visited
Posts posted by Big_Stan
-
-
Thank you. I'll give it shot.
-
I am currently using Mojave, but the problem occurred with High Sierra also. When I choose High Pass sharpen > CMD J > Adjust the Radius, I can see a slight halo at very low Radius levels (less than 1). However, when I click Apply, the halo completely vanishes (the screen goes to a fairly uniform gray). The vanishing "halos" makes it difficult to estimate the best Radius setting to select.
I am using Capture One 12 and I set the Raw sharpening to zero and noise reduction to zero before selecting "Edit in AP".
-
Toltec,
Thank you. As I said in my post, I have been fighting this problem for about a year. I really appreciate your help.
-
Thank you for your suggestion regarding toning-down my picture.
While I appreciate and generally agree with your suggestion, I was hoping to get some guidance on how to perform color matching in Affinity Photo.
-
I posted the problem earlier, but I am still trying to match the color of one area to the pixels in a surrounding area. In the area that I am attempting to change, the RGB values are: 31, 41, 13. The surrounding pixels have RGB values of 31, 31, 28. Depending on where I sample, there are some variations in the RGB values. My goal is to come close to a color match between the two areas.
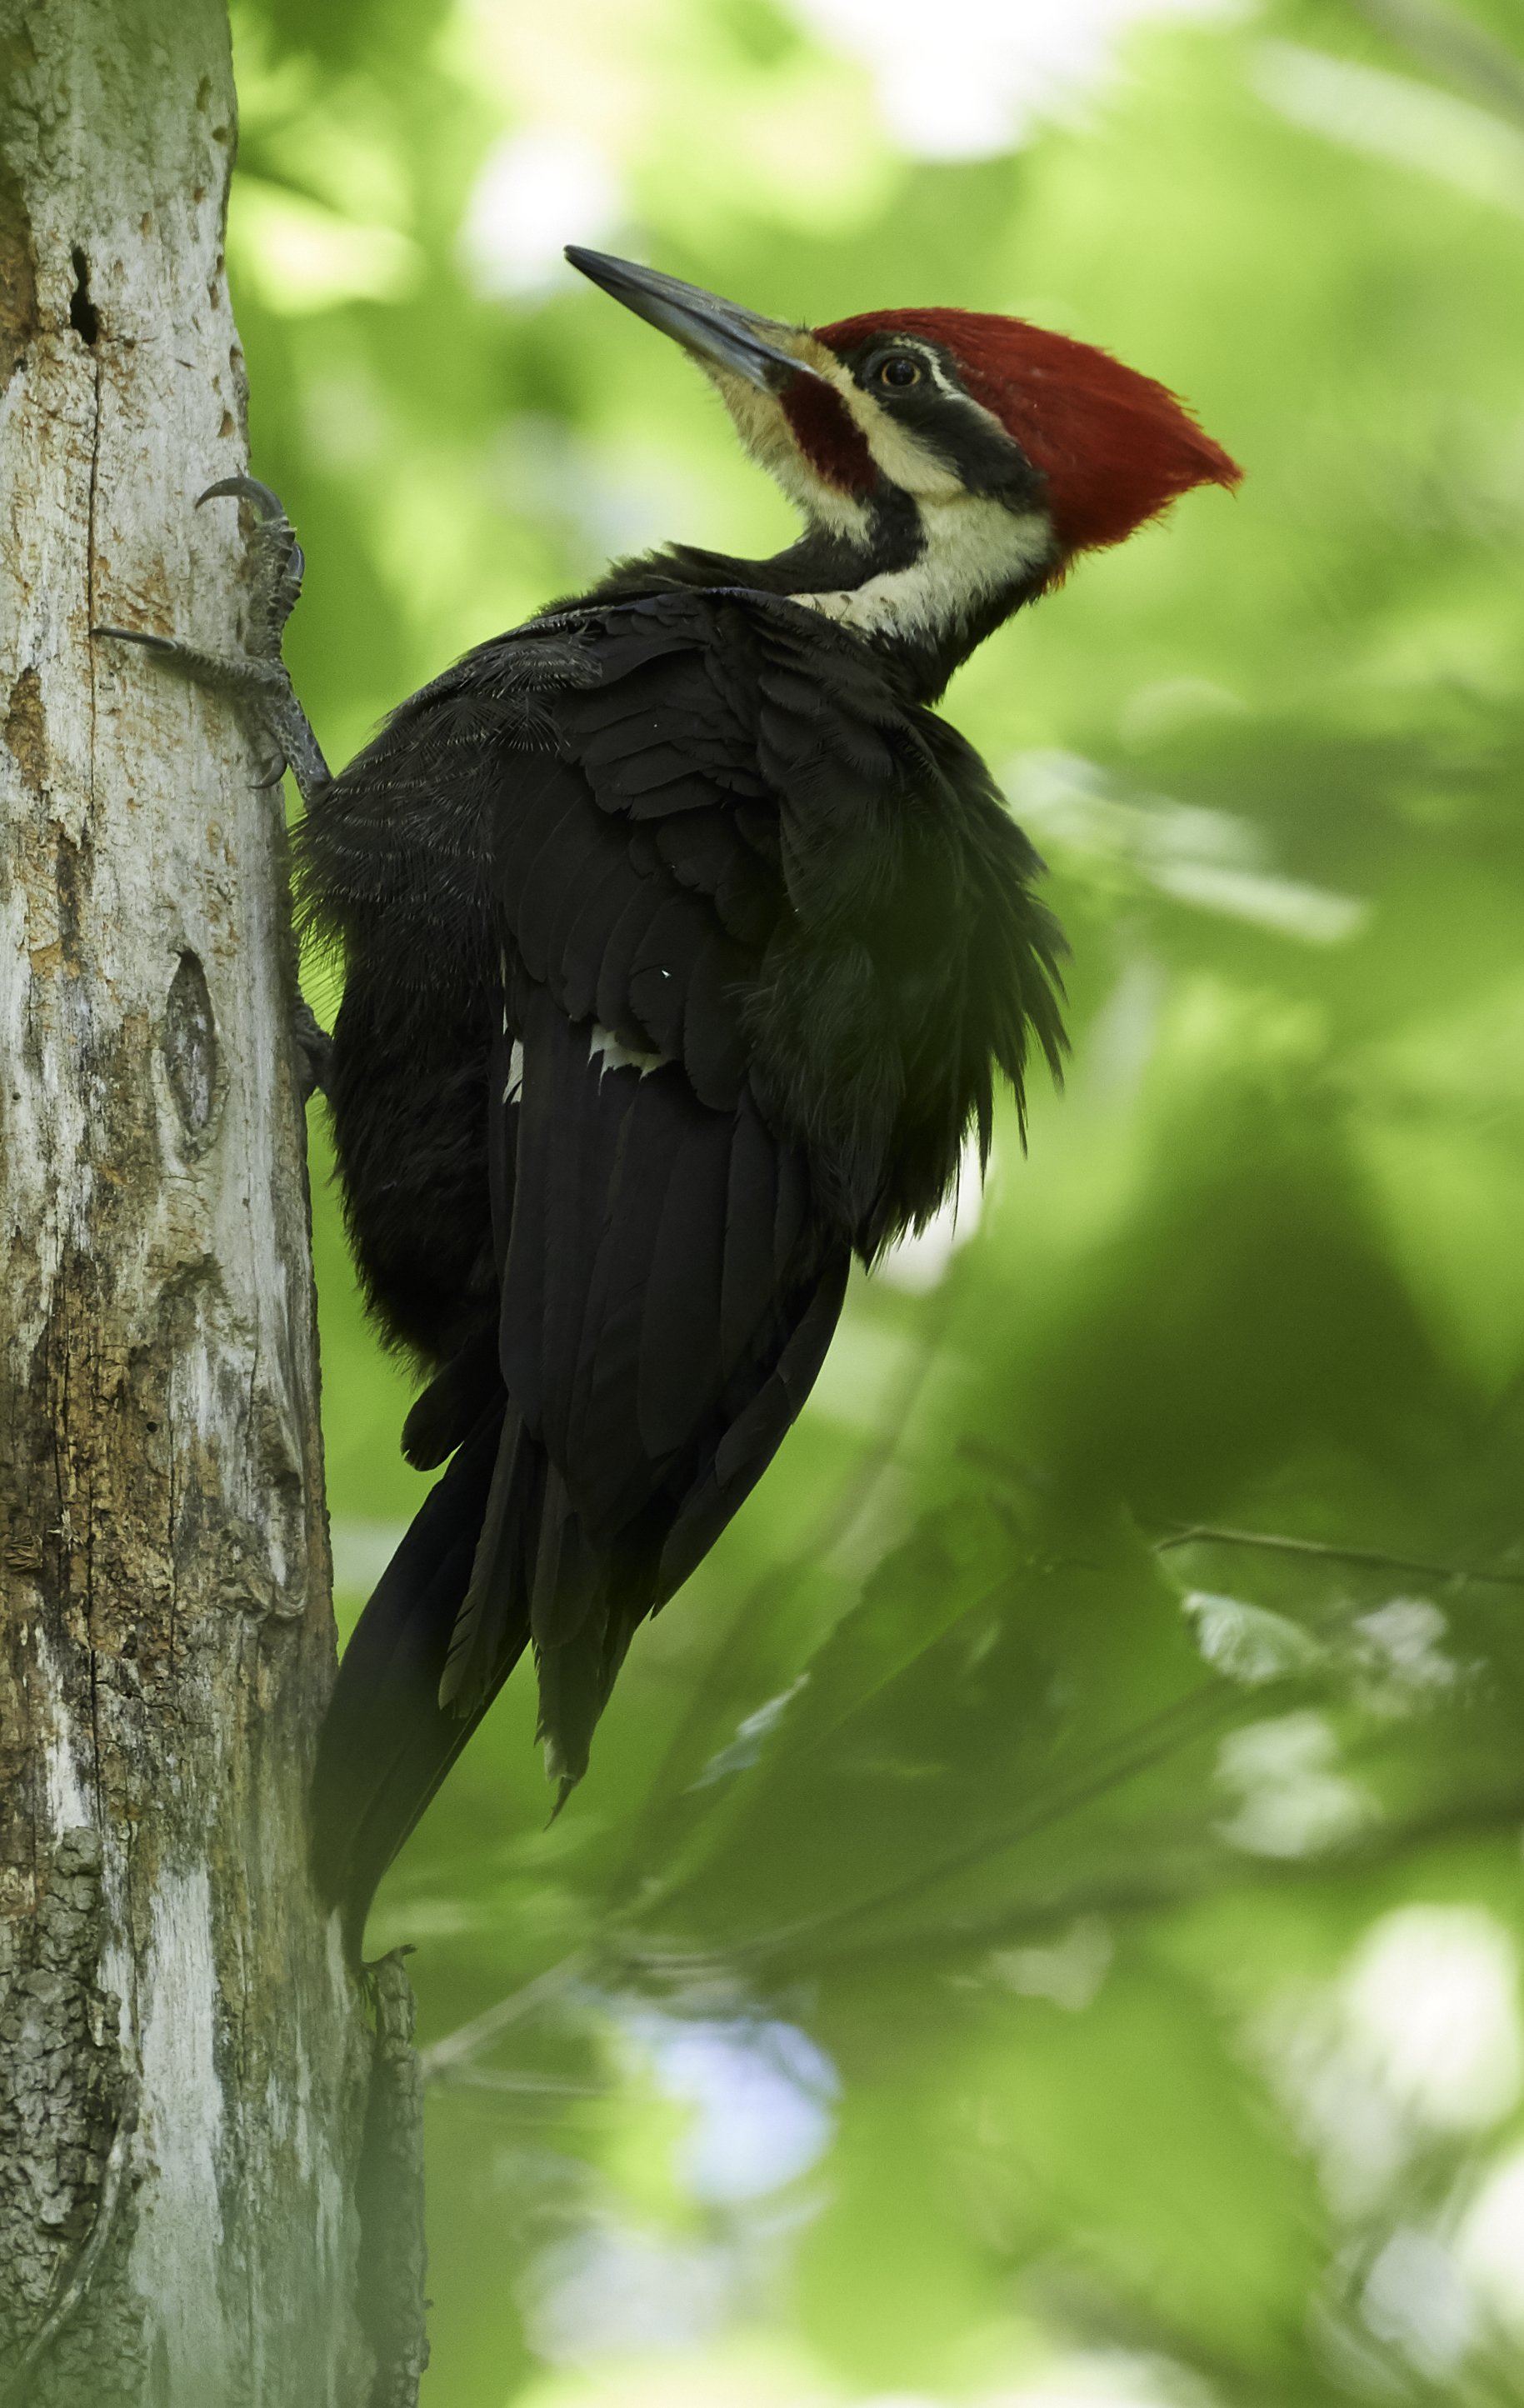
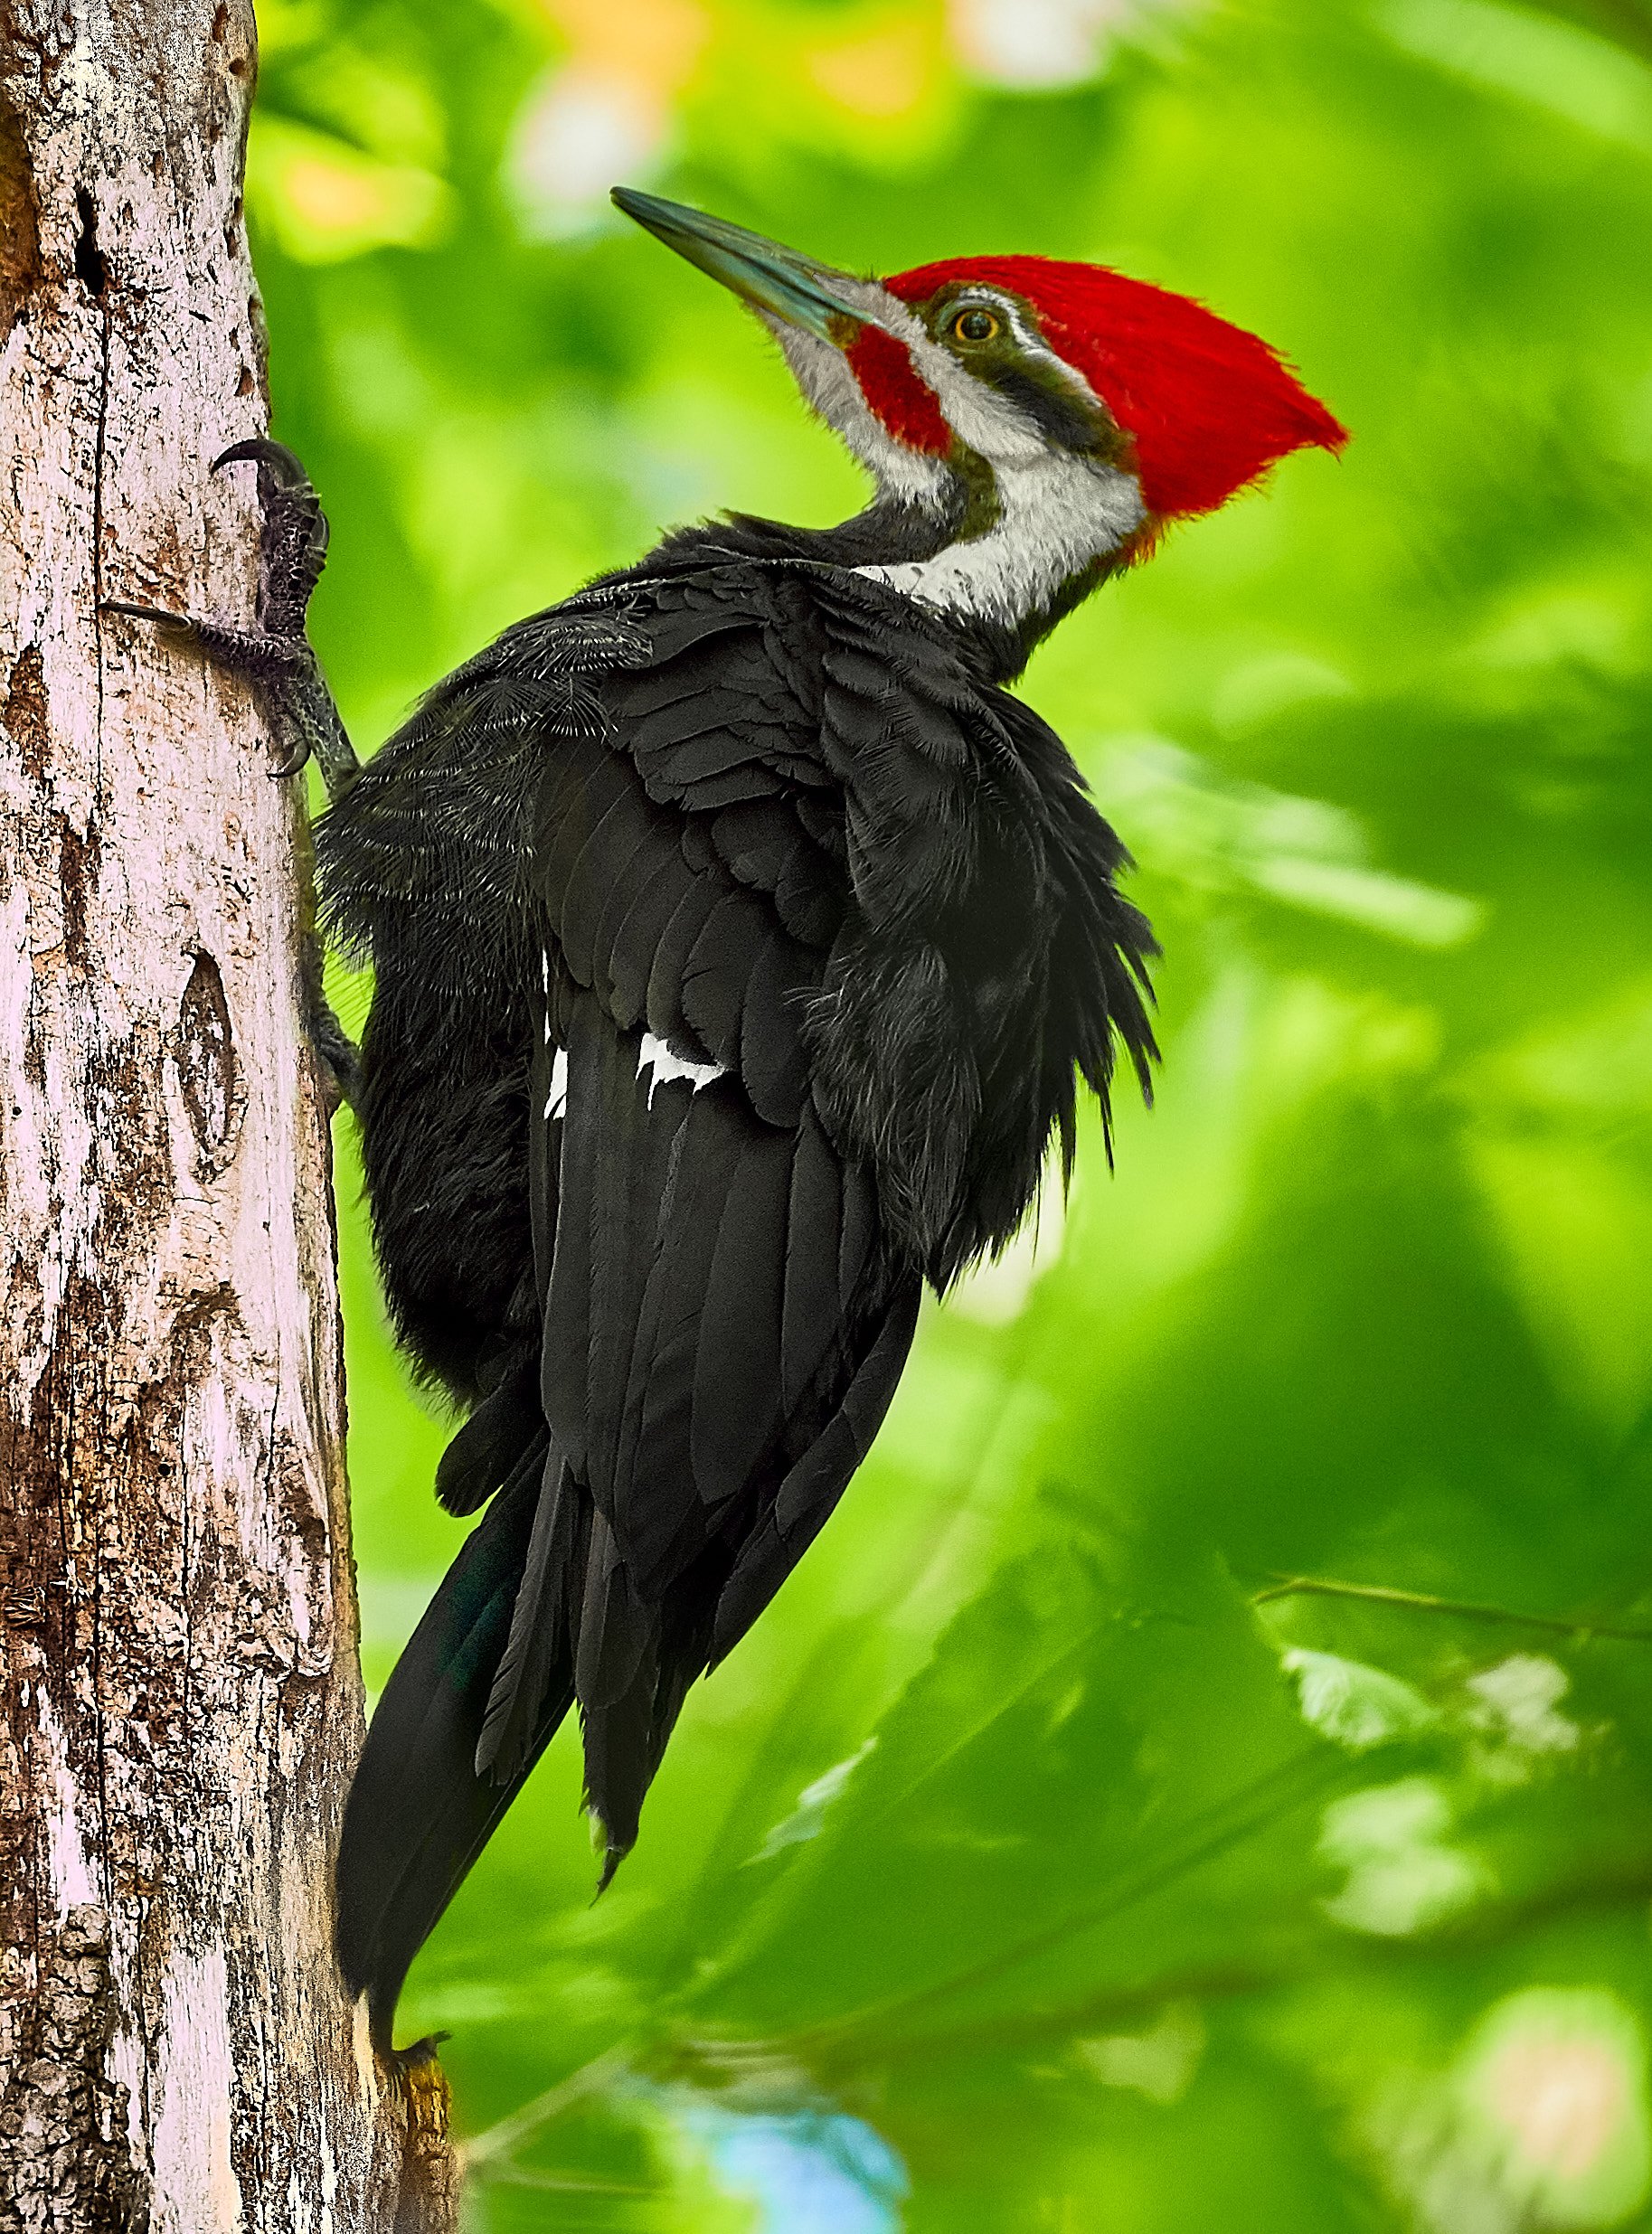
Attached is a picture of a pileated woodpecker that I shot under heavy forest canopy, the sun was directly behind me, passing through holes in the canopy. As the sunlight passed through the intervening leaves, some parts of the image acquired a heavy green color. Right now my main areas of attention are the bird's shoulder and his tail feathers. If I can get these "fixed", I believe that the more subtle color shifts should be easy.
Using Capture One, I was able to significantly reduce the green on the feathers, but the resulting shoulder color was still perceptibly different (28, 29, 25) than the surrounding feathers. Am I being too picky? It was a very tedious process to get to this Hue. As far as I can determine C1 does not have a capability to color match within a single image, Normalize will apparently work across several images but not on the same image.
I have been attacking this problem, on and off, for over a year and the closest I have come to success in the C1 sample. I know I should have use fill-flash, but moving through heavy brush with a Beamer is problematic.

-
Thank you, guys!! I really appreciate your help. After following your instructions, I now realize how much more I have to learn. I was able to get them to work, just not as well as you did. One variation that I added, was to use the selection brush tool. I was more comfortable with this tool since it behaved the same way as the quick selection brush in CS6.
-
I took this picture of a Pileated Woodpecker under forest canopy; the sun was behind me and was shining through holes in the canopy.As you can see, there is a heavy green cast covering the feathers on his shoulder (he is a male) and softer green on the tree and his tail feathers.Since I can see distinct feather detail through the green, I believe that the color is not caused by an intervening, out of focus leaf, but was caused by light filtering through the canopy.Bottom line, how can I best remove the color on the shoulder and salvage the picture?
-
my version AP is 1.6.7
-
I like it, nicely done!! Will you please outline what specific steps you went through to accomplish it?
Thank you
-
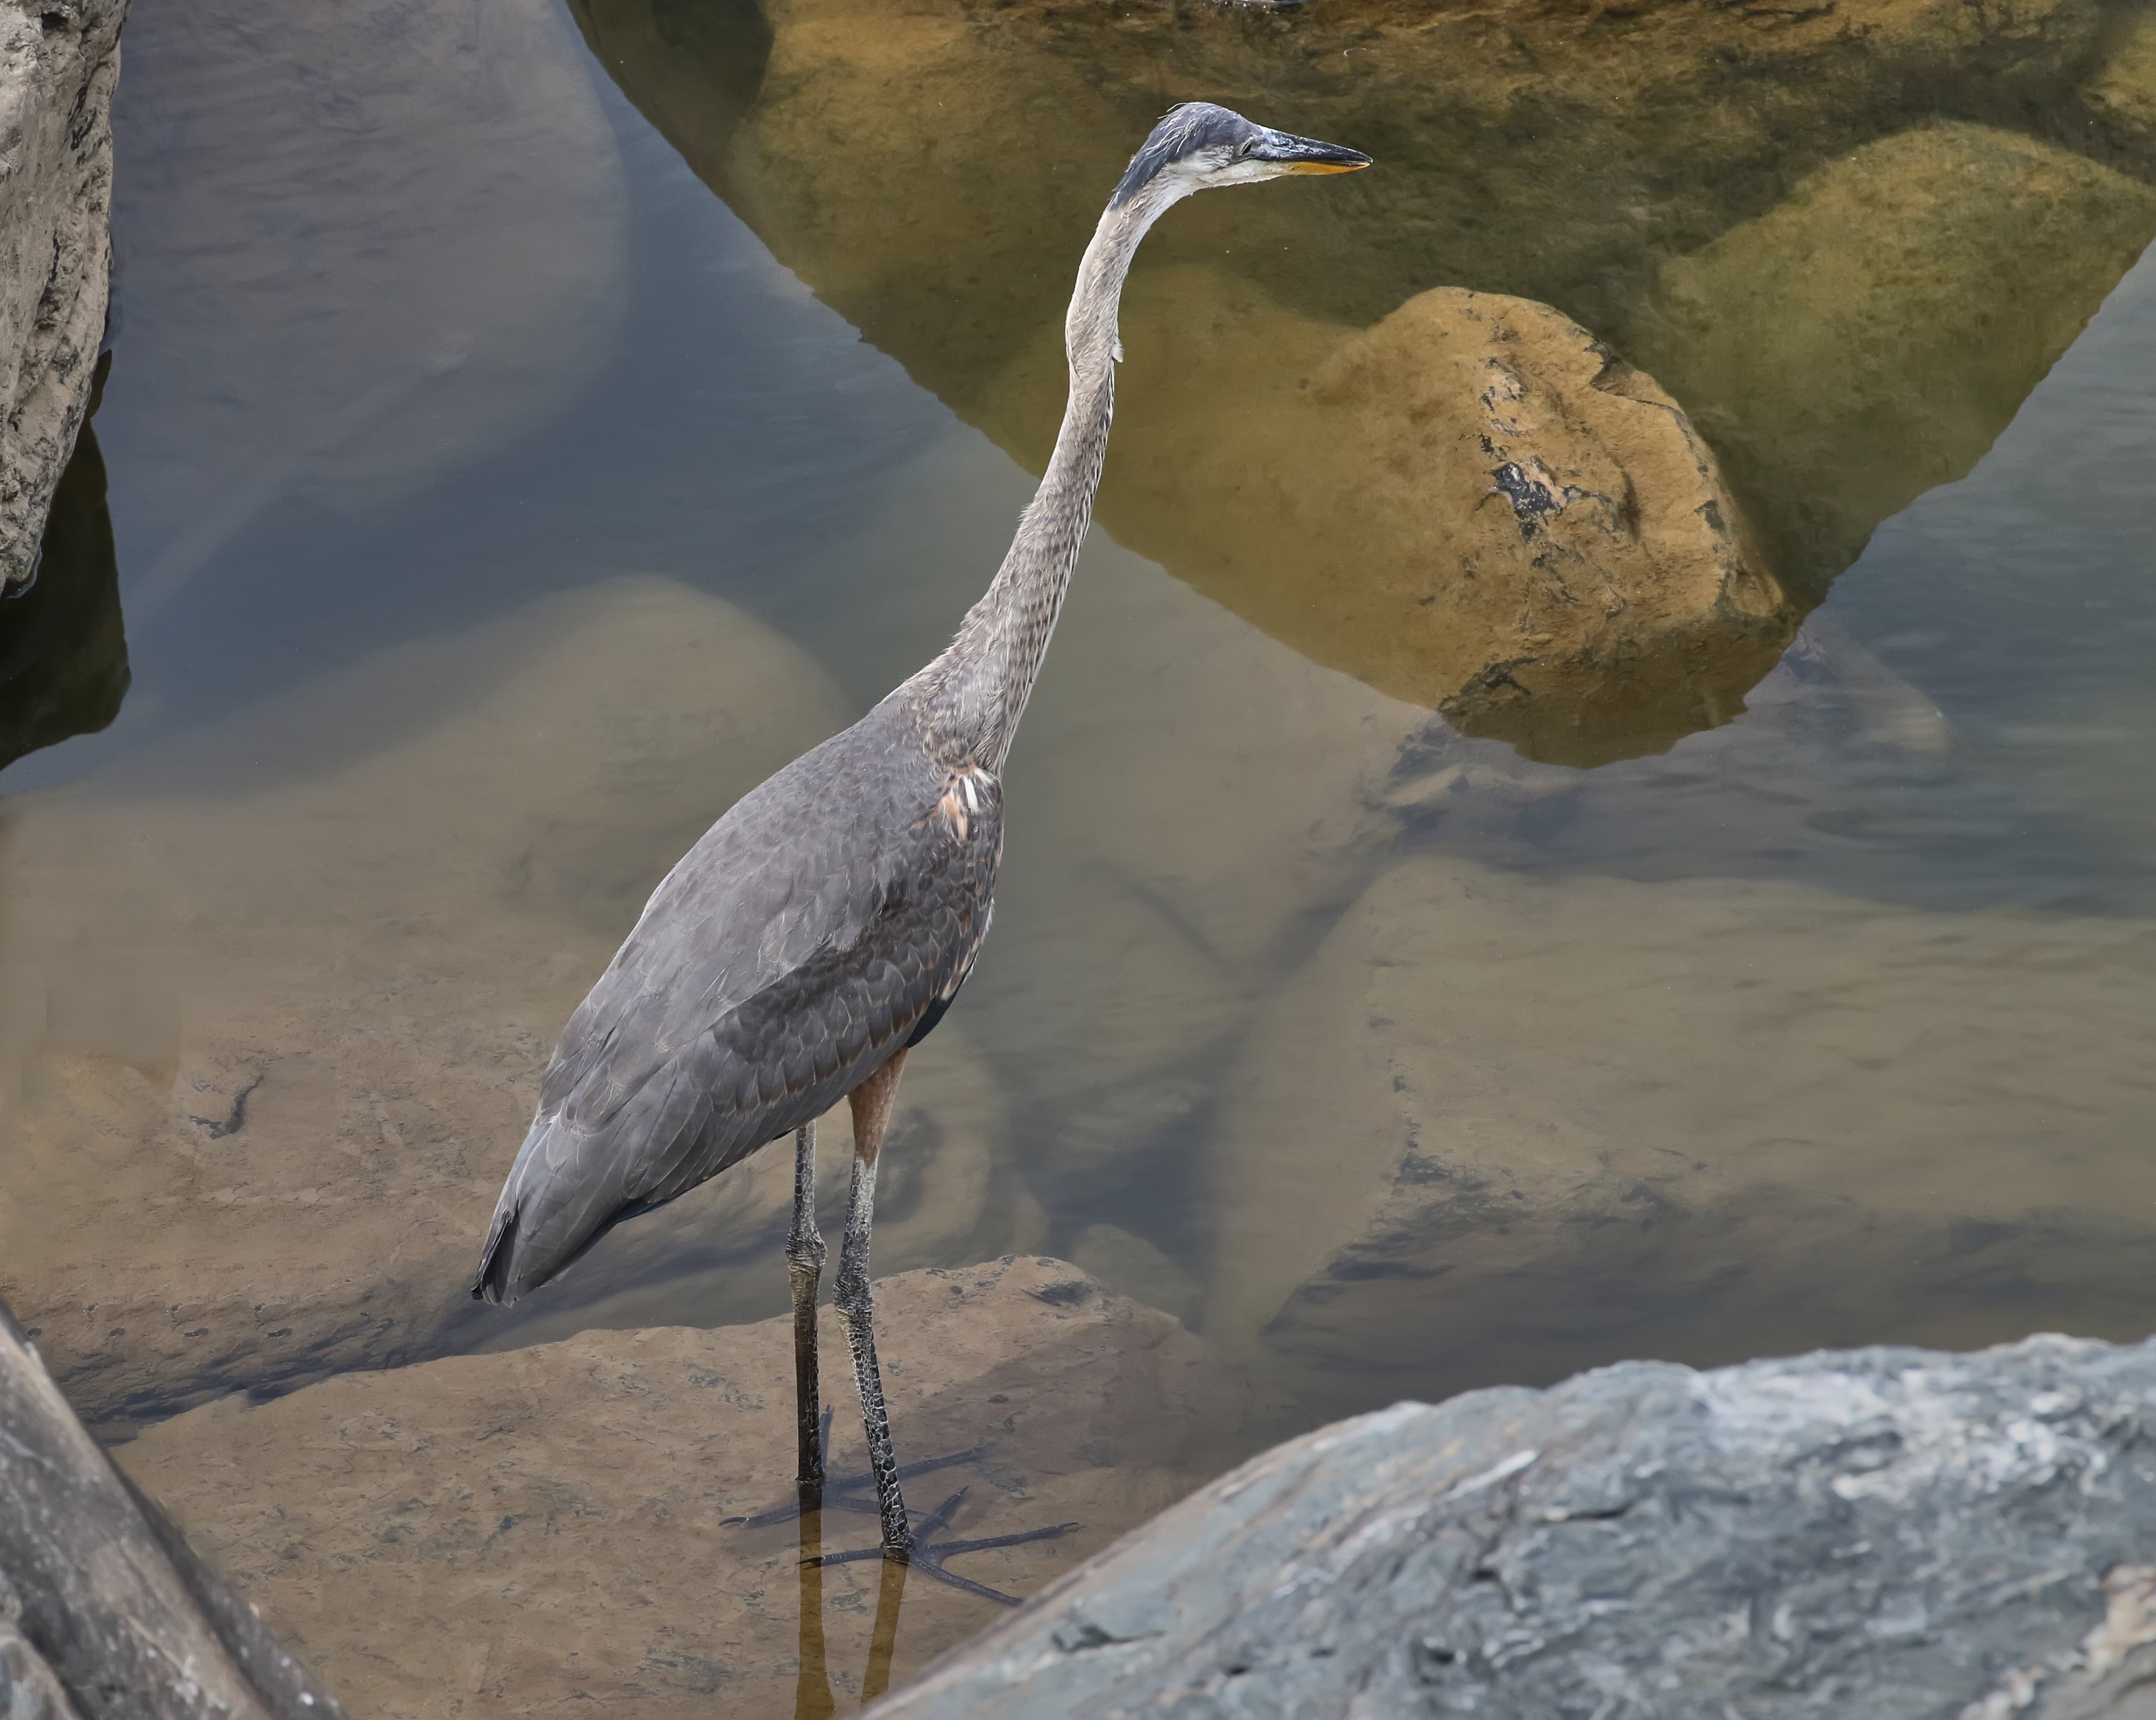
I've got this shot of a GB wading in partly shadowed water. Not a great shot, but I want use it to improve my PP techniques. I know, I should have used a polarizing filter but I did not have it with me. Does anybody have a suggestion on how to best remove the glare from the unshadowed water? I am using C1 and Affinity Photo.
-
Thank you. This is the best explanation that I have seen.
-
I am starting to teach AP to my granddaughter and she posed a question that I was unable to find an answer, "Under Refine selection, what is the difference between Border Width and Ramp and when do you use each one?"
The description for Border Width says, " Border width—expands the selection by adjusting the width of its border. Drag the slider to set the value."
The description for Ramp says, "Ramp—changes the size of the selection. Drag the slider to set the value. Negative values will shrink the selection while positive values enlarge it."
-
-
I have been looking at a PS tutorial and the author double-clicked on a layer that in-turn brought up a layer style drop-down window. He then said that in order tp make his tutorial work, I would have to deselect "Transparency Shapes Layer". How does this instruction translate into AP?
See attached screen shot.
-
Thank you, my mistake, I did not spot the color dodge blend mode in the pull down menu.
-
I found this PS tutorial "One trick to Add Light or shine to anything in photoshop". Does anybody know of a way to do it AP?
-
-
Thank you. This sure beats having to create my own brush
-
-
Is anybody aware of a tutorial to create a starburst brush in Affinity Photo. I found several PS tutorials but I was unable to completely translate them into AP.
-
Not to stir-up the pot again, but have you seen this PS tutorial by Jesus Ramirez? It is a two part video, in part one shows an approximation that is compatible with AP. I translated it into AP and it works. In part two he shows how create a Z-map. It looks like a great deal of work, but the result was impressive. Before I go to the effort of creating an AP translation, does anybody thoughts regarding it working in AP?
https://photoshoptrainingchannel.com/blur-backgrounds-shallow-depth-of-field-effect/
-
Yes, achieving a "realistic looking" DOF is my goal. There are numerous PS tutorials that show how to accomplish DOF with various degrees of sophistication (subtlety). I tried to modify a couple of the PS tutorials to work in AP with no success.
-
Ok, laying semantic aside, when are the AP guys going to get around to implementing a "depth map" capability. It has existed in PS for several years and if I am interpreting "verysame" correctly, many people have been asking for this capability in AP. Being able to realistically reduce background clutter in a photo is an important capability. Right now I am trapped into retaining PS in order to implement a depth map, I'd like to finally cut the San Jose umbilical.
-
Disappointing, I was hoping not to have to keep CS 6 around just for the blur feature.


Anthony Morganti now producing AP Tutorials
in Tutorials (Staff and Customer Created Tutorials)
Posted
When I was using CS6 and LR I used to follow Anthony Morganti's tutorials. When I was getting started with Affinity, I translated a few of his Photoshop tutorials into Affinity speak. This morning I stumbled on 10 YouTube Affinity Photo tutorials that were produced by Morganti. Morganti's tutorials were well prepared and easy to follow. Here is a list of seven of his tutorials:
Morganti Affinity Photo tutorials
1 Quick Start
https://www.youtube.com/watch?v=IbgONOJHa0Y
3 Overlays
https://www.youtube.com/watch?v=NYDxeDZGQZs&index=4&list=PLllFqBuTM0WI8Pt47wBcg25gcYRufEnY8
5 Introduction to Layers
https://www.youtube.com/watch?v=PSEZ9Wxtfow&list=PLllFqBuTM0WI8Pt47wBcg25gcYRufEnY8&index=6
6 Adjustment Layers
https://www.youtube.com/watch?v=RcgAfMvbIzw&index=7&list=PLllFqBuTM0WI8Pt47wBcg25gcYRufEnY8
7 Curves
https://www.youtube.com/watch?v=xrp902JJRzs&list=PLllFqBuTM0WI8Pt47wBcg25gcYRufEnY8&index=8
9 Stitch Panorama
https://www.youtube.com/watch?v=Cn73qiRJkIo&index=10&list=PLllFqBuTM0WI8Pt47wBcg25gcYRufEnY8
10 Merge to HDR
https://www.youtube.com/watch?v=UGm4K-bWp8I&index=11&list=PLllFqBuTM0WI8Pt47wBcg25gcYRufEnY8