

Big_Stan
-
Posts
224 -
Joined
-
Last visited
Posts posted by Big_Stan
-
-
-
Yes, but doing it this way I'd have to with back an forth frequently.
Oh well, I guess you are all telling me that it is impossible to lower the mask opacity the way it can be done in PS Select & Mask.
-
Exactly.
With a lower opacity it will be easier to see the edgers of subject. Right now I select the quick mask, paint, and then switch the mask off to see where I missed or where I over achieved.
Having the ability to reduce the opacity of the mask (make it more transparent) is useful when you have a image with a complex background and where the color difference between the subject and the background is not that distinct. In wildlife photography the animals/birds are camouflaged. Everybody loves to show tutorials where the subject and the background are very different, but frequently that is not the case with wildlife.
Thank you.
-
Yes, but if I were able to lower the opacity on the "red" overlay mask it would be easier to use. Perhaps I should have been more specific, Is there a way to lower the opacity on the red mask?
-
If you had watched the video, you would have seen how they adjusted the opacity to assist the selection process. I know how to use the Affinity Quick Mask tool, however, the Photoshop Select & Mask tool is MUCH easier to use.
-
Starting with CC 2015.5, Photoshop has provided the Select & Mask tool that has made extracting a subject from a complex background relatively easy. Here is a link to a demonstration of the PS Select & Mask tool: http://appnationconference.com/video/yAz9jZJiiTzk
Does Affinity Photo have a tool that provides a similar capability as Select & Mask?
-
I've owned Affinity Photo for some time now and after an initial exposure, I went back to PS because Affinity is very similar to PS it is not quite similar enough. For example, in Photoshop I can create a layer mask and paint with a black brush to paint out an effect and if I make a mistake (e.g., sloppy painting) I can change the brush color to white and then cancel the effect of my sloppy painting. When I use Affinity photo, I can select a black brush in a manner similar to what can do in PS and black reveals but in the case of Affinity white also reveals. I'll make this speech short, How do I cancel the affect of my sloppy brush work?
-
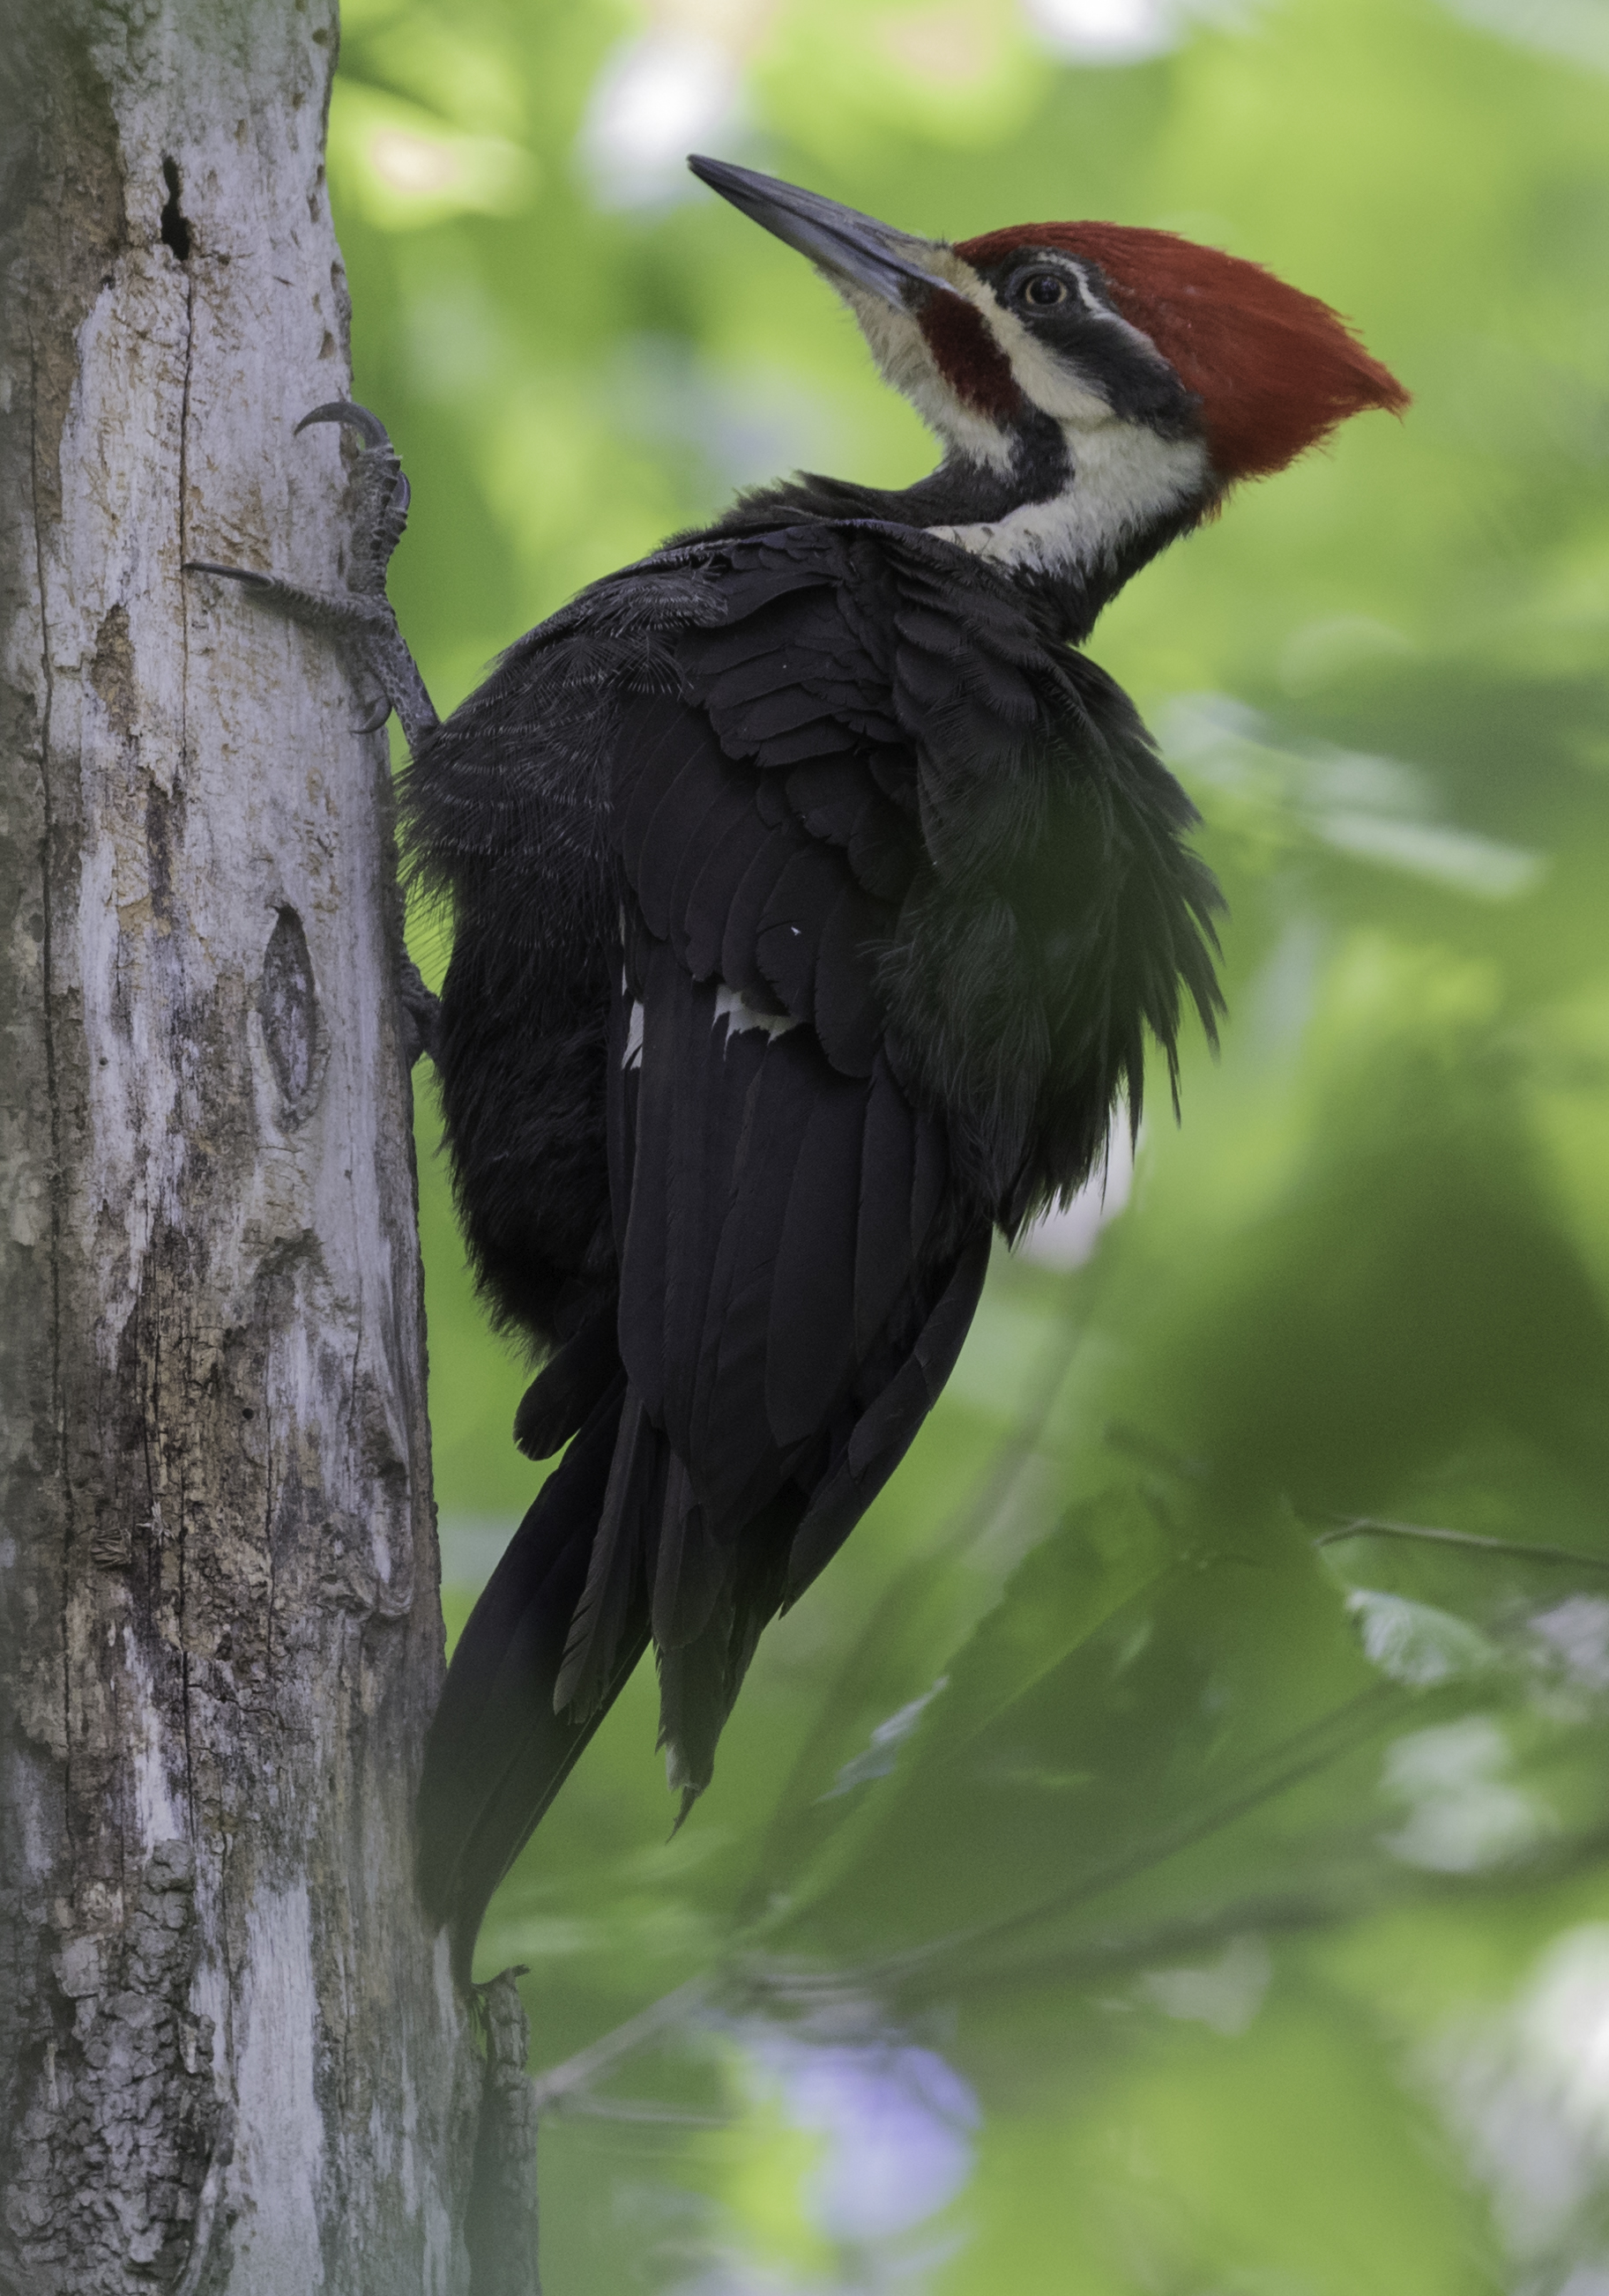
I shot this pic (RAW) and the afternoon sun was "filtering" through the foliage, creating localized areas of green color cast. I was able to "get rid" of most of it via some LR tweaking. However, some green still exists on the bird's back and his (it is a male) tail feathers. I tried using the Adjustment Brush but I was unable to fully eliminate the green without introducing other artifacts.
The RGB values on his black feathers are: 20, 19, 22 and in the green cast area on his back: 19, 23, 16
Suggestions appreciated.

-
When working on a stack In Photoshop it is possible to create a layer mask on one image in the stack and then select “Add Layer Mask” and copy that mask on to the next image in the stack and so forth until all of the images are masked with the same mask. This technique is valuable when trying to auto-align stars in time lapse photography of the night sky. For example, in a single 10-second exposure a star will move ~ 2 pixels and if one uses 15 exposures for a median noise reduction stack, the star’s track will create a 30-pixel smear. If one did not first remove the static foreground from the moving star field image, auto-alignment of the stars would not be possible.
Bottom line, how can I perform the “Add Layer Mask” operation in Affinity Photo?
When I am through, my goal is to have created an Affinity tutorial to perform “Landscape Astrophotography Noise Reduction with Auto-alignment”
-
I am unable to post the link to the video.
"Landscape Astrophotography Noise Reduction with Image Stacking in Photoshop CC or CS6 Extended"
The presenter is Ian Norman, Lonely Speck
www.youtube.com/watch?v=Rydg7JGTAbw
-
After you watch the video, I look forward to you showing me an easier way to accomplish the task.
-
AlainP,
Thank you for your inciteful comment. However, this is not a joke. Unless one owns Photoshop 6 Extended or a cloud version of Photoshop, I know of no way that star alignment and noise reduction stacking can be automatically accomplished except in Affinity Photo. Of course, one can always manually align the stars, but with a Milky Way shot, manual alignment becomes a long and tedious process.
-
What would this look like using Affinity Photo?
Process images in Lightroom and then export layers to Photoshop
- EDIT (right click) > Open as layers in Photoshop
- Duplicate Stack > (Select all layers and drag to New Layer Button on bottom of the layer palette (see black square with lower left corner bent up)
- Now there is the original set PLUS a duplicate set
- Right Click & choose Convert to a Smart Object. Rename as “foreground” > hide (click on eye icon to hide)
- Hide all the sky layers EXCEPT one > Click the one visible layer and Click Add Layer Mask (see square w/ black circle)
- Click on add layer mask (white) > Select Paint Brush tool (BLACK large soft brush) > roughly paint out foreground on image
- Copy Mask to all remaining layers, CMD + Click on Layer Mask, and Click on Add Layer Mask button (see square with black circle on bottom of the palette) to paste layer mask on to next image in the stack
- Repeat for all sky layers, one layer at a time
- Shift click to select all layers > Edit > Auto-align layers > Auto
- Select Delete Layer Mask to delete mask for each foreground layer
- Select All the layers, Right Click all the layers and choose Convert to Smart Object (name it Sky), Layer > Smart Object > Stack Mode > Median
- Unhide foreground Smart Object and Layer > Smart Object > Stack Mode > Median
- To make final composite (merge foreground & sky layer), Select Foreground layer > Click Add Layer Mask Button > Use large BLACK soft paint brush to paint out sky > Click Option to clean-up mask
- Use small WHITE brush to clean-up layer.
-
I'd really appreciate it if somebody with better AP skills than I have would translate the following set of image processing instructions from Photoshop speak into Affinity Photo speak. I generated the text from a YouTube video:
.Process images in Lightroom and then export layers to Photoshop
- EDIT (right click) > Open as layers in Photoshop
- Duplicate Stack > (Select all layers and drag to New Layer Button on bottom of the layer palette (see black square with lower left corner bent up)
- Now there is the original set PLUS a duplicate set
- Right Click & choose Convert to a Smart Object. Rename as “foreground” > hide (click on eye icon to hide)
- Hide all the sky layers EXCEPT one > Click the one visible layer and Click Add Layer Mask (see square w/ black circle)
- Click on add layer mask (white) > Select Paint Brush tool (BLACK large soft brush) > roughly paint out foreground on image
- Copy Mask to all remaining layers, CMD + Click on Layer Mask, and Click on Add Layer Mask button (see square with black circle on bottom of the palette) to paste layer mask on to next image in the stack
- Repeat for all sky layers, one layer at a time
- Shift click to select all layers > Edit > Auto-align layers > Auto
- Select Delete Layer Mask to delete mask for each foreground layer
- Select All the layers, Right Click all the layers and choose Convert to Smart Object (name it Sky), Layer > Smart Object > Stack Mode > Median
- Unhide foreground Smart Object and Layer > Smart Object > Stack Mode > Median
- To make final composite (merge foreground & sky layer), Select Foreground layer > Click Add Layer Mask Button > Use large BLACK soft paint brush to paint out sky > Click Option to clean-up mask
- Use small WHITE brush to clean-up layer.
-
I created a written set of instructions from the video. The goal is to change these from Photoshop speak to Affinity Photo speak.
Landscape Astrophotography Noise Reduction with Image Stacking in Photoshop: https://www.youtube.com/watch?v=Rydg7JGTAbw
Process images in Lightroom and then export layers to Photoshop
- EDIT (right click) > Open as layers in Photoshop
- Duplicate Stack > (Select all layers and drag to New Layer Button on bottom of the layer palette (see black square with lower left corner bent up)
- Now there is the original set PLUS a duplicate set
- Right Click & choose Convert to a Smart Object. Rename as “foreground” > hide (click on eye icon to hide)
- Hide all the sky layers EXCEPT one > Click the one visible layer and Click Add Layer Mask (see square w/ black circle)
- Click on add layer mask (white) > Select Paint Brush tool (BLACK large soft brush) > roughly paint out foreground on image
- Copy Mask to all remaining layers, CMD + Click on Layer Mask, and Click on Add Layer Mask button (see square with black circle on bottom of the palette) to paste layer mask on to next image in the stack
- Repeat for all sky layers, one layer at a time
- Shift click to select all layers > Edit > Auto-align layers > Auto
- Select Delete Layer Mask to delete mask for each foreground layer
- Select All the layers, Right Click all the layers and choose Convert to Smart Object (name it Sky), Layer > Smart Object > Stack Mode > Median
- Unhide foreground Smart Object and Layer > Smart Object > Stack Mode > Median
- To make final composite (merge foreground & sky layer), Select Foreground layer > Click Add Layer Mask Button > Use large BLACK soft paint brush to paint out sky > Click Option to clean-up mask
- Use small WHITE brush to clean-up layer.
-
I have been trying (unsuccessfully) to adapt the procedure shown on the following link to work on Affinity Photo. https://www.youtube.com/watch?v=Rydg7JGTAbw
My goal is to write a procedure to accomplish Landscape Astrophotography Noise Reduction with Image Stacking.
-
Gramondo,
Thank you, I'll give it a try.
-
Here is a the final product.
-
Thank you, success at last. Although I hope in v1.5 it will be more reliable.
-
I am having a problem getting the Sky Replacement to work as shown. Everything works as demonstrated until I get to the point when the narrator says, "click drag the mask and offer it to the sky layer as a child layer." I am unable to achieve consistent results; occasionally I will succeed and and get the results like those shown on the screen, however most of the time I am unable to create the "child layer".
What is the secret to reliably creating the child layer?
-
Prior to saying sayonara to CS6.6 (I am experiencing an issue between my keyboard short-cuts and PS and Adobe has left me hanging; they no longer support my version of PS) I was working on setting up my Wacom tablet and pen to work with PS. Aaron Nace at Phlearn prepared a few PS tutorials that addressed setting up the tablet options to maximize utility of the tablet. There is just enough difference between Affinity Photo and PS to invalidate his instructions.
Bottom line, an AP/tablet tutorial would be greatly appreciated.
-
I got the pen settings to work but I am unable to save the setting after I quit Photo.
-
I am beginning to use a Wacom tablet w/ Affinity Photo. I found several tablet related tutorials for Affinity Designer but was unable to find a tutorial aimed at photo processing.
-
Thank you very much. You guys really beat the support I didn't receive from the other guys; they merely said they no longer support my version of PS and I should post my problem on the forum. Never heard a word back.
Again,
Thank you!!!

I am ready to pull the plug on LR
in Pre-V2 Archive of Affinity on Desktop Questions (macOS and Windows)
Posted
Adobe just presented you with a golden opportunity to grab a bunch of unhappy LR customers. In my case, the absence of a Digital Asset Manager has kept me from putting the extra effort into getting comfortable with Affinity (I use the Photo Persona from time to time and I am impressed, but I have never used the Develop Persona), I am just waiting for a DAM to finalize the divorce.
Paraphrasing the words of Rhett Butler, "When are you guys going to give a DAM?"