

Big_Stan
-
Posts
224 -
Joined
-
Last visited
Posts posted by Big_Stan
-
-

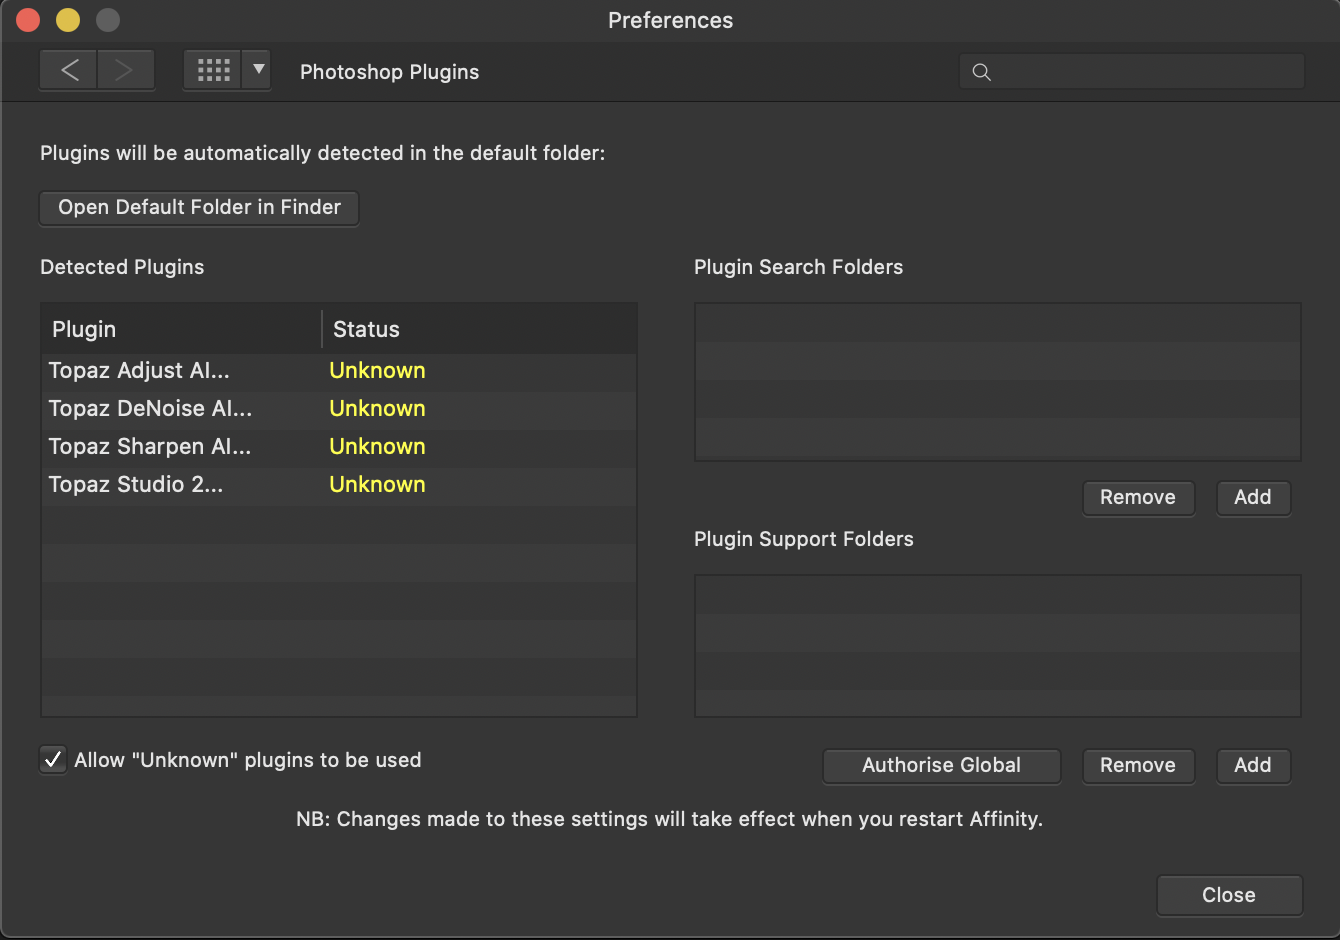
DWright, Here is my Preferences window
Media Lab, When I went to my new iMac with Catalina, I performed a reboot and a clean install of each plugin. The Topaz apps are working with no problem as stand-alone.
I am obviously doing something wrong and I cannot figure what it is.
-
Thank you, however my issue started before Catalina, while I was still using Mojave.
BTW, all of my other apps are working flawlessly with Catalina. Going to Catalina was easier than going to Mojave.
-
Thank you for your suggestion. Unfortunately, the problem actually started under Mojave.
-
Getting help from Topaz Labs is liking talking to a wall. They brought in a new operations manager, Eric Lowery, and he made encouraging words about cleaning up the mess, but I am seeing no improvement in their responsiveness. I send them emails requesting help and I receive an automated reply acknowledging that they received my request, but it takes a week before I receive an answer to my question. And, if their answer doesn't solve my problem, it takes another week (if I am lucky) and so forth. I have a chain of emails going back to 8 October (before Catalina) trying to resolve the plugin problem.
I loaded their AI plugins into Affinity Photo and they show up under Filters > Plugins, but when I try to use them nothing happens; they don't even start-up. They do work as stand alone but not as Affinity plugins. And, yes I did restart Affinity Photo. I am using Mac OS 10.15.1 and AP 1.7.3 on a 2019 iMac and I have the latest versions of the plugins.
-
I am using a 5,1 (2010 Mac Pro) and I am not experiencing any problems.
-
Oops, Should be John Paul Caponigro.
-
At a qualitative level your explanation is quite good. However, this is not what is actually happening at a statistical level.
Here is a copy of a paper written by John Paul Caponigeo (Use Multiple Exposures To Reduce Image Noise, December 13, 2017) in which he describes what goes on in Photoshop. I assume AP behaves in a similar manner. Occasionally I have used multiple exposures for star photography to reduce image noise in both PS and AP, it works.
"So what is Photoshop doing? Photoshop first aligns a series of images as separate layers, converts them into a Smart Object, and blends them, reducing or amplifying the differences between the layers with a variety of rendering modes. You can choose one of eleven rendering modes; Entropy, Kurtosis, Maximum, Mean, Median, Minimum, Range, Skewness, Standard Deviation, Summation, and Variance. Few people will ever use all of them; most won’t use any of them; but I recommend you try two – Median and Mean. (Stacks were designed for analytical tasks in various scientific fields, like astrophotography or forensics and they’ve since been put to many other uses.)
Median and Mean select values in between the highest and lowest values, smoothing out the differences between aligned layers in a stack. Median works best for images with some motion, either subject or camera, to remove moving objects or noise. Mean works best for processing exposures without motion. (Astrophotographers typically make many exposures, sometimes dozens or more, of the same subject and use Mean to reduce noise.)
The more exposures you make and combine the better the noise reduction. Only practical limits apply. How many exposures can you make? How many exposures can Photoshop process on your computer? You can stack and process as few as two images. Three is my recommended minimum. Six is better. After that, you get diminishing returns. (Try using your camera in burst mode more frequently.) The most challenging part of this technique is identifying situations where it’s helpful and remembering to make multiple exposures. If you have the exposures you can take advantage of this great feature; if you don’t have the exposures you can’t."
-
It was the Separated Mode problem; one click and all is well again.
I don't recall going there, but Separated Mode was checked. It had to be a poltergeist.
Where are the Ghost Busters when you need them?
Thank you all, for your help!!
-
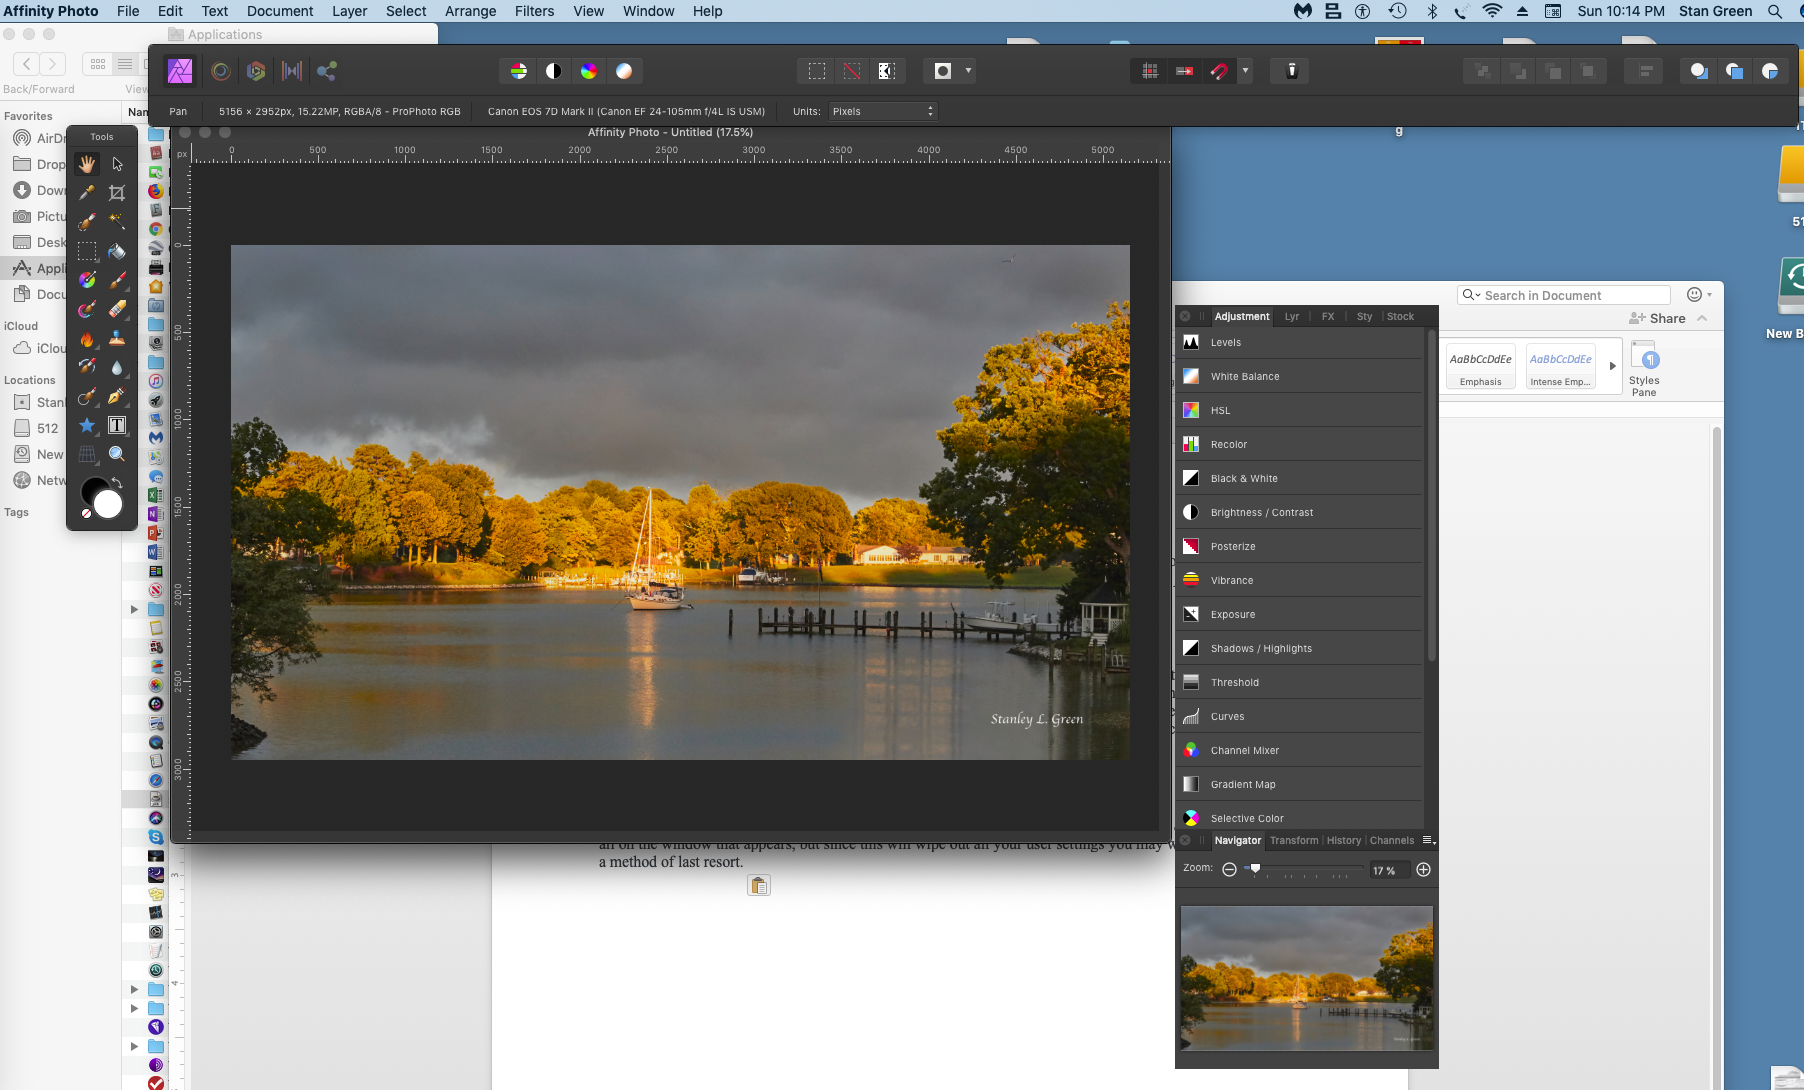
I was working on a photo this afternoon and quit at the end of the session. When I went back this evening the screen was weird. How do I get back to the default screen?
-
Thank you, I'll give it a try.
-
Let's assume that I have 2 copies of the same image. I will call one image "clone 1" and the second image "clone 2". I would like to be able to place both images into AP such that clone 1 is on the left side of the screen and clone 2 is on the right side. My goal is while doing a dodge and burn on clone 1, I can look at clone 2 and, by comparing the difference between the two images gauge my D&B progress. I do not want to do this with a split screen because I want to be able to see both images at once and not have to move a slider back and forth.
-
Thank you. Will you please point me to a tutorial that discusses the "certain filters".
-
I am doing Dodge & Burn with 50% gray scale mask. Carl Surry did an excellent tutorial fro this process based on translating a PS tutorial. Other achieving the 50% gray scale, the PS tutorial is fine and Carl did a very good job showing how to get the gray scale with AP.
In the PS tutorial, the author showed a split screen; the gray scale mask (he called this a "visualization layer") next to the Pixel image. How can I get the same side by side view in AP?
-
The Serif reaction that just saw did NOT address the issue I raised. OK, I surrender!!!
-
John, In response to your comment that perhaps Serif doesn't regularly monitor the forum, I would have hoped that a moderator would listen and provide feed back to Serif.
Well, since that does not seem to be happening, does anybody have a suggestion for a way to get Serif to respond?
-
Wonderful, other people want to see it split-up too. Has anybody seen a response from Serif that indicates that they are going to make it happen or is it only on our wish list?
-
Thanks for your support. Hopefully we will it happen in our lifetime
-
You guys are number one on several levels, your products are great, your tutorials are among the best, and you are continuing to expand your product line, keep it up. However, as you increase your product line, the "desktop forum" is becoming cluttered. For example, when I have a question, I am forced to wade through inquiries regarding Publisher, Designer, and Photo (thank you for separating iPad and Beta). I realize that Serif has intentionally created products that are are inter-related and have much in common, however from a user ease of use prospective, I think that the time has come to have a separate forum for each product line.
-
Thank you, I have recently seen references to use FS in order to remove wires from complex/cluttered backgrounds. With complex backgrounds, such as wires passing behind or in front of bare tree branches, Inpainting does a fairly good job as long as you do not view it at 100%. I want to evaluate FS as an alternative to Inpainting.
-
I went the direction that you are going, replace Acrobat with something else. PDFelement turned out to be a fairly good replacement for Acrobat Pro 10. That was the good news, the bad news is that their (Wondershare) customer support is amateurish at best. They reply to your requests BUT they never seem to answer the question you ask. It may be a language problem, they are a Shanghai company.
-
There are numerous tutorials on how to use Frequency Separation to tweak portrait photography. Will somebody point me to a tutorial that describes how to use Frequency Separation to remove wires from a landscape photo?
-
-
You guys are doing a great job with 1.7 beta.
I have two questions:
When do you expect to be making a final release?
I received this reply to an earlier posting, "Currently Affinity Photo doesn't pass the colour profile info to the plugin thus the differences you are seeing. This is more obvious when using wide colour profiles as the ProPhoto RGB you are using." Will the final release be able to properly handle Pro Photo RGB?
-
Have you tried restarting the mac? Not sure if it help your problem, but I often use "restart" when apps are not behaving and most of the time it works.


Help needed with Topaz Plugins
in Pre-V2 Archive of Affinity on Desktop Questions (macOS and Windows)
Posted
How do I do get those entries into the "Plugin Search Folders" and "Plugin Support Folders"?