BlauerClaus
-
Posts
69 -
Joined
-
Last visited
Everything posted by BlauerClaus
-
Hi Chris I use MacOS Sierra 10.12.1. Best regards BlauerClaus
-
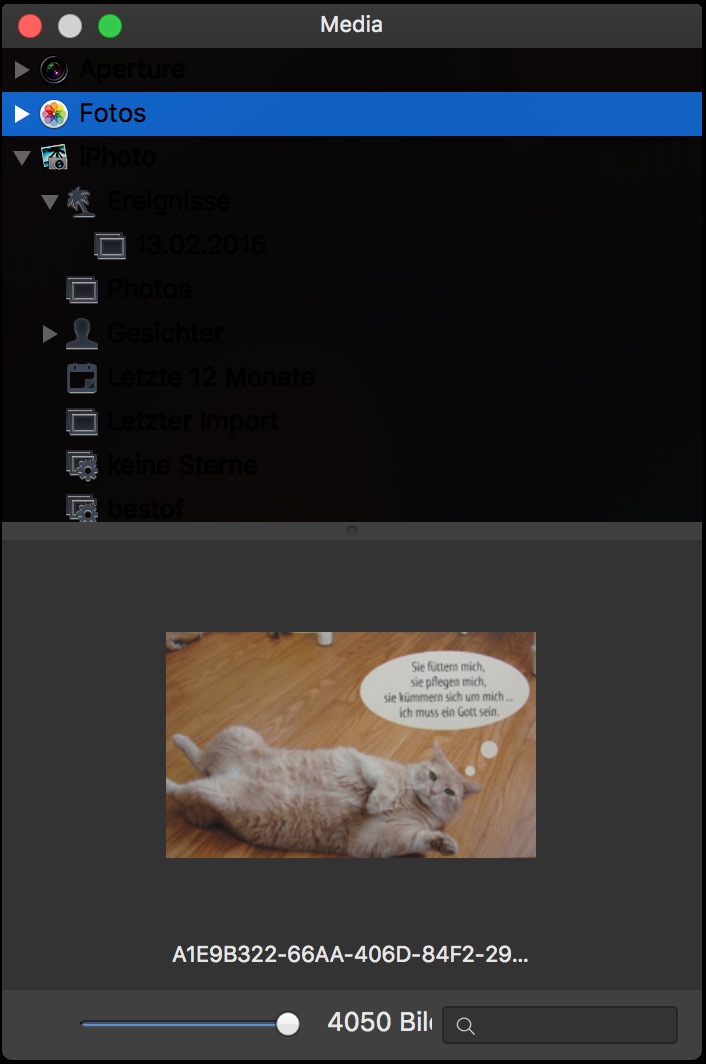
Hi The invisible Scrollbar in the Media Browser is still invisible. It is there, I can grab it and scroll down very fast, however, the color of the scrollbar is exactly the same as the background. Second: is there any possibility to browse another Photos Library than the system library? What is your proposal when I have multiple Photos Libraries? Best regards BlauerClaus
-
After your reply I was able to post the movie. Best regards BlauerClaus
-
The mediabrowsers picture scrollbar is still invisible in RC3. Look at the video. I use MacOS Sierra 10.12.1 on a MacBook Pro 2012 Retina. By the way: the same scrollbar is invisible in the public release of Affinity Photo 1.4.3. Best regards BlauerClaus APRC3 ScrollbarBug 1.4MB.mov
-
Hi In the Affinity Photo RC2, in the media browser, the Scrollbar has the same color than the background. Hence, it is not visible. Watch the screenshots. Best regards BlauerClaus

-
Hi Look at the screenshot below, the Media Browser is unreadable: the text is dark and the background is dark. This is an out of the box installation with no property changes. Best regards BlauerClaus
-
I have received the latest Topaz Denoise 6 Photoshop Plugin and tested it in Affinity Photo. Result: it works nice with Affinity Photo. Affinity Photo still marks it as unknown plugin. However, it works. Best regards BlauerClaus
-
Update on the update
BlauerClaus replied to evtonic3's topic in [ARCHIVE] Designer beta on macOS threads
Good news - the new beta is out. https://forum.affinity.serif.com/index.php?/topic/18468-affinity-photo-customer-beta-142-beta-3/ Best regards BlauerClaus -
Update on the update
BlauerClaus replied to evtonic3's topic in [ARCHIVE] Designer beta on macOS threads
Please relax and enjoy the politics of the team to share their betas step by step, which is quite unique in the market. I frequently read messages about "when does the update come?". I kindly ask you to be patient and not to put any pressure to the team. Remember kids asking the parents in the car "when do we arrive?" every five minutes: would you like this? No. Would you arrive earlier? No. Would you love to mute those kids? Yes. Stay tuned, enjoy the upcoming betas, stay patient, but please do not insist. Best regards BlauerClaus -
To my best knowledge, you cannot assign filters to multiple files. There is no way to select multiple open pictures. What you can do is to add filters to one picture, then you select these filters, copy them into the clipboard and then you select the other pictures one by one and paste the stack of filters. This is quite fast, and you can individually adjust the filters afterwards. If you find a better way, please share it here. Best regards BlauerClaus
-
Hi guys, This is a workaround tutorial. I have summarized the findings of this discussion thread in a short video tutorial. It shows a way how to make a shape, how to assign a distortion filter, how to adjust the effect within the shape and how to make the effect movable around the picture. However, it also shows the limitations. It is currently not possible to directly associate a shape with a lens effect. Better would be: that we could assign a live filter directly to a shape, that the life filter is moving its position relative to the shape Possibly, the Affinity Photo team can comment it? Best regards Blauer Claus Tutorial Distortion Effect.mov
-
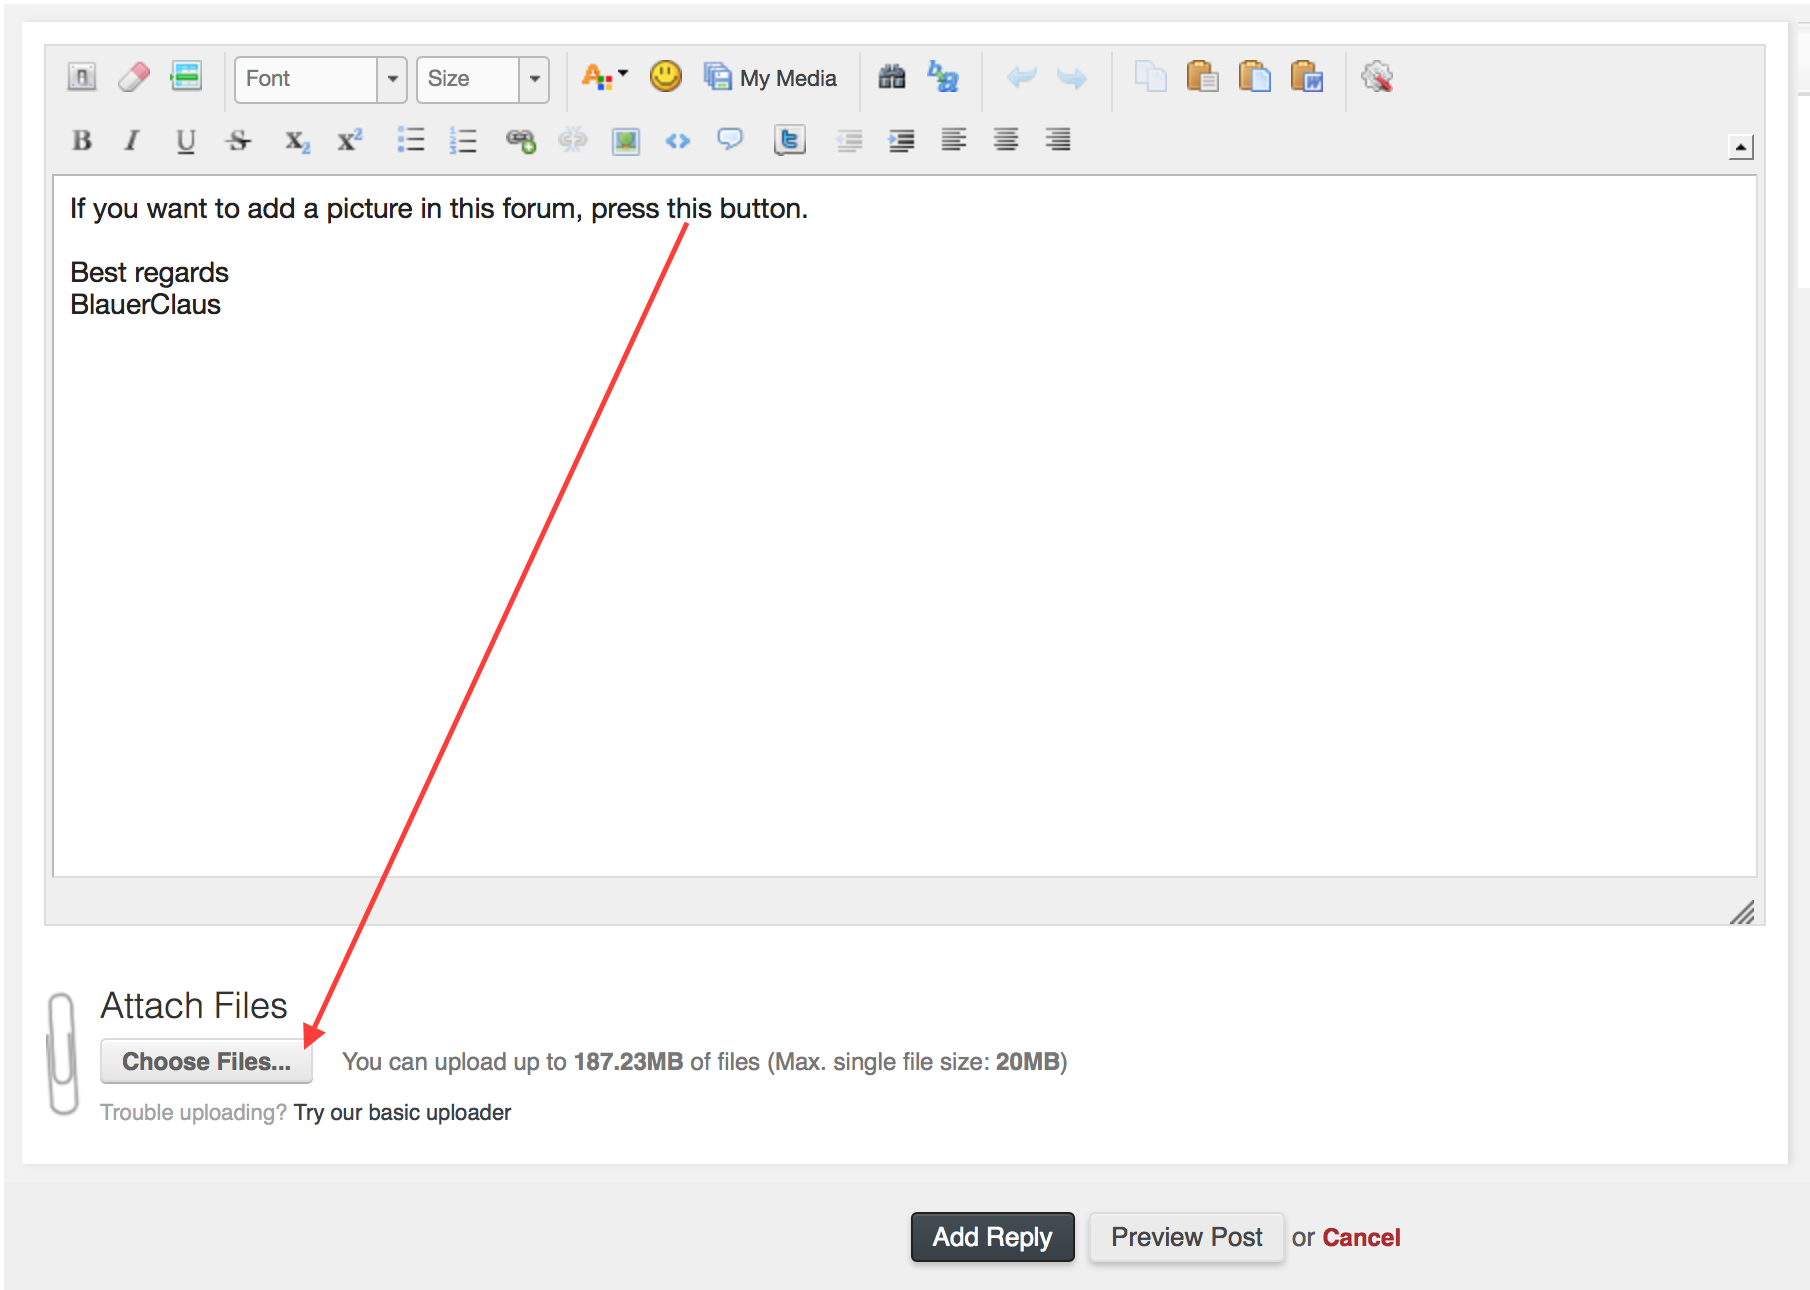
If you want to add a picture in this forum, press this button. Best regards BlauerClaus
-
Possibly these are stupid questions, but even the help file have not helped me: - Why can we change the black point in the basic settings in the develop persona, but not the white point? - A the same position in the Develop Persona: what is the difference between Exposure and Brightness? Playing around with both sliders show identical changes in the histogram and photo. Best regards BlauerClaus
-
Stacking functionality
BlauerClaus replied to MikeFromMesa's topic in [ARCHIVE] Photo beta on macOS threads
To see the power of Stacking, I invite you to look into a series of photos shown in these discussions here: https://forum.affinity.serif.com/index.php?/topic/16177-stacking-noise-reduction-optimum-number-of-images/ Look for the baby pictures demonstrating the noise reduction dependent on the number of pictures. Best regards BlauerClaus -
Lens correction tool and RAW upload
BlauerClaus replied to fmateojr's topic in [ARCHIVE] Photo beta on macOS threads
I almost use the lens correction outside of the develop persona. There is a live filter for that. Best regards BlauerClaus -
Maybe the team of Serif can give us a hint. The need of having motion in a photo editor is the real time tuning of the effects. We use that commonly for all standard exposure and shadow effects. You need to see them in real time to make adjustments. Especial the magnification of text requires motion to see which part of the text is magnified. Best regards BlauerClaus
-
Hi crabtrem, Interesting approach, yes it works, even with the spherical effect. The key drawback of your approach is that the effect is not limited to the shapes border. In your case, the shape must be bigger than the effect, then it looks perfect as in your video. But, when the effect is bigger than the shape, it becomes visible. Look at the attached screenshot. Especially for a magnifier, it is important to limit the magnification effect to the border of the physical magnifier geometry. Use cases of my original questions are: - you want to emphasis a part of a picture, - you want to create a rain drop on top of the picture of a leave. Then you need such kind of glass effect, assigned to the shape of the magnifier or the rain drop. Best regards BlauerClaus
-
Hi guys, I have summarized the finding in a short video tutorial. It shows a way how to make a shape, to assign a distortion filter, how to adjust the effect within the shape and how to make the effect movable around the picture. It also shows the limitations. What I would wish is that we could assign a live filter directly to a shape, that the life filter is moving its position with the shape automatically Thanks to crabtrem and barninga for your contributions! Best regards Blauer Claus Tutorial Distortion Effect.mov
-
The Spherical Filter does it, thank you crabtrem I can move it around. But how can I assign the distortion effect to any shape? A triangle, a rectangle, a star, any self defined shape? This is why I hoped to start with a geometric shape, and then to associate the distortion effect to this shape. Best regards BlauerClaus
-
@crabtrem: This looks nice, thank you, but unfortunately, this magnifier is static. You cannot move the oval around and the underlying layers follow (as a real magnifier would do). In your picture, when you move the oval, the ladies face will be moved around. This is because you determined the position of the distortion effect in the beginning. I difference to your approach, I would like to apply the distortion filter to the oval, and then this oval becomes a "live magnifier" that you can move around. Is this possible? Best regards BlauerClaus
-
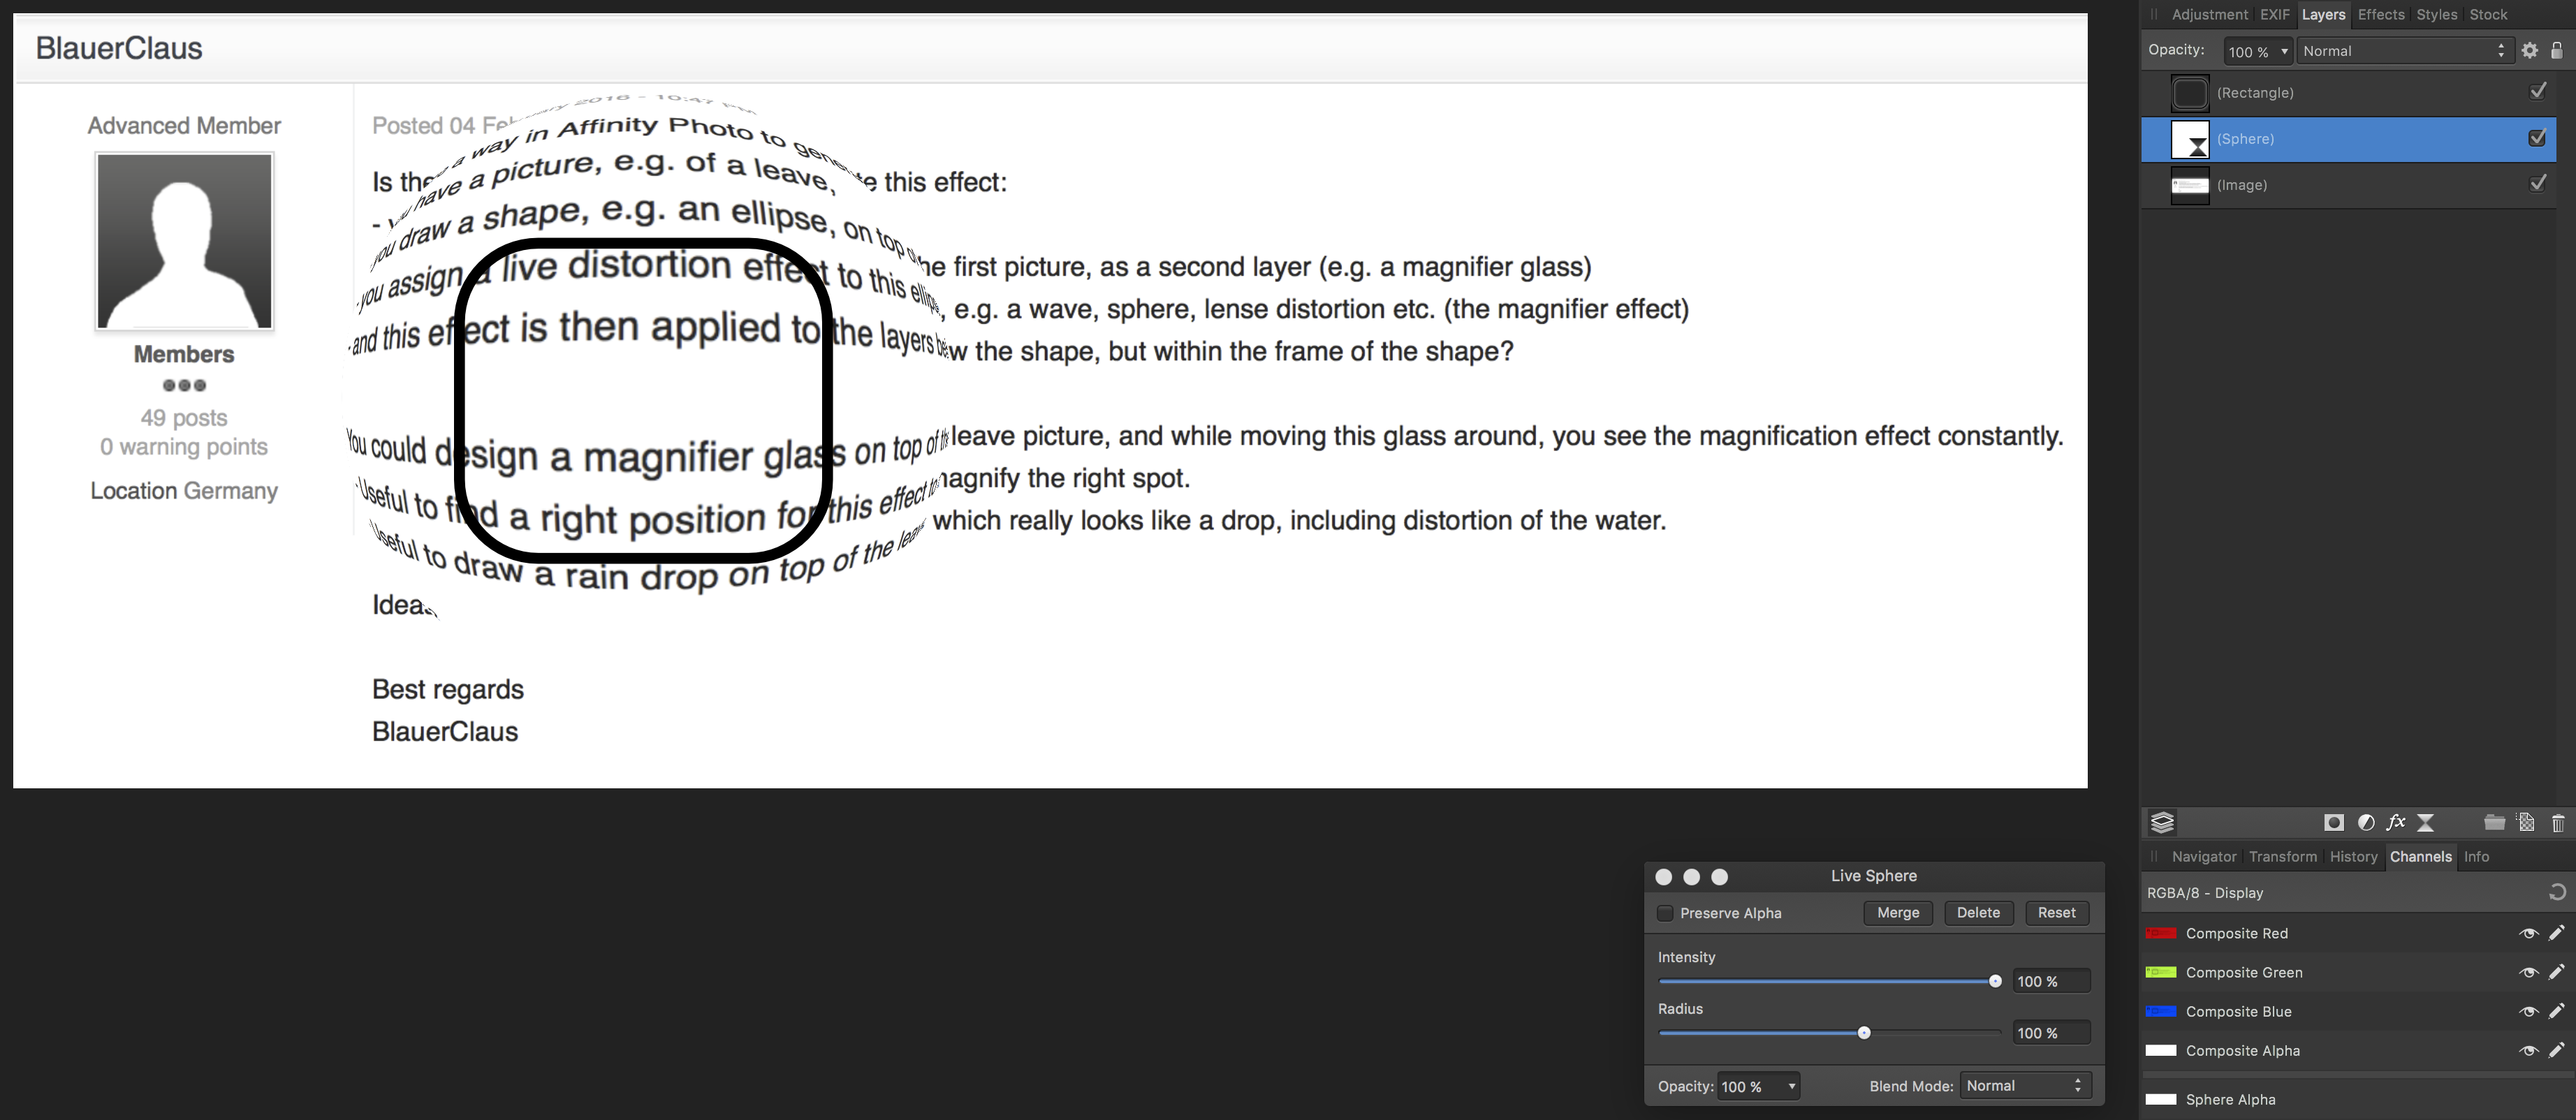
Is there a way in Affinity Photo to generate this effect: - you have a picture, e.g. of a leave, - you draw a shape, e.g. an ellipse, on top of the first picture, as a second layer (e.g. a magnifier glass) - you assign a live distortion effect to this ellipse, e.g. a wave, sphere, lense distortion etc. (the magnifier effect) - and this effect is then applied to the layers below the shape, but within the frame of the shape? You could design a magnifier glass on top of the leave picture, and while moving this glass around, you see the magnification effect constantly. - Useful to find a right position for this effect to magnify the right spot. - Useful to draw a rain drop on top of the leave which really looks like a drop, including distortion of the water. Ideas? Best regards BlauerClaus
-
Hi MEB - is there any way to give the zoomed part of the picture any kind of glass effect, lens distortion effect or sheric distrotion effect which simulates the glass distortion? Whenever I apply one of the present effects to the shape or the underlying picture, it is applied to the center of the overall picture, and not in the center of the shape. Ideas? Best regards BlauerClaus
-
Share to Apple Photos removes the pictures EXIF data. Is there an intention behind this? Best regards BlauerClaus
-
Multiple windows open at the same time
BlauerClaus replied to vovov's topic in Older Feedback & Suggestion Posts
+1 A good example for needing two pictures side by side is global cloning in Affinity Photos. Best regards BlauerClaus -
There are two options: - use the "outer shadow" function, set the color, angle and distance manually. - or draw a shape, form it in the way you want the shadow to be, make it black and set opacity to 30% Here is a tutorial, where they create a shadow of a person: look at https://vimeo.com/127910140. It starts at 7 minute and 20 seconds. This video by the way shows many features and creative possibilities with Affinity Photo, I like it a lot. Best regards BlauerClaus