

JohnG
-
Posts
19 -
Joined
-
Last visited
Posts posted by JohnG
-
-
I think I am "almost" to the point where I can assign Photoshop to my personal ashcan of history… ALMOST. For several years, I have had a few stylized fonts that I use repeatedly, in different documents (book covers, business cards, posters, banners, social media posts, etc.).. These fonts make use of several FX features.
Until now, I have had a lot of difficulty in duplicating or even coming reasonably close to the fonts that I created in Photoshop. I have finally managed to get very close to the original fonts created in Photoshop. However, it's not nearly as easy a process as it was in Photoshop. In Photoshop, I would type and size the text, click on a style, and move on to the rest of my design. That does not appear to be possible for two reasons.
The first reason is that Affinity Photo does not have pattern overlays in the FX panel. The second is that applying a curves layer within the 3D panel applies only to the surface and there is no way to apply curves to the outline. So in Affinity, this is my process.
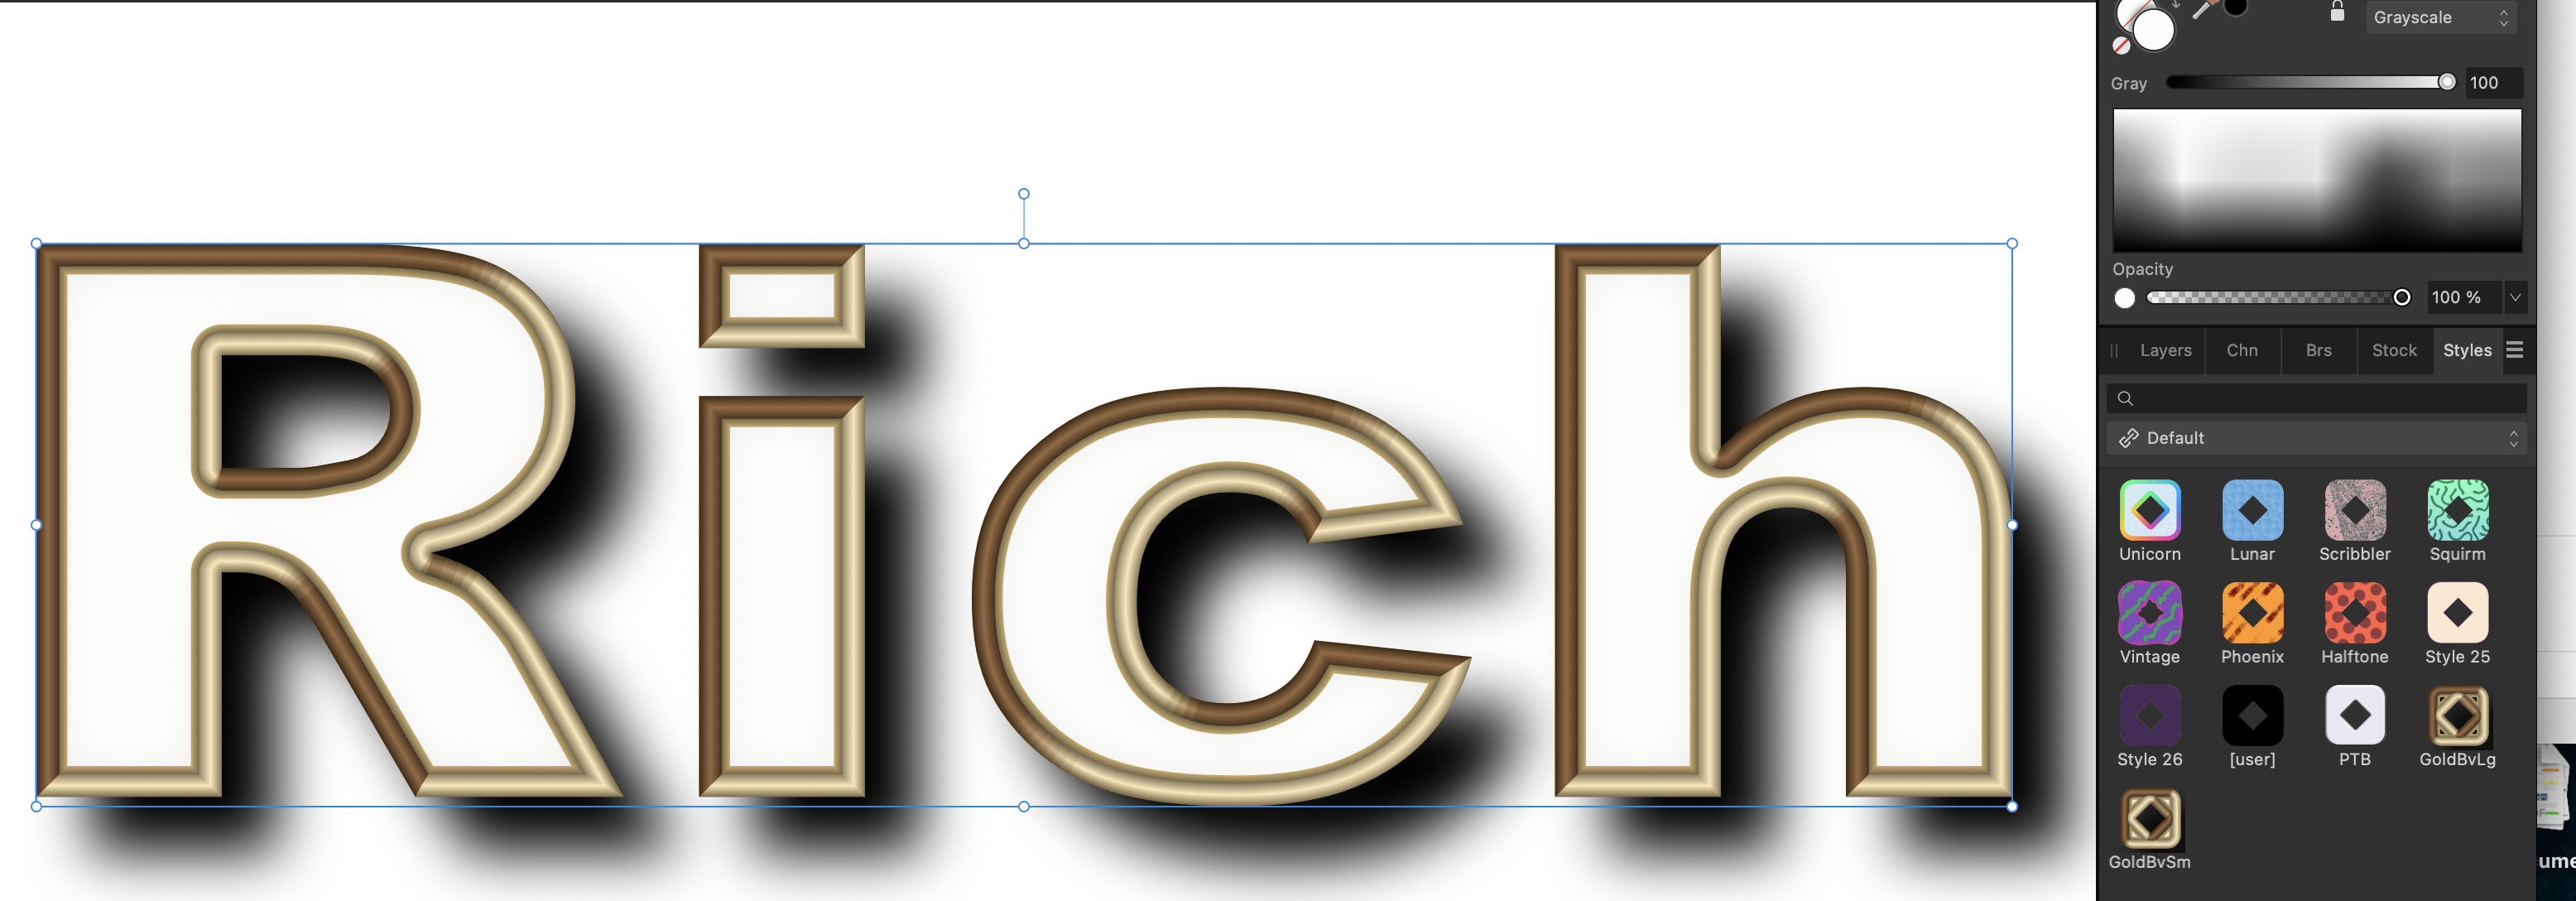
1) I type my text (or create some other object to be stylized). [image 1]

2) I apply my saved style from the styles panel. [image 2]
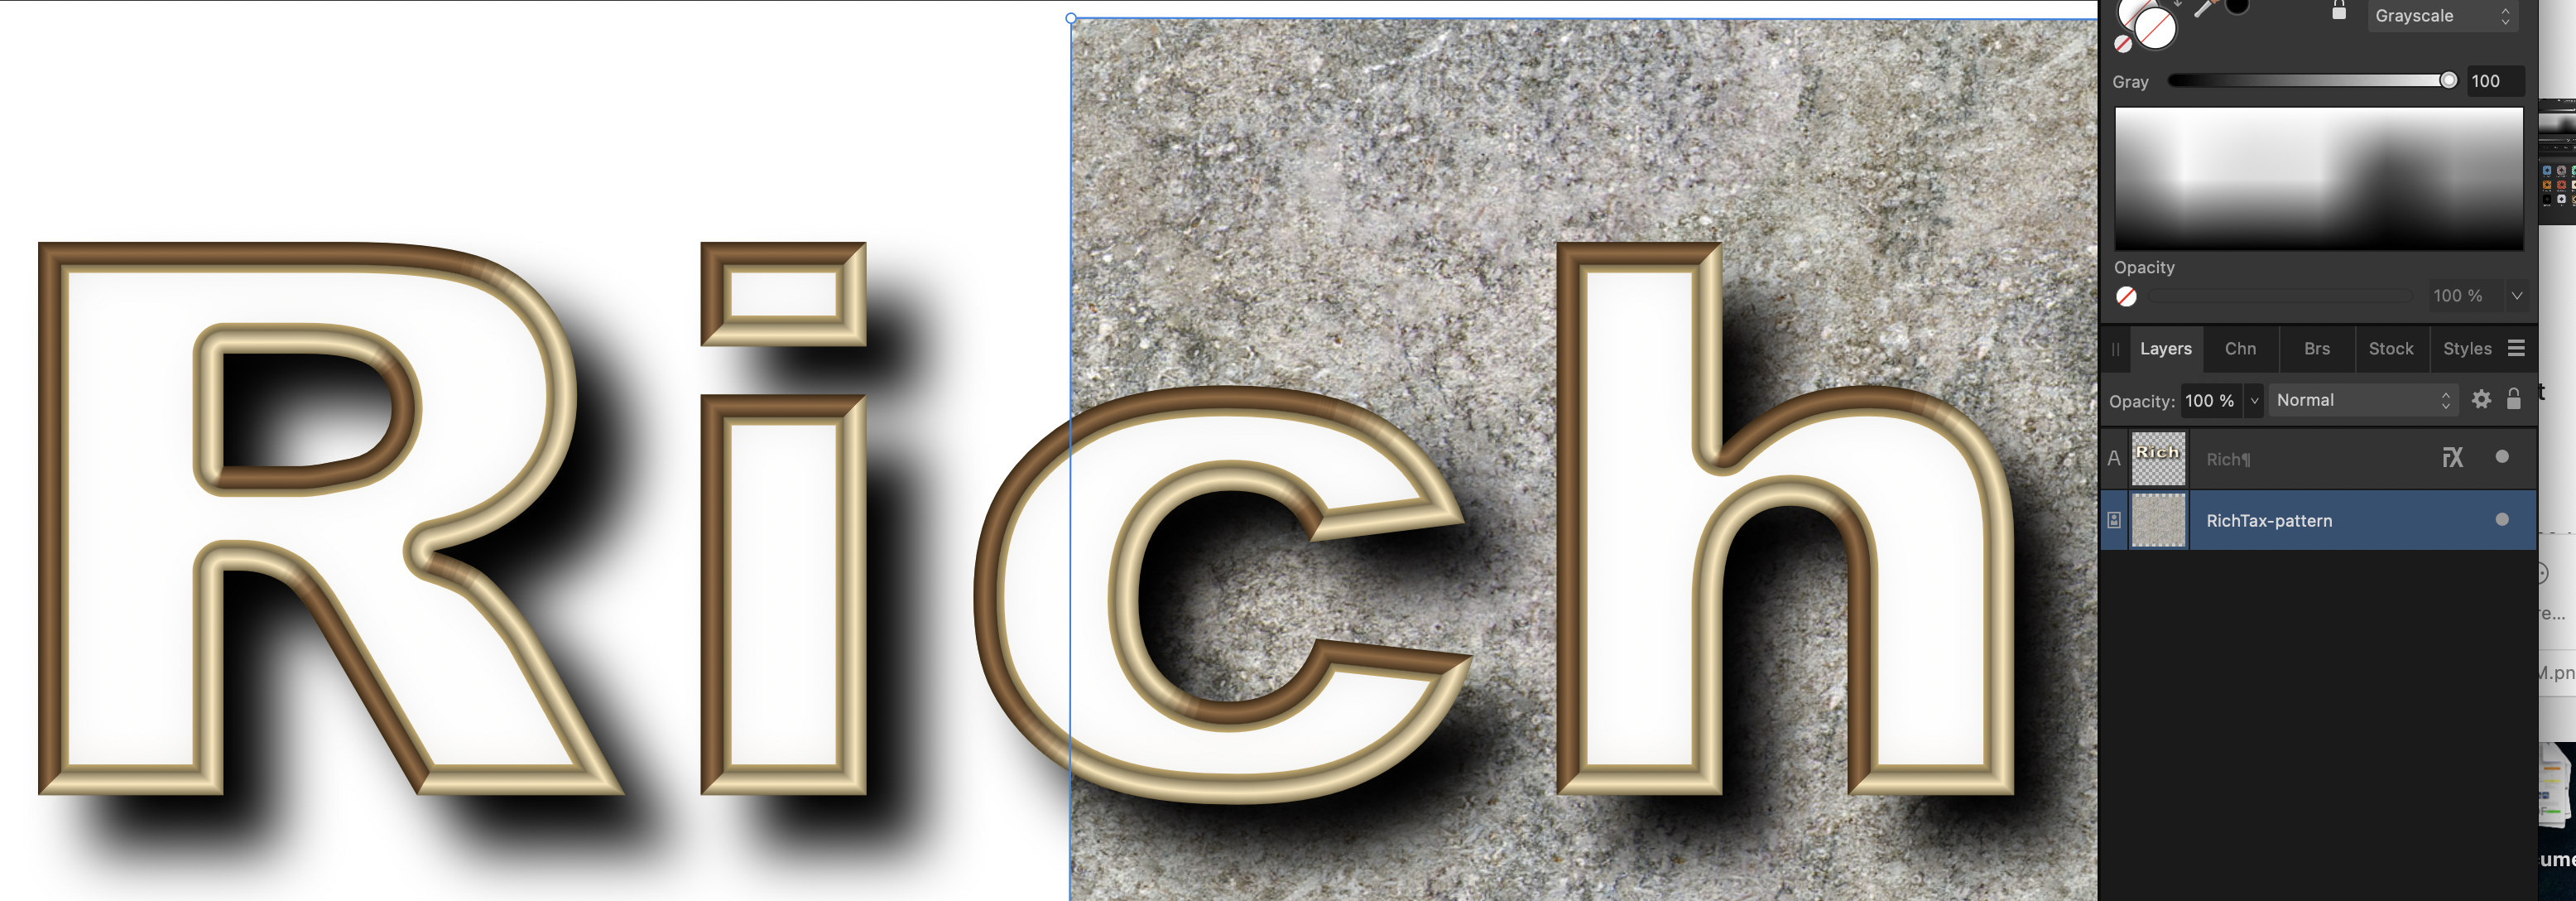
3) I have to copy or drag my pattern into my document, below the layer that I am operating on. [image 3]
4) I have to click on the layer I'm operation on and mask to below. [image 4]
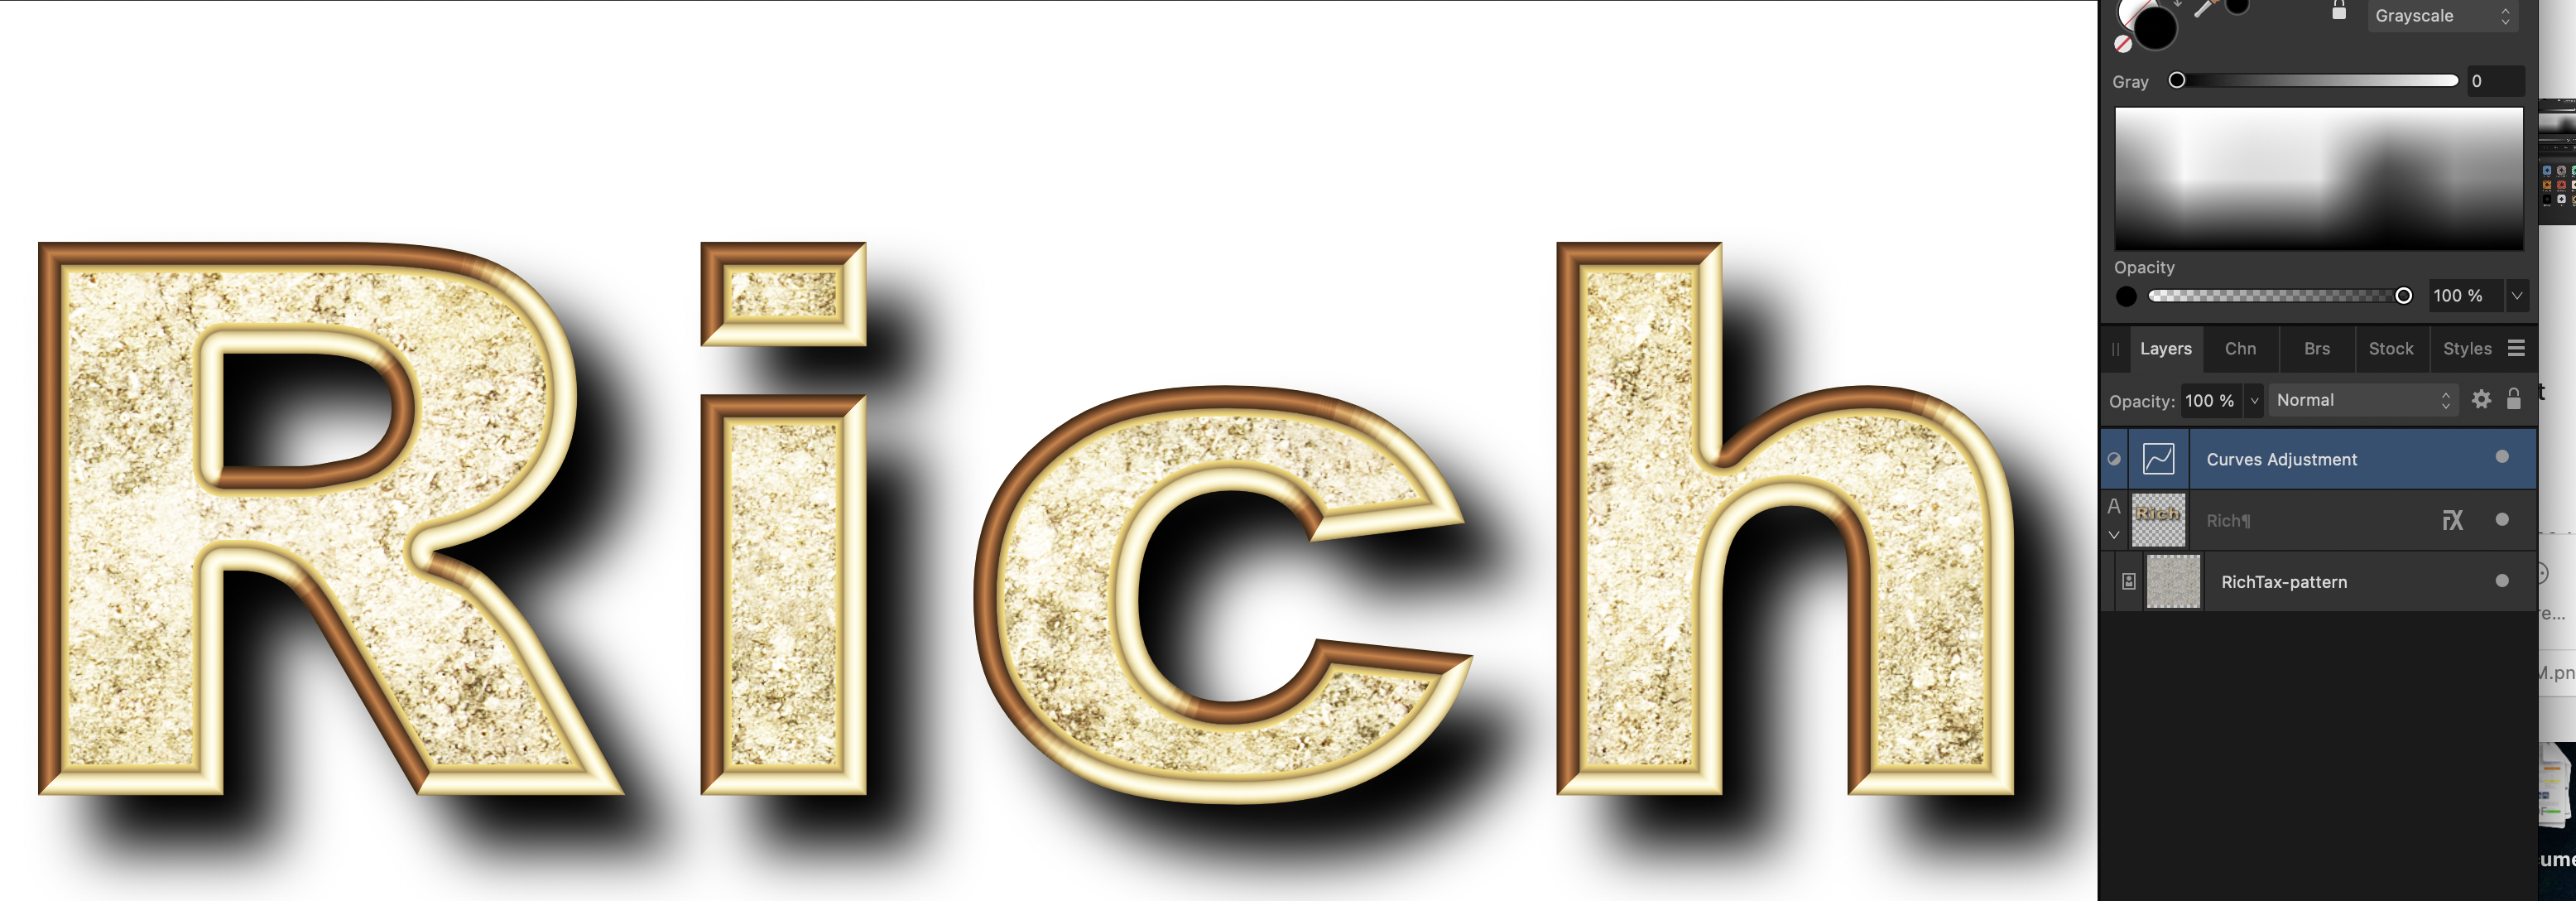
5) Finally, I have to apply a curves adjustment layer to the object/text layer. (In order to make the font look exactly the same each time I use it, I have to open a file that contains that curves adjustment layer and copy the adjustment layer to my new document, thus insuring that the curve is exactly the same as I used in prior documents. [image 5]
The final result is in image 6.
Before anyone comments that I could put that curve in the FX style, using the 3D panel, let me point out that placing the curve in the 3D panel only affects the surface of the object/font and NOT the outline (which appears to be a bevel). The only way to make a curve adjustment to the entire object/font is to do it with an adjustment layer over the whole object/font layer. Compare image 6 (done with a curves adjustment layer) and image 7 (done with a 3D panel curve in FX).
You can see that the outline is not affected by the 3D technique.
The problem is that every time I create a new document with new text, I have to go through this whole process, where it should be able to be done with a single click of a style icon. I also do this with a shiny chrome or brushed chrome look and in each case, I should be able to just type the text, click on the style, and move on th the rest of the image. It also means that I cannot create styles that I can sell to others, as an add-on, as i have done with Photoshop styles, in the past.
Affinity Photo and Designer need to have a feature where a pattern overlay is part of the FX panel and there needs to be a way to have curves within FX can be applied to the outline or to the whole object – not just the surface of the object.
-
Please add the ability to assign a different pattern overlay to the stroke that is different from the overall pattern overlay.
This is necessary, in order to simulate a different reflection on the bevel of the object than the pattern/gradient on the surface of the object.
As it is, if I assign a pattern overlay to an object in Affinity Photo 2 (AP2), I have to assign a mask to the entire object and then apply the overlay to the entire object, before going into Effects. This means that if I assign an inner bevel to the object, the bevel will have the same pattern as the surface.
In order to simulate a shiny bevel (machined look), I need to be able to apply the pattern from within Effects, so the pattern only applies to the surface. Then, I can assign a different pattern or gradient overlay to the bevel separately.
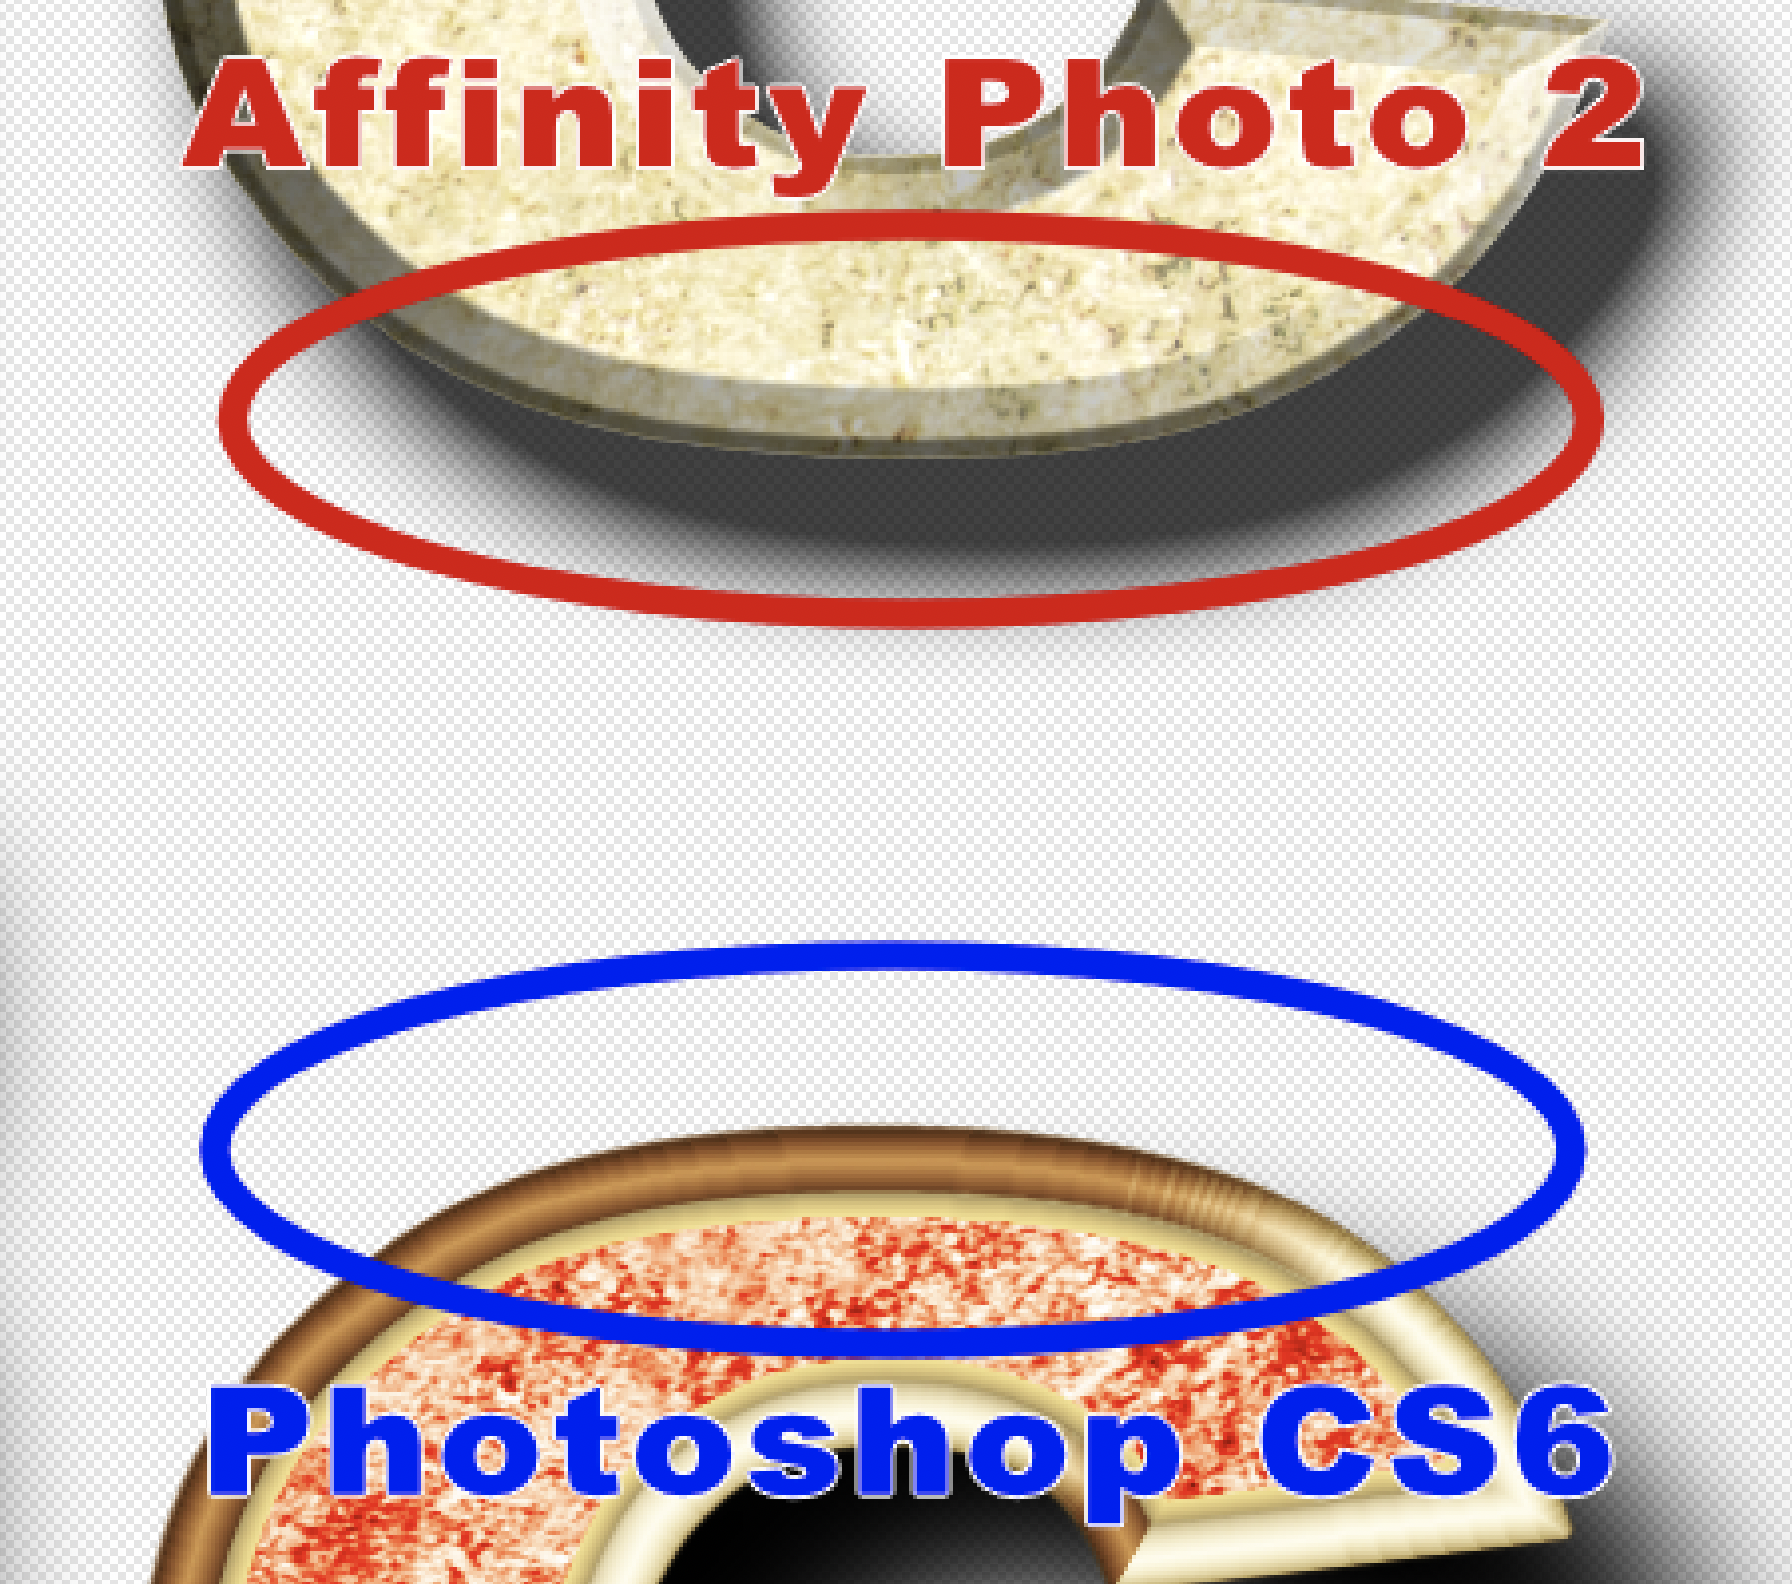
The attached image shows the edge of text created in Photoshop CS6 (PS CS6 - the last version of PS that was not subscription) and the edge of text created in AP2, to achieve the same effect. Note that the bevel on the AP2 text contains the same overlay pattern as the surface of the text, whereas the bevel on the antique PS CS6 text appears shiny and there is no hint of the overlay pattern from the surface.
The lack of this capability in AP2 is the ONLY reason I keep PS CS6 around. It's a pain, when I want to use reflective, beveled text, to have to open VMWare Fusion, open a Mac OS 10.14 Mojave virtual machine, and then run PS CS6 within that virtual machine, just to create the piece of text that I need and then save that into a PNG file, to be imported back into AP2. Then, if I later decide to change the wording of the text, I have to repeat the process all over, instead of just re-typing the text in AP2.
I can do a little better than the image in this sample. But in every case, the bevel is corrupted with the overlay from the surface of the object.
Please give us the ability to have a different gradient/pattern overlay on the FX bevel of an object, than the gradient/pattern overlay on the surface of the object.
Thank you.

-
For anyone who may be wanting to help with this issue, I'm attaching the AP file that created the above text.
-
OK. I've made a lot of progress. It's still not what I want yet. But now that the bling is beginning to show up, I'm beginning to see a serious problem. The first of the following images is the full image. The next image is zoomed in on two letters and it clearly shows the issue. The problem is that the color change in the reflective bevel does not blend smoothly. Instead, there are numerous mostly rectangular blocks of a single color. The arrows point this out. This is most certainly NOT acceptable. The last image is the same two letters from the Photoshop file, showing how the reflections blend smoothly across the bevel, instead of chopped up in blocks, as the image should look. The zoomed images were both created with 300dpi resolution.
I tried gausian blur and other tools, to try and smooth that bevel. The bevel is a child layer (duplicate, but outline only). That's the only way I've been able to get that sharp reflective bevel.
In Photoshop, the effect is called "Satin". But I can't find any work around for this in Affinity Photo.
Does anyone know how to eliminate these blocks and make the transition smooth, across the bevel?
Thanks.
-
OK, this is beginning to look better. It's still not as easy and fast to create it, as in PS. But the bling is finally beginning to come out. It still needs work, though and it takes a lot of time. But, thanks to help from you guys, it's headed in the right direction and I think the end is in sight. But this is just one font. There are several others, that I routinely use, with different textures and colors, that I will have to learn how to deal with, as well.
One of the remaining problems is that, in order to get the bling effect I'm trying to achieve, I needed to duplicate the exact text, as only an "outer" outline. Actually it's duplicated twice. It's not serious. But if I should have to change just one letter, I would have to change it in each of the three levels. What can I say? It's a work-around. It's just easier, in PS, with the availability of a bitmap pattern overlay. I hope that Affinity
Here is what I have, so far with both white and black background.
-
CPC, unless I'm missing something, I've tried that and there is still one problem.
When I do a color balance adjustment, I see the original text, not the final output text. Am I missing something. Is there a way, in AP, to do a color balance adjustment on the original image, while viewing the effect of those changes on the final output product.
This is a workaround. But without being able to see the effect on the final output, it means that you have to move a slider, save, look at the output image, go back into the color adjustment and repeat and keep up with this cycle till you find an acceptable image. With a pattern overlay, you move a slider and you see the effect of what that slider is doing to the final output in real-time. Anything that is not real-time, is not an acceptable fix. I have already spent many hours, over several days, trying to create an effect in AP, that I originally did in two or three minutes, in PS. A lot of that AP work was going back and forth between the original image and the final output appearance. It's not only about features. There is almost always a way to work around missing features. But those work-arounds take time. So, it's really as much about time as anything.
I think Paul Simon described my situation well (Hazy Shade of Winter):
QuoteTime, time, time. See what's become of me,
While I looked around for my (Affinity Photo) possibilities,
I was so hard to please. -
With a pattern overlay in PS, you can use "ANY" image that has a pattern that you want to use, regardless of color or brightness and you can then use the overlay tools to eliminate all but the pattern. So, when I was looking for a pattern for my shiny brushed chrome beveled font, I wasn't restricted to light silver images. For example, the bright brushed chrome font below was created with the dark pattern that follows.
If I wanted to use that pattern as a fill, rather than an overlay, to achieve the same effect, I would have to do a lot of pre-manipulation of the pattern, to change it to a lighter color. Then, if wasn't exactly what I wanted, I would have to go back to the original and do more manipulations. When it's an overlay, everything is done with a slider and the result is live. Tremendous time saver.
Having a feature like this in AP and AD would be a huge, Huge HUGE time saver. I've worked for hours and hours, in AP, trying to get to a font that is now getting rather close to the original font, but still lacking that bling factor. By contrast, I created the original font in two or three minutes in PS CS6.
The reason this works is because the pattern overlay is below the gradient overlay and color overlay, in the PS FX tools. The color and gradient overlays thus change the appearance of the pattern overlay. How much it changes and in what way, just depends on which blend and opacity you use.
I use this feature all the time, to create unique, attention-grabbing fonts for book covers (see the partial book cover image in the opening post), websites, and such. GarryP hit the nail on the head, when he called it the "bling factor". I would love to leave Adobe completely behind. But until Affinity adds a pattern overlay that will make it possible to quickly and easily achieve this kind of bling in fonts and images, I'm stuck having to flip back to PS CS6, under VMWare Fusion, to handle this kind of work. Fortunately, I have 4T of disk on this laptop, so the additional disk space is not an issue. It's just a pain to have to jump through those hoops. I really hope that Affinity will soon add a pattern overlay to their Effects tools.
-
Well, as a backup, I did manage to get the Adobe CS6 Premium Suite to run on my Catalina MBPro, under VMWare Fusion.
I'm still working on a way to get my various specialty fonts to look as good or better in AP, as they do in PS. Photoshop and Dreamweaver are the only reasons why I even need VMWare. I do have a Windoze virtual machine. But it's not an absolute necessity. The only reason I have it, is to be able test web pages I create, to insure that the page looks correct in Internet Exploder, on a computer running Windoze.
But getting back to the point, while AP is now my new go-to photo and design app, I have manage to get PS CS6 running on my Catalina Mac, to handle those hopefully rare situations where I can't figure out a way to do something in AP. Similarly, Affinity Designer (AD) is replacing Adobe Illustrator (AI) and Adobe Fireworks (FW), as my go-to vector design app. But I still have AI and FW available, on a virtual machine, just in case.
If Affinity will fill in those last few missing features, such as a "Bitmap Overlay" in Effects, the only reason I would have for keeping anything Adobe on my system would be Flash.
-
Thanks, Garry. I'm still working on it.
ut as a backup, I just installed MacOS Mojave, under VMware Fusion and I intend to install the Adobe CS6 Suite on that virtual machine. I still plan to use Affinity Photo and Designer as my primary design tools. But this way, I will have CS6 archived on a virtual machine, should I need one of those tools. After all, when I do a book cover, EVERYTHING has to be 110% perfect, So if I run into a problem with AP, on such a project, I can fall back on the software I have become a guru on. Hopefully, I'll reach guru status on Affinity products soon and won't need to keep Adobe products around, as a backup.
-
Garry,
I downloaded your file and played with it for a while. Here is what I got. Still not enough "bling factor", but it's getting closer.
I'm including the AP file of this image, as well.
-
23 hours ago, GarryP said:
I’ve been able to get the attached sample by using multiple layers and a mix of effects but I’m still not satisfied with it.
It simply doesn’t have the ‘bling factor’ that is shown in your Photoshop examples and it looks too ‘flat’ to me.
Also, there are more layers than I would like there to be.
More experimentation is needed.
Garry, you've done better than me. I got rather close to that. But when I got the face of the text to look good, the bevel was way too dark and I couldn't get it to lighten up enough to have that gleam. Yours is definitely headed in the right direction. But as you say, it does not yet have that "bling factor".
You might try using a straight line (lower left to upper right) "Bevel/Emboss" profile. That will produce what Adobe calls a "Chisel Hard" effect on the bevel. I fins that produces sharper reflections in Affinity Photo. I'm just guessing, but it looks like you may have either a lot of Ambient Light or possibly Source Light emanating from 90 Elevation. It's possible that you have more than one source of light, as well. Any of these can reduce specific reflections.
I would be interested in learning more about how you got this far. It's something I think I could work with.
Thanks.
-
7 hours ago, walt.farrell said:
@JohnG: You might try the Gradient Tool, with the Context set to Fill and the Type set to Bitmap:
This is getting me closer and I may be able to create a work-around for the remaining problem. The remaining issue is that since the bitmap, in this case, is a background to the text layer, any effects overlays cover the pattern that I include as a text fill. I've been trying all kinds of blending options and I have so far, found nothing that will allow that text fill to show through enough to make a difference in the final product. I'm used to picking a fill of any level of brightness or darkness and using blending options to do away with the color and just keep the texture. There is a possibility that I might be able to create a texture that is already light enough that I can lower the transparency of overlays to allow that texture to show through from the bottom.
It would be so much better and easier, if a texture fill was included as an overlay, in AP, like it is in PS. When it's an overlay, I can make any number of modifications to any font in a matter of a minute or two. I'm now working on three days and although I seem to be getting closer, the result and ease of use I'm trying to achieve in font effects, is still eluding me.
But I'll be working on this concept a little more in the morning. It's going in the right direction. But I still don't see an end, due to the texture being a fill, rather than an overlay. OTOH, I've been known to create effects in PS that many others said was not possible, so I'm not ready to give up.
Thanks.
-
I am new to Affinity Photo (AP). I moved over, because Photoshop CS (PS) won't run on Mac Catalina and I refuse to rent software (Photoshop CC) that is critical to my work, unless there is absolutely no other choice.
I have already learned that I can do almost everything that I do in PS, in AP. However one critical part is missing. That is Bitmap Pattern Overlays in Effects, particularly as it applies to text.
Here is a portion of a book cover that I did in PS. Notice how the surface of the font is textured, as though the text was cut out of a block of rough gold, but the edges are shiny, as though beveled.
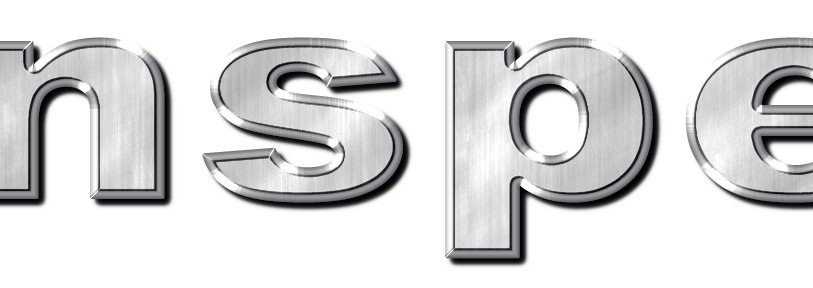
Next is a LOGO on a website that I created in PS. Notice that the surface looks like brushed chrome, but the beveled edges (which are really a stroke or outline) are shiny, with no brushed overlay. Also, due to the mixture of light and dark on the surface, the font translates well, either on a light or dark background.
Finally, here is the best that I have been able to achieve in AP, on the chrome font, followed by a close up of the PS version. Notice that there is no brushed bitmap overlay on the surface of the AP version, like on the PS version. Also, without that texture, the AP version looks great on a white background, but it washes out significantly on a dark background. By contrast, the PS version stands out on either light or dark background. As you can see, looking at the two images, one above the other, the difference is remarkable.
I have not yet been able to come anywhere close to duplicating the gold font on the book cover.
I do a lot of custom font work and the lack of a bitmap overlay in effects means that Affinity Photo cannot perform one of my very common tasks. It follows that, although I had hoped that AP would keep me from having to rent Photoshop CC, which I own in CS6, that will not be the case. But the day Affinity releases a bitmap overlay in Effects, is the day I will say goodbye to Adobe forever.
There are some other issues that I have encountered, but this is the only serious one and as such, the only one for which I have really tried to find a workaround.
I'm really impressed with how far Affinity has come in such a relatively short time. I'm looking forward to a time when I am as proficient in Affinity products as I currently am in Adobe products.
-
9 hours ago, GarryP said:
Are these the sort of things you want?
These are easy to do by putting an image inside the text layer and applying a Bevel/Emboss Effect.
Note the use of a different Profile (and some other settings) in the Bevel/Emboss Effect of each to give a different sort of ‘look’.
Garry, these are definitely headed in the right direction. Each one has something of what I'm trying to achieve. I like the texture in the top text, though the texture extends into the bevel. I like the brushed metal on the bottom, though it has no flat surface. For some jobs, I need to use a wide font, such as Arial Black. That means that I have a large flat space to fill.
I'm trying to find a way to apply the texture to the flat front surface of the text, and yet leave the beveled edges shiny.The first image is a zoomed part of the original that was created in PS. The second image is the closest I have been able to achieve, in AP. You can see the significant difference and why this is important to me. The original PS version stands out well, either on a light or dark background, whereas, the AP version tends to wash out on a dark background. I really need that bitmap texture on the surface of the font.
You've definitely got me headed in the right direction and I'm going to play with the text, based on your advice. But from what I see, I think the overlay covers the outline (bevel), too. At least I have something more to work with.
Thanks.
-
I just purchased Affinity Photo (AP), since Photoshop CS (PS) won't run on my new Mac and I refuse to rent software (Photoshop CC), unless it is absolutely necessary.
That said, there is a feature that I use a lot, in PS, that I have not yet been able to duplicate, in AP. That feature is placing bitmap texture on 3D beveled text. It's a snap, in PS, but I've chased it for several days and although I can create a respectable shiny metallic font in AP, I'm stymied by how to overlay texture on top of the font.
Included here, are two examples of where I have used this capability. One is for a book cover that I designed the text appears to be cut out of a bar of gold. The other is for a business website. On that one, the surface of the text appears to be brushed chrome that is beveled on the edges. I have used a variety of other surface treatments, as well. In each case, it was done with a "pattern overlay".
I'm hoping that some AP guru, who knows as much about AP as I know about PS, can point me in the right direction. I really don't want to be forced to rent Adobe software. Help…
Thanks in advance.
-
Thanks, Alfred. I went through my serial number database and learned that, while I got the original AD directly, I upgraded via the AppStore. I downloaded the upgrade.
Next, I'm buying Affinity Photo.
I absolutely REFUSE to lease software that can be instantly disabled, without notice, should the software hosting company be hacked. When I buy my next MacBook Pro, I'm leaving Adobe behind. No more Photoshop. No more Illustrator. No more InDesign. No more Fireworks. No more Acrobat. No more CS6, because I won't do CC.
Affinity seems to be exactly what I'm looking for, to deal with part of that change.
-
Is there an upgrade path for us early adopters?
Just wondering. I think I paid full price for the two versions I've had up to now.
I'm currently using 1.4.1.
-
One of the primary reasons why I bought Affinity Designer was as a replacement for the no longer supported Adobe Fireworks. As such, I have MANY PNG files that I need to be able to edit that were created with layers. But so far, I have found no way to open a PNG file and retain the layers. Is there such a feature within Affinity Designer?
One of the problem files is attached.
There is another question that I have not tested for yet, but that relates to the above question. Is it possible to open a PNG file with frames and retain the frames, with Affinity Designer?
Thanks.


.asl files supported on Affinity?
in Pre-V2 Archive of Affinity on Desktop Questions (macOS and Windows)
Posted
It's almost 2024 and I see no sign that Affinity supports or is planning to support .ASL files.
Support of .ASL files is the single most important thing missing from Affinity products.
It was bad enough, before. But the problem is exacerbated, since I moved to an M2 Mac. I now can't even run Photoshop CS6 in VMware under MacOS 14. I used to be able to open the old PS in VMware create a font, type and rasterize my text in hi-res, and save it in a transparent PNG file that could be used in Affinity. But now, I have numerous style packs from the old PS days and the only option I have is trying to try to recreate them in Affinity Photo/Designer. I can do it. But in most cases, it takes more time to recreate the style than it's worth.