Wilfred Hildonen
-
Posts
148 -
Joined
-
Last visited
Everything posted by Wilfred Hildonen
-
 Like Lou Reed sang: I guess I'm dumb, coz I ain't smart. I have tried to search for a simpistic explanation but didn't find any which made sense to me, so forgive me if this has been explained somewhere. I have made a simple macro which I need to run on at least two images which I have imported at the same time. I saved the recorded macro to the desktop as I didn't see any option to add it to the library when I used the Export-function. Now, when I want to use the macro, I need to import it for each of the images, which is a waste of time and ruins the idea of the macro in my opinion. Why can't it remain open as long as I have use for it? Or why can't there be a shortcut? Can I add a shortcut? How? Then I wanted to add it to the library by just importing it, but when I use that function, it doesn't recognise the .afmacro-file. It is inactive, greyed out. That doesn't make any sense to me. Not very intuitive. So, can anyone smarter than me explain what to do and how to do it? In layman terms? For dummies?
 -
Crash when using scanner
Wilfred Hildonen replied to Martin S Taylor's topic in V1 Bugs found on macOS
It didn't crash after I did that, but these are the results. Black and white 300dpi...
-
Scanning, crashing, resolution and frustration
Wilfred Hildonen replied to Wilfred Hildonen's topic in V1 Bugs found on macOS
Oh yes, thank you, Jeeves. Much obliged That's why I hate automats and they respond in kind - because you cannot communicate with them. Although it is rather primitive, we are able to communicate with our computers and other computing devices, but yes, when I reincarnate, I expect to be able to have a reasonable conversation with my personal assistant:) Anyway, I have downloaded the free trial of Keyboard Maestro and it looks very promising. So far I have managed it to do what Automator could not. I think it will be well worth the 36 euro they want for it, so thanks again. -
Scanning, crashing, resolution and frustration
Wilfred Hildonen replied to Wilfred Hildonen's topic in V1 Bugs found on macOS
Well, as I added to my previous post, Automator didn't do much other than play a dirty trick on me: it refused to open Affinity Photo and opened up Designer instead. So we're definitely in the Stone Age still. If we had been where we should be, Siri should have been doing all of this for us; the tedious repetetive tasks, but 'she' doesn't do much, either. I think we needn't worry about Skynet taking over in the near future. But thanks for the tips on Keyboard Maestro. I am an illiterate when it comes to scripting and stuff. -
Scanning, crashing, resolution and frustration
Wilfred Hildonen replied to Wilfred Hildonen's topic in V1 Bugs found on macOS
Well, what do you know? Recording a macro wasn't of much help. When I scan in those two halves of the A3 document, I save them as "Uten navn" and "Uten navn2". The operations I recorded was to open up those two files and then resizing and resampling them and add them into an A3-sized document in Affinity Photo. That works well the first time. But then I scan in another drawing and replace the two files "Uten navn" and "Uten navn2". Then I run the macro - and what I see in the document is exactly the two files before they were replaced! Which means it is of no use at all. So, Affinity Photo works in mysterious ways when it opens up files. First it changes the resolution and the dimensions. Then it refuses to recognise replaced files, but keep on opening the previous files. How it does that, is beyond me. Re-creating them from its own memory? I can always just record the resizing and resampling which will save a little time, but how do I know that it won't do some other magic trick with the files? The developers should definitely have a look at this. Meanwhile, perhaps I should buy an A3-scanner... OK, so now I see: recording is limited. It doesn't record it when I open files. So, the only thing it records is what I do with already opened files. Which doesn't help as much as I had opened. Does the macOS still have Automator? I have to look into that then. It has but although I set it to open Affinity Photo it insists on opening Designer instead. I think we are still in the infancy of this technology. The stone age if you ask me. I give this shit up! Now I wanted to record the process after I have opened up the files in AP, but it stops recording after I have resized and resampled one of the two images! I want to have the entire process until I have placed the two halves into the A3 document in one macro, but no Sir! This is not very useful at all. It is the most frustrating experience I have had for a very long time. -
Scanning, crashing, resolution and frustration
Wilfred Hildonen replied to Wilfred Hildonen's topic in V1 Bugs found on macOS
Thank you @loukash and I added to the bug-thread - but none of you have touched upon the problem with Affinity Photo changing the resolution from 300 dpi to 72 dpi when opening up the scanned images. That also result in the physical dimensions of the images to be blown out of proportions. Isn’t that a bug, too? -
Crash when using scanner
Wilfred Hildonen replied to Martin S Taylor's topic in V1 Bugs found on macOS
Most definitely a bug. Trying to scan in 300 dpi black and white, using my Epson ET-2710 series combined scanner/printer, causes the entire program to crash. -
Scanning, crashing, resolution and frustration
Wilfred Hildonen replied to Wilfred Hildonen's topic in V1 Bugs found on macOS
That was of great help, because somehow I was under the impression that AP didn’t have the macro-recording future yet! I looked it up and it certainly has and using that I should be able to record every step until the adjustment of the two parts. That must be done manually, but as soon as it is done, I could create another for all the steps until the naming of the files. That way, it’ll save me lots of time! I guess I should report a bug regarding the crashing using the Aquire-option, trying to scan directly. But again, thanks! -
Scanning, crashing, resolution and frustration
Wilfred Hildonen replied to Wilfred Hildonen's topic in V1 Bugs found on macOS
@NotMyFault: I received a notification of another reply you posted, but I don’t see it here, but well, since it doesn’t work scanning directly into AP, I can’t follow my preferred workflow, but have to scan in using another application and in my case it’s Preview. Then, as I wrote, I open up the two scanned parts of the drawing in AP, but… And yes, I go to Document resize and that’s where I can see that they’ve been changed from 300 dpi to 72. This also means that the physical dimensions have been blown up, from A4 to more than a metre high, for instance. That is also why I need to resample them and I need to change the measurements from pixels to millimetres, so I can set the height to something which fits into A3, like 290 mm. it works that way and I can copy/paste the two halves into a new document which is a horizontal A3 with a resolution of 300 dpi. I set the upper layer’s Blend Mode to Difference, because then I can adjust the two halves so they fit exactly. Then I change the Blend Mode back to Normal, flatten the document and crop it and then I export it as a jpeg. It works, but it would have been so much easier if I could scan directly into the program - and at least if it didn’t transform the scanned halves from 300 dpi to 72 and thus, blowing up the proportions immensely. I hope I have managed to describe what I attempt to do precisely enough and what the problem is. -
Scanning, crashing, resolution and frustration
Wilfred Hildonen replied to Wilfred Hildonen's topic in V1 Bugs found on macOS
Thank you, but it works well with Preview on the Mac. The problem is that Affinity Photo transforms it from 300 dpi to 72 dpi when I open up the images. I guess it will do the same, also if I had used Epson Scan. There is also Image Capture on the Mac, but I have no problems scanning, althought it would have been more convenient if I could scan it directly into Affinity Photo. And if scanning crashes it in Windows, too, then it is most certainly a bug. By the way, I save them as JPEGs. I used to use TIFF earlier, but since the newspaper puts my drawings on the web, too, it is more convenient that way. -
I have some drawings size A3 I need to scan in and as my scanner - a combined scanner/printer Epson ET-2710 takes only A4 I need to do it in two parts and then import them to Affinity Photo to merge them. First problem: when I aquire the scanner and try to scan, the entire program crashes. Is that a bug? Is it because I try to scan in 300 dpi? Second problem: when I open up the saved parts in Affinity Photo, it changes the resolution from 300 dpi to 72 dpi! Why!? I need it to be 300 because it is for print. Third problem: Because of this, I need to resize the two parts, but I have to do all the steps again for every new image. I want to see the dimensions in millimetres and I have to uncheck Resample and I have to do that over and over and over and over again. Frustrating. So, are these known bugs or are there ways to avoid this? It was easy to do in Photoshop Elements, but as I have chosen Affinity and think it is a very promising package, I hope you will fix all of this soon. Or that you can tell me that there is a way to fix it. And one more thing: I don't see any option to show Print Size. That would have been handy, too.
-
Light Mode UI for iPad
Wilfred Hildonen replied to mackleys's topic in Feedback for Affinity Designer V1 on iPad
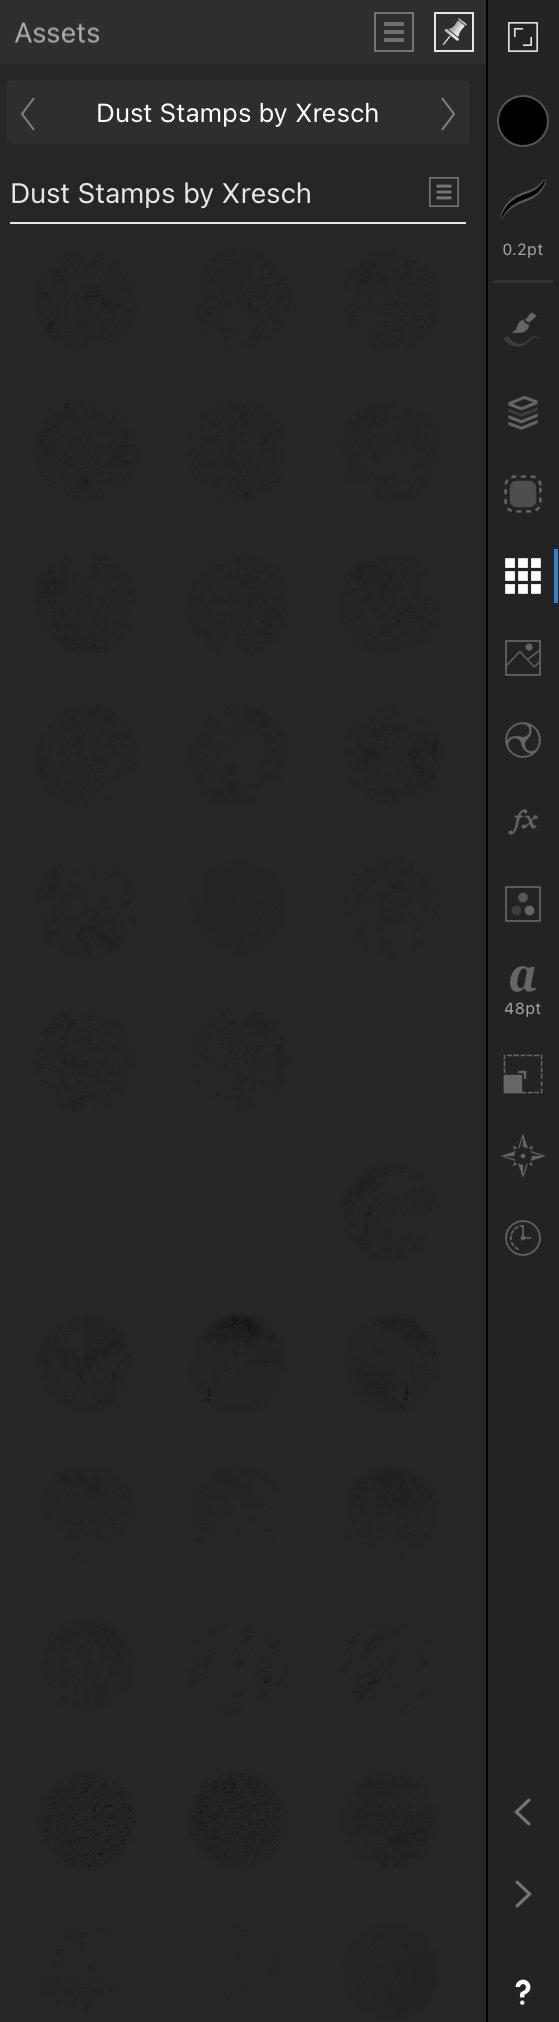
I add my voice to this. If I want to use the textures in Assets, it’s just guessing. It’s impossible to see what it might be like before you choose to insert. I know I can change the greyness of the canvas background in the preferences, but as long as the toolbars and the tools themselves remain dark, it doesn’t help much. Just have a look. So, yes please, an overall light mode is essential, I’d say.
-
Thanks a lot. I knew there would be a simple solution, but of course one I wouldn't have thought of. That little padlock did it and that way I didn't have to create a new document, either, although that is a good tip, too. But since I use the features in Photos to edit with an external programme, in this case Affinity Photo, it works best with the little lock. Then I chose just to crop the photo afterwards. Simpler than resizing the canvas. Thanks again.
-
Let’s see if I can explain what I’m trying to do in Affinity Photo. I have some photos which I got using a scanner app on the iPhone. Some of them ended up distorted, becoming too narrow. What I want to do is to correct that manually, not by guessing what the correct width should be and inserting digits, but simply to be able to grab a handle/node and stretch the photo until it looks right. You can do that with shapes if you convert them to curves, at least in Designer, but so far I haven’t found how to do it in Photo, manually, by just stretching the photo until the width looks right. is there a way to do it?
-
It says pixel - but anyway, I solved with a lot of adjustments. Will have to go over it a little with a brush here and there, but it looks OK, at least. No colours.
-
Trying to figure out this, but it doesn’t work as I intend it to do. I’m trying to select the black lines from a colour drawing and I think I got it selected, but when I copy and paste it, it still pasted the entire drawing, so somehow the entire drawing is selected, although it doesn’t look like it to me, but I might be wrong. Perhaps this is better done in Designer? I also tried to separate the colours in CMYK, but that didn’t work, of course, since the black is a part of the other three colours as well. I was just hoping I could extract the lineart because I flattened the artwork unintentionally and would need one layer with the lineart only, but I don’t know if there’s a way to do that. Selecting them hasn’t worked so far at least. And now I can’t deselect either, because when I go back to the selection it’s still there no matter how much I deselect it. I’m afraid that this part isn’t very intuitive, like the rest is. But if you have any idea as to how I can achieve what I want, I’m grateful.
-
Aha! Thanks a lot! That was a well hidden future, I have to say! But it worked. I have used the menus which doesn’t work.
-
I will try that out, but it doesn’t help me when I want to copy something I find using Safari. Well, I could paste it into Procreate and from there to Designer then, but...
-
On the iPad I can copy from Safari for instance, and open it from the clipboard, but what I miss is the ability to paste it directly into the open document I’m working on. As it is now, I have to open it from the clipboard, then copy it from there, back to the document and paste it. In Procreate, you can paste it directly into any open document. Another solution is to save it to the Photos app and place an image from there - and then having to remember to throw away the image from the Photos app, since I don’t want it littered with all kinds of images. An example on why it would be handy is if I work on an illustration and need to trace the silhouette of a building or add a map. To be able to copy a photo of it from any other source and straight into the open document would be handy and time saving, especially when you work against a daily deadline as I do.
-
Yup, thank you Lagarto, it is all in place now and appears in Affinity Publisher. The only odd thing is that it says Svenska (El Salvador), and as far as I know, they speak Spanish there and then some Indian languages, but not Swedish Anyway, I guess that doesn't matter. It works! Thanks again.
-
I think it will, but will have to wait until tomorrow to see if I figure it out. I really wish people would make an installer for that
-
Great! Thanks a lot and sorry for not having seen that earlier. The only thing now is to get the instructions on how to install it for macOS:) There were a lot of elements in that package, so I am not sure where all should go. The read-me's seem to be for OpenOffice and that doesn't help. If you don't know where to put what on a Mac, perhaps some others know?
-
I tried to look for hyphenation dictionaries in Swedish among those Hunspell dictionaries, but I must confess I didn't understand much. I couldn't find any downloadable file - for macOS that is. I also tried to install the same dictionary for OpenOffice, only it wasn't a dictionary, but an extension which installed itself to NeoOffice which I have. And that doesn't help much. So yes, it would have been nice if there could be something like what orjwid suggests - I could even accept more clicks than one, but at least some pointer to an installation file. But of course, if someone can explain to me where I find the files needed - but then they must be downloadable - I guess I might manage to install them in the right place. By the way, there was some suggestion that one could set the language in the System Preferences in MacOS, setting the spelling control to the chosen language, but that affects everything I write on the computer, which is very inconvenient as I use four languages on a daily basis, so I prefer to have that option set to Automatic.
-
Can’t turn off grid
Wilfred Hildonen replied to Wilfred Hildonen's topic in Pre-V2 Archive of Affinity on iPad Questions
Yes, that makes sense of course. -
Can’t turn off grid
Wilfred Hildonen replied to Wilfred Hildonen's topic in Pre-V2 Archive of Affinity on iPad Questions
The only thing I think is a bit odd is that I thought that when I reverted or reset it to factory settings, that should affect everything, also margins, grids etc.