rudyryk
-
Posts
15 -
Joined
-
Last visited
-
Hi MEB, thank you! I'll take a deeper look at the Artboard Tool. Actually one of my primary use cases for Affinity Designer is working with Photoshop files (prepared by other designers) to extract graphics from there and save as PNG/JPG/SVG for web. I understand that it's probably not the most common case but I was wondered how Affinity Designer is great with many complex things and a little bit harsh with some basic stuff :)
-
 rudyryk reacted to a post in a topic:
Croping the whole Document
rudyryk reacted to a post in a topic:
Croping the whole Document
-
I believe that simple "Trim to edges" tool would serve perfectly in many cases. It just resizes document to remove empty space around objects. Why there's no such one in Affinity Designer? :) For now we need ugly workarounds like that: A. Select all layers, copy them and then "Create New from Clipboard..." or B. Export image as PNG and then trim to edges in another editor like Acorn or similar one. UPD. Another option which is often OK: C. On export choose "Selection with background" or "Selection without background" but it's not always convenient to use it.
-
rudyryk reacted to a post in a topic:
Luminosity shift issue in HSL adjustment (Affinity Photo)
-
rudyryk reacted to a post in a topic:
Multiple crops for export - is it possible?
-
rudyryk reacted to a post in a topic:
Multiple crops for export - is it possible?
-
I have a photo with a bunch of adjustments and pixel layers. And I need to export both full size and some cropped versions, and remember crop positions for further editing. I could make a copy of document, but in that case I will need to change all of them if it's necessary to edit adjustments. How would you handle that?
-
rudyryk reacted to a post in a topic:
Soft light with solid color as adjustment layer - is it possible?
-
rudyryk reacted to a post in a topic:
Auto Levels as Adjustment Layer
-
rudyryk reacted to a post in a topic:
Auto Levels as Adjustment Layer
-
rudyryk reacted to a post in a topic:
Soft light with solid color as adjustment layer - is it possible?
-
Oh, I see! :) I actually thought of LUT as of set of adjustment layers, which can have various blenging modes :) UPD. Anyway, I'm interested to know, is it technically possible to have such feature in the future? Oh! Seems like PS has "solid color" adjustment layer (first line):
-
rudyryk reacted to a post in a topic:
Soft light with solid color as adjustment layer - is it possible?
-
Oh! Thank you MBd! I'll check it for different images. I just wonder, is there total (mathematical) equivalent for solid pixel layer with soft light as adjustment layer? That would be convinient to have one, I believe :) Adjustments layers already have blending mode fature, but there are no "solid color" or "gradient fill" adjustment layers or something similar - just to add solid color above.
-
I'm using pixel layer filled with solid color with "soft light" blending mode to add some coloring. How could I do the same thing using adjustment layer? So I could save it as 3D LUT. I've attached Village.afphoto as an example. Village.afphoto
-
Thanks csp! I'll take a look.
-
I also did noticed these strange effects with Luminosity. I believe that's the same issue as described in the thread linked above.
-
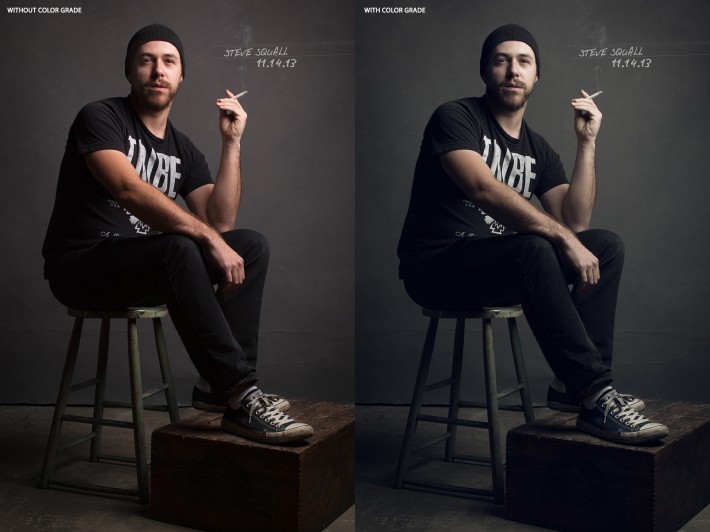
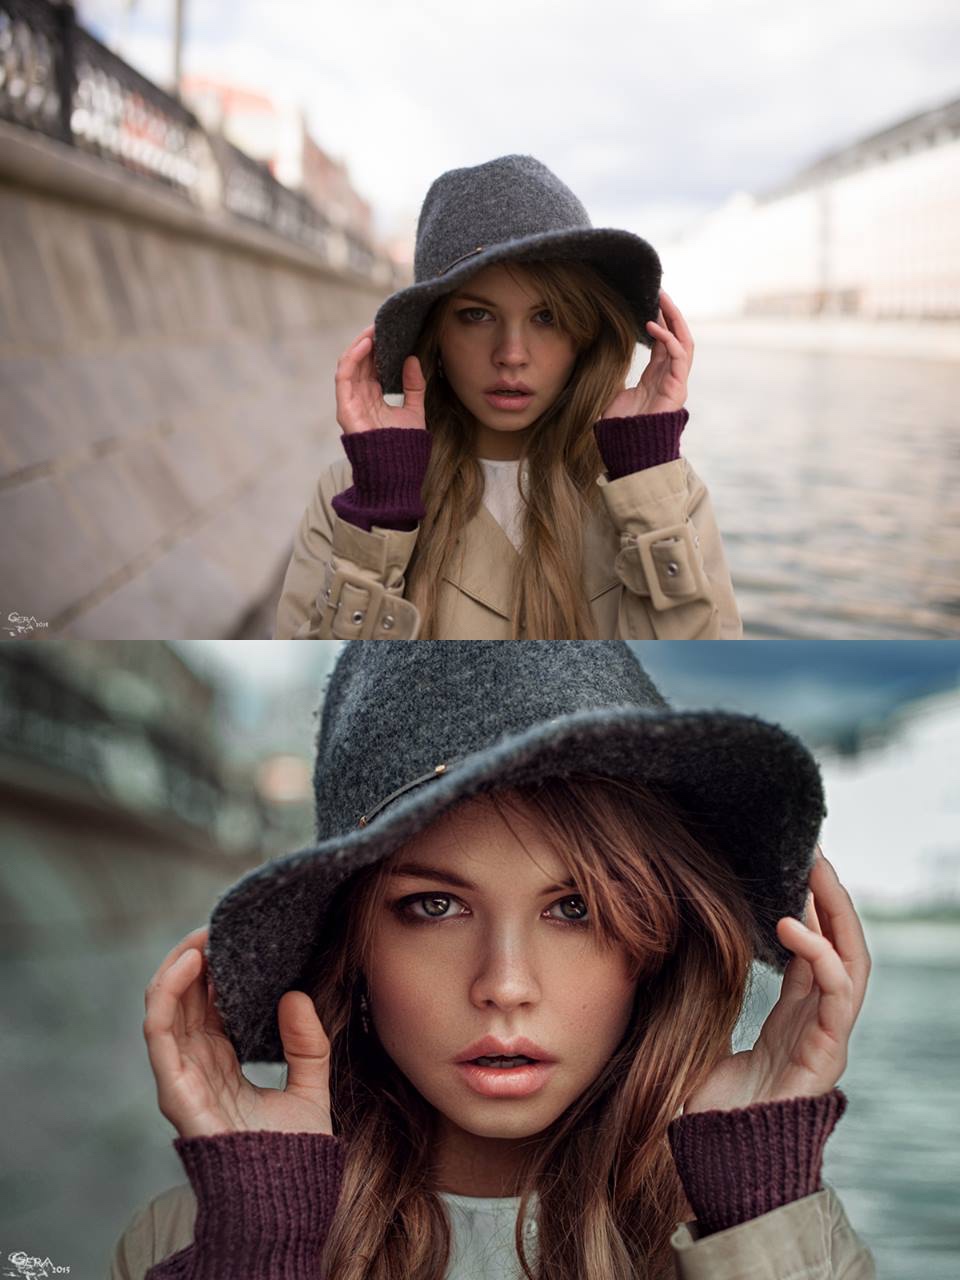
Hi everyone! I'm learning photo processing with Affinity Photo, and actually I don't have much experience with photo processing at all. So I found official tutorials extremely useful! But I can't find much tutorials related to specific area - color toning techniques for portraits. I believe it's a kind of specific because often people and background objects are processed differently to achieve some artistic effects and get high quality works. Of course, there are many tutorials for LR and Photoshop, but it's twice harder to learn something new that way. I'd appreciate any links or hints on how to dive into this. Just a couple of toning samples I liked in attachments.

-
I've learned a simple trick recently - drawing on pixel layer with "Colour" blend mode with necessary color. Worked like a charm! :)
-
Thank you all! I finally have achieved the acceptable result with HSL adjustments: 1. I desaturated Reds by about 50% and 2. Then I increased Master saturation by about 40% - so the overall skin tone was nearly restored but red areas became less saturated. I've excluded lips from layer mask simply with Selection Brush. I need to practice more with HSL, actually I don't completely understand why it has worked out :)
-
Thank you Madame! :) I've tried what you suggested, it worked partially, but not really perfect. I like the overall skin tone on the photo and don't want to change it. When I apply HSL adjustments the overall skin tone also changes. There are some reddish areas without rough borders which I'd like to take down to "average" skin tone while keeping average color unchanged.
-
Hi everyone! I'm new to Affinity Photo and I'm very pleased with my first experience! I'm doing my first portrait processing and I've faced the case that I didn't see or missed in tutorials. I'd want to make face skin less reddish in certain areas. I mean some parts of the face are more reddish - like nose and chops, and I want to smoothen that color. How can I do that? Seem like this tutorial (for Photoshop) is a kind of related: http://www.slrlounge.com/how-to-easily-correct-red-blotchy-skin-in-photoshop/- but I believe there's even simpler way in Affinity :)