Jan Peeters
-
Posts
16 -
Joined
-
Last visited
-
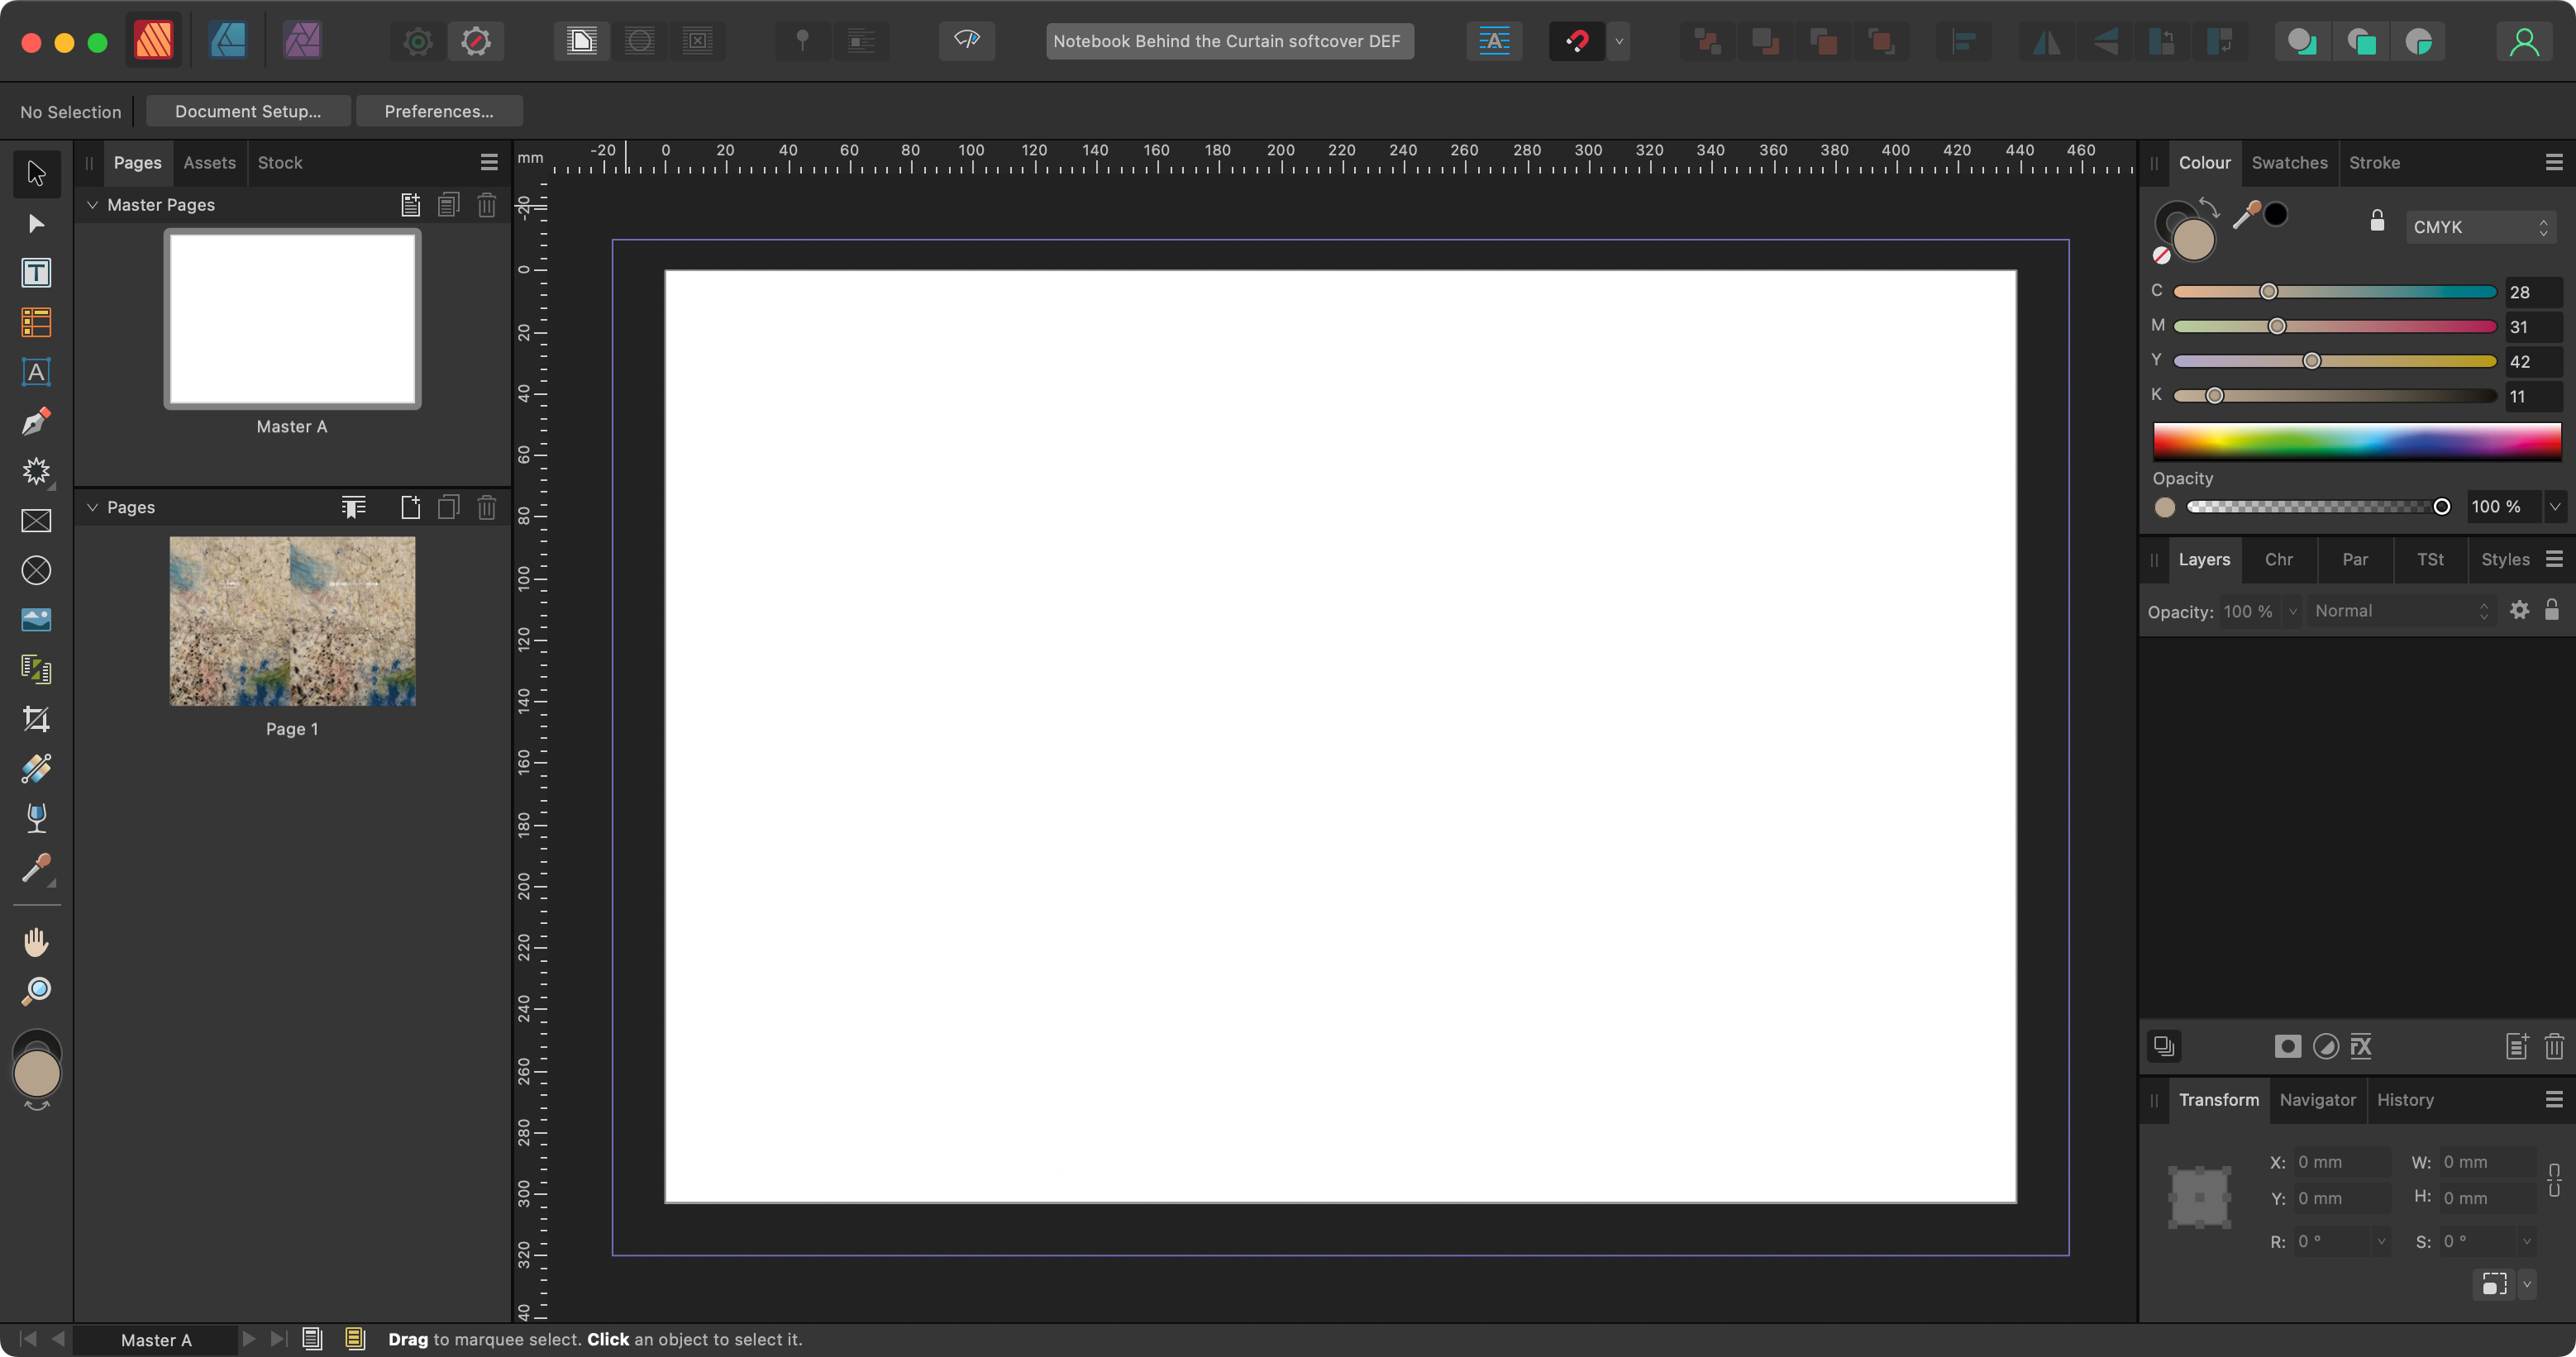
Good questions. Weird, but the strokes are indeed the same weight. What I discovered is that if I draw a line in InDesign after import of the .idml that has the same thickness as the thin lines, it becomes as thick as how it is displayed in Publisher. There are no appearance, scaling nor style settings attached to the thin lines in InDesign. I didn't make the design, so I don't know if any scaling took place originally, but if you scale a stroke and have setting 'Include Stroke Weight' active, InDesign 2023 just changes the stroke weight to a lower value. No scale value stays attached to the line. So I'll have to do some more digging to find out why InDesign show the stroke thicknesses thinner than they are compared to their real value.
-
Hi @Old Bruce Yes, you would think so, but those things I already checked. I even cleared out any transparency just to be sure and did another trial. It's just a bunch of polygons, circles and lines. You can check for yourself. I'll include the .idml. as an attachment. If I open this .idml in Indesign I get this: In Affinity Publisher is gives this: So I'm afraid that your assumptions are incorrect and there is more at hand. Best, Jan Faulty idml import.idml

-
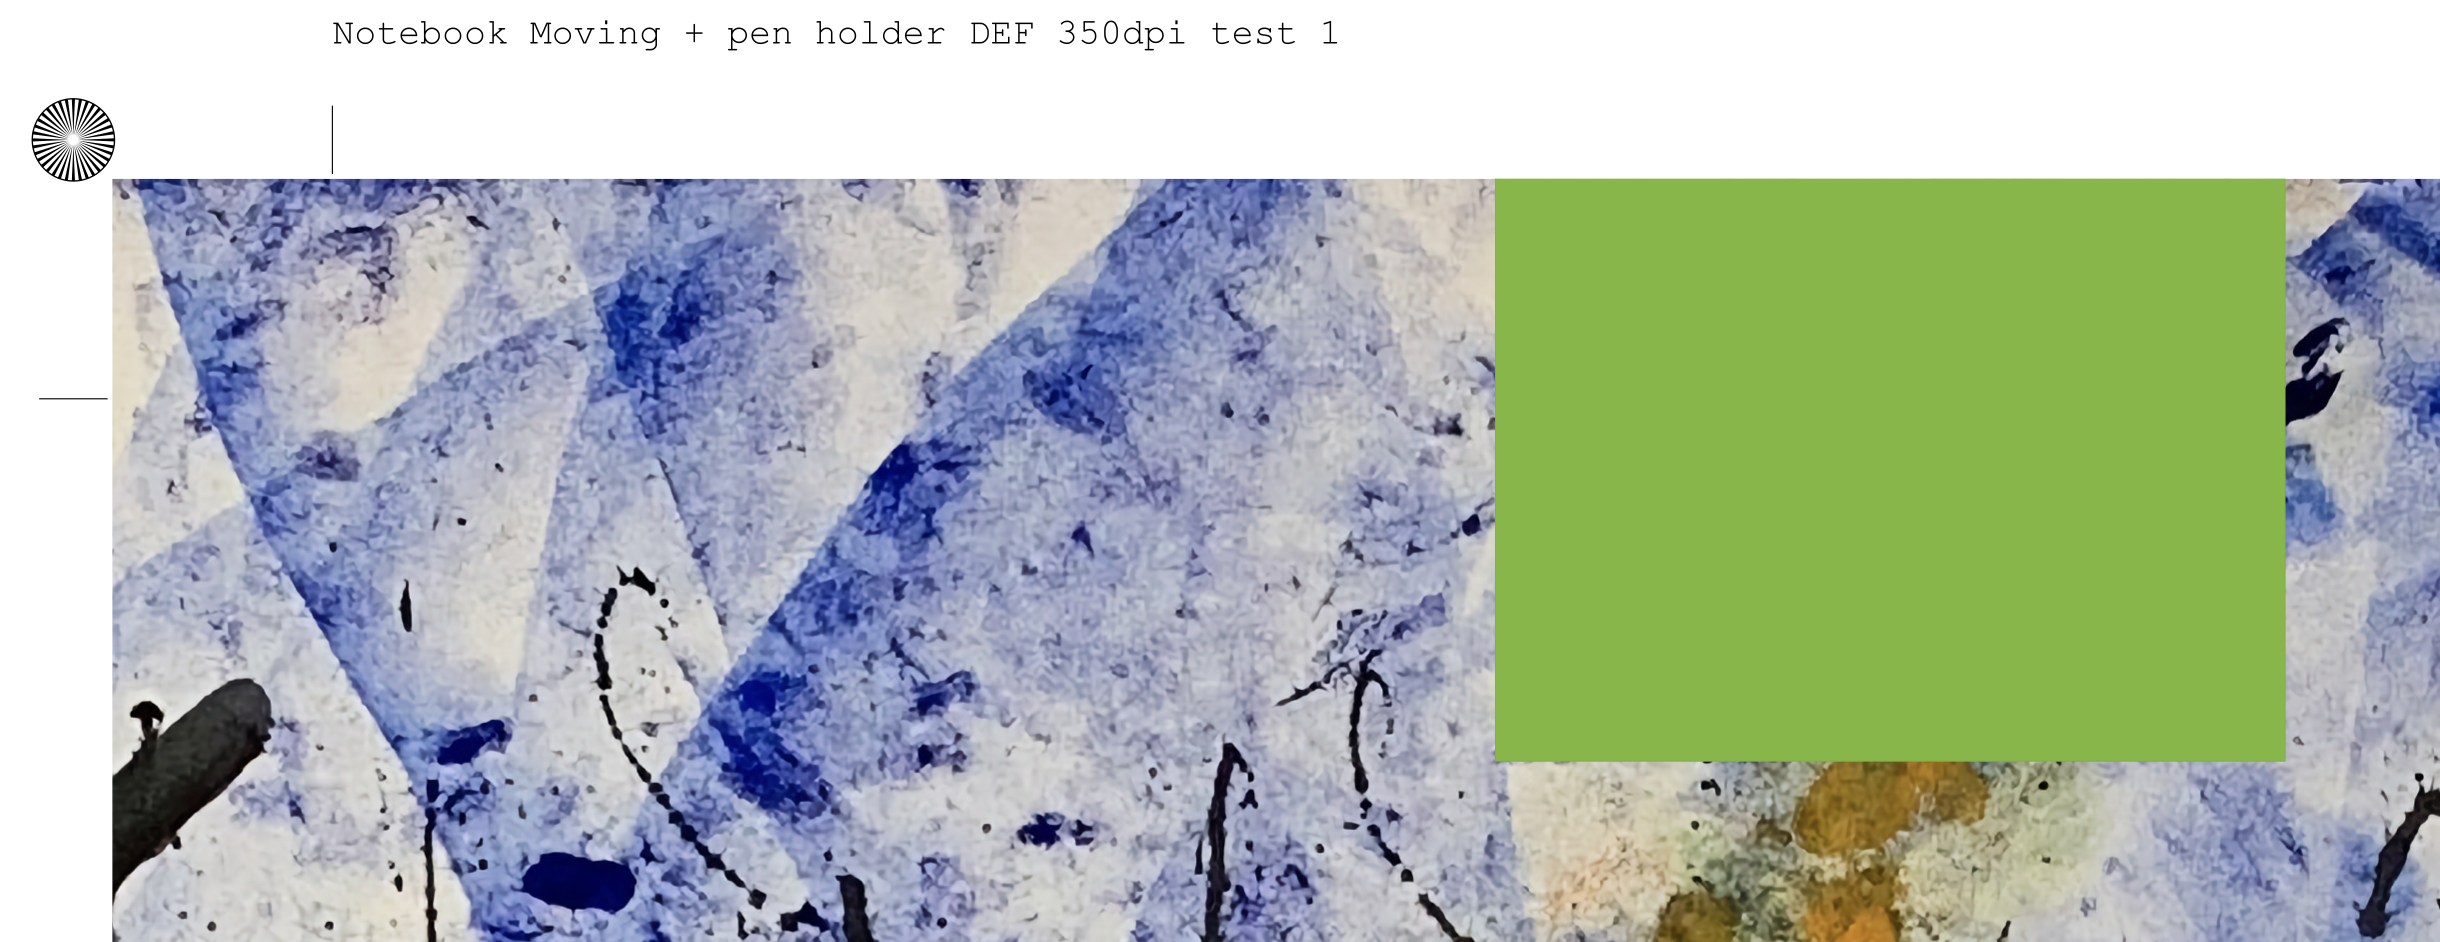
Hi, when I import a .idml with the following background pattern in Affinity Publisher 2.0.4… Is shows like this in Affinity. Lines get much thicker. Also in the round forms. Is this a known issue?
-
Bleed cut off within bleed margin after exporting to PDF
Jan Peeters replied to Jan Peeters's topic in V2 Bugs found on macOS
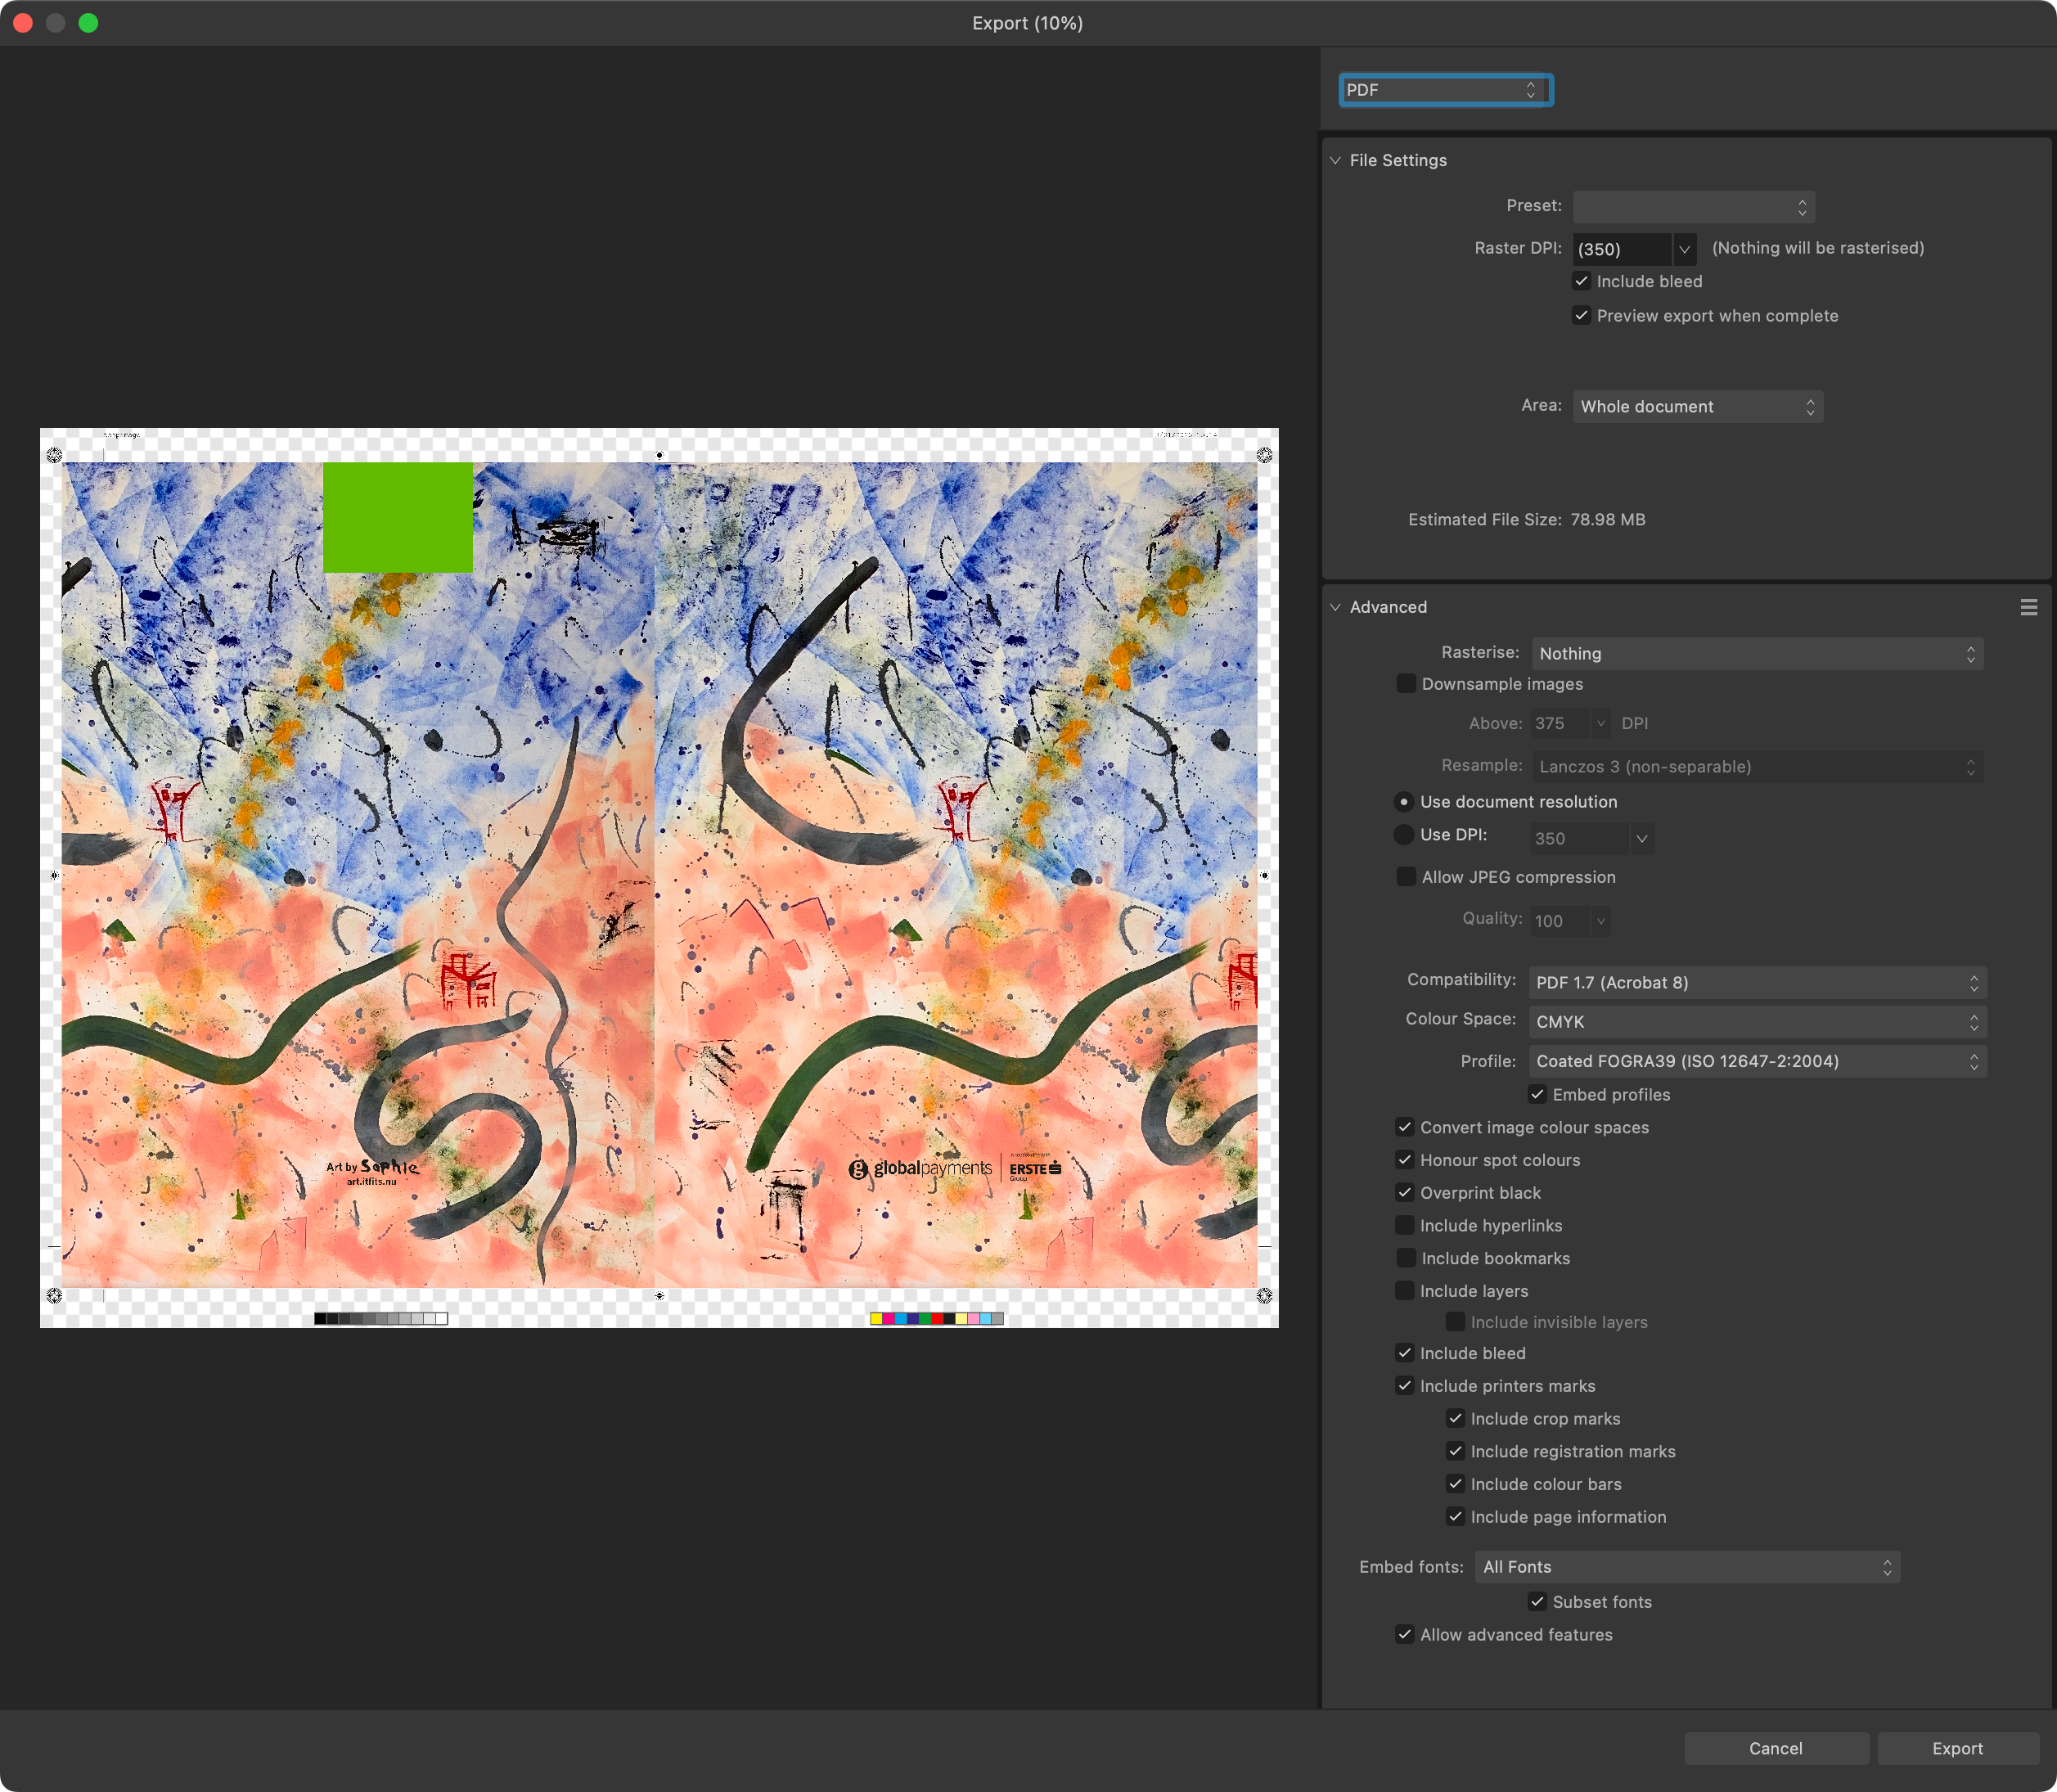
@stokerg I'm very curious to know if the devs concluded the same problem as I did and if and when this will be solved. It's not been solved in the latest 2.1 beta's. I've noticed in further testing that it happens when you activate the "Convert image colour spaces" feature. It's currently keeping me in Indesign since Affinity Publishers export is not reliable enough. -
Bleed cut off within bleed margin after exporting to PDF
Jan Peeters replied to Jan Peeters's topic in V2 Bugs found on macOS
Hi @stokerg, thanks for logging this with the devs. I have included all files and an URL to this thread. Curious for their conclusions. Thanks, Jan -
Bleed cut off within bleed margin after exporting to PDF
Jan Peeters replied to Jan Peeters's topic in V2 Bugs found on macOS
Well with a new export the bleed was again cut off and it didn't matter if I activated or deactivated the 'convert image color space' I then converted my artwork images to jpg and then everything exported correctly. I'm starting to become convinced that the export module has problems converting TIFFs and PNGs to PDF. Affinity please check this. There is also a complaint about garbled output in the forum. I'm going back to Indesign for now. Sorry to say. I'll be back when I can confidently export PDFs again. This is costing me too much time. -
Bleed cut off within bleed margin after exporting to PDF
Jan Peeters replied to Jan Peeters's topic in V2 Bugs found on macOS
I've discovered that it occurs when I activate 'Convert image colour space'. When I leave it off all goes well So if anyone has the time to test this with a different setup and copy my settings I would be grateful. maybe we can determine the cause after all. Please make sure it has a large bleed and the image expands to the edges of the bleed.
-
I can confirm the same problem. I experienced it with a .png file. I think it has something to do with one of the export settings like convert colour space or rerender images but haven't been able to find the exact thing.
-
Bleed cut off within bleed margin after exporting to PDF
Jan Peeters replied to Jan Peeters's topic in V2 Bugs found on macOS
Agreed, it’s very annoying. -
Bleed cut off within bleed margin after exporting to PDF
Jan Peeters replied to Jan Peeters's topic in V2 Bugs found on macOS
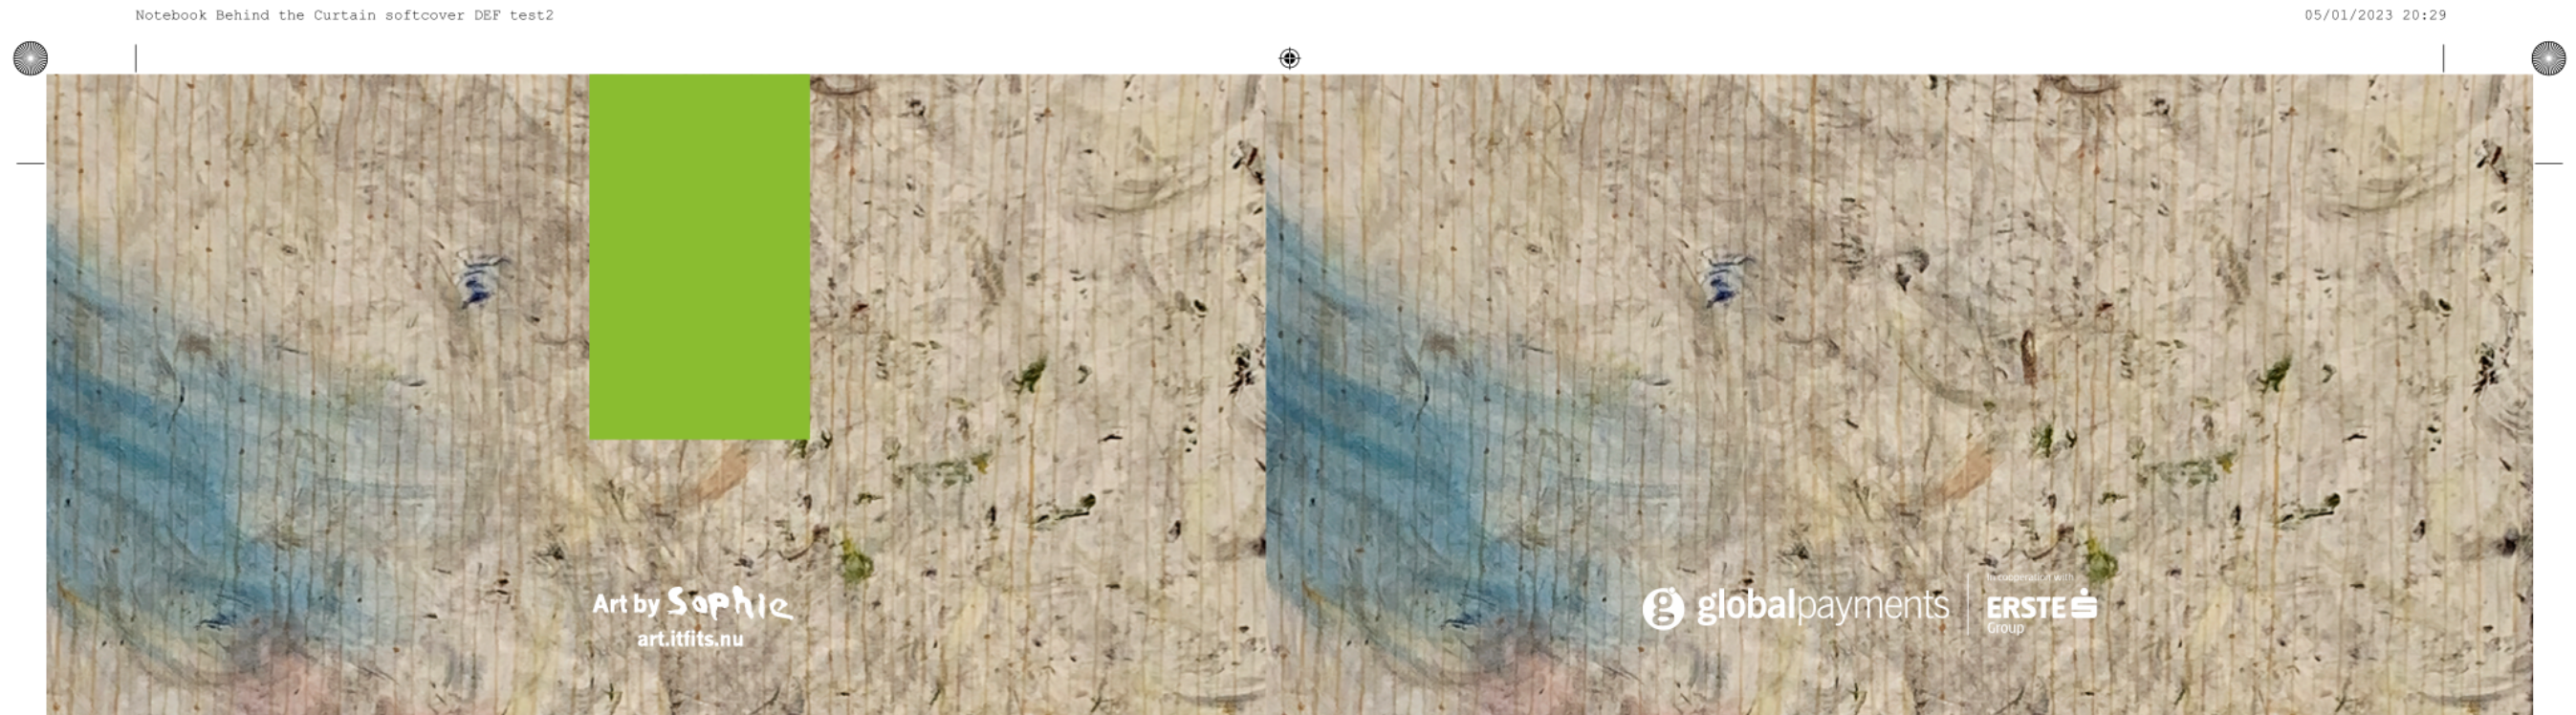
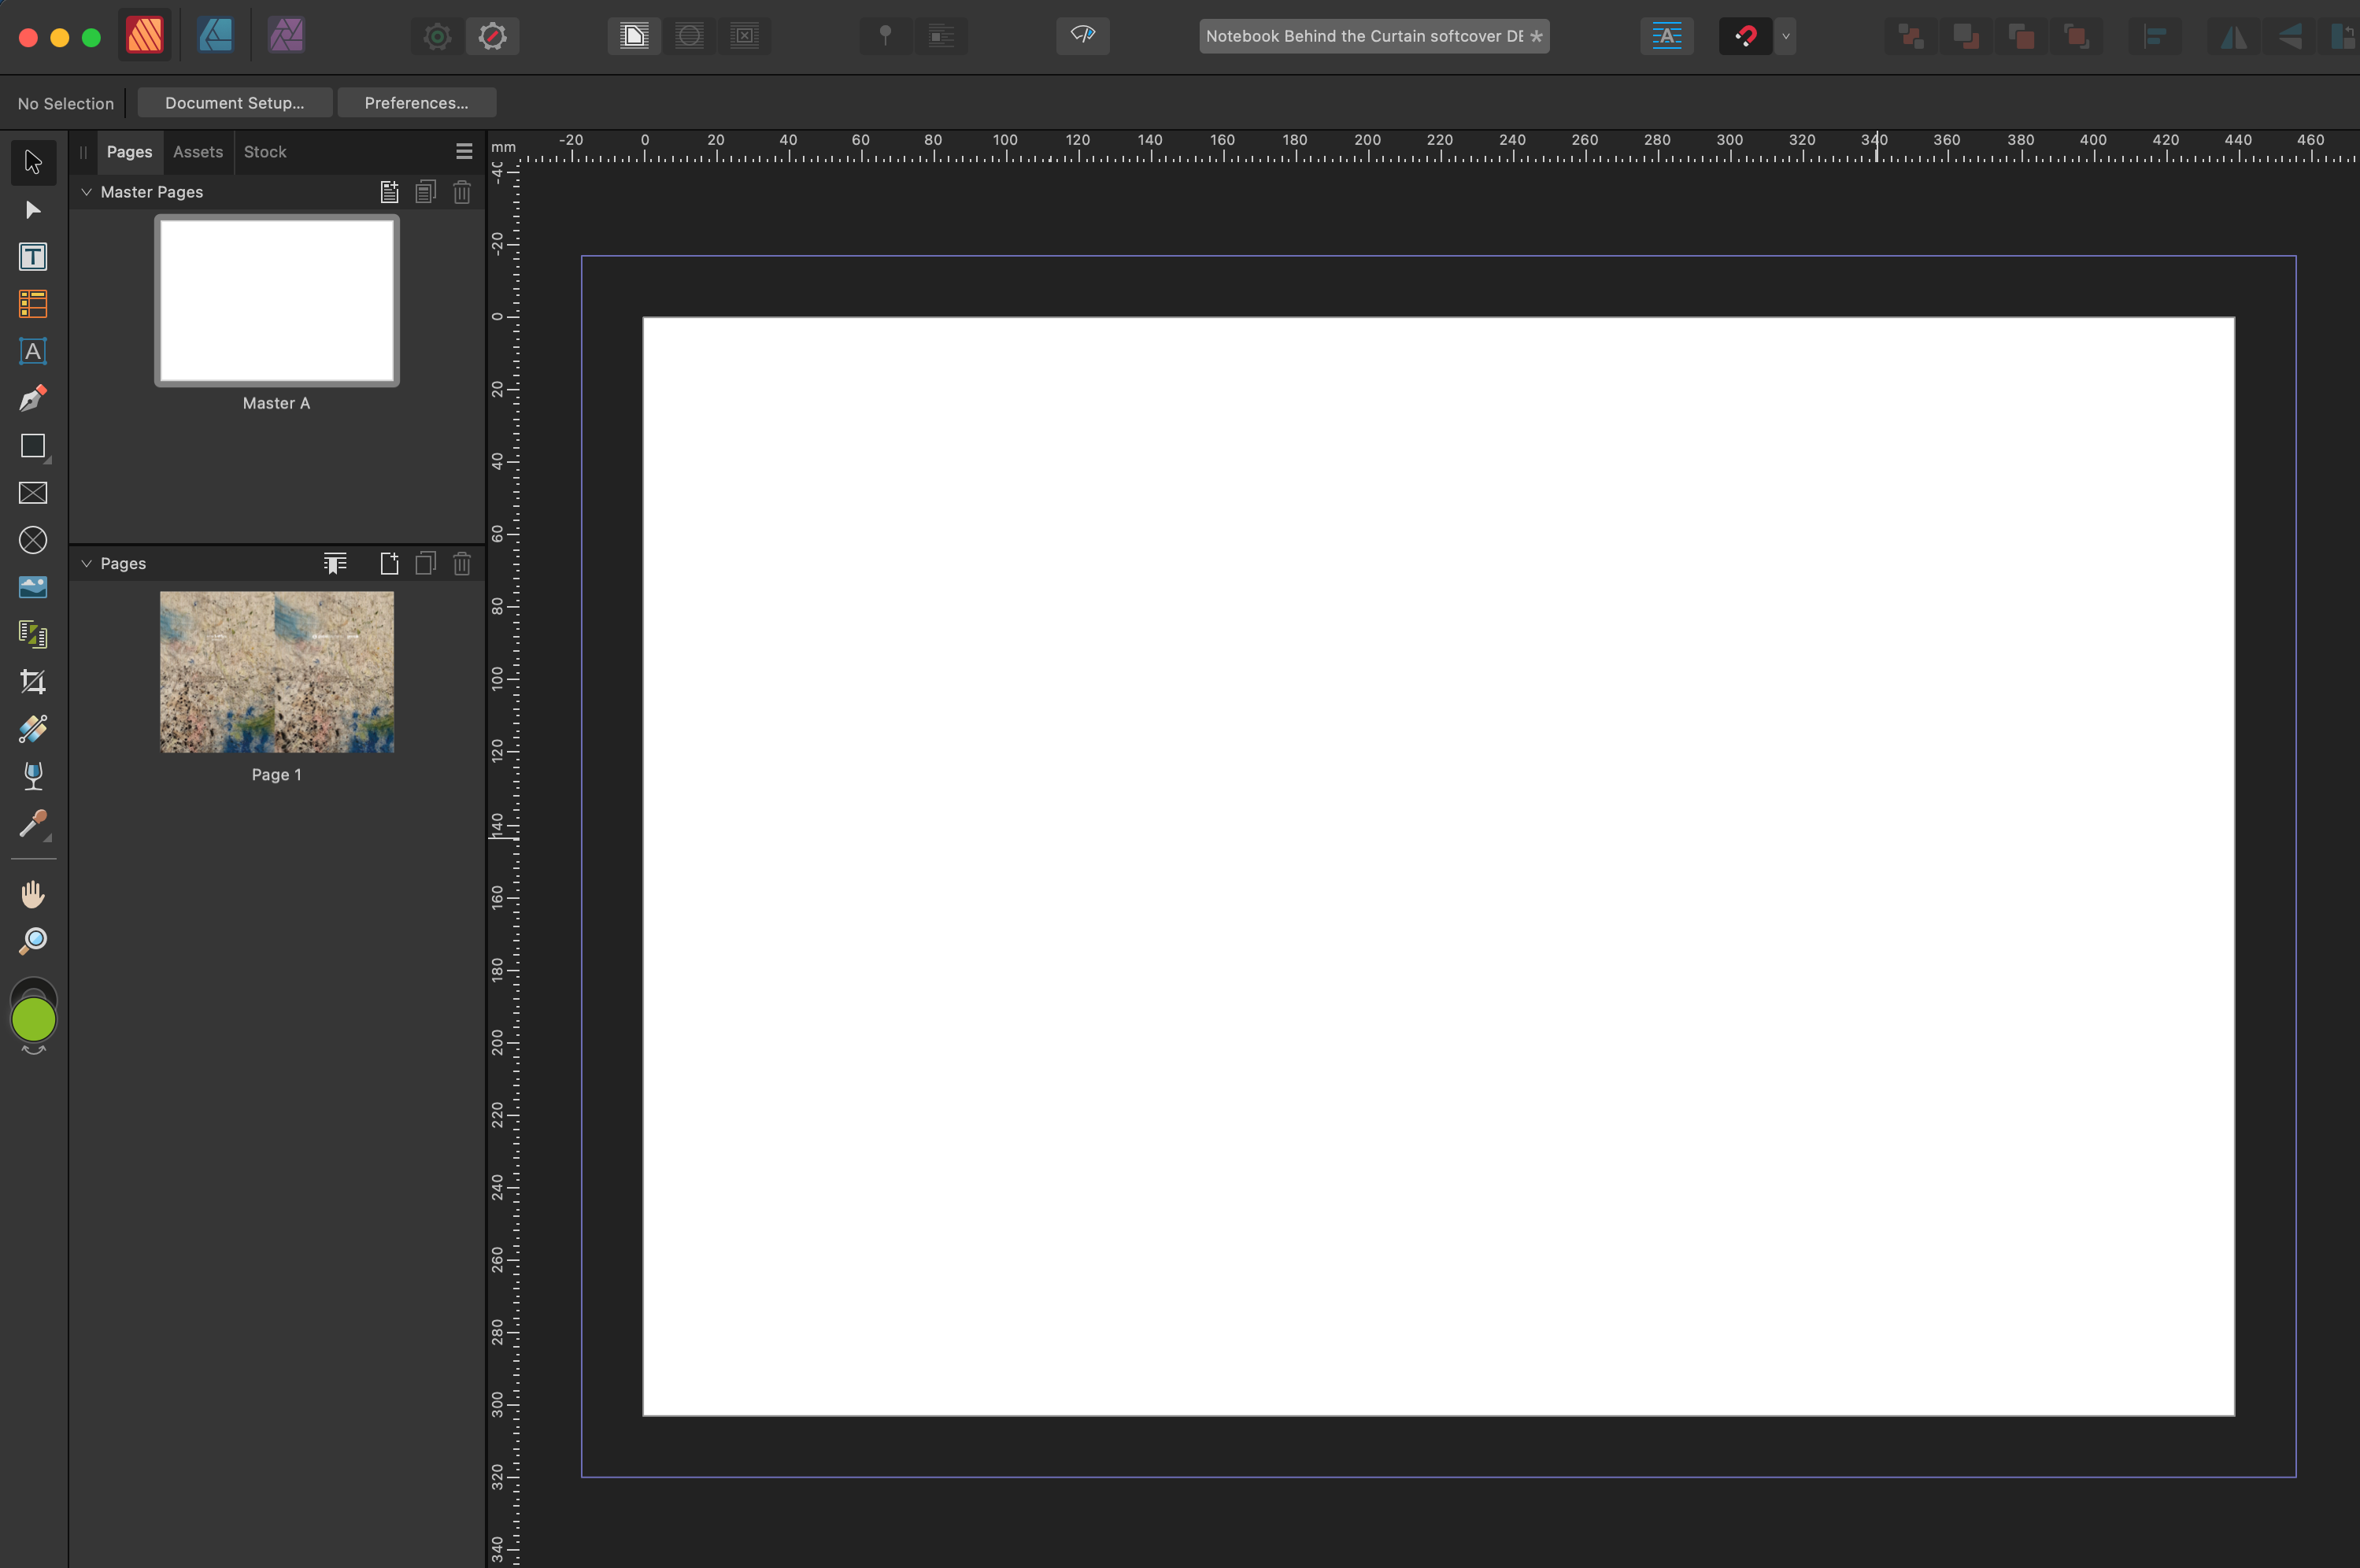
@laurent32 This is the master page, nothing on it: @Old Bruce This are all the other items on the page when selected. Selection box doesn't extend beyond the boundaries of the selected items. I did this to check for stray items. As you can see on the earlier screenshots there is nothing covering the image at the top. The left part consists of text in News Gothic and pasted vectors from IIlustrator for the Sophie signature. (Publisher gave faulty exports when using a transparant png and psd version for the 'Sohpie' signature. Sort of weird digital noise on half of the image. Something else I have to report.) The right part is a .eps logo. There are certainly no watermarks because all is self-photographed/scanned material. The background artwork consists of two images that overlap slightly in the spine. The front image (right side of spread) runs from left side of spine to the right side of the cover and the back image runs from the left side of spine to the left side of the document. So then I tried to place a rectangle as per your suggestion: Surprisingly it now exports the rectangle and background to the edge of the bleed area. And the weirdest thing comes now… after removing the rectangle, even the background image got exported properly to the edge to the bleed area. I didn't change anything else in the document except placing and removing the rectangle. It's baffling. I have to try this with the other document I have but I have to go AFK now and will not be able to check other things until Monday. Thanks so far with thinking and troubleshooting with me. Really appreciated!
-
 laurent32 reacted to a post in a topic:
Bleed cut off within bleed margin after exporting to PDF
laurent32 reacted to a post in a topic:
Bleed cut off within bleed margin after exporting to PDF
-
Bleed cut off within bleed margin after exporting to PDF
Jan Peeters replied to Jan Peeters's topic in V2 Bugs found on macOS
Yes correct, in most cases 3/4 mm is more than enough just not in this case. Thanks for confirming. I'll wait for a reply from Affinity! -
Bleed cut off within bleed margin after exporting to PDF
Jan Peeters replied to Jan Peeters's topic in V2 Bugs found on macOS
Sorry @Old Bruce You don't seem to get the point of my bug report. In case you're interested in this video you can see how the bleed is used in hard cover book binding. Please don't post in this thread if it's not about solving my bug report. Thanks! -
Bleed cut off within bleed margin after exporting to PDF
Jan Peeters replied to Jan Peeters's topic in V2 Bugs found on macOS
Thanks for your question @laurent32. I tried to make it with 10mm bleed on the top, the same problem occurs. I thought let's import it in Photoshop to see what that reveals. As you can see everything outside of the bleed area is transparant. But within the bleed area on the top even when I choose 10mm a white bar is visible which should have been filled with image content. I could make the bleed larger, and I might in case this doesn't get solved fast enough, but that would be a hacky solution and I like my software and output to be precise. Hopefully the Publisher devs can reproduce this and fix it. Documents can be provided to Affinity reps at request.
-
Bleed cut off within bleed margin after exporting to PDF
Jan Peeters replied to Jan Peeters's topic in V2 Bugs found on macOS
Hi @Old Bruce You're misunderstanding my post, maybe because of my typo's. When you print for hard cover books, the part of the cover that is within the bleed margins is folded around the cardboard to the inside of the book cover. After that the book binder sticks a inner cover sheet over it. If this bleed is cut off you'll risk seeing white on the inside. But this has nothing to do with my bug report. I include a, hopefully, more clarifying screenshot. The bleed in my exported PDF should be 17mm on all sides. On the top it isn't. I put a red box around it in Photoshop to make this more clear. As you can see at the top part of the bleed is missing while, if you look at the earlier post, in Publisher there is clearly content.
-
I notice the same problem. Black overprint doesn't work. In my case when placing black text 100% K on a TIFF of an art work.


.png.4026f637e3e83ef086b743ab1da267d0.png)
.png.32483a315e65429270468615c5ccf4dd.png)
@2x.png.a111f70a8c4b63a487a30d30c23c16fb.png)
@2x.png.4e319d9049206a7972948a3fb9488698.png)