carl123
-
Posts
8,535 -
Joined
Everything posted by carl123
-

Mass inline pinning of images
carl123 replied to Steviegarrad's topic in Affinity on Desktop Questions (macOS and Windows)
Not sure I fully understand what you are doing but if you are just replacing text with coloured circles then this may work One way... Put the words you want in colour in the colour you want them Like this... "This is a <red icon>, this is a <blue icon>." Then any "text/character" you replace them with will already have those colours You can use a wingding font (or similar) to get a circle character So then do a find & replace ... <red icon> with that Wingding font/character <blue icon> with that Wingding font/character -
You can bind the same shortcut to two different tools and each press will toggle between them Which two tools are you trying to bind and to what shortcut key?
-
Add transform between artistic text and text box
carl123 replied to mqudsi's topic in Older Feedback & Suggestion Posts
It exists in Publisher and Designer under the Layer menu -
Sony Alpha ILCE-6700 and compressed RAW format conversion problem
carl123 replied to UdoK's topic in V2 Bugs found on Windows
-
If you search the Publisher help for "Tile" does the information presented there not do what you want to do?
-
How to hide...
carl123 replied to prcmelo's topic in Affinity on Desktop Questions (macOS and Windows)
Hard to say without seeing the Affinity document but it may be "snapping candidates" So, try going to your snapping settings and untick "Show Snapping Candidates" If not that, please upload the document that shows the issue -
Can you upload a Publisher document with some text that displays the problem?
-
@christerdk I know you like patterned backgrounds but sometimes plain ones can showcase your work better. Just try different colours and pick whatever you like or whatever compliments the particular colours of the sourdough you are uploading to your social media. (Also, I think that image can benefit from a touch more sharpening but that may just be my aging eyes)

-
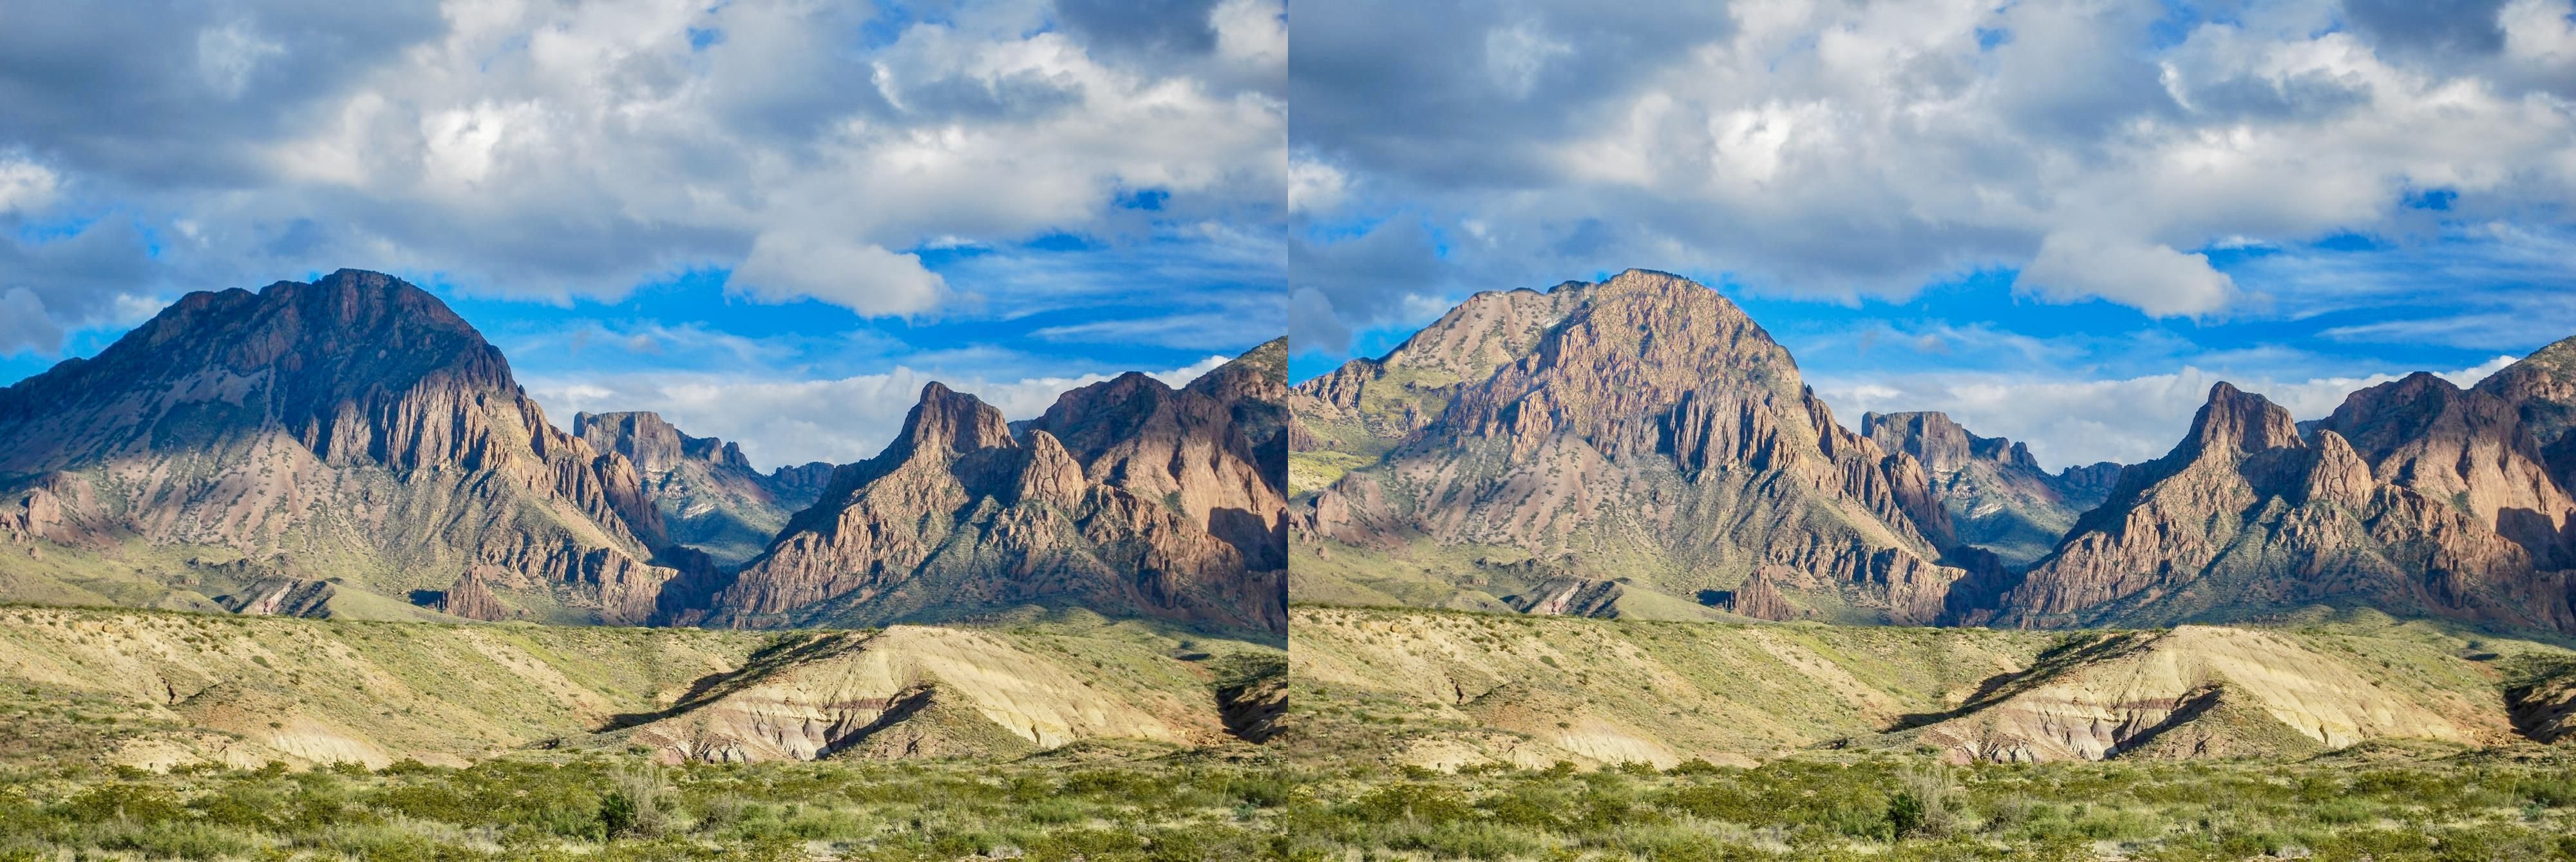
Remove Shadow from this Mountain ?
carl123 replied to augustya's topic in Affinity on Desktop Questions (macOS and Windows)
I just used the Clone Brush Tool to clone some of the sunnier sides of the mountain over the shadow area Hopefully the only things that will notice it's technically not the same mountain range will be a few mountain goats
-
It would be nice to move the "colour swatches within the tools panel" to the same row of the tools but I have not found a way to do that (or just to delete it entirely, if required)
-
You can batch process RAW files, see here for details...
-
Rasterize does not typically "combine all 'included' layers into one single Pixel layer" They remain as individual layers Unless (for example) they are in a group and you rasterise the group Can you give more details as to where you are seeing your quoted behaviour when rasterising layers?
-
Can you upload the image?
-
It's not a simulation, the file you need to edit is Tools.xml in the %appdata% folder structure on Windows EXE version Not sure if the Windows MSIX version is in same location and I don't have a clue where that file will be on Macs This is the line you need to change (I set mine to 40, which is the maximum number of Tools I could get on my screen (different screen sizes/resolutions may change that number) <DockedColumns>40</DockedColumns>
-
Not that I'm aware of at the moment Though Studio Presets will allow you to specify which tools are displayed on the Tools Panel. So, if you just wanted a subset of tools when using the Wacom, thus taking up less space, you could do that Unfortunately, Studio Presets do not allow you to specify the position of the Tools Panel on screen or else that might have also assisted you. Hopefully that will come in a future update/upgrade Not by using the inbuilt macros functions in APhoto but there are other 3rd party macro software packages that work on Windows and Macs that might be able to do what you want.
-
You can also have a Horizontal, undocked tools panel (top or bottom) for those that prefer it that way, have a lot of tools, need/prefer more horizontal workspace or don't like scrolling the vertical one (Requires a minor edit to one of the config files, the location of which may/will vary depending on if you are using MSIX, EXE or Mac/Windows)
-
I think Custom may have provided the ability to use a custom set/palette of colours but as you say that has a bug and has never worked. @everyone Could this somehow be done using a gradient map adjustment using sharp transitions (i.e. no gradients) between say, 4 custom colours as shown in example below? It sounds like it should work but the results look odd (in some places) even though the colours do appear to be restricted to the 4 chosen colours (Original image on the left, 4 colour image on the right)
-
Copy from image type object
carl123 replied to pigeon's topic in Affinity on Desktop Questions (macOS and Windows)
APhoto? Use Edit > Copied Flattened if you don't want to rasterise it -
Photo Develop Persona - Vectorscope
carl123 replied to Ferdinand13's topic in Feedback for the Affinity V2 Suite of Products
It is available in the Photo persona -
Designer - desktop
carl123 replied to Markee's topic in Affinity on Desktop Questions (macOS and Windows)
I did not think Clip to Canvas was relevant/available in documents containing Artboards -
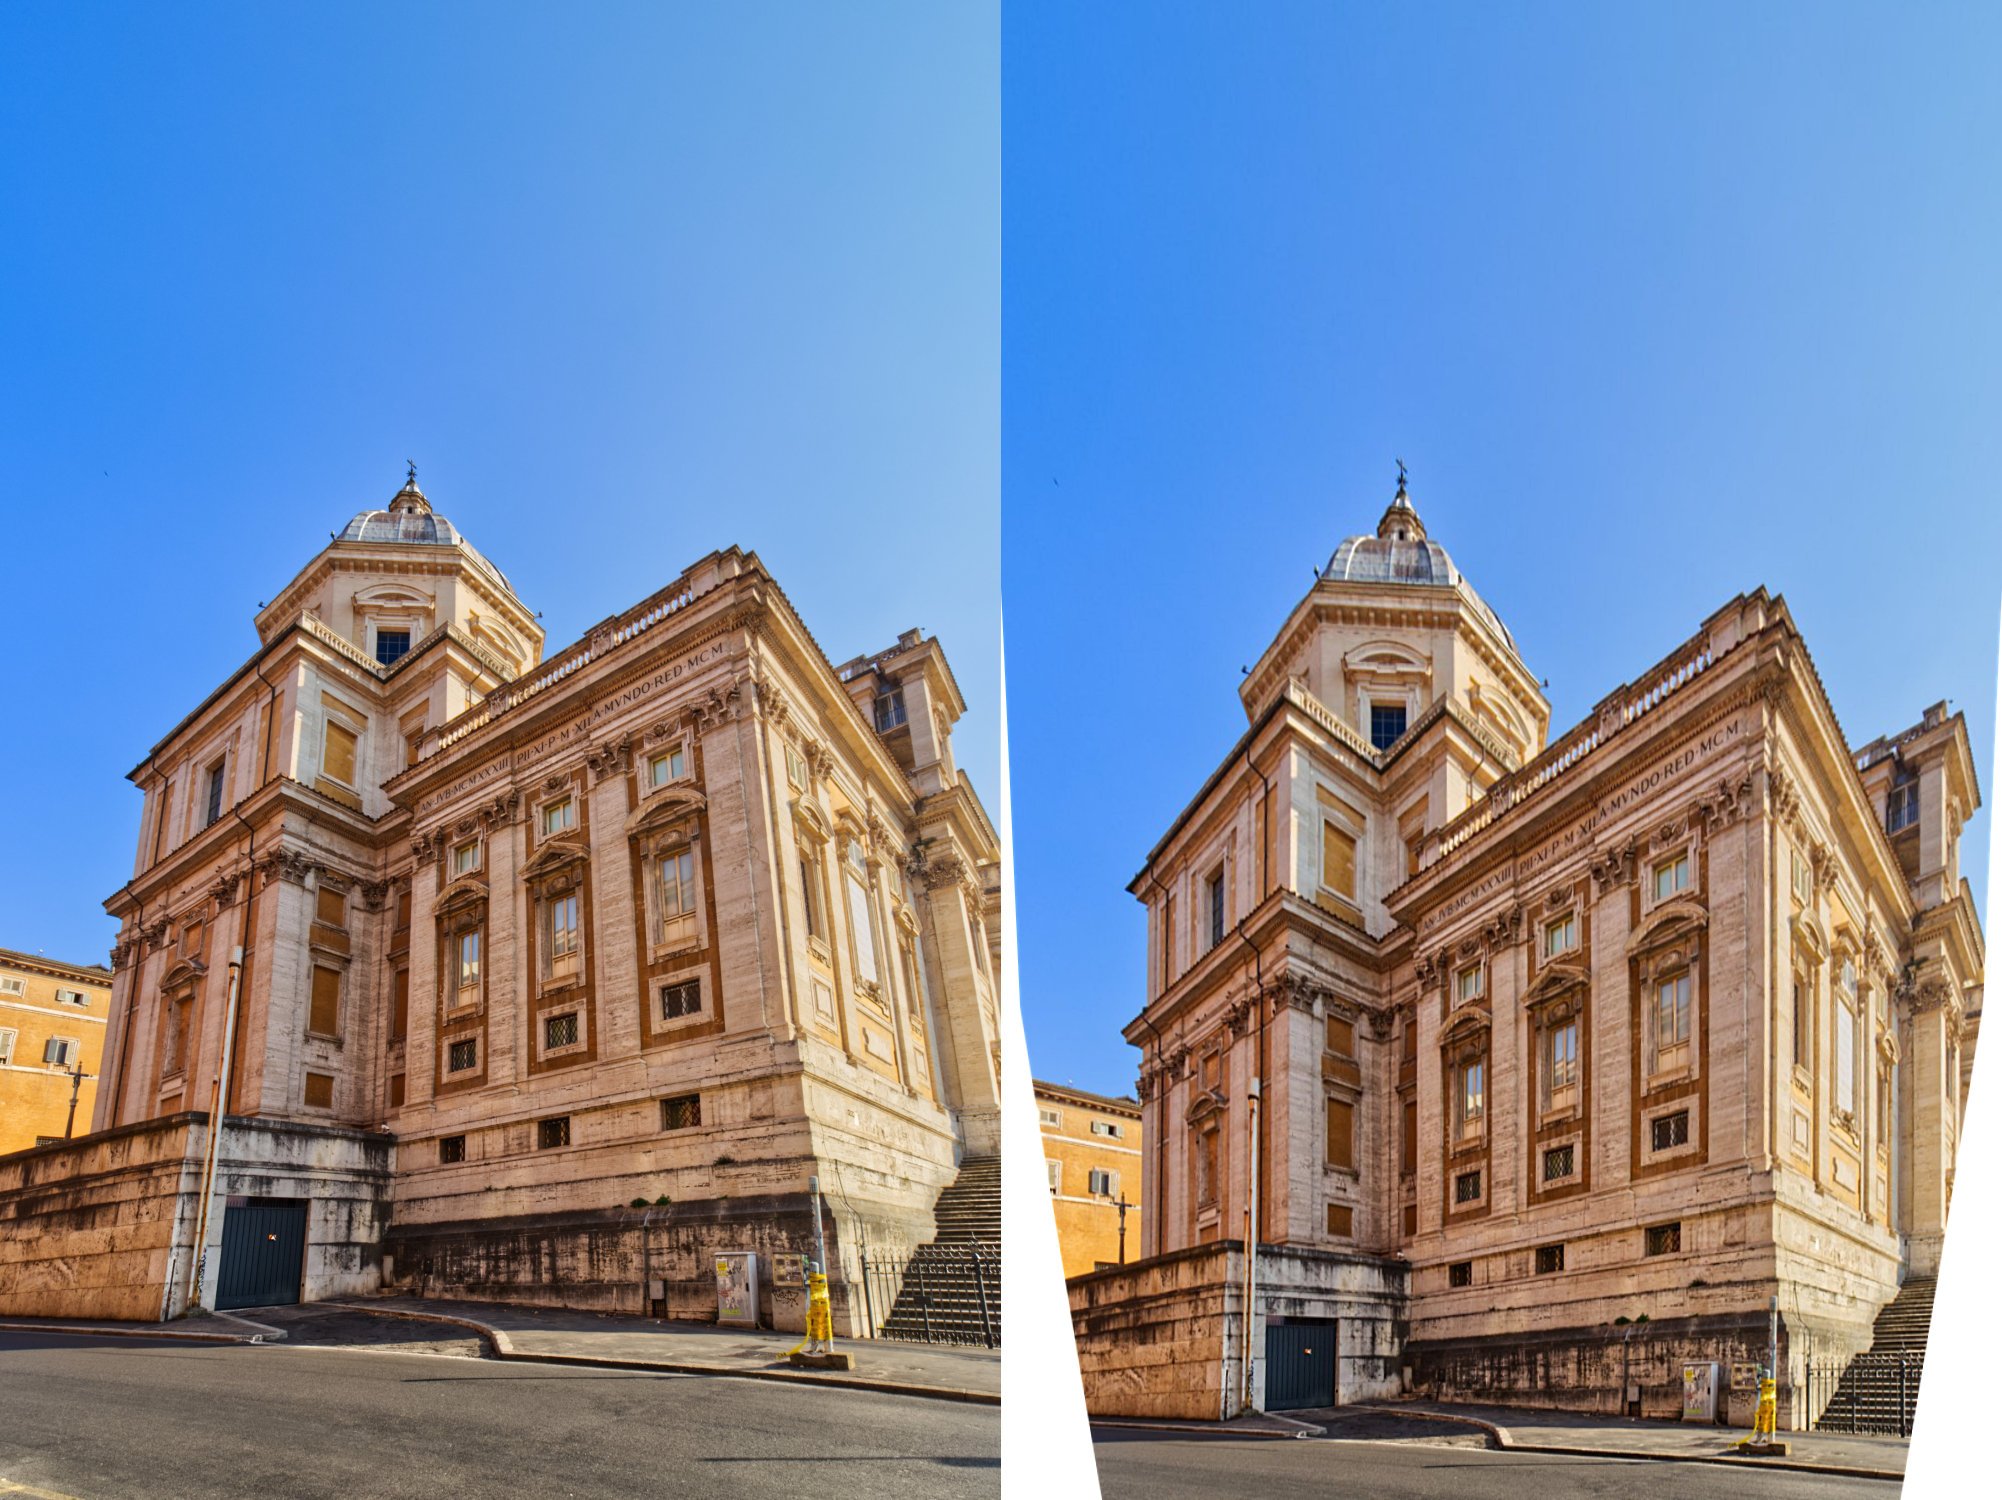
Two passes through lens correction in Develop Persona Then image stretched to match original, height You would need to crop, inPaint or clone missing bits
-
Export--Selection area or selection only, refers to Layer selections (Selected Layers) not Pixel selections (on the Desktop version) Not sure how you say you got it to work previously but I don't have an iPad, someone else may be able to clarify one way or another
-
Are you talking about a pixel selection? Somewhat confusing as you are using APhoto not Designer (AhPoto does not have Artboard, natively)
-
Back in the Publisher Persona check the Text Frame panel and make sure the Fill colour is set to transparent (i.e. not white)