

cusertrumpl
-
Posts
18 -
Joined
-
Last visited
Posts posted by cusertrumpl
-
-
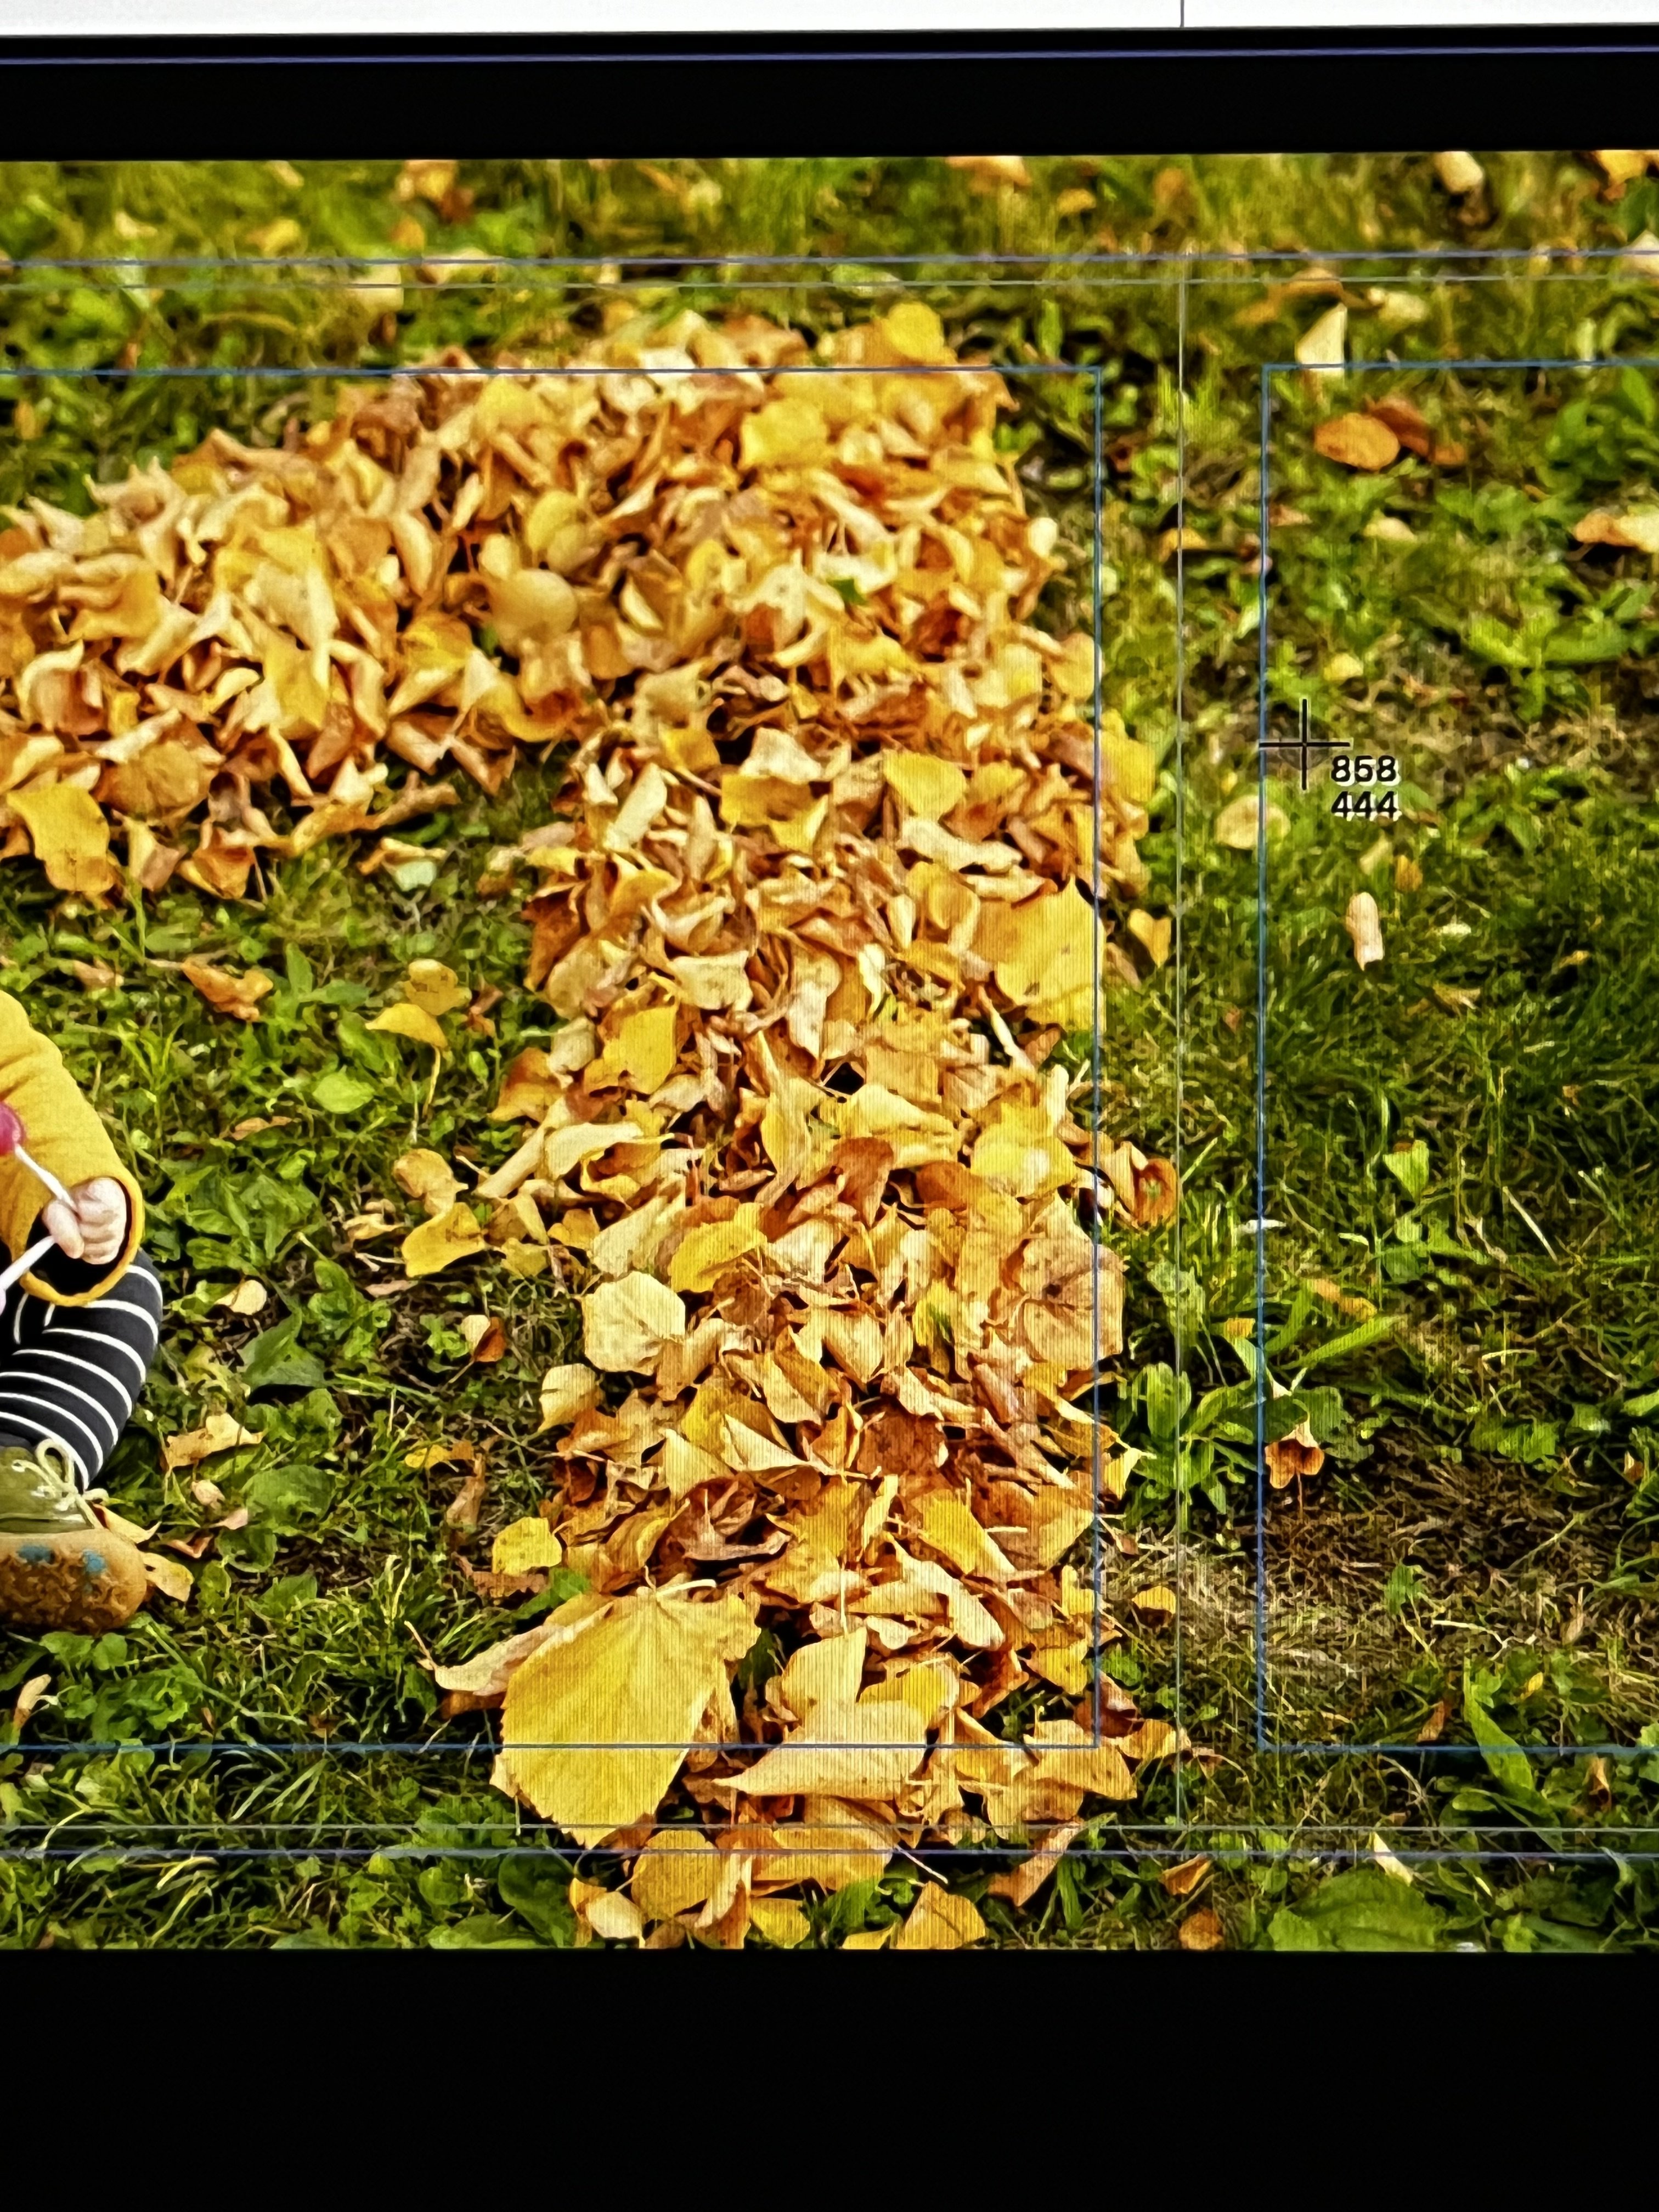
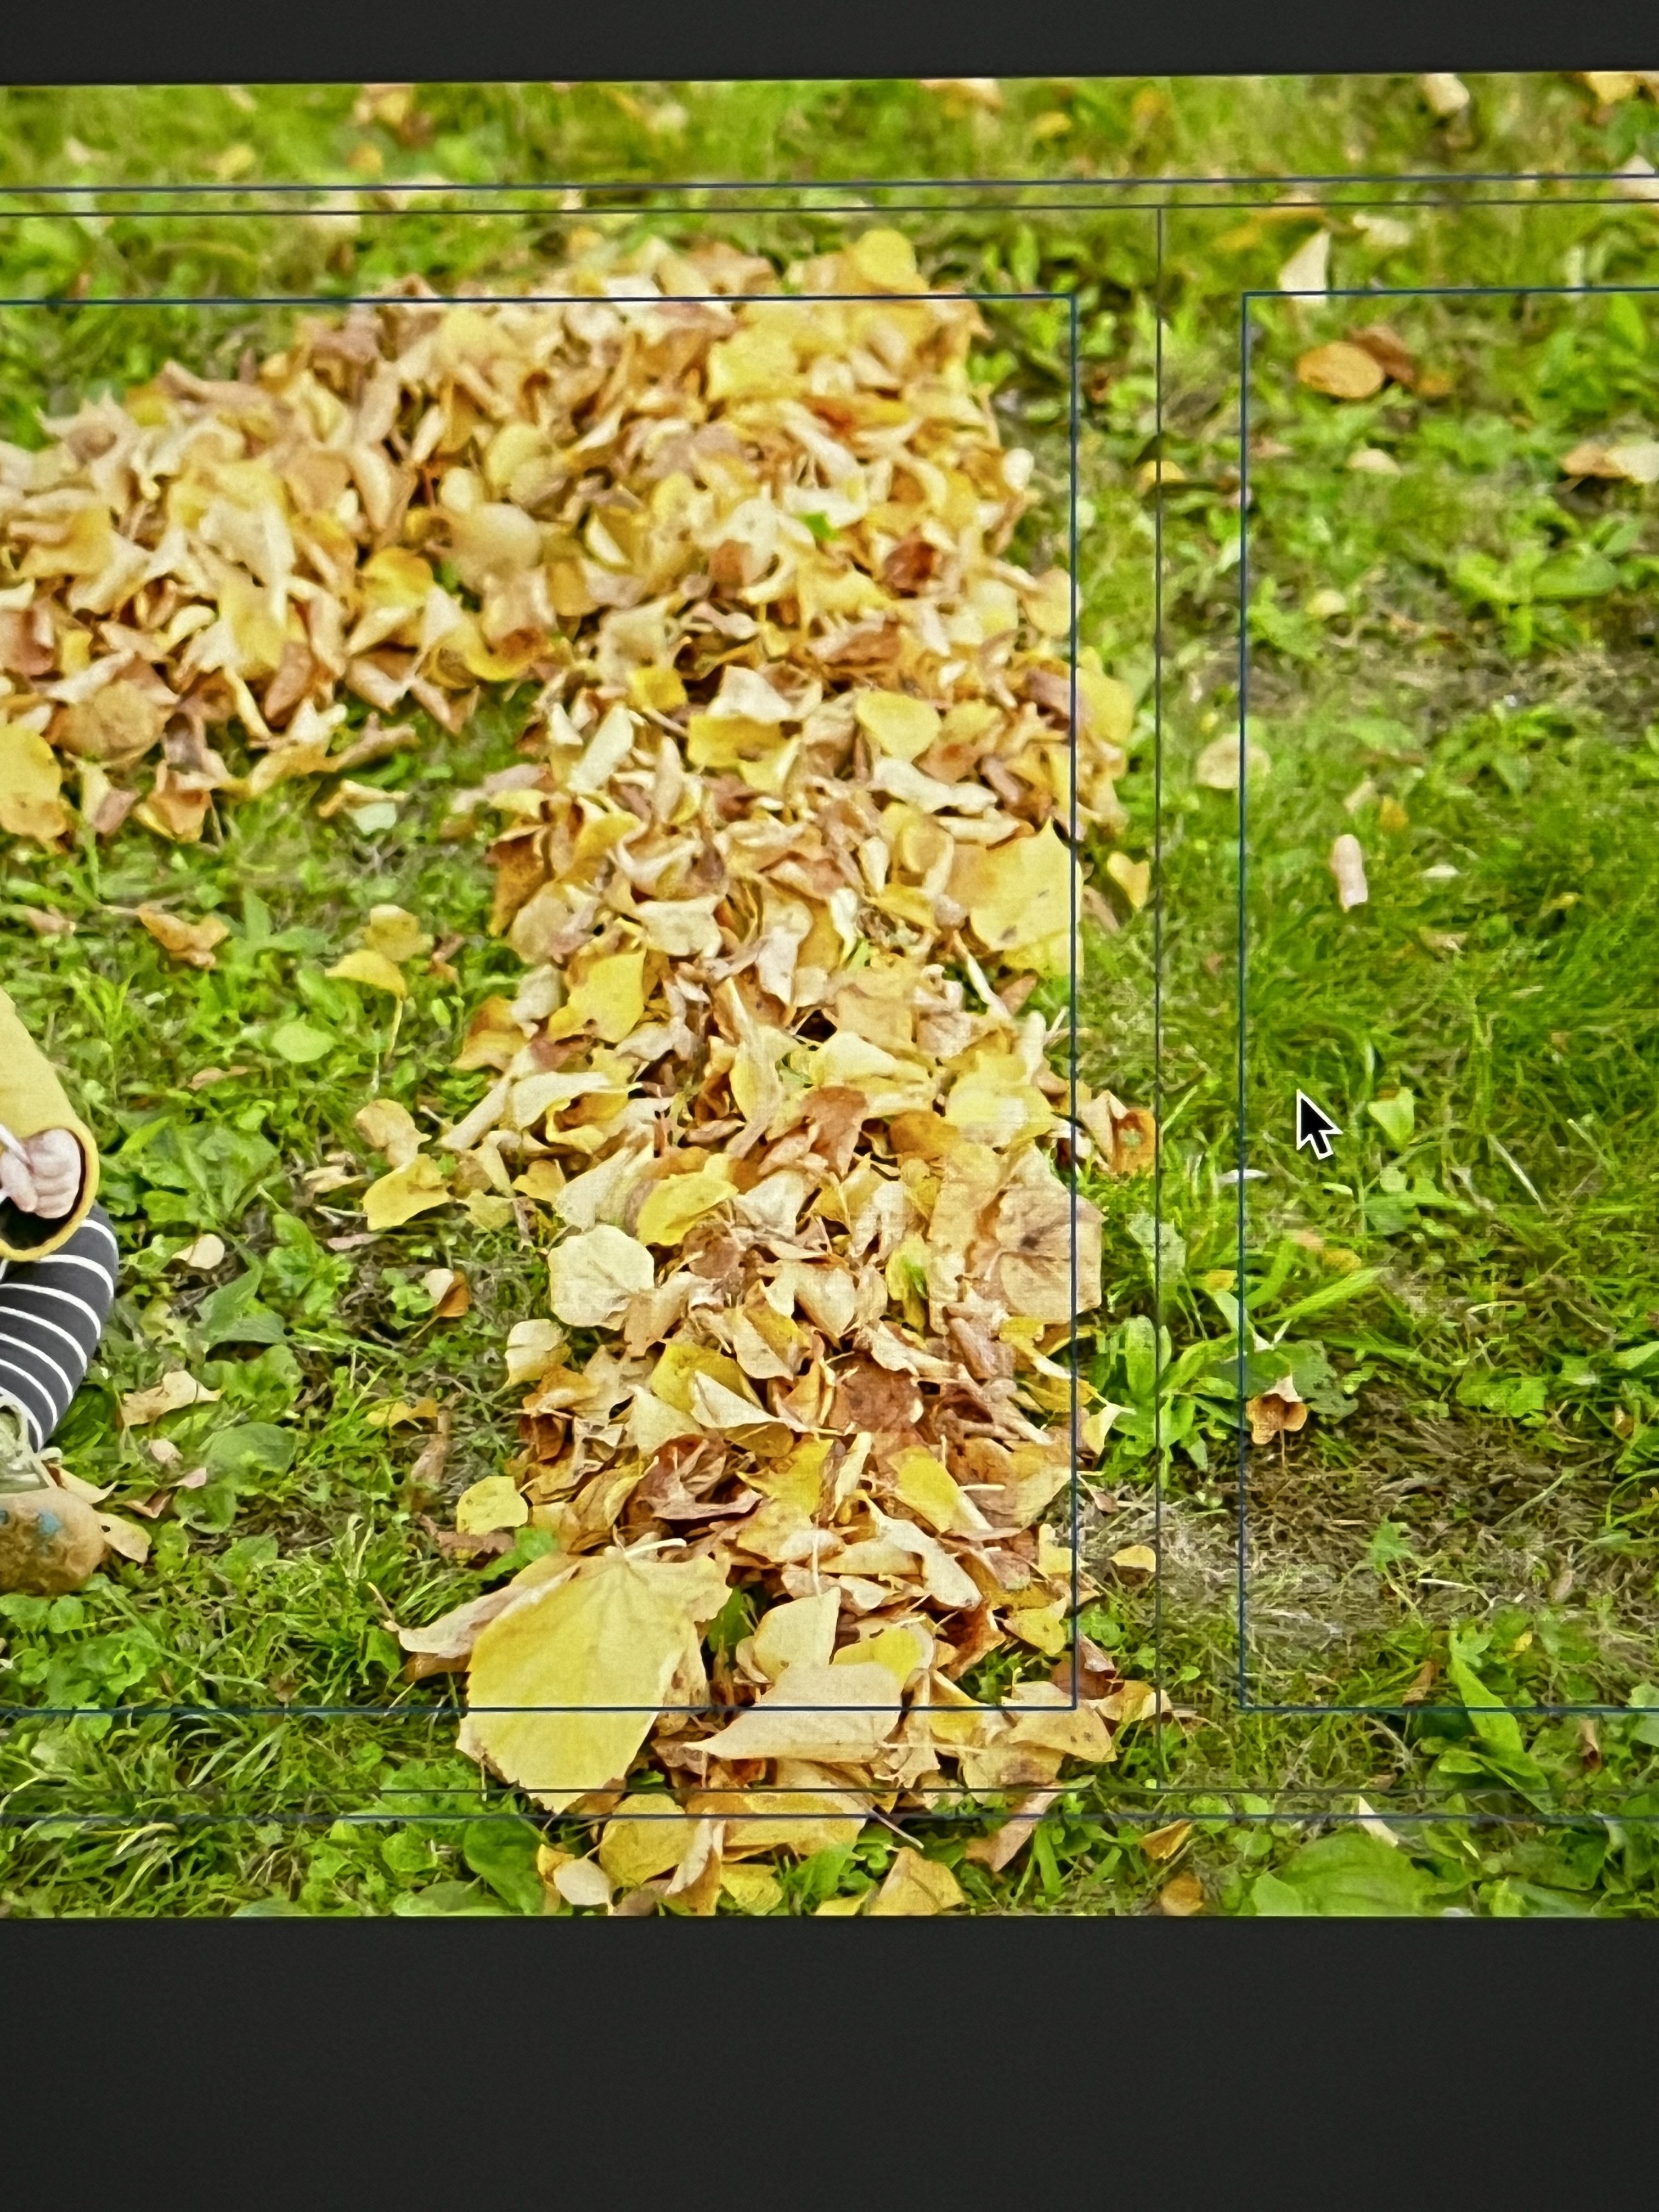
I moved from a 2015 MacBook Pro to the new M3 one.
I have a AfPub1 document, which I opened with AfPub1 and AfPub2 on the new machine (also tried AfPhoto).
The images are very light, and totally of what they should look like. When I make a screenshot the color gets suddenly normalish (I trust the software, I am not a colorimeter)
Because I cannot make a screenshot from the issue, I have appended two iPhone shots.
After some trying I found out, that switching from Metal to OpenGL fixed it. Also doing a screen recording with Quicktime while working with the Software seems to do the job.
I woud appreciate if you could fix this in Version 1 and 2
-
Wacom CTL-4100, Mac, Current 1.9.0 AP
Pen-Button is set to Eraser in Wacom Settings. Eraser works in Microsoft OneNote but not in Affinity Photo.
Is there some additional Setting I have to do in AP?
-
-
Can I make an vector image darker keeping it a pure vector image for the printer?
Background
I designed a leaflet in Affinity Designer and printed it out. I noticed that my printer (Canon MG5300) has a lower contrast than my display. I applied a brightness/contrast adjustment on the whole image. The color was ok then.
But the printed picture was blurry because it was sent to the printer as a pixel graphic.
Thank you
-
Did you already make your investigation?
If not, just a short question on that:
Is it defined, what should happen if I have only adjustments/filters grouped. (With some image under the group)?
If not I'd request a feature: That the adjustments/filters are composed and I could apply a mask on them.
(Same effect as Post #6 first example)
I think this easy-to-implement feature would make layers in affinity even more powerful.
Best regards.
-
The issue is perfectly described in the Link from MBd above.
I import a (compressed) jpeg into affinity
I make it visually smaller
I rasterize it (by retouching it)
I decide to make it (significantly) bigger.I understand well, why this happens, but I'm looking for a workaround.
If I bring in an image it´s automatically scaled to fit the document DPI. When I then rasterize it I have no quality loss.
But when I (accidentally) resize it and later on want to apply a raster based effect (inpainting) I loose quality through rasterization and I can´t seem to have an option to resize it to it´s native resolution again (to do an optimal rasterization).
Could you add an option under the "rasterize" entry that is like "resize to match document DPI", or maybe even better: give an option to "rasterize to native resolution" which rasters to the resolution of the image instead of the resolution of the current document?
Thanks for your consideration
-
I made a Photobook.
Sometimes i transformed JPEGs, edited them and decided afterwards to transform them again.
In those cases I had a loss in Image quality.
What would be the easiest option to raster an image in its original size.
(Technical explanation: In affinity there is a difference between image and pixel layers. The image needs to be (automatically) converted into a pixel layer to edit (retouch) it. The resulting pixel layers amount of pixel is defined by the pixel size on the document)
Of course I could raster images before the initial transformation (every time i add one of a hundred pictures)
But this would dramatically increase the size of the afphoto file - so this is not an option for me.
What methods are coming to your mind?
-
Do you get my point?
Is there a way to get the effect easily or would that be a feature request?
Is it even defined, what should happen, when grouping just adjustments/filters?
-
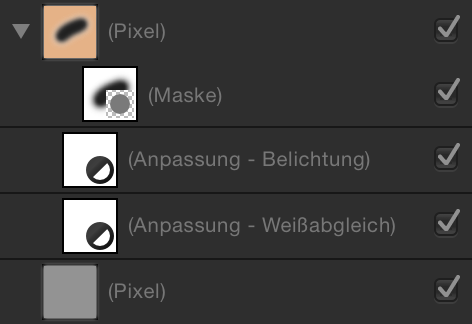
I'm not sure, whether you understand, what my original intension was.
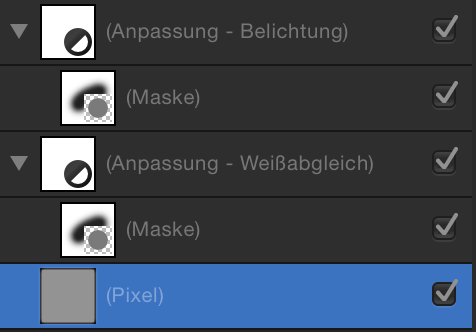
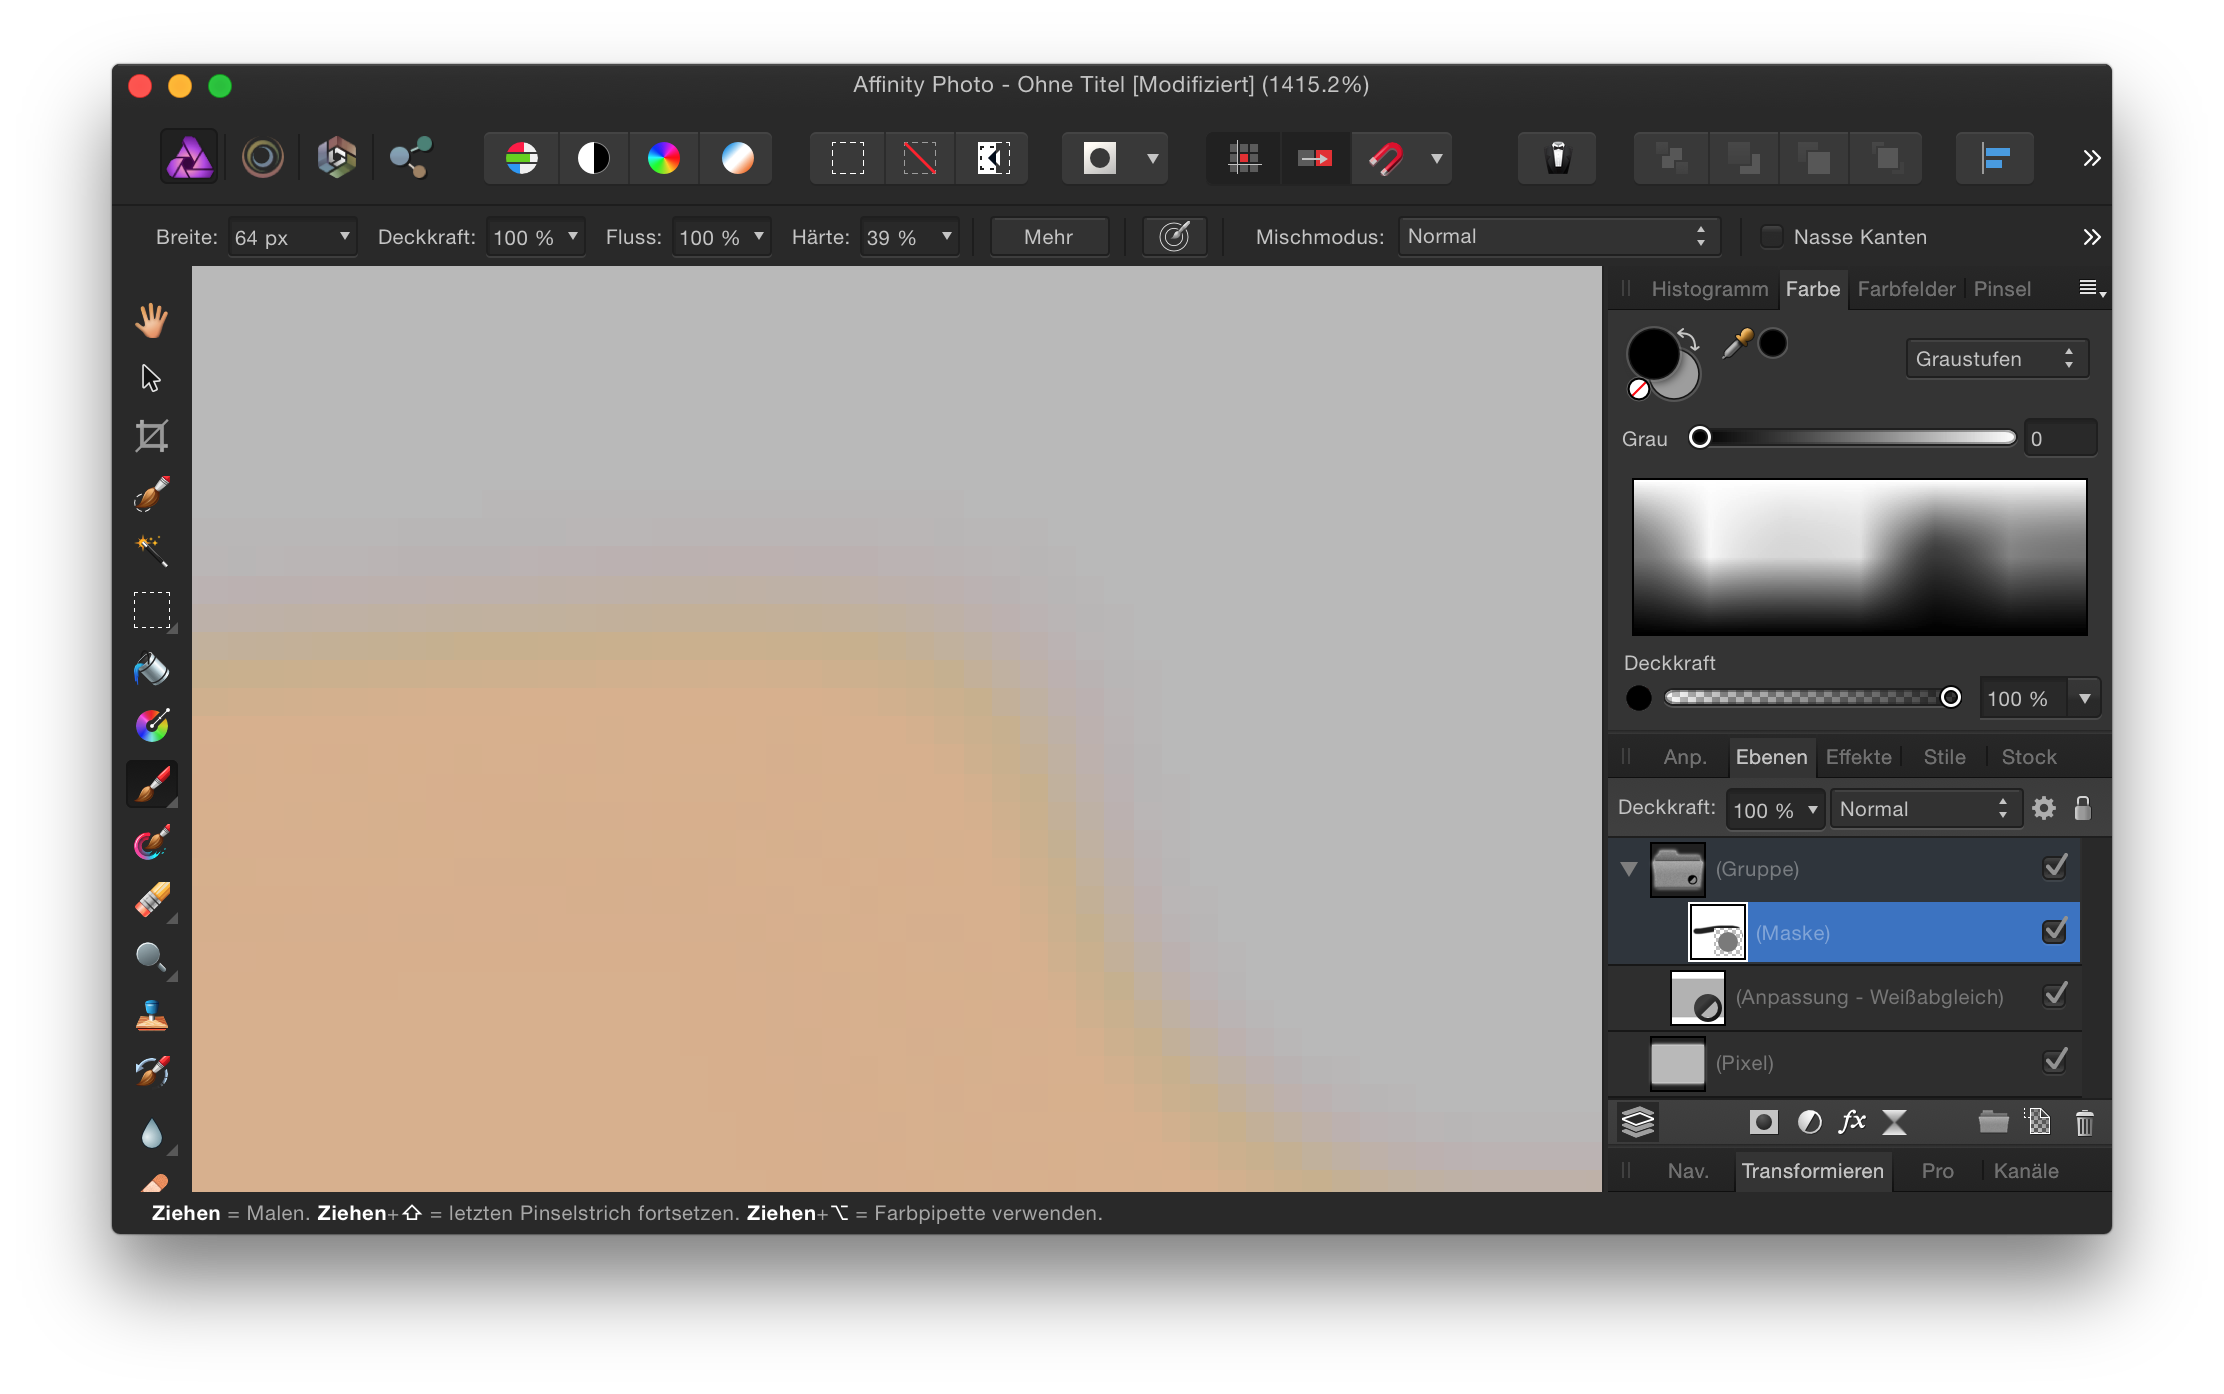
What i want to do is, applying multiple Adjustments/Filters to an area specified by one Mask.
I could do this duplicating the Pixel layer. This works perfectly. But if it would not only be one layer but a variety of layers I want the Adjustments to be applied to, it wouldn't make sense to duplicate them all.
I also could duplicate the mask. This solution seams easy. But this has a slightly different effect. (that I don't want)
So what I did is grouping only the Adjustments (didn't work as shown above) because I didn't see any other way.
-
Hi,
do you get the Effect as well, is this a bug?
-
Thanks,
i just reconstructed the issue.
In my case I wanted to generate an alpine glow effect. And the mountain is grey like in the easy example. -
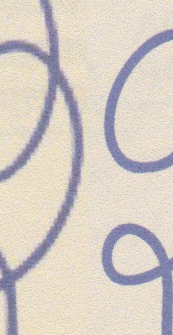
I want to apply some adjustments to a specific area of a picture.
I decided to group the adjustment layers to a group and apply a mask on the group.
But why do I get this Rainbow-Effect?
In this example I used the White-Balance-Adjustment and Affinity Photo.Is this a bug or a feature?

Strange color shift when using custom icc Profile (Macbook M3)
in V2 Bugs found on macOS
Posted
I tried P3-1600 and P3-600 screen settings.
The issue is still there with Beta Version 2217