BarneyC
-
Posts
10 -
Joined
-
Last visited
-
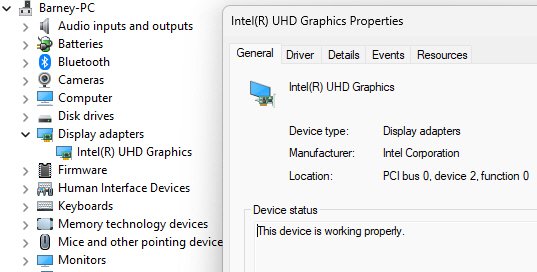
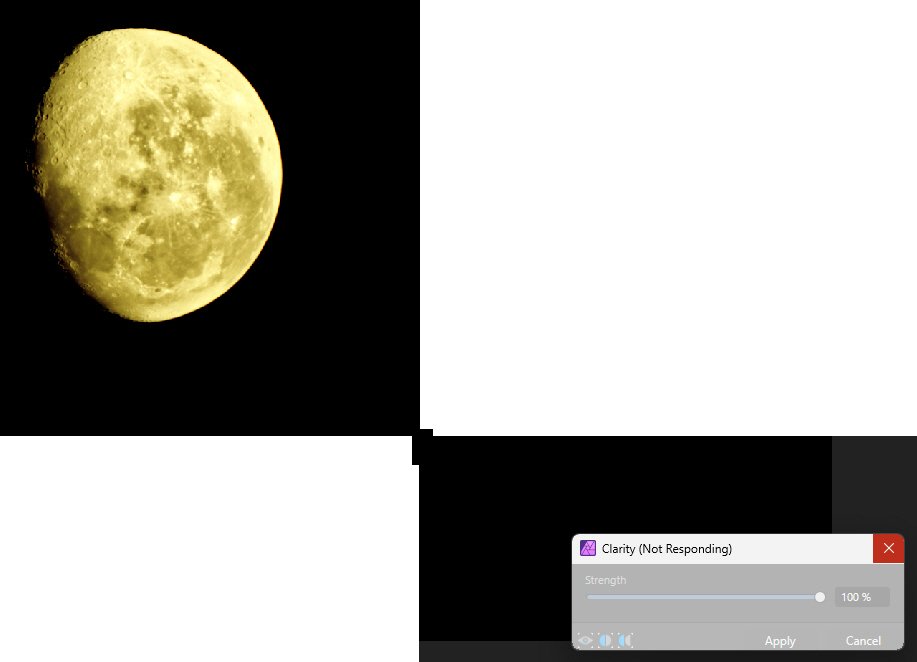
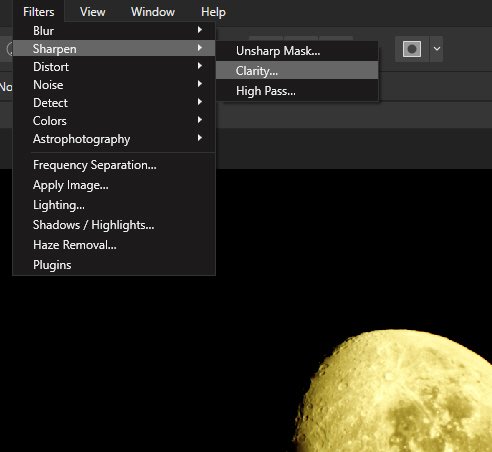
Hi Lee, I don't believe there is any issue with the graphics card. Attached are relevant images. I have a Lenovo C340 ideapad with 20Gb RAM, 1 TB SSD to start with. Inbuilt Intel UHD graphics card. 1. When I first open (or reopen) an afphoto file and go into 'Filters' > 'Sharpen' > 'Clarity' and try to slide on the selection, Affinity goes into "not responding". Then after a short while it works without issues. 2. If I keep Affinity open but close the file and then re-open the same one, go into the clarity, it works fine without the '(Not Responding)' message. 3. If I close down Affinity, then re-open it and re-open the same (or any other afphoto file), the same thing happens every time. I'm more than happy to have you remotely connect to investigate further. Regards, Barney

-
Hi Patrick. The problem occurs in both beta and production. When you do a new astro stack, Affinity puts 2 layers above it by default (Curves and levels). For astrophotography, you should be able to add adjustment layers only if needed, not have Affinity do it for you. If you delete these 2 layers, it works fine. I've attached an updated document I created that includes this problem and resolution. This is shown on page 3 and figure 6. Regards, Barney. Astrophotography stack editing using Affinity Photo 2.pdf
-
Hi Patrick. If you go to the Affinity Beta forum and search for Astrophotography in the last week you will find it there. Regards, Barney
-
This can be difficult if you only have one stack and need to make adjustments to 2 or more objects in the one stack. I have attached a document that I think explains this process fairly easily. I've seen a number of youtube and other forums describing this but did not find any where a 'Eureka' moment was shown, ie using the flattening method in combination with the masking. The process involved in simple terms is this: 1. Create an astrophotography stack 2. Remove the unwanted background 3. Select the area that needs to be adjusted 4. Edit the area that needs to be adjusted 5. Arrange the layers correctly 6. ‘Flatten’ the result 7. Repeat steps 2-6 if necessary 8. Save the project 9. Export the result Astrophotography stack editing using Affinity Photo 2.docx
-
1. When you copy/paste a layer, the new layer keeps the same name. Can this be changed to show at least (Copy x) or similar appended to it? I can do a work-around if I lock the original layer and create a copy. The copy is not locked but still has the same name that needs to be renamed. A bit cumbersome and silly. 2. My understanding of layers is that when you place one layer above another, and it has a mask with it, it should display/replace the area in that layer/mask above lower layers. Seems to be hit and miss.
-
Just a note. I reported a bug. When you do the stack, the remove background only works when you are on the stacked layer. By default, the first layer (curves) is selected instead of the stacked layer.
-
 SureWeb reacted to a post in a topic:
Astrophotography stacking and editing
SureWeb reacted to a post in a topic:
Astrophotography stacking and editing
-
Attached is a document I created for simple astrophotography stacking, editing, and layering. Procedure to stack and edit astrophotography images using Affinity Photo 2.pdf
-
I have to issues to date. 1. When you choose 'Sharpen', Clarity', the screen invariably freezes (not responding). 2. Hit and miss here. This one is VERY important in astrophotography editing. If I choose to remove the background by moving the circle, ticking the 'Sample at handle position', then adjusting the 'Gray', I get a great picture! If I try the same thing another time, nothing happens. See the document I created to show from start to finish what should happen. Procedure to stack and edit astrophotography images using Affinity Photo 2.pdf
-
Thanks. I'll keep this in mind for next time.
-
BarneyC joined the community
-
I've used Layer>New Live Filter Layer>Colours>Defringe to remove halos from stars, but it has left a black ring (replacing the halo). Can this be replaced with the background colour in one go?