Algernon47
-
Posts
31 -
Joined
-
Last visited
Everything posted by Algernon47
-
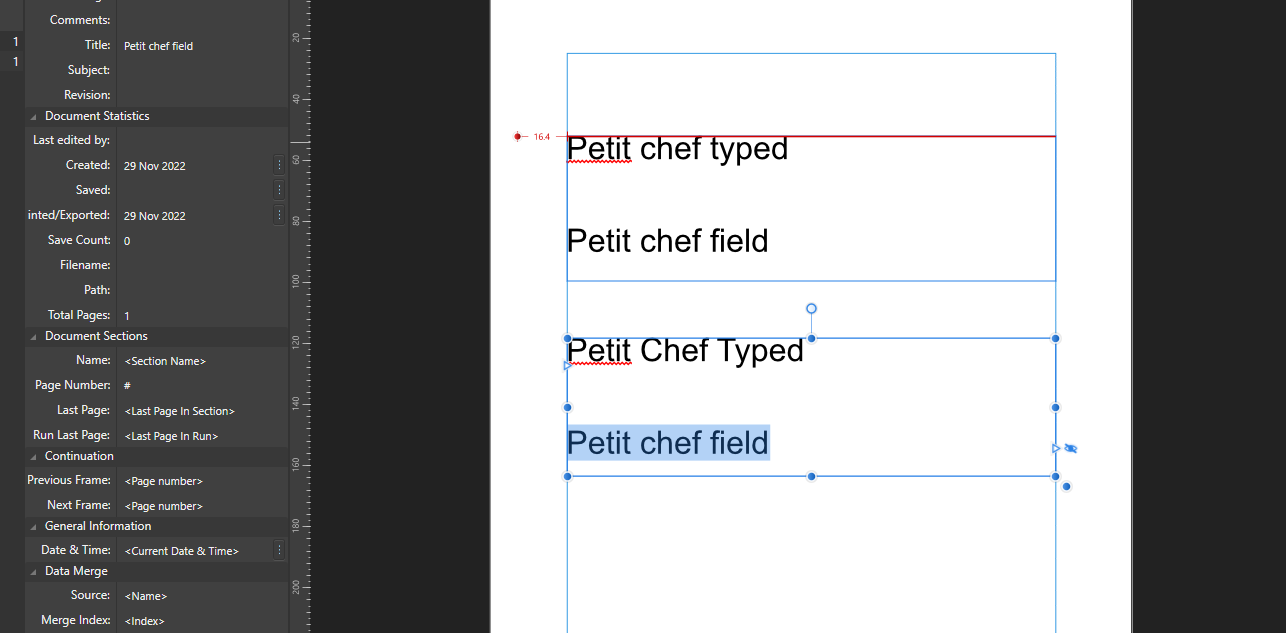
Hello again. Actually as an addendum to this, I still think this in fact may be a bug. You said: "What you're trying to do can't work. The content for a Field in the document comes only from the Fields panel, and can't be changed." However this doesn't quite appear to be true. In the screenshot I have applied the respective options from the Text>Capitalisation menu and we can see that Publisher can capitalise all the letters in a field. Of course I don't know the technicalities of this, but I think most people would assume that you can apply all the processes listed under Capitalisation to fields and not just some of them.

-
Hmm. thank you, I understand what you're saying and understand your point. I think most users would expect that it would work though especially given that one inserts fields from the text menu and apply capitalisation from the text menu also - I can see now that capitalisation is a one time deal when you apply it. In fact I would say that of all the uses for autocapitalisation this would be the most useful - particularly when doing data merging, I've figured I can uses proper case in excel but would have been nice and easy to do it in publisher. Thanks again.
-
The screen shot shows two text frames, each frame has the words "Petit chef" typed first directly typed into the frame then as a field with the source being title field (as you can see on the fields panel on the left). On the first text frame I have left this unchanged on the second frame I have selected each entry in the text frame and then applied Text>Capitalisation>Title Case The screenshot is from Affinity Publisher but I have tested in trial version of Affinity Publisher 2 and I think the result is the same.
-
I am using the latest version of Windows 10 and have tested this with up to date versions of Publisher and Publisher 2. I want to set some fields to Title case but it simply doesn't seem to work. I did a quick search and couldn't see any mention of this?
-
Doh! Thank you
-
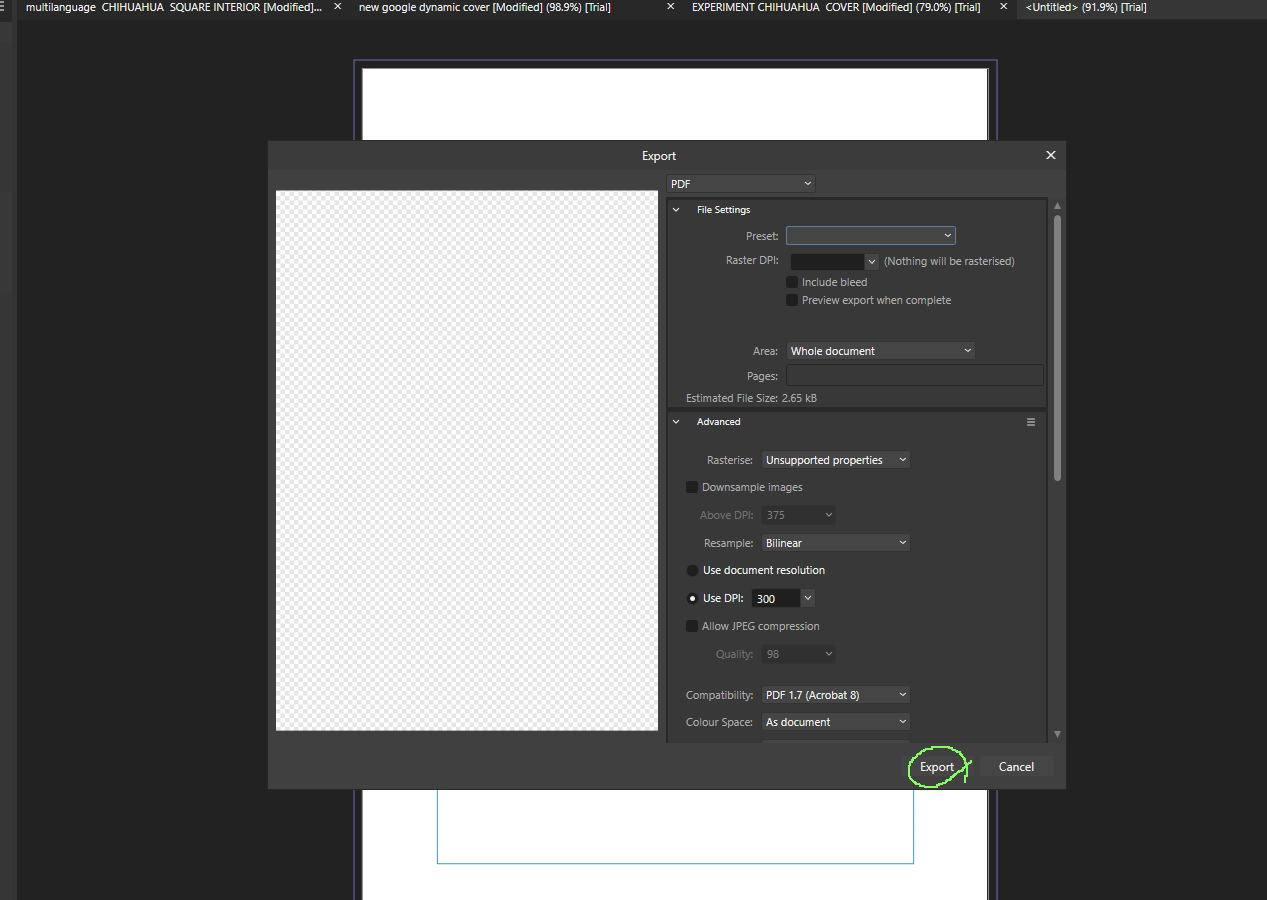
I am using Affinity Publisher 2 on the latest version of windows. I'm using automation software with Affinity to generate output. On Version 1 of affinity publisher I was able to get to the export button on the export dialog with about 6 TABS but now it takes 23 TABS, is there a short cut key that will trigger the Export button?
-
Ah yes, some very interesting tips - thank you. To apply a secondary master untick "replace existing" in the apply master dialog. Also nesting master pages is very clever idea.
-
I wasn's using the Master/Parent pages but I am now and it works, thank you for the advice!
-
I am using latest version of Publisher with the latest version of Windows 10. I'm setting up a book. I've got the margins of the left and right pages setup so there's a bigger gutter towards the spine of the book. I've got two linked text frames setup and aligned with the margins of the pages, but it turns out I need to move the text frame on the right hand pages a bit further over to the right, so that it falls slightly outside the margin but on the left page it remains aligned. If I now click on the autoflow icon while pressing the shift buton I would expect all the new pages to be completed with the left page frame aligned to the margin and the right page frame to be slightly further to the right, but what actually happens is the left is automatically moves the equivalent amount to the left. Any ideas how I can workaround this please?
-
Font Search makes Publisher, Designer and Photo Crash
Algernon47 replied to Algernon47's topic in V1 Bugs found on Windows
I thought the same thing, it's irritating but removing windows updates seems like compromising security. -
Font Search makes Publisher, Designer and Photo Crash
Algernon47 replied to Algernon47's topic in V1 Bugs found on Windows
|Thank you, i'll give that a go! -
I'm using an up to date version of Windows 10 with the latest versions of all Affinity Products. If I try searching for a font by typing a letter (any letter) in the font box it causes any of products to crash immediately. I can scroll through the fonts fine. It affects Frame Text and Artistic Text. I have tried restarting my computer and have tried it with a new document. I have only discovered the problem today, I am not aware that it was ever a problem before.
-
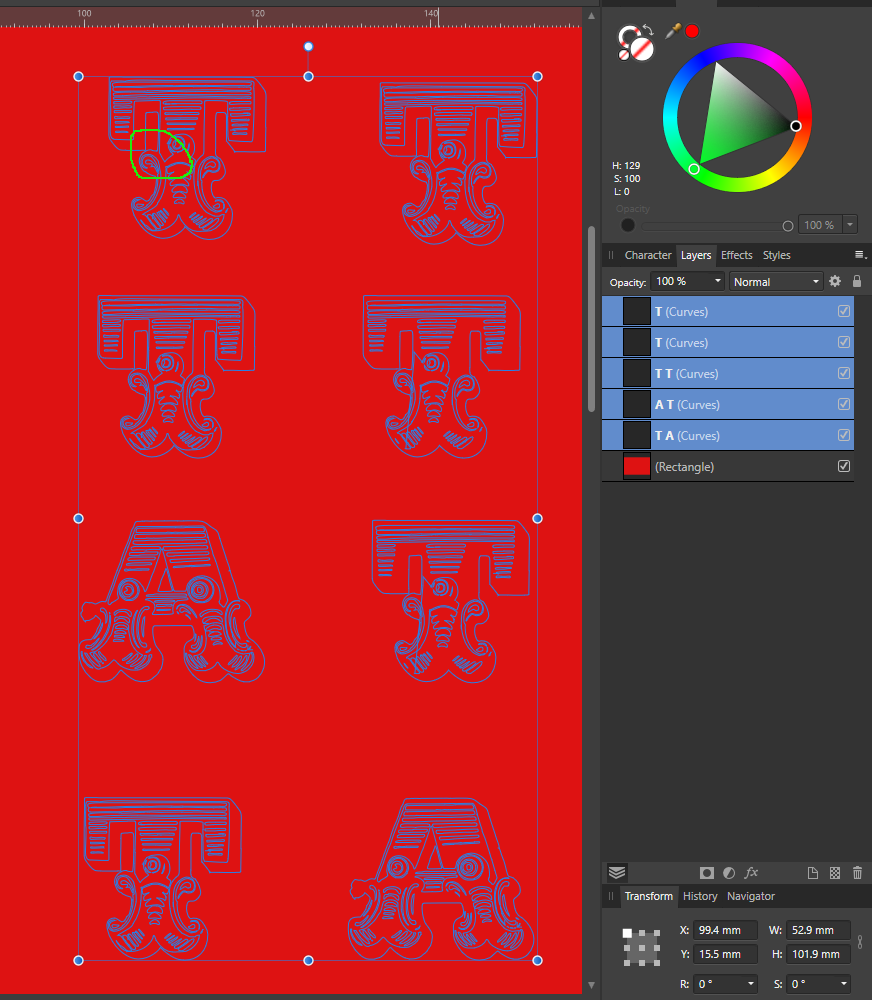
Actually when I went to use this method "live" it through up further problems, I suspect it might be a bug in Affinity Designer. Take a look at the corresponding area (circled in green) on each of the letter T's that have been converted using Add sometimes it messes it up, which makes this method not work out of the box. The only fix I could find was to convert to curves each individual letter first. Should I report this as a bug?
-
You're right Lacerto worked perfectly with OTF version of the font - thanks. Jimmy Jacks method worked perfectly for me too, thanks again.
-
Yea, saw that coming a mile off Thanks for your help.
-
Old Bruce, I am using a font called Romantiques I've not seen fill version anywhere, probably because it's a free font.
-
Thanks Jimmy Jack, that didn't work for me with this font. When I hit Add it screws up the letter B on this font, also don't fancy trying to navigate all those nodes...
-
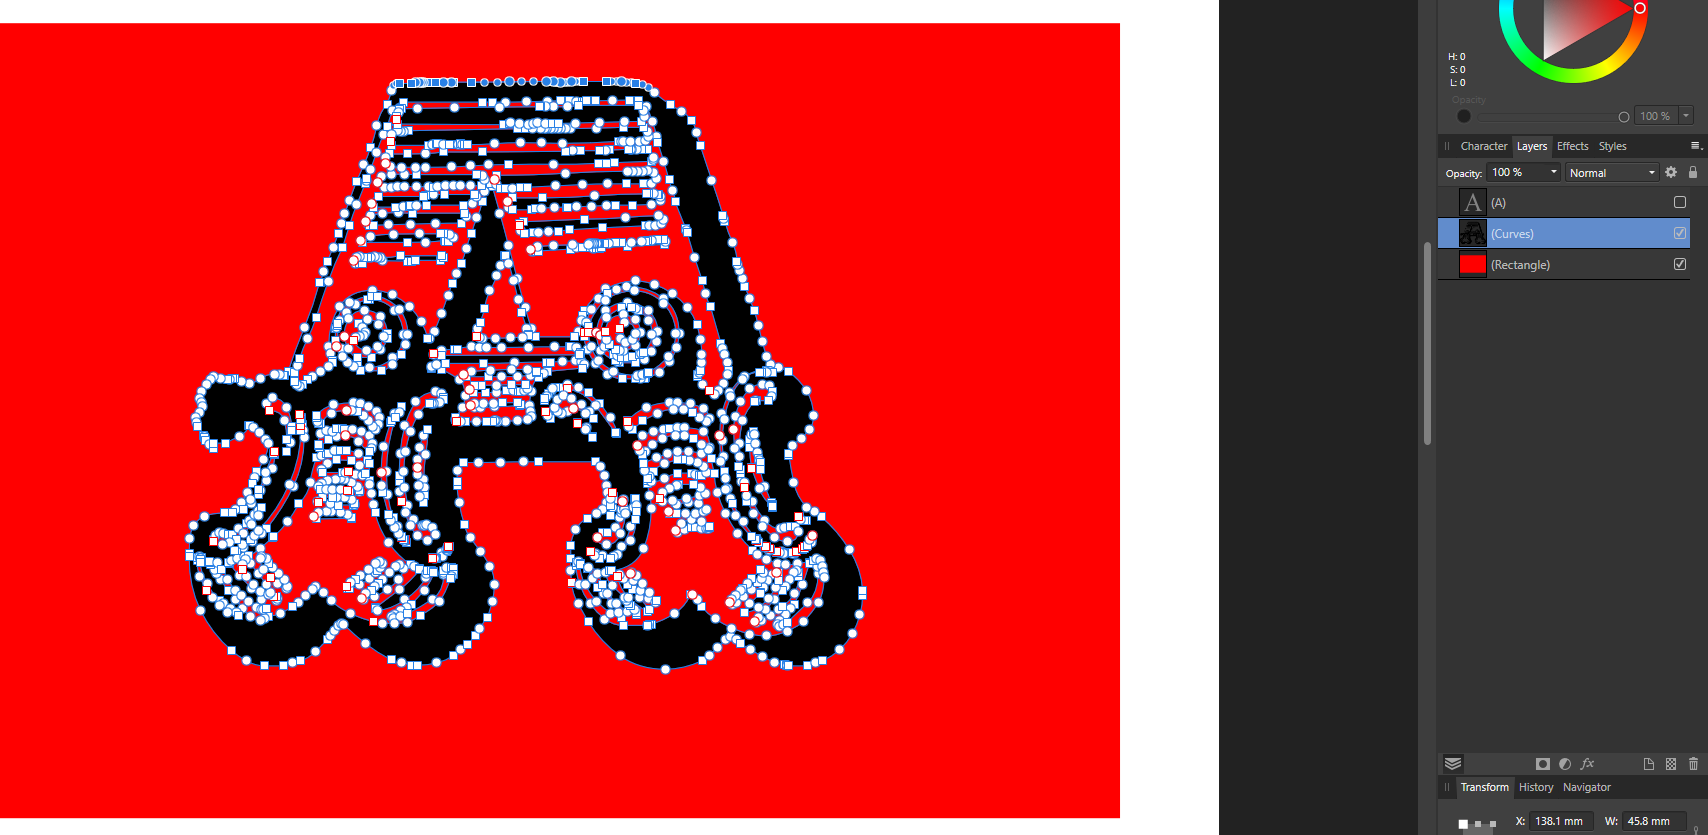
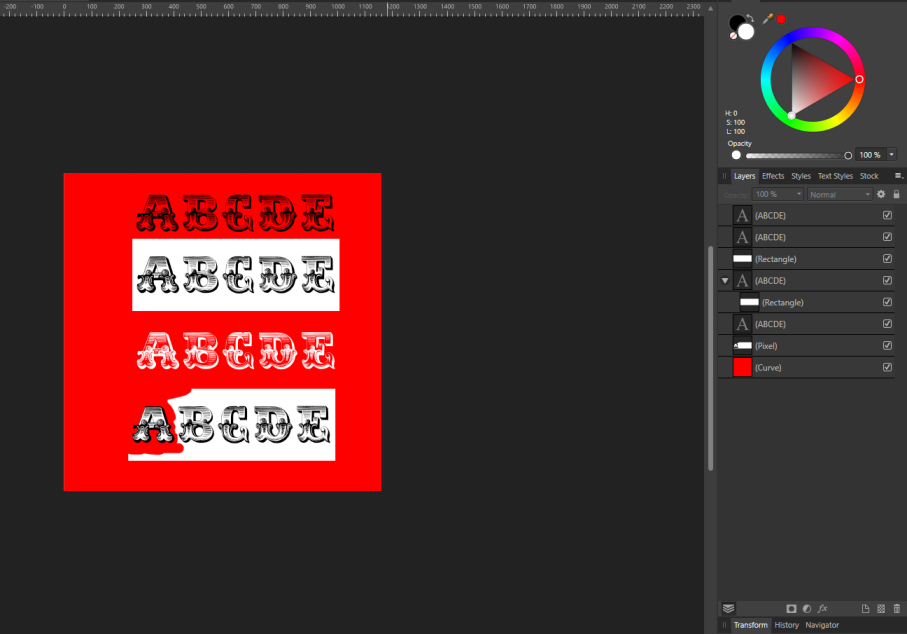
Yes! Excellent thanks for the heads up Anto. So how I achieved it was reasonably easy in the end. I created ABED as Artistic Text (image 1) Made a copy of it and separated all the curves in one copy(layers>geometry>separate curves), then selected all the curves except the "negative spaces" (shown in green) and change the fill colour to black. (image 2) I then had to combine each letter using the "add" operation button for each individual letter (trying to do all the letters in one go didn't work) Then I merged the curves of all four letters including the "negative spaces" (layers>geometry>merge curves) (image 3) then finally place the original copy of ABED (image 1) on top of Image 3. Voila! This was by far the easiest solution I have found. Thanks everyone.
-
Yes, well I've learnt some more stuff about affinity - thank you all... In the end it seems to be more like using affinity as an impromptu font editor! I was surprised there wasn't a more simple route, but I can see that the negative space parts were always going to make it more complex than I had thought through. I have used Glyphrstudio in the past to achieve something similar which makes it easier to pick and choose which bits of the font to keep and throw away then create a new separate font parts a bit like Old Bruce was talking about I think.
-
Yes I see what you mean thanks Old Bruce et al!
-
Ah ok I got it now, I just select the curve for each letter then go to Layers>Geometry>Seperate Curves and tada! Perfect thank you!
-
Hi @G13RL , Thank you I followed your method up to converting to curves but couldn't understand the next step. I end up with one big vector for each letter, I guess this varies from font to font...
-
Hi Anadia, Thank you very much! It's not quite what I'm trying to achieve though. Please see the next screenshot. I figure one way of doing it with a raster background and the eraser tool, but am hoping for something quicker and more versatile! Best wishes Allan
-
Hi all, I'm trying to figure out how I can get a white background for a font that has see through elements, I've searched and tried to figure it out but no joy. I've posted a screenshot to make it easier to explain my question. What I want is for the letters ABCDE to only show white background where the letters are and not in the area around the letters. Maybe it's really easy and I'm just being an idiot (probably!) but can anyone give me some ideas please? Thanks Allan
-
Thanks, that was helpful. I think you're using designer there? I realised that in Publisher I can set the background of the whole document to transparent (same as designer) and that seemed to work... Thanks again