Affinity Rat
-
Posts
592 -
Joined
Everything posted by Affinity Rat
-
 I did but didnt seem to work. I didnt set the output white to 0. Yeah this works well. 😊👍🏽 no go.mov
 -
A clumsy way using a brush, could also do flood fill. Starts out with a paste of a feathered selection. Must be better way.
-
While this method may work, it would be nice to use a brush so have finer control, I’m sure its possible but I’ve yet to find it.
-
The solution as shown by @Callum is here
-
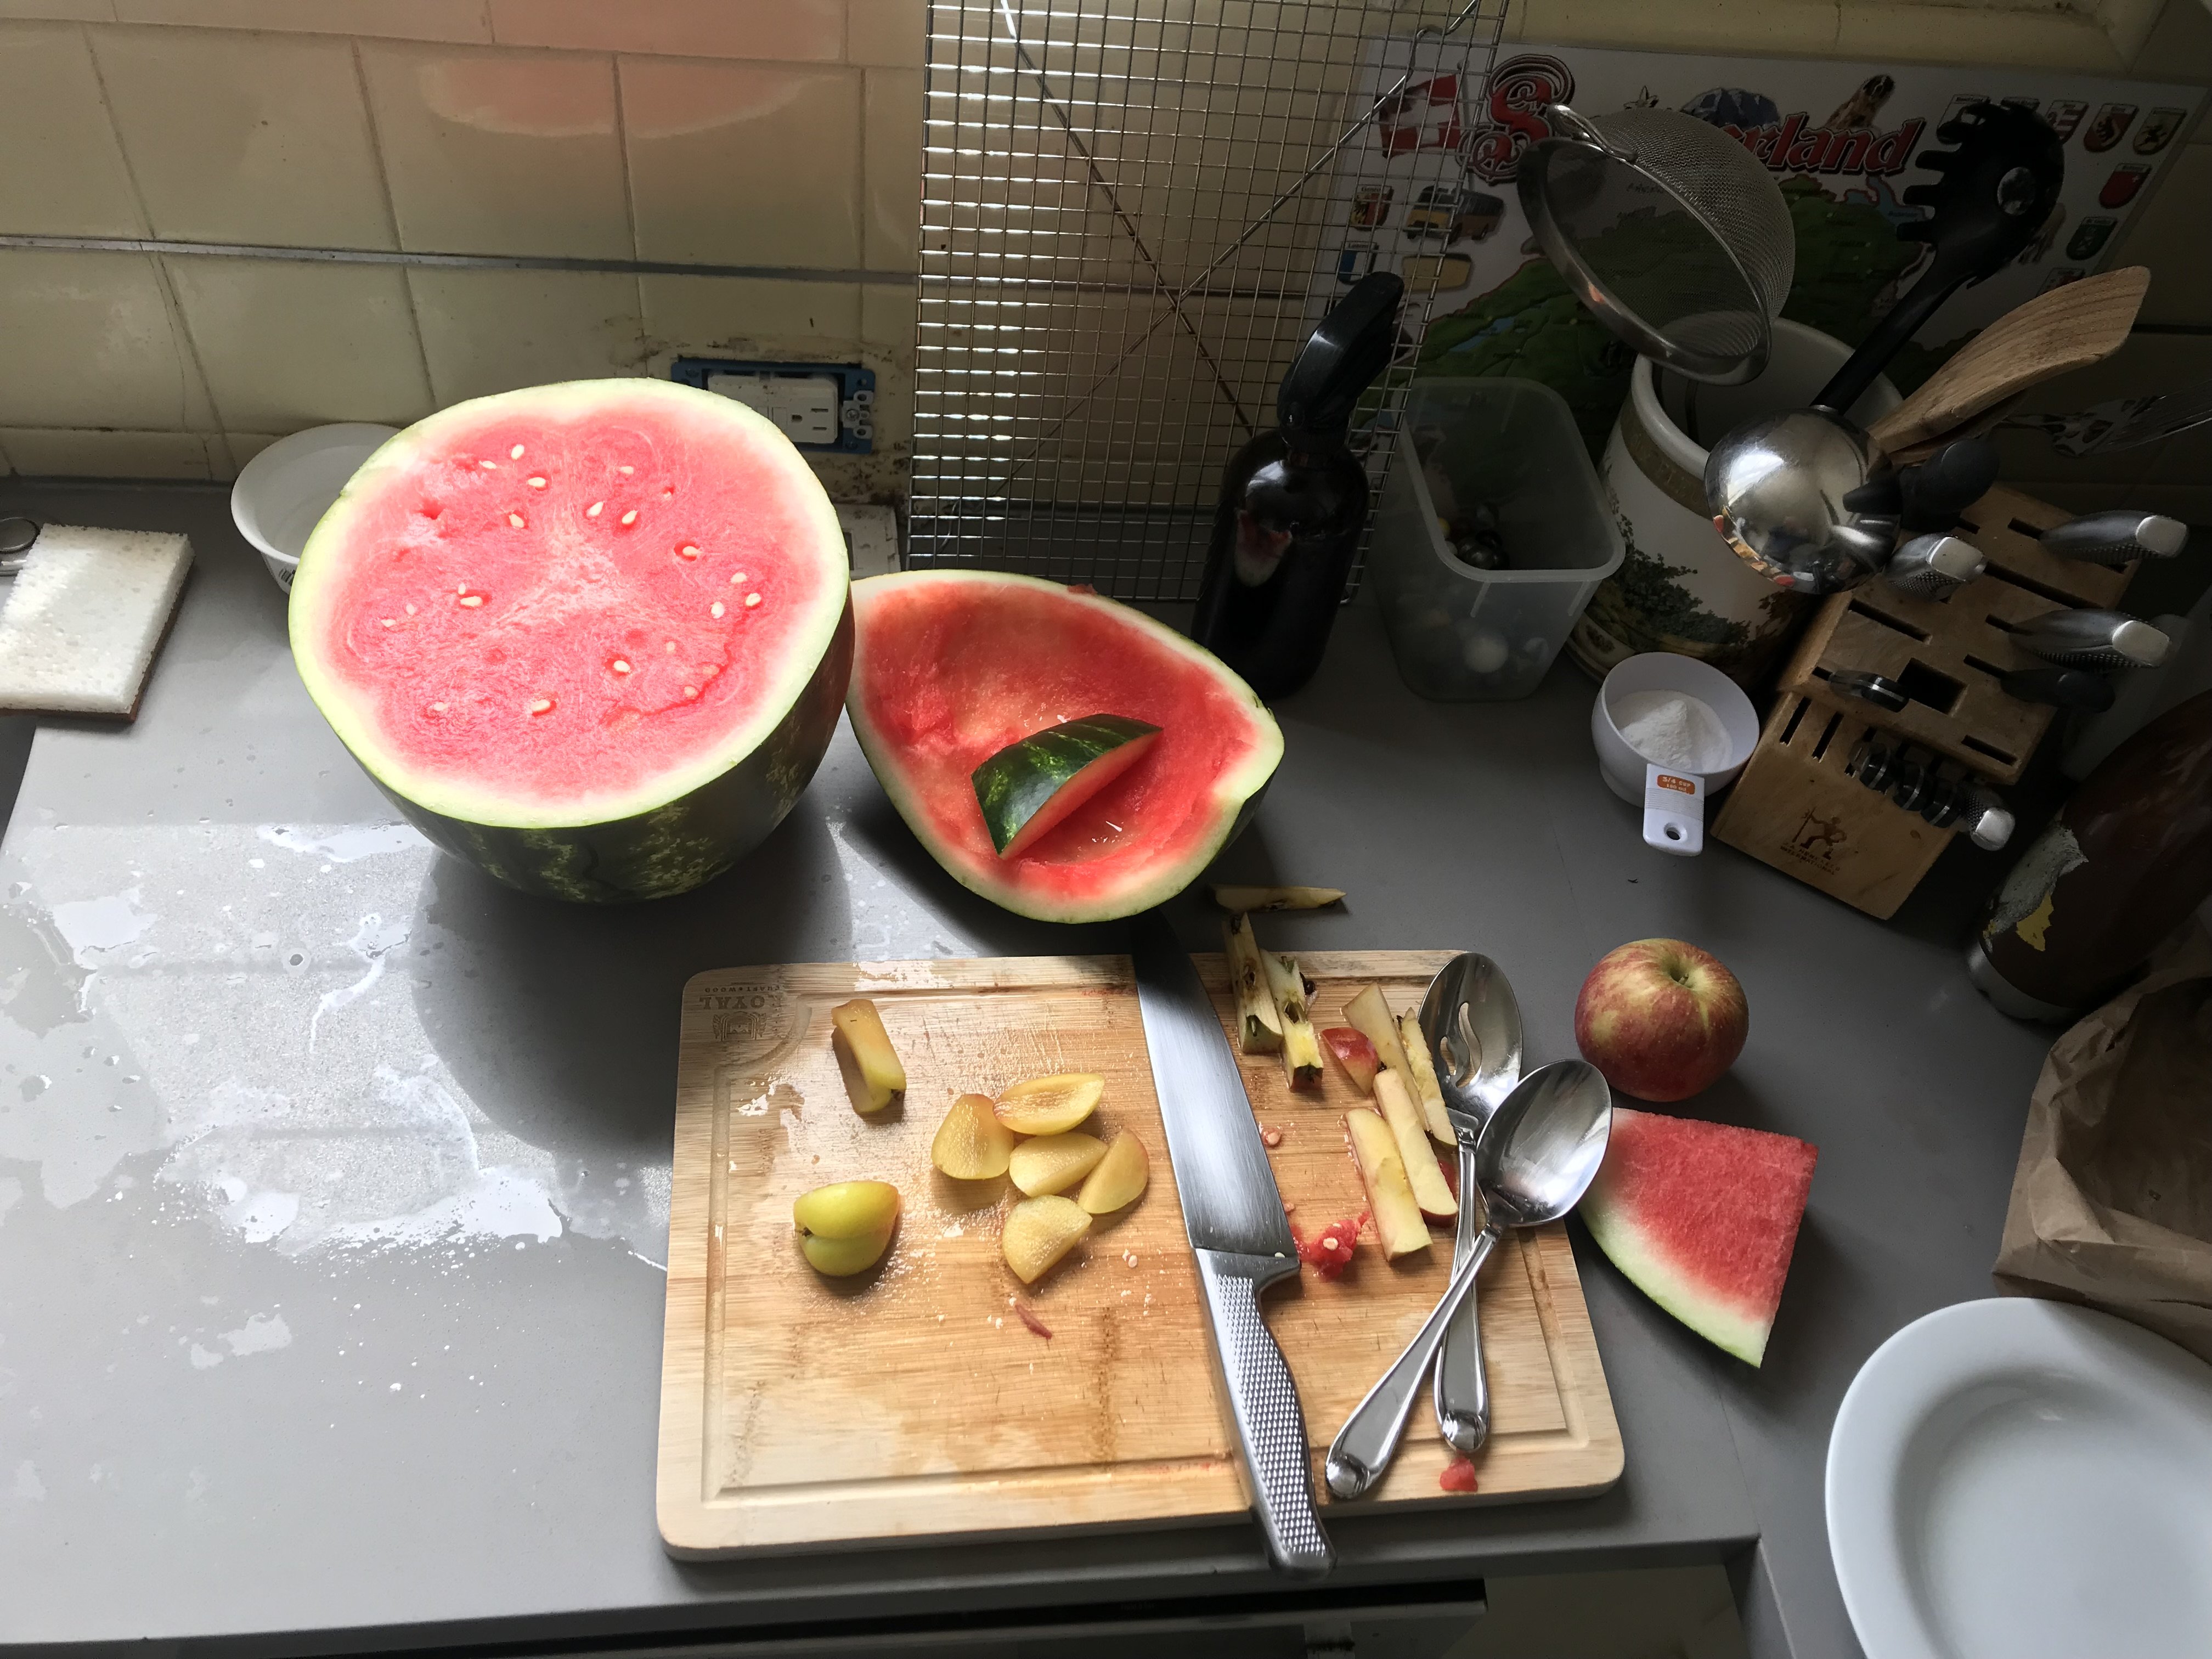
Tried again with an image which was copied with a feathered selection. I had to do this in APho V1 because after creating selection and feathering it I couldnt copy it with the feather in APho 2, attempts to copy removed the feather, later realized with V1 the apply button for feather is adjacent to the feather parameters whereas in V2 it was hidden at the top of the screen, poor UI design, shouldnt have to go searching for something I didnt even remember existed. Using V1 I’m on autopilot to apply, because next to other parameters. I prefer APho 1 for multiple of reasons. Anyway without any more ado Notice I put a huge feather on the selection, for sake of demonstration. Melon.mov
-
Thanx for trying.
-
I couldnt duplicate what NotMyFault did. 😗 Below is my awkward way of achieving what I wanted, not as eloquent as NotMyFaults method, and may not work in practice. Not shown in video, 1.I drew a curve with a paint brush hardness set to 50% so significant feathering. 2. In the channel studio I hid the composite alpha layer, this showed the hard edges. Maybe optional 3. Then filled the pixel alpha layer from menu. Some steps I did may not be necessary. feather.mov
-
@Callum You are quite correct, iPad exported 2 curves when exported as you suggest.
-
When I saw how the opacity worked with gradients, it appears that every pixel layer in APho has a linear gradient or or rather creates one on demand but its opacity is set at 0. Turning on Fx, sets the opacity of that hidden gradient layer to 100% and sets background opacity to 0. So seems like it works like I suggested… no? I find it hard to believe that alpha doesnt work this way, but Im ready for an education. 😁 ’
-
I thought the title made it clear, but didnt elaborate. Often I make a selection feather it and copy part of an image and paste it, now it appears feathered. So what I wanted to do was remove the feather of the copied layer, and get back the hard edge. I was assuming the copied layer was precisely where the marching ants were, so the actual copied part had hard edges but the alpha dictated the edge visibility, so the hard edge could be “reclaimed” by painting the gray alpha edge white. Not so in APho.
-
I think my understanding of the alpha channel comes from other software that represented alpha in that manner and therefore easy to remove a feather, replacing what was invisible with the original image. Apparently APho doesnt work that way.
-
Ok but wont that get rid of the feathered edge of the layer. I thot a feather was merely an 8 bit black/white layer where white was 100% and black was 0, so painting white with the constraint of the selection could replace the gray feathered edge with white therefore removing the feather. The use of the selection was only to limit where you paint, I guess I dont really have handle on what the alpha channel actually represents.
-
It isnt possible to select the layer, make a selection of it, the go to alpha channel and paint it 100% white or something similar seems kind of logical to me.
-
A vignette may help. In retrospect should have used a polarizer filter to remove glare off melon, but didnt have one at the time. Just thought a polarizer, type filter effect would be great addition to Affinity Photo. I think I tried a highlight adjustment on this photo, and the results no where near as good as a polarizer would have been. Should have tilted the melon only slightly would have solved prob.
-
Better, but I think for this particular product, a wooden cutting board as a background could add to the imagery rather than distract. Again just my knee jerk reaction to this particular product. Here is an actual pic I took where to my eye the background augments instead of detracts from the primary image, by letting the viewer imagine it at home. Just my taste in art. Although as I look now, the other objects are a distraction. This photo wasnt a setup just as it was, it caught my eye.

-
How to hide...
Affinity Rat replied to prcmelo's topic in Affinity on Desktop Questions (macOS and Windows)
Show your layers. -
Ahaaaaa, so a Frankendesign file AKA Frankenlayer, so try to eliminate the imported elements resulting in the ugliness. Simple curves are one thing, but gradients can put bolts poking out of your neck! The way Adobe may implement a gradient maybe incompatible with Affinity export algorithm. Any attempt to adjust a Frankendesign file maybe fraught with frustration.
-
Yeah might work, but issue is really when floaters close to primary selection layer, I most often need this technique when cleaning up pixel backgrounds of artifacts et al. Increasing the background would decrease size of floaters and increase the distance between floater and main selection. Yes I have used the the outline tool in conjunction with smooth selection and an erasure or background coloured brush but find it tedious. Thanks for suggestion tho will try next time.
-
Did you import this gradient somehow, doesnt seem to be using Fx. Duplicate the gradient using Fx.
-
Seems to me the problem may be because of gradient on the drop. How did that gradient get there?
-
Yes I noticed this too, why I thot rasterizing may simplify.
-
I’m no expert here, but this looks very similar. How did you determine the colours were wrong. If it looks pixelated, can increase size of doc, and pixelation will be less significant. Will relook tho. Any pixel image will look pixelated if zoomed it, but not the way this kind of design is normally viewed.
-
Havent read whole thread, but my first impression is the background should be subtle not to detract from the point of the photo. Patterned backgrounds should be no more than about 50% opaque. My 2 cents.
-
An option could be a selection brush, that would only select holes, maybe hole size could be property of brush. The real issue is around edges of the main selection, where using a brush is very tedious.
-
Sometimes when making a selection with the flood selection tool there are numerous small holes or islands (completely encircled) in the selection, my old software had an option to remove holes, how to handle this situation in APho? Changing tolerance is not an option. I’m looking for a way that doesnt require manually painting them out. Maybe a feature to consider, if no easy way to accomplish.