

Priyantha
-
Posts
60 -
Joined
-
Last visited
Posts posted by Priyantha
-
-
39 minutes ago, DM1 said:
Select a Paint brush tool. The adjustment layers have their own mask, so no need to apply another mask.
Select black colour to paint on the adjustment layer with black to reveal the curves effects and use white to restore original effect. Paint only on the curve adjustment layer. 🙂
Thank you for this post. I am on a desktop so I do not have this version tho. I think you are on a phone
-
37 minutes ago, walt.farrell said:
You don't need to add a mask to an adjustment layer; it has its own built-in mask already. Just select the adjustment layer, and paint black to remove the effect of the adjustment, or white to show the effect.
Thank you, I think I m getting this..but not easy as in PS CC brush manipulation
")
-
1 minute ago, PaulEC said:
It sounds like you're trying to use the erase tool on the mask. Don't! Paint on the mask with a basic Paint Brush. Use black to remove (effectively "erase") something and paint with white to restore it.
OK what I m trying to do
have a color photo, added an adjustment layer (say curve to darken the background) then applied a mask to the curve layer, then clicked on the mask layer and remove darker area from the subject, accidental background removal can not undo either with black or white (working on white first)
-
2 hours ago, NotMyFault said:
To make erased areas in a mask layer fully visible again, use the channels panel, right-click on Mask Alpha, choose fill.
If something is still mIssing: Probably the wrong layer was active while erasing, so you deleted in the pixel layer, not the mask layer.
If you use a brush and white color to paint on mask, check the following:
- 100% white color used
- 100% color opacity
- use the basic round brush. Select the brush actively.
- reset the brush. Check that wet edges is deactive
- check brush opacity, fill, hardness all at 100%
- on iPad, there is a bug in RGB/8, where you occasionally can’t achieve 100% white using brush strokes. Use RGB/16 as workaround.
If still having trouble, please make a screen recording, and upload this with the example file .
thank you for the rely. i think i m doing the right thing, still it is not got right. I see if i can get a screen recording
-
On 11/6/2017 at 9:21 PM, MEB said:
Hi kamelelmallah,
Welcome to Affinity Forums
The Erase Brush Tool is destructive, that is, it removes/deletes the pixels from a layer definitely. If you want to perform this non-destructively you must create a mask which is used to define which parts of the pixel layer (image) will be shown/hidden. You can edit/refine this mask every time you need without affecting the original pixel layer. To do this select the layer you want to work on, then click the second icon on the top of the Layers Studio and select New Mask Layer. Note that a mask layer was added to the layer you selected in the Layers Studio. Tap the small arrow near the layer to expand it, then tap the Mask layer to select it. Now select the Paint Brush Tool, make sure it's colour is set to black and paint on the canvas over the image to "delete" the parts you want. To refine or get some parts back change the colour to white and paint over the areas you want to refine/get back. Resuming, when working with a mask painting with white reveals the image, painting with black conceals. If you paint with mid tones (greyscale) your will get semi-trasnparency.
Yes this is similar to PS CC , but even with a layer mask, I can not undo the erase tool to regain some areas I removed using the erase brush too. Can you help me
-
Thank you so much time to help me out.
It did work.
-
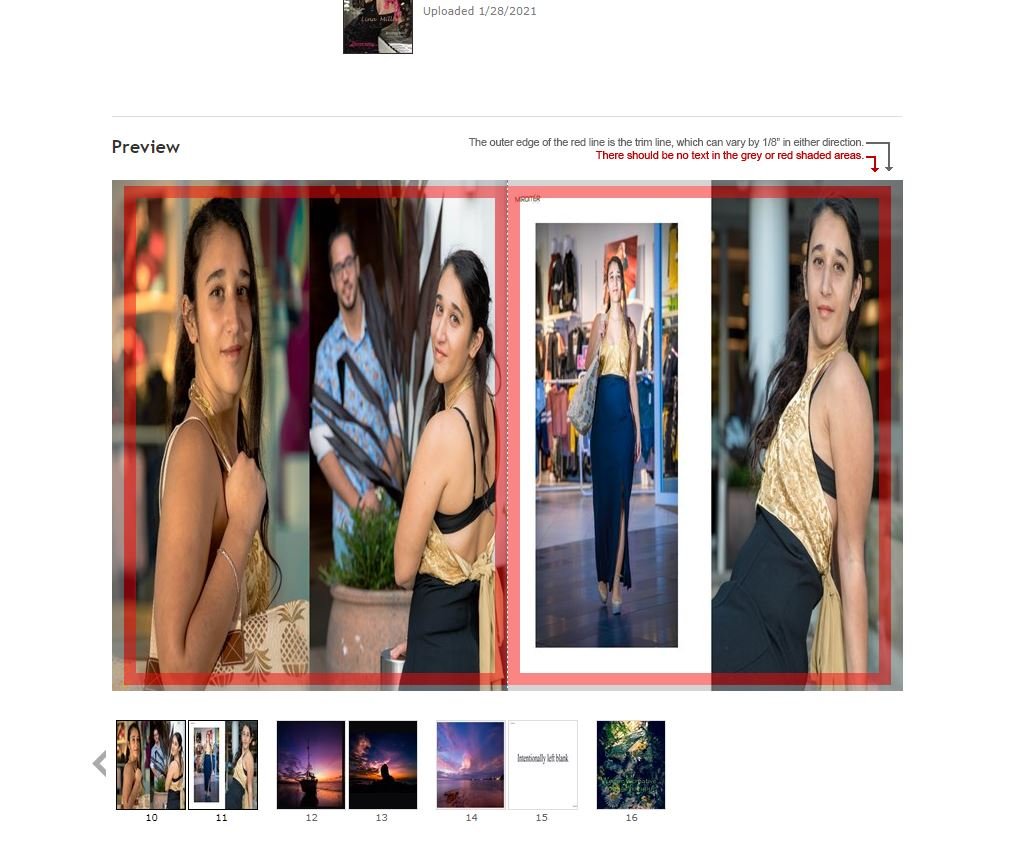
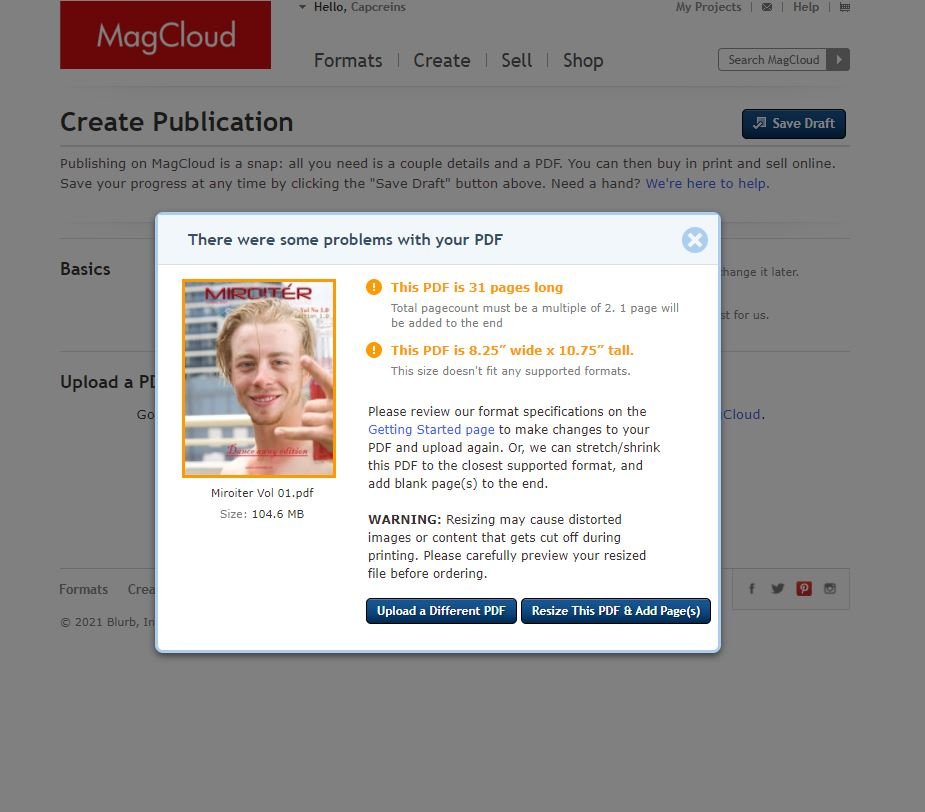
On 1/28/2021 at 10:32 PM, Dazmondo77 said:
From the above grabs it looks like Magcloud expects single pages - just try creating your pdf and selecting 'all pages' from the pages dropdown as if your document is setup as spreads it will default to 'all spreads'

Also looks like all your pix don't butt upto the bleed guides so you may get white edges unless magcloud automates an increase in size to add bleed which may also cause items not to look on the page as you expect
-
Thank you so much.
It did work,
-
-
-
I have a brand new problem now, except front and back pages, All the other pages get shrinked and looks distorted.
Two pages got shrinked in to one. Not sure where I go wrong now. Any help appreciate
-
-
-
No I did not..I will check that
-
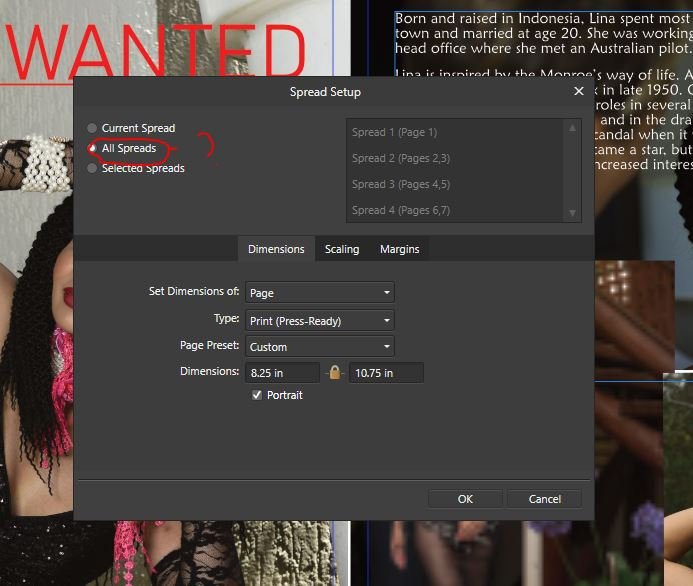
Yes I had a look there.but I have sizes to comply with magclouds. So It wouldnt really matter ?
But I ticked all spreads..is that ok?
-
thats great healp..yet where do I find this above window ?
-
-
ok so you are asking me to send screen shots from my actual lay out?
-
I just posted the screen shot from what they say . My test magazine is 100MB large. not sure If I could post it here
-
-
3 minutes ago, Joachim_L said:
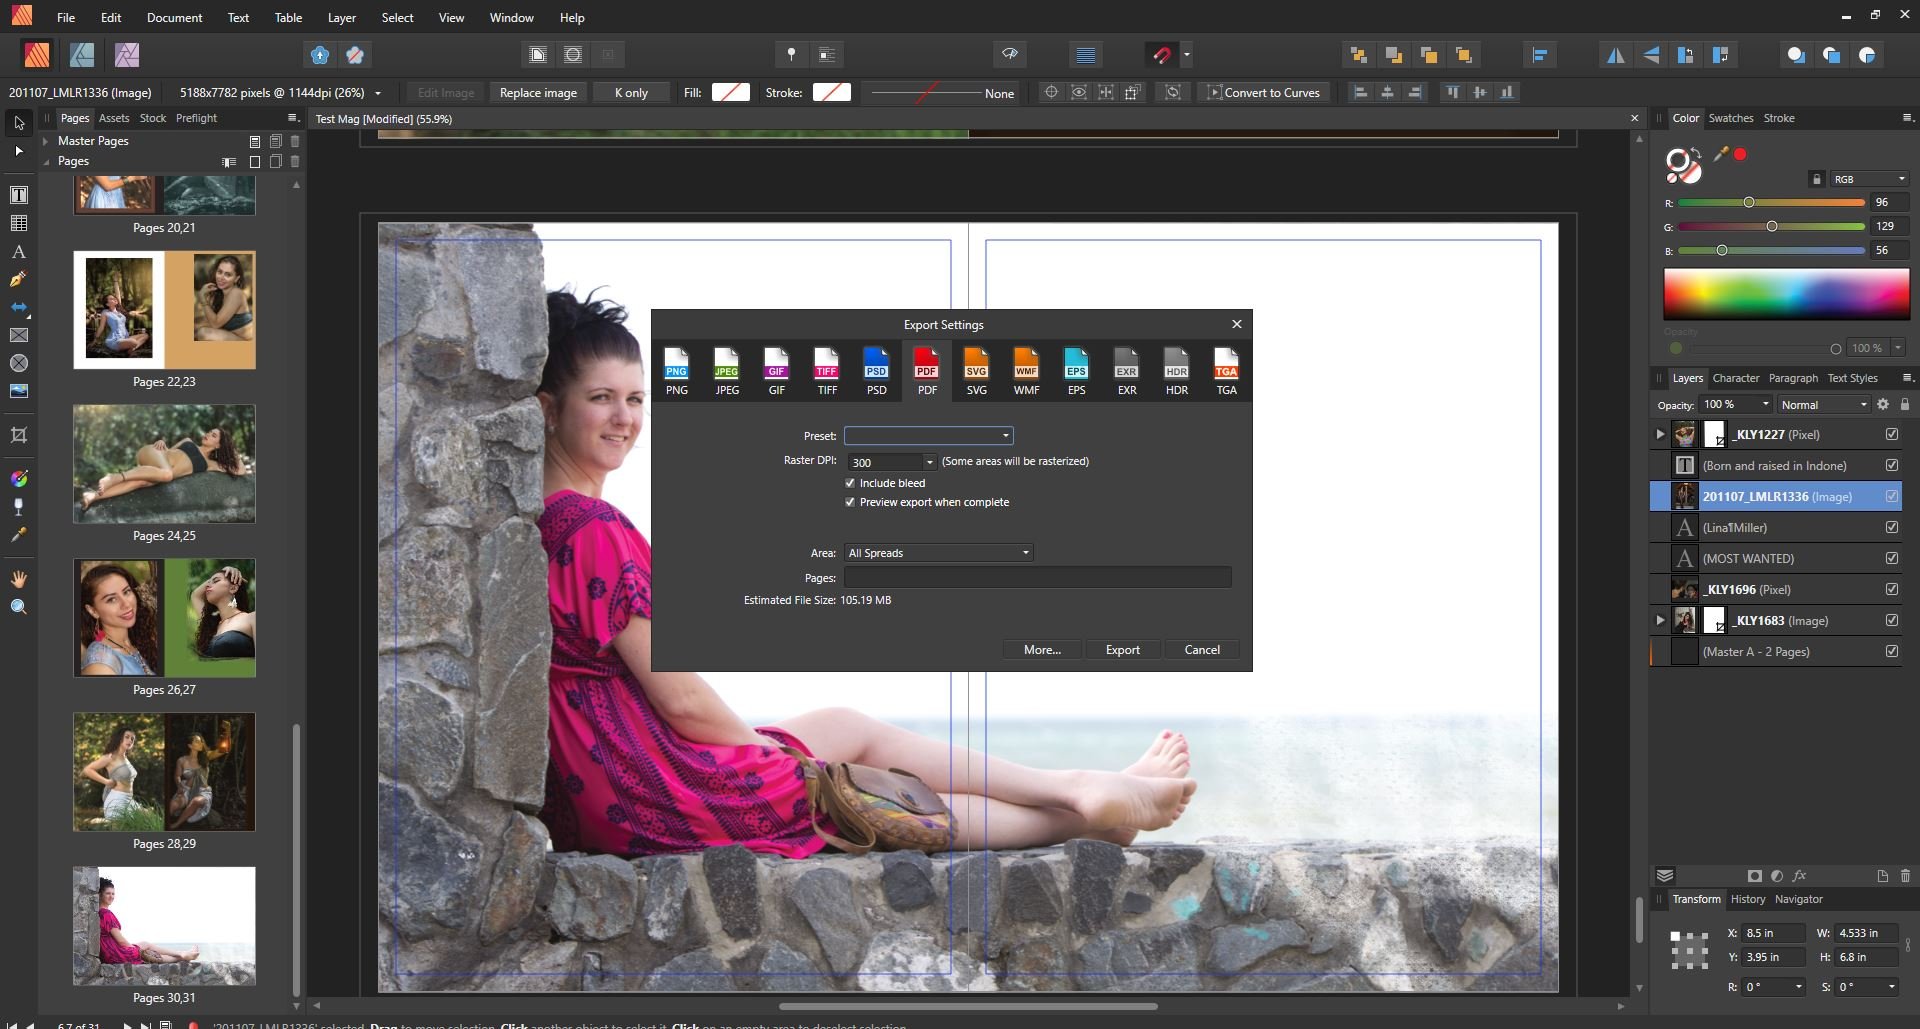
Is your Document Setup = Facing pages? If so, export as PDF and pick in the Area pulldown All Pages instead of All Spreads in the main export dialogue.
Yes I did as export as PDF, the problem happened when I was trying to upload to MagCloud
-
19 hours ago, brantome said:
I know this link is for blurb, but maybe Magclouds have the same issue: "The most common error we see is an incorrect inner bleed setting for pages. The inner bleed setting must be 0 points, which is different than the top, bottom, and outer bleeds. "
https://support.blurb.com/hc/en-us/articles/360044955872-Affinity-Publisher-PDF-filesMy problem is how do I split in to single pages even of they appear as pairs
I appreciate your support and link
-
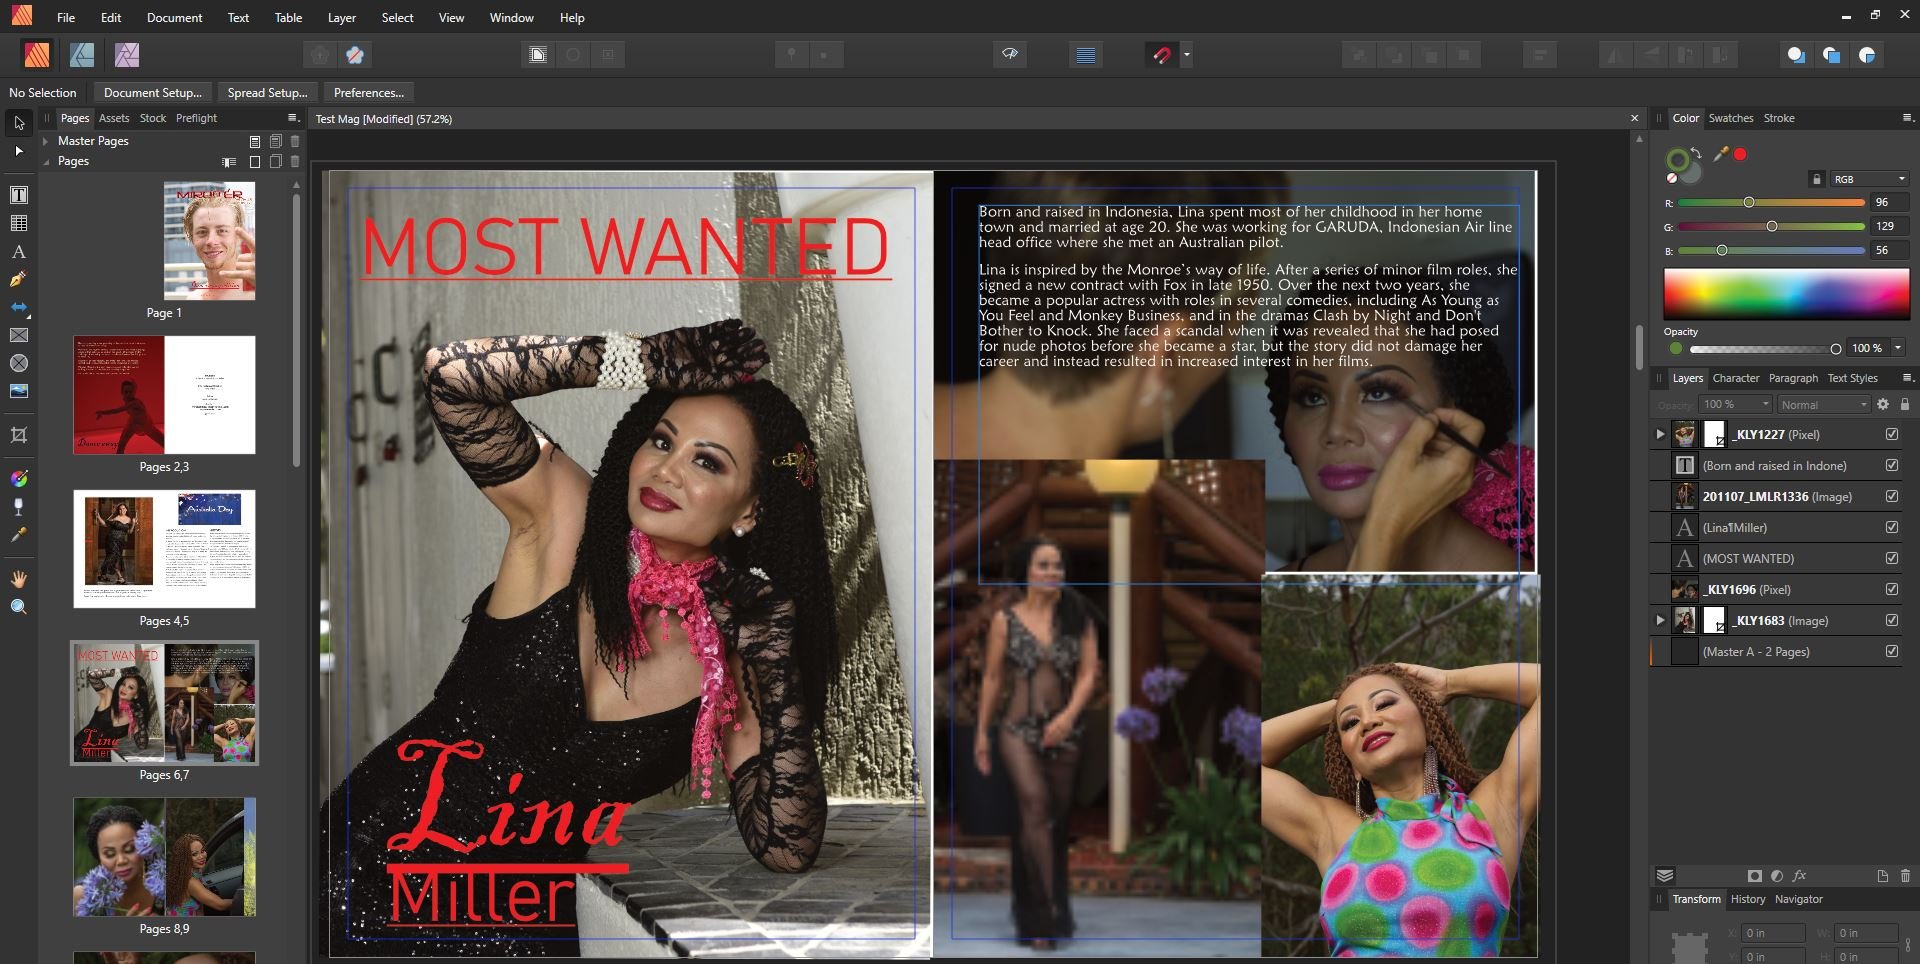
Hello Team,
I created a 8.25"x10.75" size 30 page magazine with Affinity Publisher. I created this for Magclouds as a print on demand magazine. During the page setting I complied with Indesign instructions as provided by the Magclouds. Magclouds did not have Affinity Publisher specific instructions. However, I had an error message saying my magazine outside the bleed size and finally it became a landscape print instead portrait.
Could someone help me with this issue. Anyone upload to Magclouds from Affinity Publisher (as a pdf)
Much appreciate all your support.
Thank you
-
Agree, in my post I am requesting a plug in to be installed in the future
Thank you


how to reverse the erase brush effect?
in Pre-V2 Archive of Affinity on iPad Questions
Posted
Thank you all the answers and contributors. Problem solved . Thank you