RichardMH
-
Posts
1,127 -
Joined
Everything posted by RichardMH
-
NVIDIA Geforce Experience (assume that's the app you mentioned) lets you do a clean install. You need to check custom install and its in there. Having had problems like yours in the past I do it every update. Click reinstall driver here and you get that option.

-
 Have you tried with hardware acceleration off? (If it is on).
 -
If you go to View->New View then Window->Arrange->Float and drag that window to the second monitor does it work?
-
A few things to try. Hold down control when you start Photo and reset user data. If that doesn't work try turning off hardware acceleration (Edit->Settings-> Performance).
-
nik collection plug ins
RichardMH replied to ms.fuentecilla's topic in Affinity on Desktop Questions (macOS and Windows)
Right click on your Background layer and Rasterise. Then you have a pixel layer and it should work. I suspect that in Develop Persona you have one of the RAW Layers selected in Output. Maybe better to change it to Pixel Layer. (Its what @walt.farrell said) -
Crop and print
RichardMH replied to eddietheone's topic in Feedback for the Affinity V2 Suite of Products
I don't print from Photo but prepare a file of the right size and print from another app. Try using the Crop Tool from the tools menu rather than in Print.
-
Crop and print
RichardMH replied to eddietheone's topic in Feedback for the Affinity V2 Suite of Products
There are crop presets for some paper sizes. I print A4 and A3 using them. I think for A3+ I have to specify the size. It's easy enough to set up your own presets. -
You are applying it to a pixel layer?
-
Photo 2.1.0 gradient tool crashes
RichardMH replied to totjoss's topic in Affinity on Desktop Questions (macOS and Windows)
Might be worth clearing the user defaults. Hold Control when you start Photo and there's the option in the menu. I tried your recipe and it didn't crash for me. -
Photo 2.1.0 gradient tool crashes
RichardMH replied to totjoss's topic in Affinity on Desktop Questions (macOS and Windows)
Might be worth posting some crash reports. -
RAWs always to dark
RichardMH replied to Photodummy's topic in Affinity on Desktop Questions (macOS and Windows)
When I open a file in Windows Photo its initially dark then lightens. So Windows Photo is applying some processing. Affinity Photo leaves it up to us. DxO Photolab with no corrections looks similar to Affinity Photo (with no tone curve). In Affinity Photo if you go to the Photo Persona without processing in Develop Persona and click on Auto Levels you might get something similar to Windows Photo. -
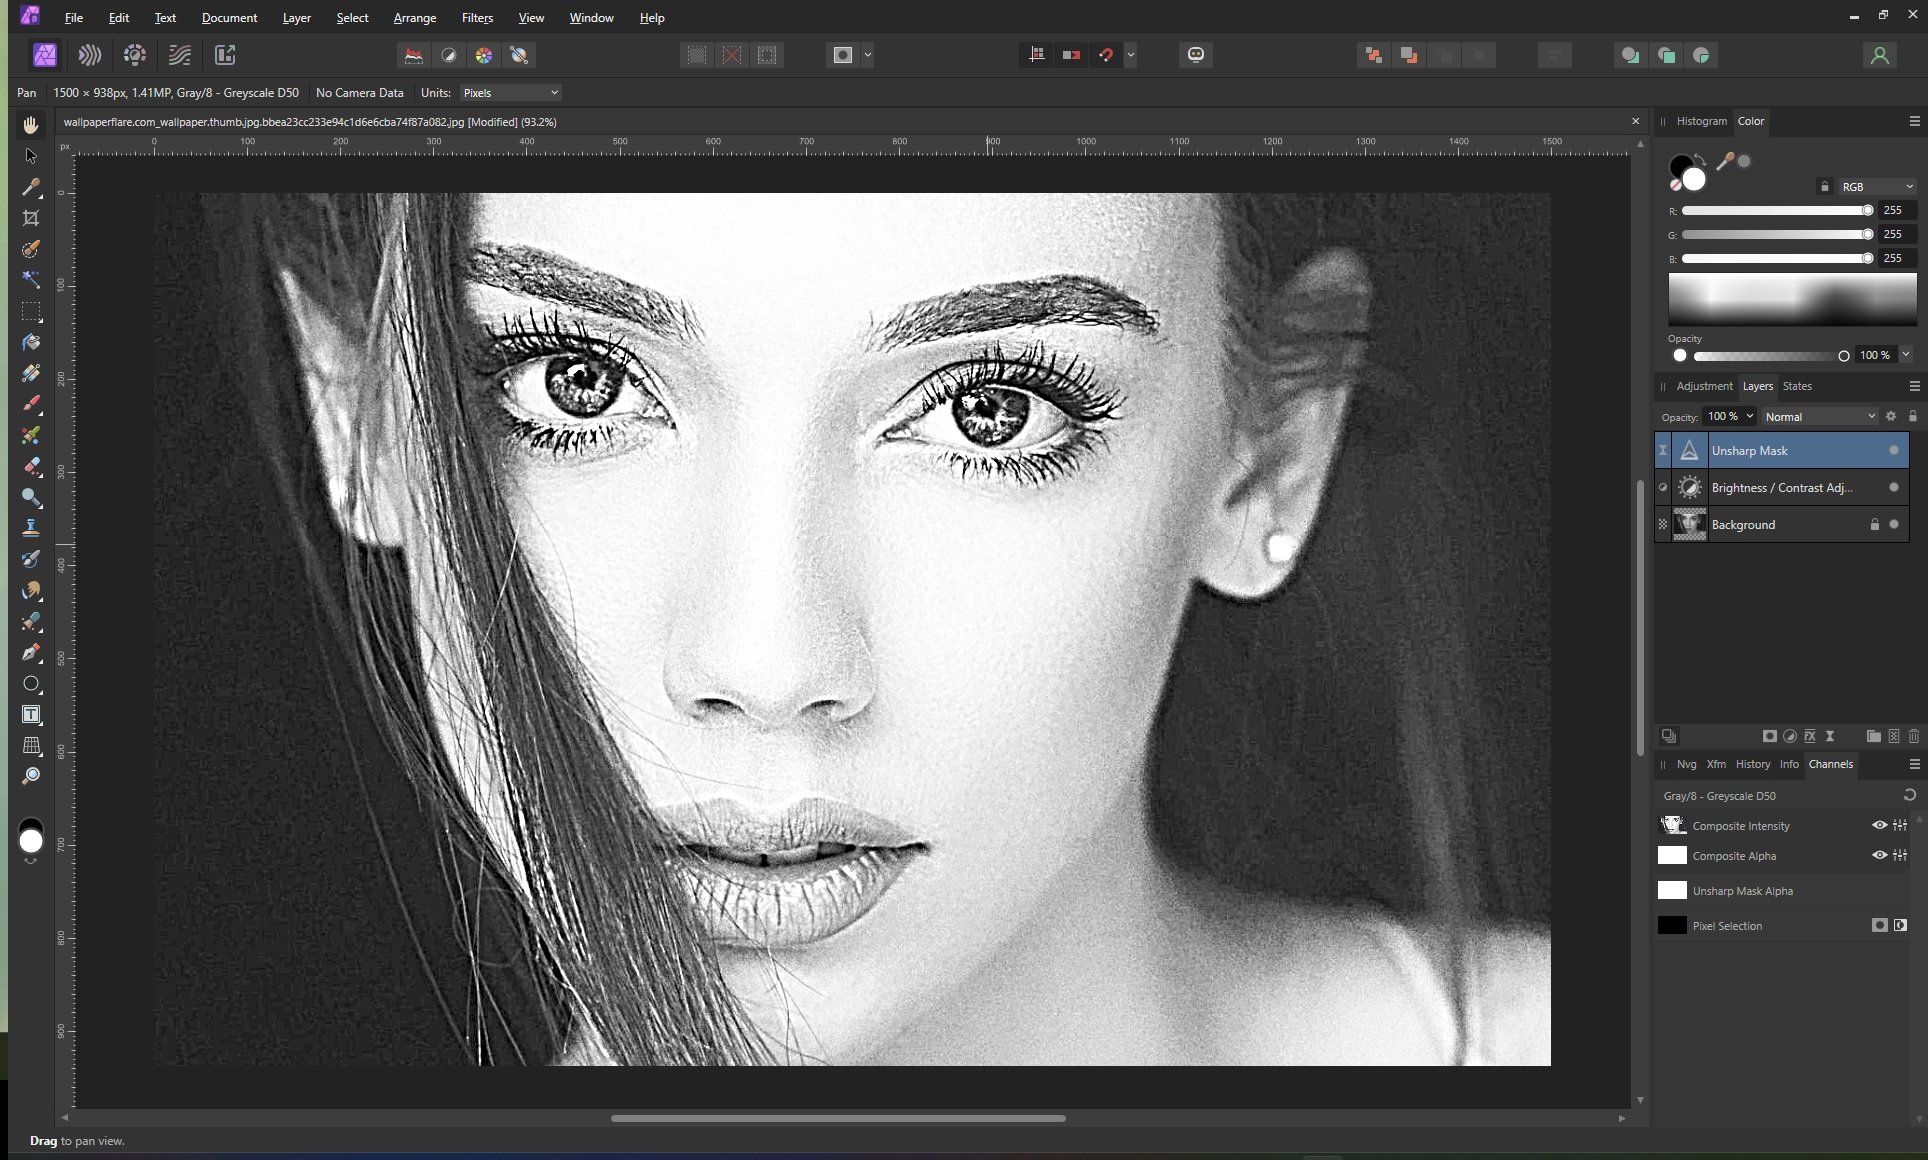
I think what you want to do is convert to grayscale (Document->Convert Format/ICC Profile) then play with the brightness, contrast and sharpening. This is quick and rough.
-
Freezing
RichardMH replied to RichardMH's topic in [ARCHIVE] 2.4, 2.3, 2.2 & 2.1 Other New Bugs and Issues in the Betas
It just doesn't like Luminosity masks inside Compound masks. Its OK if I create the luminosity mask then drag it in.
-
The ideas for a mirror wrap are in this video.
-
Freezing
RichardMH replied to RichardMH's topic in [ARCHIVE] 2.4, 2.3, 2.2 & 2.1 Other New Bugs and Issues in the Betas
38b8e1bb-c862-4333-bd62-5772c5131912.dmp 9a6ab5cf-54e3-4a23-b0c2-9bcd47303f96.dmp -
Images in RAW Persona seem "off"
RichardMH replied to J. Web's topic in Affinity on Desktop Questions (macOS and Windows)
Do you have a wide gamut monitor? Windows is all over the place with them. -
Freezing
RichardMH replied to RichardMH's topic in [ARCHIVE] 2.4, 2.3, 2.2 & 2.1 Other New Bugs and Issues in the Betas
Nothing from the freeze. A few crash reports attached. (Think they are all this version of the beta) 73dbd2f1-b9f2-432e-bb68-e9e4e83a6ba4.dmp 62c95ce2-a91e-401c-ad5d-df75a3c624cc.dmp b94d662c-61fd-4cf7-9bbe-a3c89a072b32.dmp 7a303205-056d-4284-9210-9d644fb78f67.dmp -
Latest update is freezing and crashing more often. Windows 11, Nvidia GeForce GTX 1650 SUPER. Drivers up to date. Hardware acceleration on. Previous version was fine.
-
Live luminosity range mask
RichardMH replied to paulbenn's topic in Affinity on Desktop Questions (macOS and Windows)
Its been OK for me lately, but I've been using the beta. Do you have hardware acceleration on? Edit->Settings->Performance. If so maybe try with it off. If you have a Nvidia GPU try a clean reinstall of the graphics driver. How much RAM do you have? Other option is to reset user data. Hold control when you start up Photo gives you a menu to do that. -
Affinity Photo 2 keeps crashing in windows 11
RichardMH replied to Michelle111's topic in V2 Bugs found on Windows
If that doesn't work, you can also try to repair in Windows Settings->Apps->Installed Apps click on the 3 dots associated with Affinity Photo 2, Advanced Options and scroll down to repair. -
What camera do you have? Capture One Express is free for Sony, Nikon and Fujifilm and might do what you want.
-
Images in RAW Persona seem "off"
RichardMH replied to J. Web's topic in Affinity on Desktop Questions (macOS and Windows)
I note Affinity Photo thinks your image is sRGB. Might want to change to a larger colour space. ROMM RGB is good. Suspect NX Studio is at least Adobe RGB. -
Photo editing question
RichardMH replied to imeg's topic in Affinity on Desktop Questions (macOS and Windows)
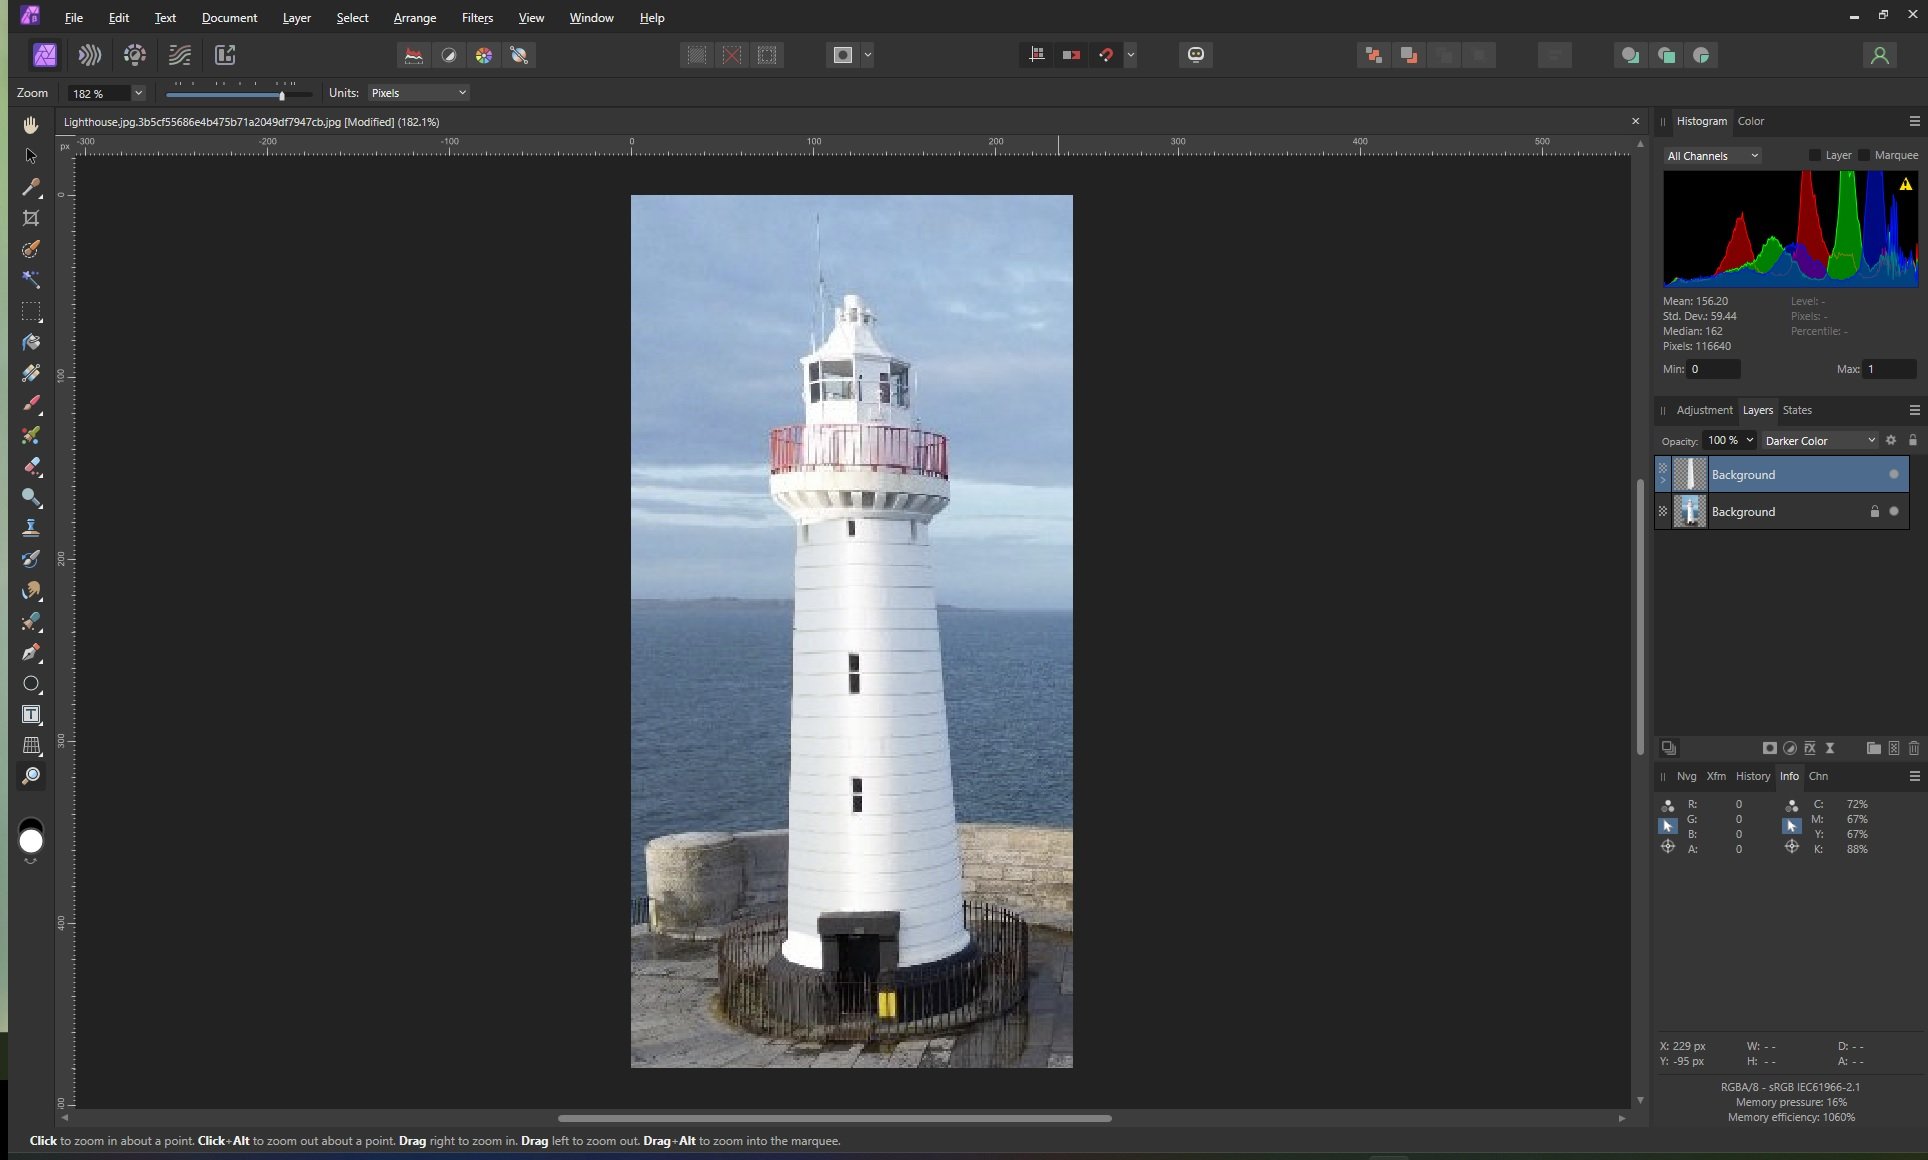
I think for your image if you really want to save it, the aproach is to make a selection of the right side of the lighthouse, flip it horizontally and blend it in witht he left hand side. A bit of work though. Very quick and dirty version.
-
Memory Leak when doing HDR stacking
RichardMH replied to DuncanGee's topic in V2 Bugs found on Windows
How much RAM do you have? -
I just Merge Visible then call the plug in. Then its only on that layer. If you're applying it to the base layer, duplicate that.
- 1 reply
-
- 1
-