RichardMH
-
Posts
1,129 -
Joined
Everything posted by RichardMH
-
I've been playing with AI masking in Capture One and we need it here. It saves me so much time.
-
If you want to see the rgb value, use Info. I have it on the bottom right.

-
Your request is a bit vague. But if I've interpreted it correctly, yes. Can even do Hex if you are that way inclined.
-
 Refine is more for a final tidy up. Are you using a tablet and pen? They are worthwhile if you do a lot of masking. Using a mouse is like writing with boxing gloves on.
 -
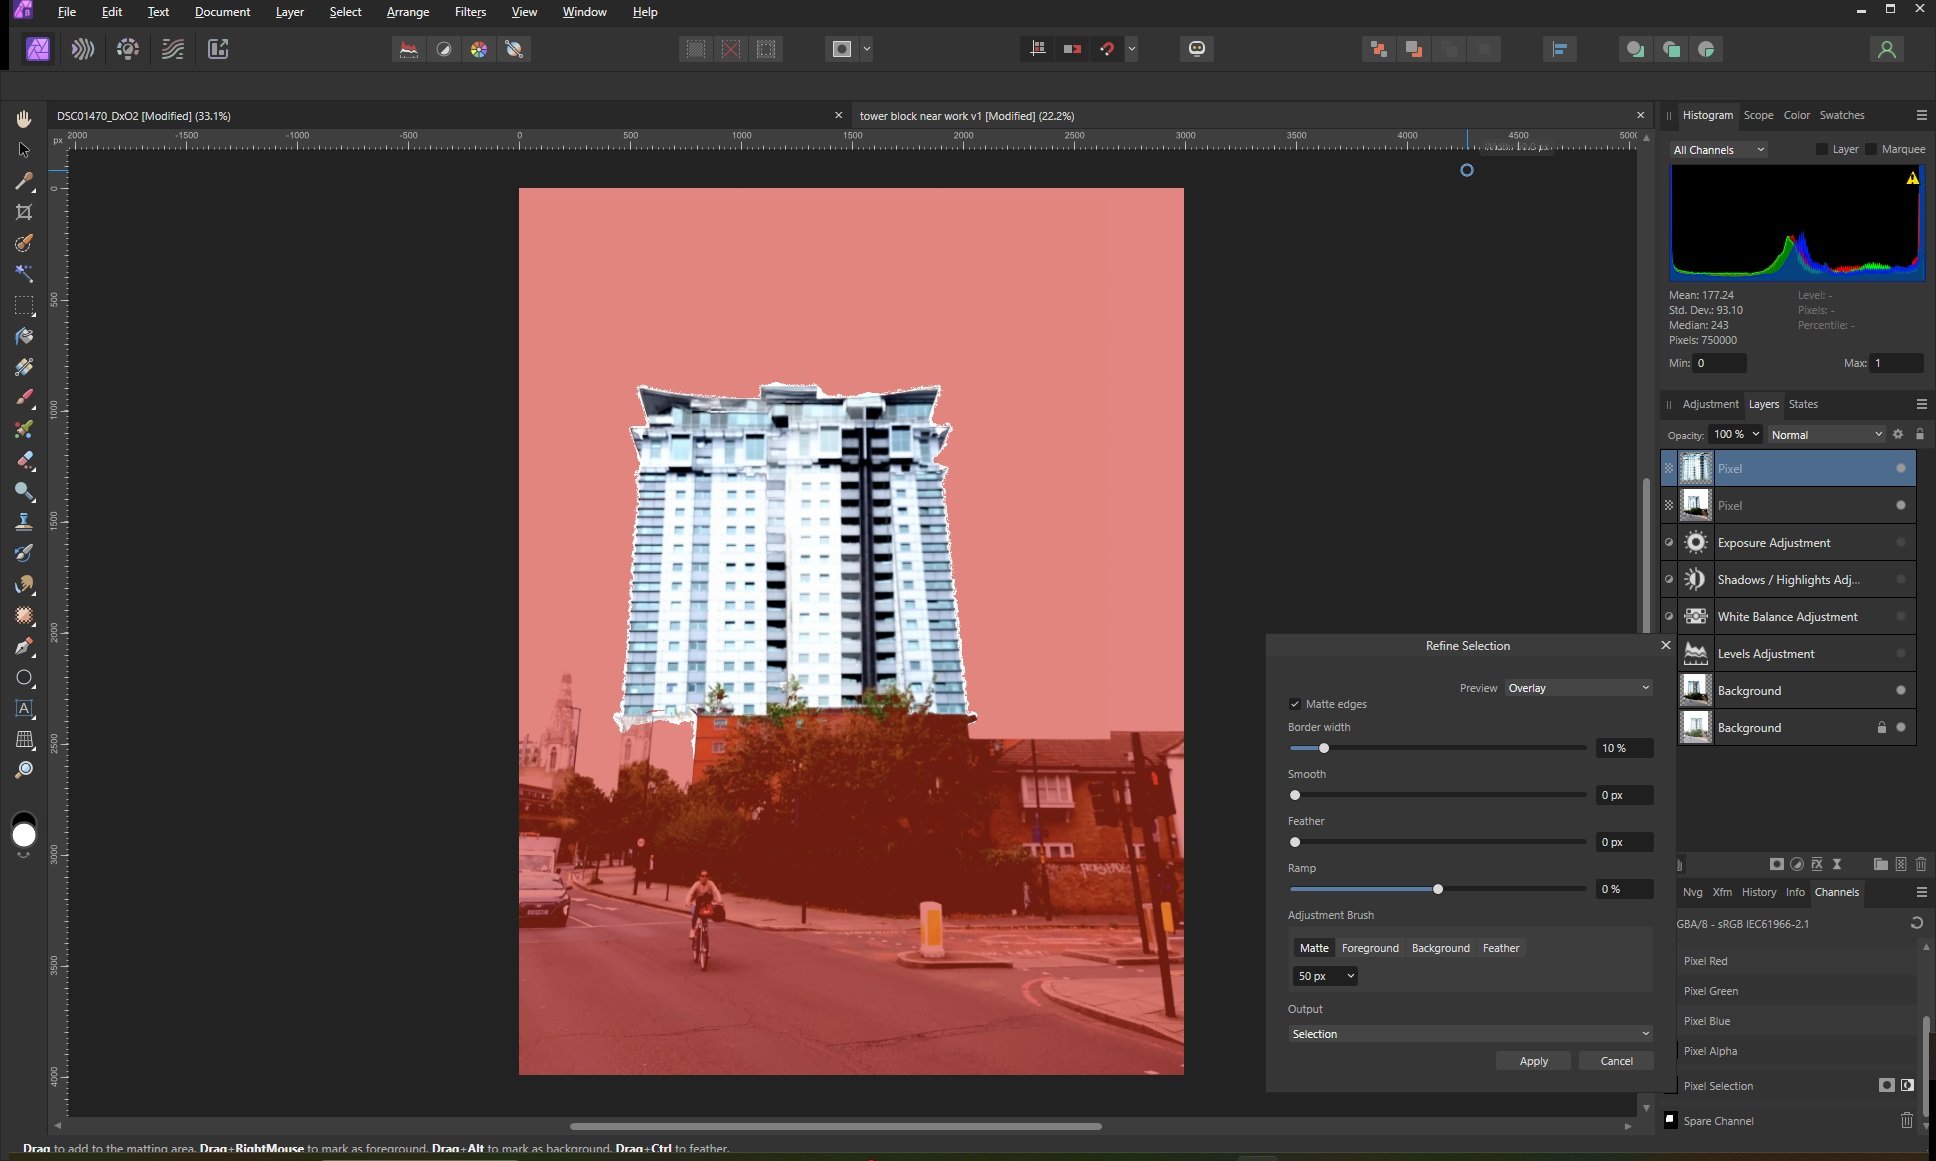
I also had no problem selecting your building with the selection brush. Not sure if you are using the refine button but it does help with tidying up.
-
I do this all the time so you may be doing something wrong. Bigger brush size? If you get really stuck the pen tool is traditional for architectural selections.
-
I have a medium One by Wacom. (CTL-672). I suppose its entry level but it works for me. Mainly use it for selections. A good mouse can also make a difference. Love my Logitech MX Master S.
-
Redness In Face in portraits
RichardMH replied to KBMc's topic in Affinity on Desktop Questions (macOS and Windows)
Maybe try turning off the Tone curve in Develop Assistant. Start with a "flatter" image. Using Vibrance rather than Saturation in Develop Persona may help. This assumes you're starting with a RAW file. -
The picker in HSL lets you select colours and modify them. Selective Colour is another option. The Live Hue Range Mask is also very useful and you can use a Compound Mask to combine it with a Luminosity Range Mask. (If its something you are going to do often, see if you can get a copy of 3D LUT Creator. Gives total control of the colours) I gather by remove a colour you want to modify it?
-
RAW conversion problem
RichardMH replied to rparmar's topic in Affinity on Desktop Questions (macOS and Windows)
Suggest you post one of the problem files. Photo has had problems with high light recovery in the past. Seems none of the algorithms are perfect. -
As a work around, try Capture One Express for Sony then send a tiff to Affinity Photo.
-
Are your RAW files also too dark? And what dng convertor are you using? Are you applying a tone curve (in Develop Assistant)? My RAW and dng files (from Iridient) have the same degree of darkness.
-
Help with Basics
RichardMH replied to Russell Carthew's topic in Affinity on Desktop Questions (macOS and Windows)
Probably not the easiest thing to start with and there's no unique best way. Depends on the condition of the image. Suggest you post a sample image. Topaz Photo AI might also be worth a look. There's a free trial. Also been a few threads on this n the past, so do a search. -
Also try holding control when you start it up and clearing the user defaults.
-
Display colour profile
RichardMH replied to ygoe's topic in Affinity on Desktop Questions (macOS and Windows)
Bit hard for me to understand what your problem is, but I suspect this -
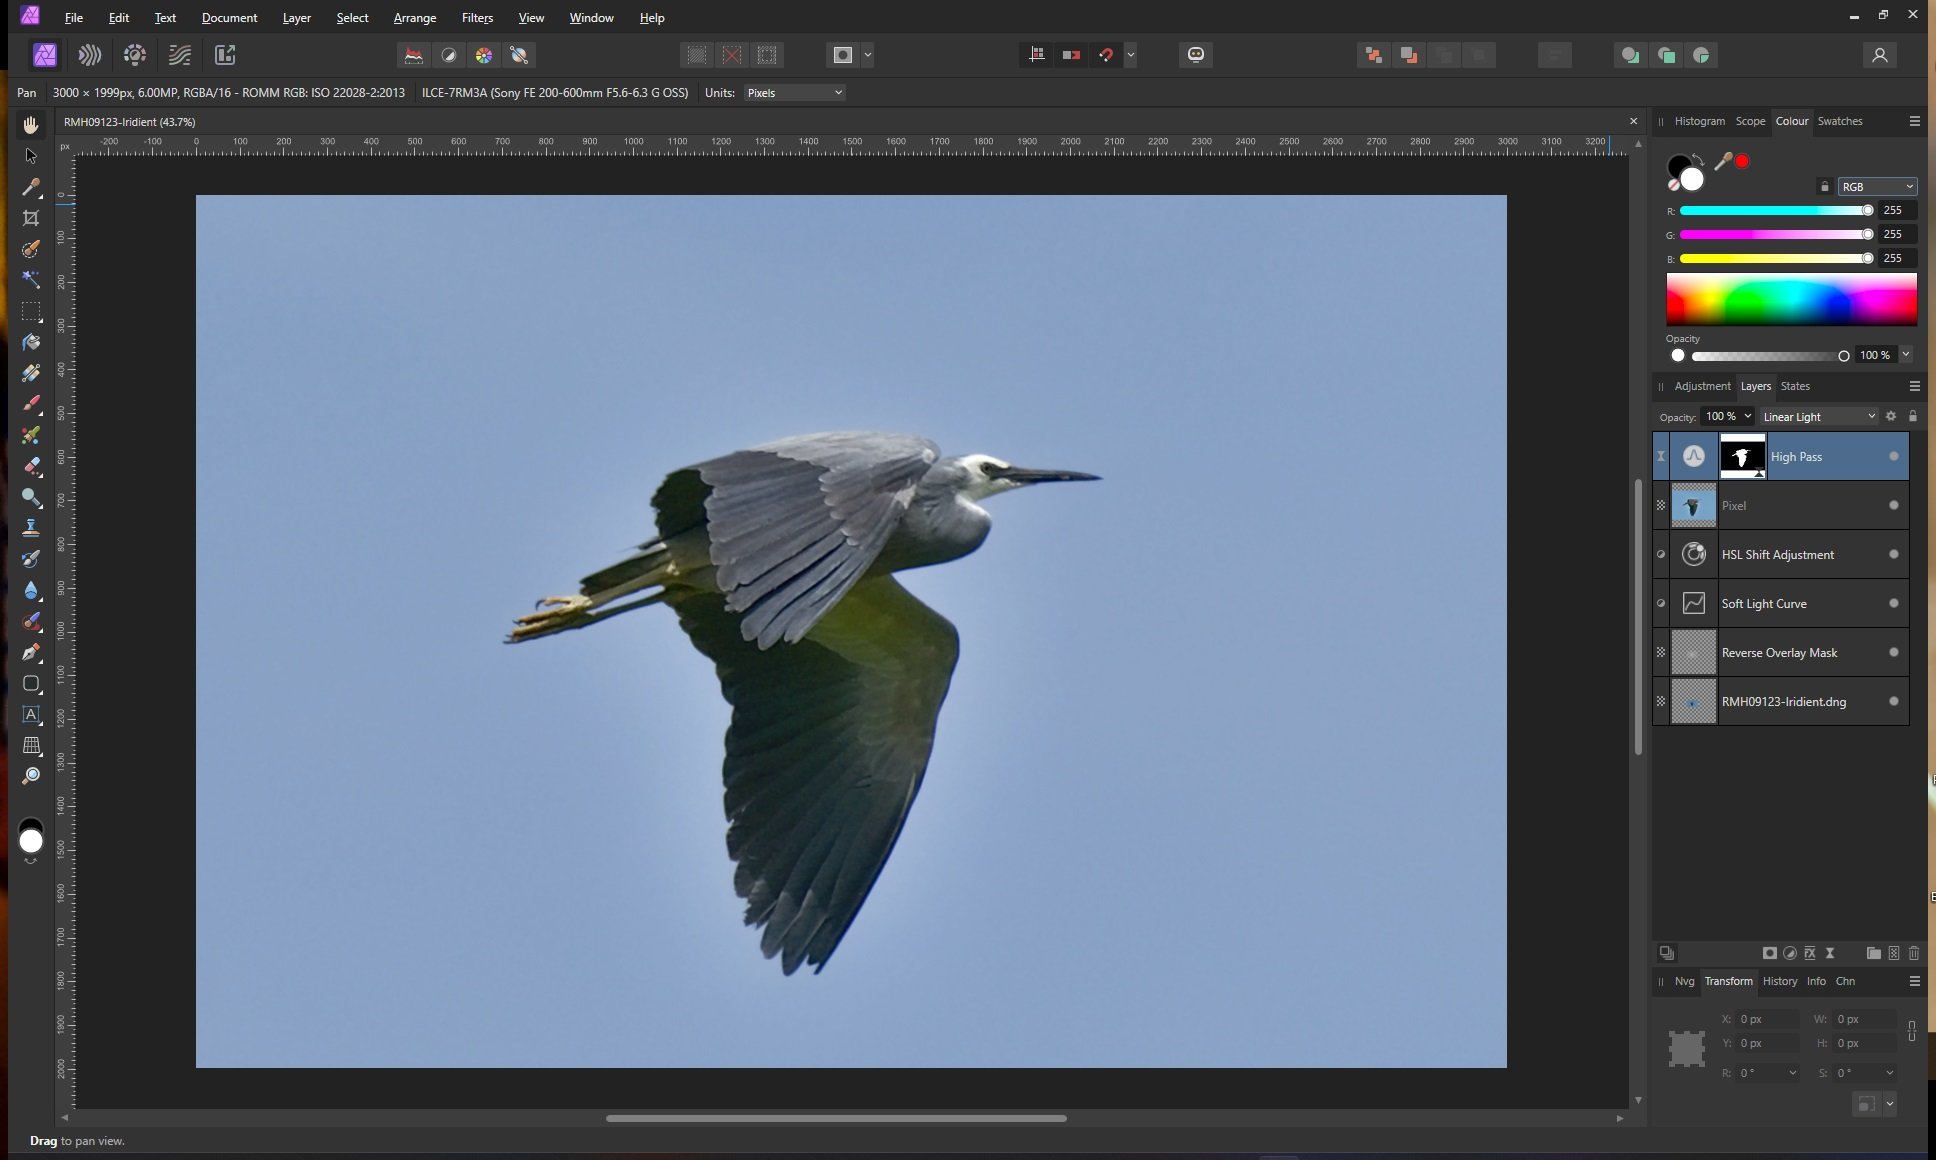
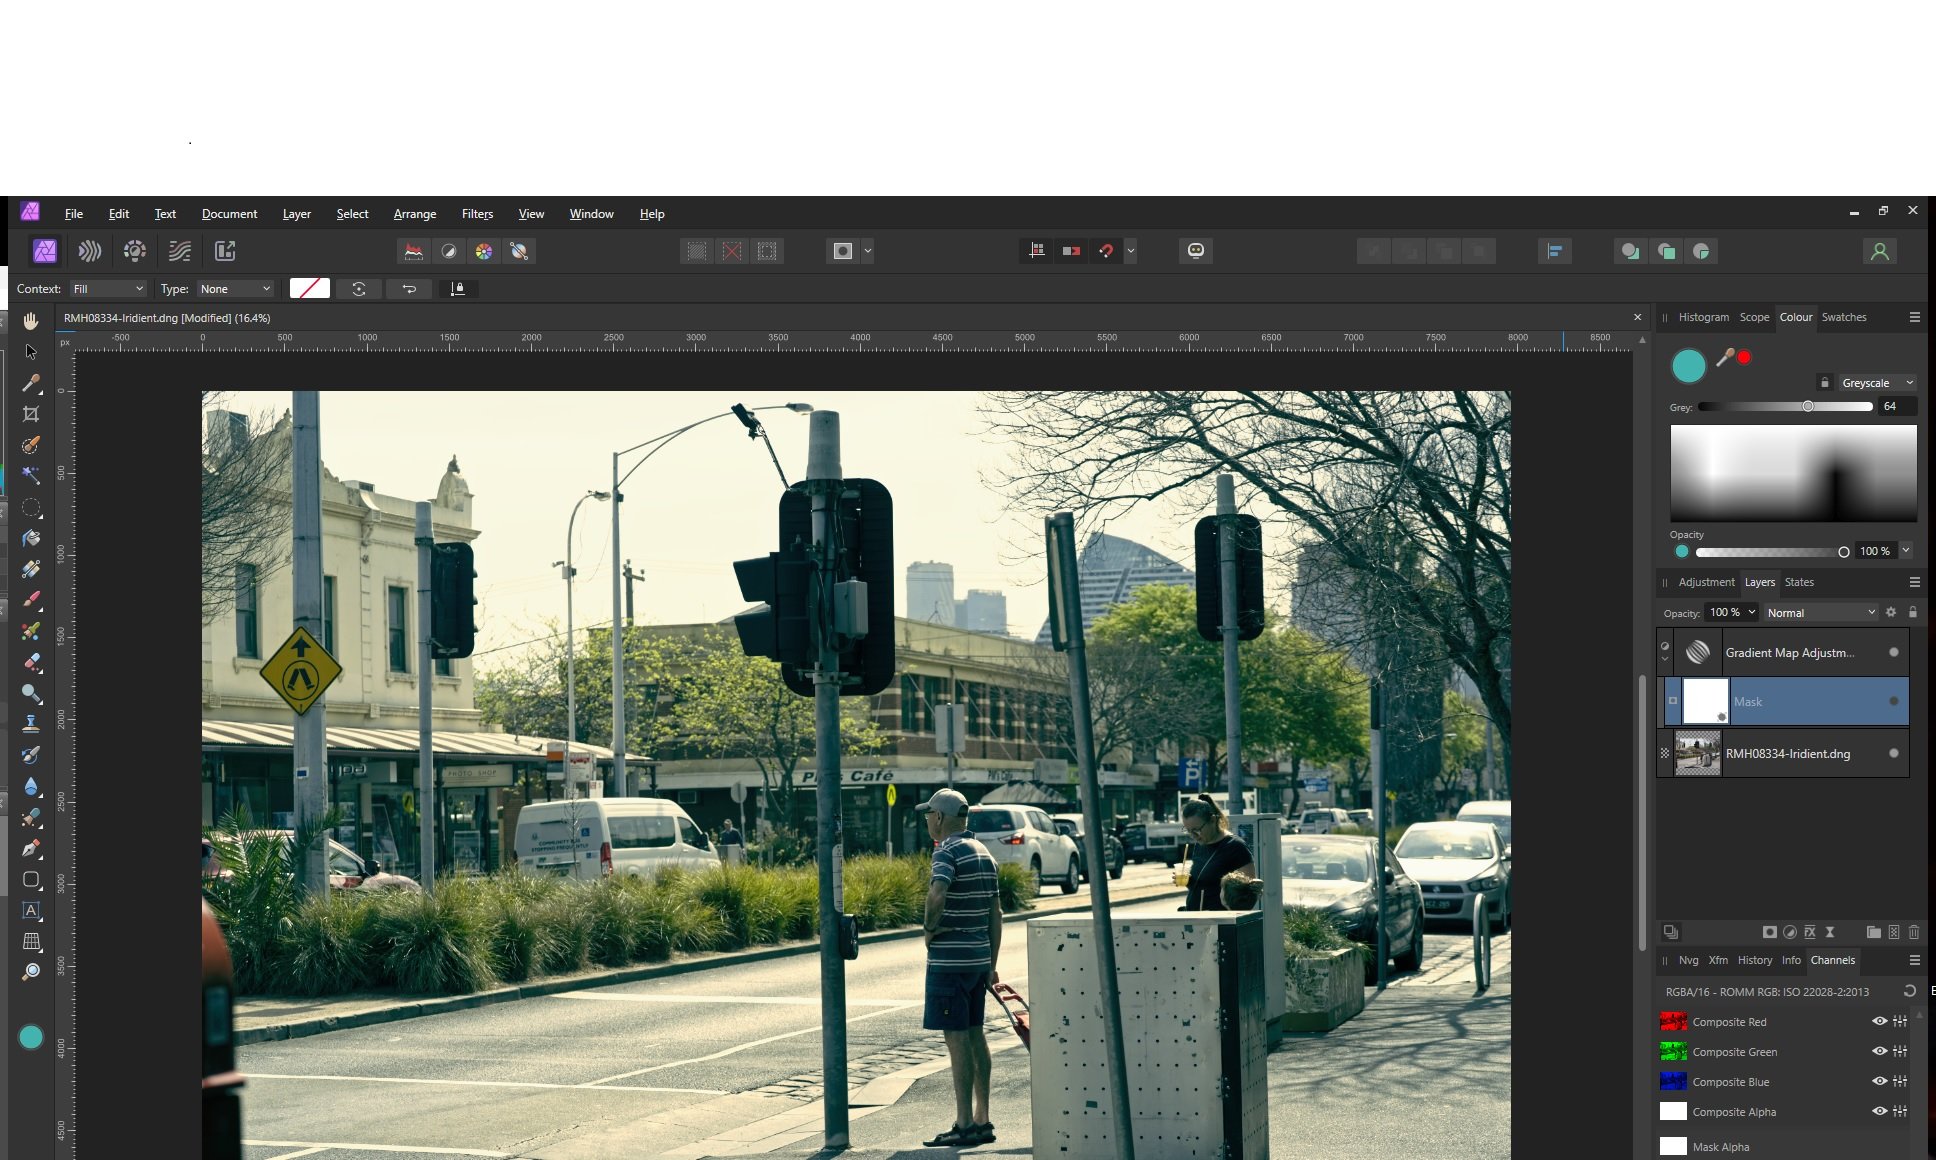
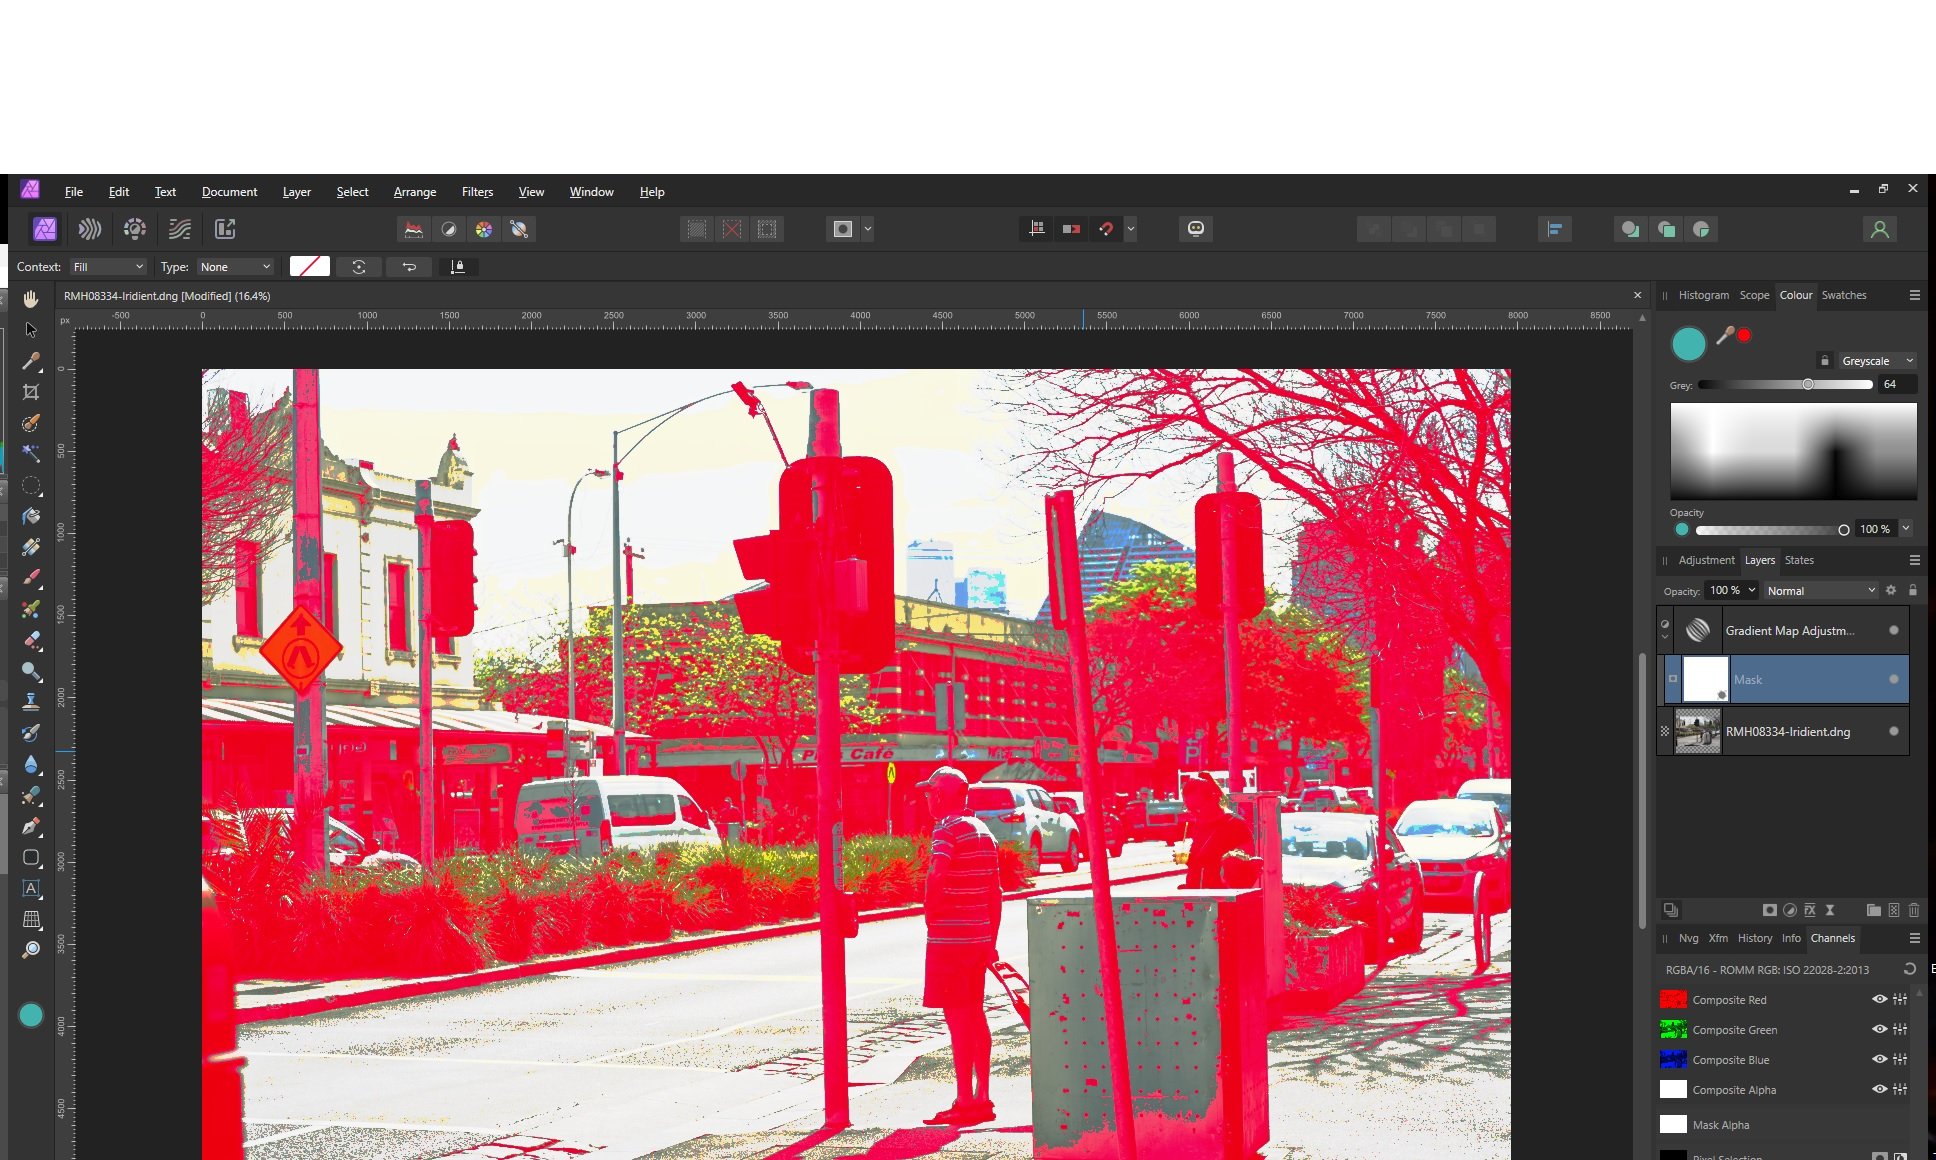
Not sure what has happened here. As soon as I put a mask on my gradient map it all went rather odd. Windows 11. V 2.2.0.2005. Vivid light blend mode.
-
Support for Alpaca plugin
RichardMH posted a topic in Feedback for the Affinity V2 Suite of Products
Alpaca is an AI generation plugin for Photoshop that looks interesting but won't run as a Photo plugin. Would be very useful if it were supported. (Their support say Affinity haven't replied to them!) https://www.alpacaml.com/ -
Just did another test. It ignores everything I did in the Develop Persona. testb1.cube
-
Hmm. Works OK for me. Exported a cube LUT and loaded it into Photolab.
-
If you are only processing jpegs, Les's workshop will probably not benefit you much. He pretty much assumes you're working with RAW files on a wide gamut monitor. Sky is very blown out in your image!
-
As your in Aus, Les Walkling has an Affinity Photo workshop coming up. He's an interesting character and he knows a lot. He ran the media art program at RMIT before he retired. Its on zoom so easy to access. May not get his philosophy of editing in this one, but should get his macros. https://www.leswalkling.com/workshops/affinity/
-
You need to move the levels to affect the image.
-
I'm not a Photoshop user so my interpretation may be wrong. I think you are creating a mask from the inverted image and applying that to levels. If that's what it is, duplicate the layer, invert it, right click and rasterise to mask, start up levels and drag your new mask onto the levels layer.
-
Help on backgrounds
RichardMH replied to Korvessa's topic in Affinity on Desktop Questions (macOS and Windows)
One way. Create a fill layer under the image of the colour you want. Then Filters->Colours->Erase White Paper. There are others if you don't like that one.
-
Affinity = PS, but how to replace LR?
RichardMH replied to CCS's topic in Affinity on Desktop Questions (macOS and Windows)
DxO Photolab is worth a look. I got a free copy of Photolab 5 Essential when I bought the Nik Collection and for many images its fine as a RAW convertor and has the usual adjustments and some masking capability. Has a basic DAM. Later versions have better features. Other option is the free Capture One Express if its available for your camera. Very good RAW convertor, basic adjustments but no masks and also has a basic DAM. Excellent highlight recovery. I'm fussy about RAW conversions and use Iridient. I also use FastRawViewer for simple management and culling.