Junkbox
-
Posts
14 -
Joined
-
Last visited
-
 iuli reacted to a post in a topic:
Oh crap...I need an 'album' cover stat, you got 3 days.
iuli reacted to a post in a topic:
Oh crap...I need an 'album' cover stat, you got 3 days.
-
dannyg9 reacted to a post in a topic:
Oh crap...I need an 'album' cover stat, you got 3 days.
-
multi Oh crap...I need an 'album' cover stat, you got 3 days.
Junkbox replied to Junkbox's topic in Share your work
lol...yeah guess it's a 45, side A side B ¯\_(ツ)_/¯ thx!, the 'cheap' is a shout out to Mad Magazine thx! It all started with this pic taken a year or so ago of my niece -jb
- 5 replies
-
- 1
-
-
- affinity designer
- affinity photo
- (and 2 more)
-
PaulEC reacted to a post in a topic:
Oh crap...I need an 'album' cover stat, you got 3 days.
-
debraspicher reacted to a post in a topic:
Oh crap...I need an 'album' cover stat, you got 3 days.
-
Hilltop reacted to a post in a topic:
Oh crap...I need an 'album' cover stat, you got 3 days.
-
Alfred reacted to a post in a topic:
Oh crap...I need an 'album' cover stat, you got 3 days.
-
dannyg9 reacted to a post in a topic:
Oh crap...I need an 'album' cover stat, you got 3 days.
-
Kasper-V reacted to a post in a topic:
Oh crap...I need an 'album' cover stat, you got 3 days.
-
pruus reacted to a post in a topic:
Oh crap...I need an 'album' cover stat, you got 3 days.
-
GarryP reacted to a post in a topic:
Oh crap...I need an 'album' cover stat, you got 3 days.
-
multi Oh crap...I need an 'album' cover stat, you got 3 days.
Junkbox posted a topic in Share your work
So my good buddy calls me says I need a CD/album cover in like a few days. Apparently, as we artists are the last to learn there's been all sorts of contemplations that the designer is only privy to after significant procrastination. Then come to find out that a late night decision the release is to be under their newly independent label. This has no effect on my process. I've done many graphics for the band, and even played in a side band or two with em. So yes, of course I'm in. The title track is a Burt Bacharach cover, so the idea was to make the 'album' cover appear as a dusted out 70's LP, replete with the 'I've been sitting in Mom's basement' look. Here's the final. This is the first time I've used Affinity Suite exclusively for a project like this. Just wanted to share. The suite works well, glad to do a full project with it. Thanks.
- 5 replies
-
- 12
-
-
- affinity designer
- affinity photo
- (and 2 more)
-
PDF-XCHANGE Now that is a name I've not heard in a while. I just visited their site courtesy of your link. Wow, seems they've come a long way. IIRC I used that for batching PDFs through some archaic combo of Crystal Reports and well crafted SQL queries against a CRM database to batch invoice statements in a previous life. Gonna check out the free version, but not to derail the forum or link out to alternatives, I purchased APub, in case some swinging layout jobs come my way since I've sweared off InDesign. The price is right. I actually just used Apub to edit a PDF invoice which I had lost the source file to. Cheers -jb
-
Help with a macro
Junkbox replied to blurpderp's topic in Pre-V2 Archive of Affinity on Desktop Questions (macOS and Windows)
by "add an image" are you speaking of a 'watermark' ? -
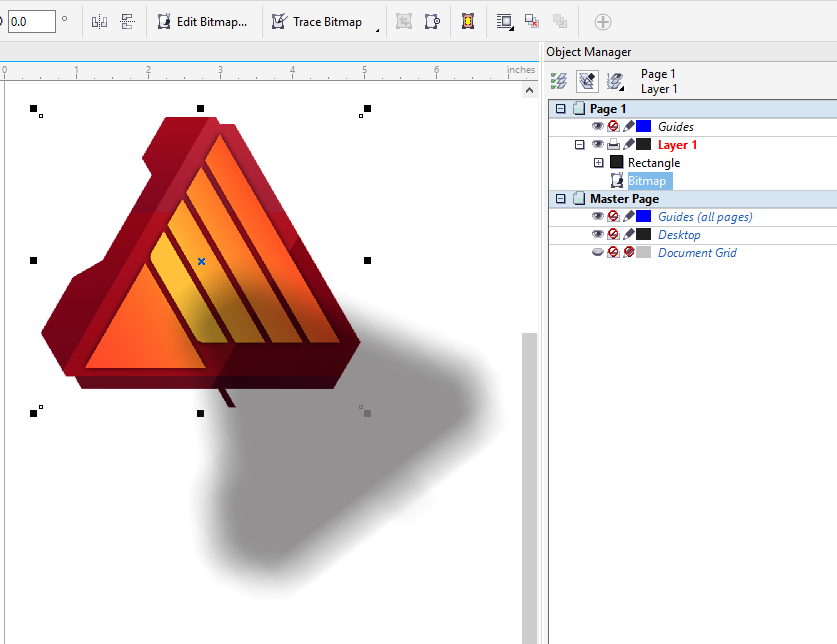
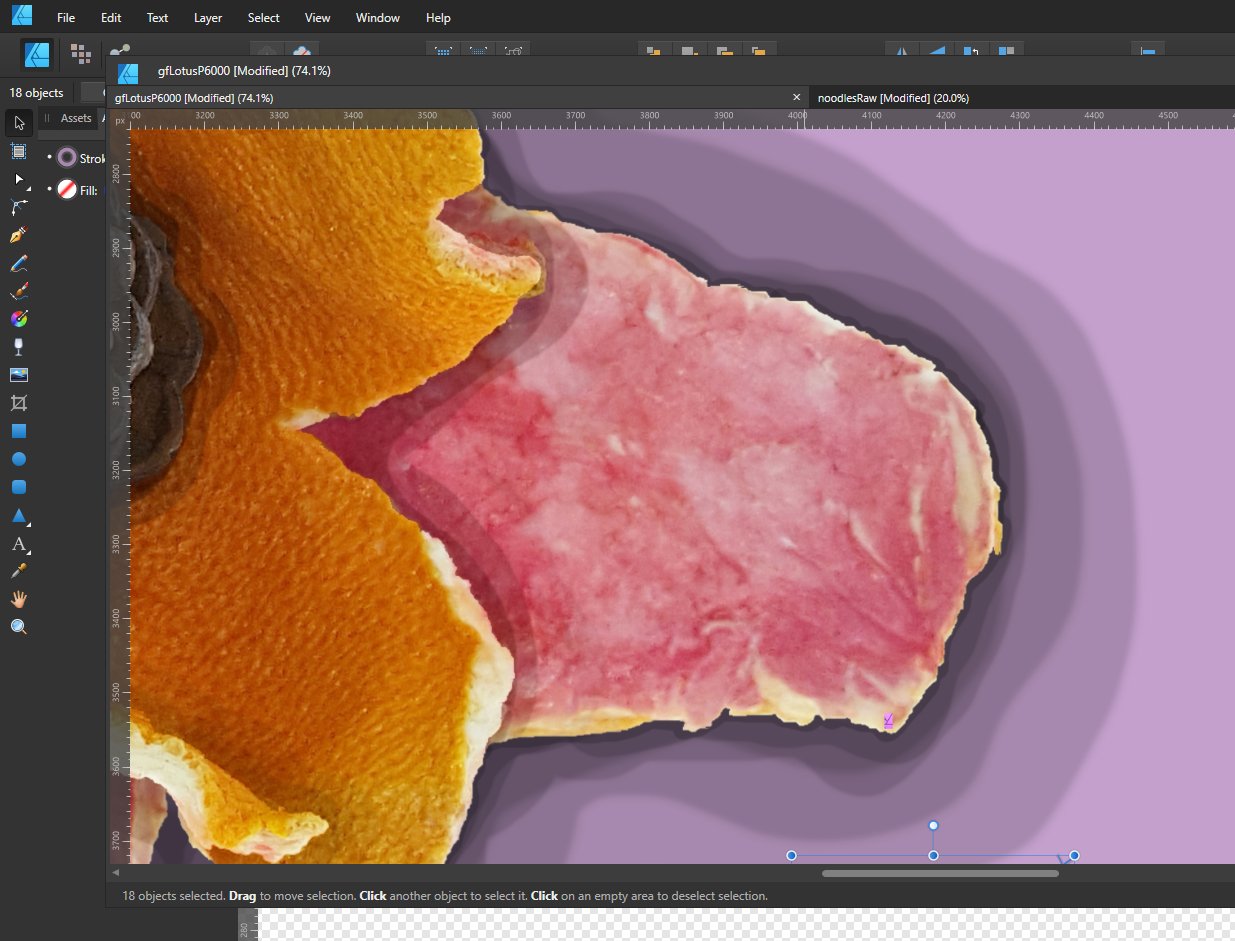
To sew up this thread, I ended up duplicating the layer, removing the shadow effect from the original layer and setting Fill Opacity to 0 on the duplicated layer then disabling Fill Knocks out Shadow, per Ron P.'s suggestion. Then used the perspective tool on the shadow layer to simulate 3D lighting. Since this is for a template I am going to use for showcasing other rack cards, I can keep the source file and just plug in and pinch images for other examples. Great! GarryP brought up a good point in that, when working with vectors, his solution would indeed preserve the created 'shadow' as vector. Thanks all! -jb
-
@GarryP Yeah that's what I had resorted to already. Cheers for posting for posterity. @Ron P. OK will try this, I wasn't sure what the 'Fill Knocks Out Shadow' actually accomplished Thanks team. -jb
-
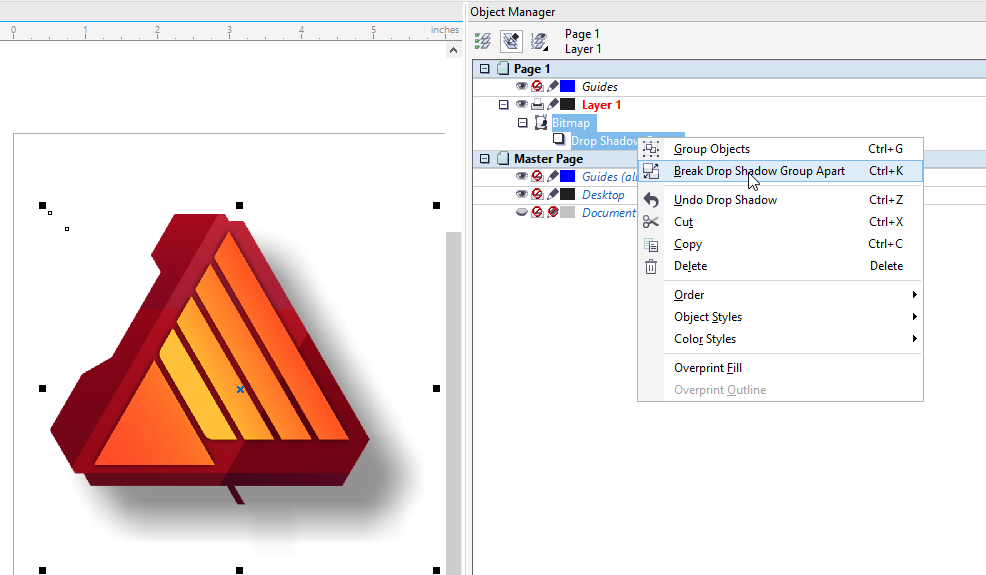
Quick question, not to compare features or "it doesn't work like X", but as a recovering Corel user there was a function that, once the drop shadow (as it is termed) was set one can 'Break Drop Shadow Group Apart' Essentially making the effect an object which can be treated as any other rasterized object. Is there a function like this in AP? If not it's fine I can fudge it, but as I continue to learn I want to make sure I don't miss it. Again I'm not trying compare apples to oranges just curious. I'm re-re-re-doing my portfolio and am setting up a template for showcasing pamphlets, rack cards and other physical collateral, so I need to give the illusion of 3D. any tips or a simple answer is appreciated. -jb P.S. As a freelancer, my morning consists of digging through recruiter emails. Honestly, if I have to see another "Proficient with Adobe Creative Suite" as a requirement... It was bad enough having to explain how I used Corel Suite exclusively, but now I have to 'justify' the switch to Affinity. Sure I'll use CS if you're buying, but if I had the money to just throw away every month for tools then I wouldn't be hooking on zip recruiter. So, in effort to curb the "You MUST use CS" nonsense, I list Affinity as my Tool of choice. Thanks Serif, for making modern tools available to common folk at a realistic rate. Cheers!
-
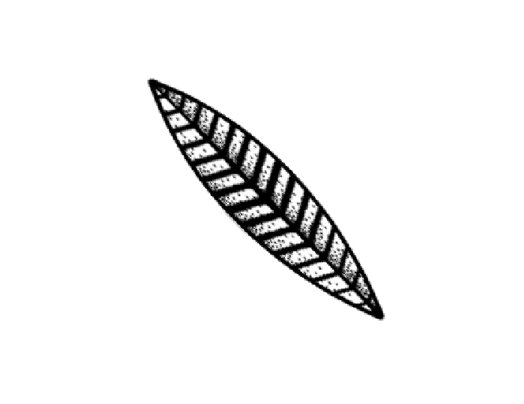
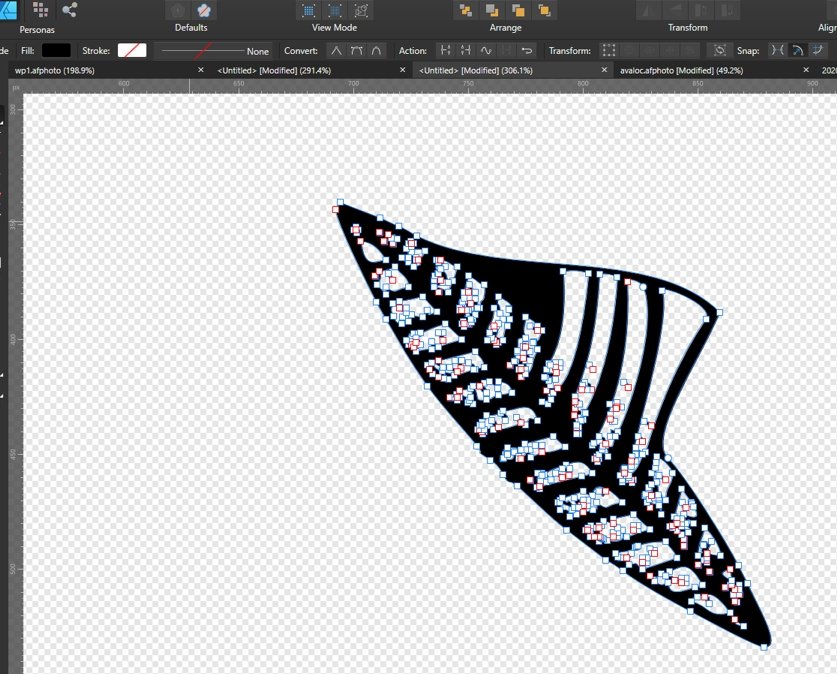
Thank you for the reply. Sorry for the delay. I think I understand what you're saying. The brushes are technically raster being rendered as nodes for temporary manipulation. Such is the magic of Affinity and the main reason Affinity caught my eye in the first place, dual view vector/raster. From what you're saying, this is essentially a 'one way' emulation. My first thought to accomplish the above after your reply was to export a brush stroke the way I want it to pdf or any other vector then dump it into Corel and see what happened. As you stated, and regardless of settings for export in AD the output was indeed rasterized. It should be noted that with no rasterization selected in the export dialog, the result was simply a path with the rasterization (effect) taken off the brush...fair enough. So the output when imported into Corel looked like this as normal pdf export from AD: This logically (now) didn't import as true vector. It's OK though because I was planning on having to use Corel anyway to get the node level access from a true vector export as required above. Barring that, and from reading a previous post regarding the inability to directly trace bitmaps in AD, I would have to trace it in Corel if raster was the only option given your original reply. So for posterity I'm gonna post this for any other former Corel users making the transition. The tracing portion could of course be done with any number of tracing programs. With the above export in Corel I simply traced the bitmap (I could have refined the trace settings but for the purpose of demonstration I kept it simple) Leaving these behind: Which I have to 'Ungroup' and 'Convert to Curves' Then I just copy the vector and paste into AD allowing node level editing to the entire object independent of path: This may seem like a lengthy work around, but really it's not. I was going to have to keep Corel around anyway (any old version is fine) if only for PowerTrace. Anyhow, I don't expect every variation of every software to behave the same, otherwise we could make things simple for everyone and all chime in to go Orwell style and create 'UniDes' Version X software. Thanks again for the clarification, and the hard work. I'm really enjoying the software. Namaste -mk
-
Forgive me if I don't use the correct vocabulary, as I am a recent convert to Affinity (Windows). In CorelDraw one can take a brush stroke, or artistic media as it is referred to and 'break it apart' effectively separating the original path from the rendered brush thus leaving behind two independent entities. I do this often when using brush strokes for fine tuning so as to have node level control to the 'outside' of the object without the restraint of editing the path only. I'm adding some screenshots here to demonstrate because A. I'm sure I'm missing something obvious and B. It's difficult to explain (which is why I'm sure my google searches haven't yielded a proper response). So lets start with a simple calligraphy stroke. Notice it's just 2 nodes and behaves like any path when edited at the node level except in so far as the effect itself is adjusted along with the path. Now in Corel, in order to make the shape itself editable at the node level (independent of the original path) it is necessary to 'break apart the artistic media (brush). Leaving this: Both of which are now editable at the node level. The original path and the rendered path or stroke object itself. Difference being I am able to edit the nodes from the *outside* of the remnant: Result being I have the original path which I can then reapply another stroke (if desired) as well as a 'shape' preserving which parts of the rendered object are needed by tweaking the shape itself. Again I know my vocabulary is certainly off, but that is the concept and I can't imagine the process or at least the end result is not achievable with Affinity. Any pointers are greatly appreciated. Namaste. -mk
-
Excellent, I grabbed the beta. I've found it best to just map through Affinity itself and leave the scrolly menu (zoom/scroll/rotate/brush size) default. Ideally I'd just map ALT, SHIFT, and CTRL through the pen's setup so I can use those in Windows as well. thanks!
-
bummer. I'm not a MAC user (obviously) but is this functionality not really possible on the OS level or do other applications i.e. illustrator or chrome have that capability?
-
OIC, I read your sig not his by mistake and saw Windows. Certainly it is possible? Perhaps someone can post the MAC way. -mk
-
WINDOWS If I understand you correctly, you just need to drag the tab of the document out of the application frame as you would with say chrome or firefox. Giving you what's in P1.jpg You can even dock other documents inside the new floater for tabbed floaters (P2.jpg). Pretty Nifty! -mk
-
Hi my name is Michael and I'm a recovering Corel Graphics Suite user. Thank you Affinity for helping me realize that it wasn't just the familiarity and utter disdain for all things Adobe that was keeping me from my progress. So, I saw on here alot of folks are using the Deco 03 tablet. I not only purchased for the obvious financial and feature advantage but also because when browsing the forums here pre-purchase I saw a quite a few recommendations for the Deco 03. So to congratulate myself on the purchase of AP and AD, I grabbed a new pad as well. First off, I was curious if anyone would be willing to share their XP-Pen Deco 03 button configs for AD/AP (Win) so as to see how others work. I pretty much know what I want to do, but this tablet has more buttons and 'macro' functions than I previously had available and I'd like to see others config for ideas where applicable. This brings me to my second question and this is a bit off topic, but xp-pen's manual (physical) is out of date in regards to key setup, and in the online manual, while the version number seems closer, the GUI looks nothing like what is provided. This I can get past as the English is at least plain on the downloaded setup GUI. However, while I can set the buttons/keys as I would think logical the configuration is never actually saved and is reverted. I know this is not an XP-Pen support site, but neither is theirs really so...being unable to find the actual link to the live help which is hinted at across the support section but does not, as far as I can tell, truly exist I came here. Namaste and Happy Thanksliving -mk