Borzo
-
Posts
12 -
Joined
-
Last visited
-
I can see that now, thanks. Will that export in CMYK now without also changing the page set up. The printer tells me they will add the correct profile.
-
The printer told me they would convert to the colour profile their end - it is meant to be a fairly simple process. I will talk to them again of course but I wanted to understand if my images were leaving me in CMYK. Another forum member has suggested I need to tick a further box when covering to PDF.
-
Hello I exported my self published book from Affinity Publisher to 'PDF Print Ready'. In the export menu (screenshot attached) I chose CMYK in the Colour Space. When I got the proof copy of the book all was good except the colour photos were very washed out. Other colours generated by Publisher (such as shapes) or Adobe Illustrator (the cover, without colour photos) were good. The original photos in Publisher are RGB TIFFS. I was hoping my choice of CMYK for the colour space at export would happily convert everything to CMYK in the PDF (which the printer requires). Have I got this wrong and if so, is there a different way to export my file and get everything in CMYK. I know I can swap the colour profile of my images to CMYK in Photoshop and replace them in Publisher – obviously I would rather avoid the extra work. Any help getting over the line would be appreciated!

-
 Joachim_L reacted to a post in a topic:
Page number puzzle in Affinity Publisher
Joachim_L reacted to a post in a topic:
Page number puzzle in Affinity Publisher
-
That worked! I appreciate your help, thanks.
-
Thanks. I tried that but it still has the red dots and no number. The missing number is 62 yet the same text box is OK inserting numbers above 200, so even bigger.
-
Greetings all, I cannot work this one out. On one page only (out of 220) I do not have a page number. The correct master page is applied - but the page number 'box' has no number, just 2 red dots. I have tried deleting and reinstating master pages in layers. Screen grab attached. Any solutions appreciated. Thank you.
-
walt.farrell reacted to a post in a topic:
Master page "overuling" another master page
-
Thanks!
-
Thank you Walt - I appreciate that more than I can tell you. There it is, that pesky tick box that says 'replace existing' and I was staring at it all along. Case closed thank you!
-
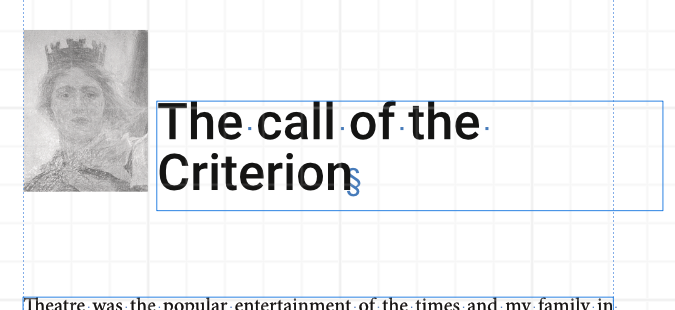
Hello - as an AF learner I've been doing pretty well - but this is one I cannot solve. I have three master pages for a book. Master A has the page guides in adjacent page view. Master B has the page numbers only, also in adjacent page view.. Master C has a graphic which is only placed next to Chapter headings. Master C is single page only. This enables me to get this image in the same place on each new chapter page. (I have attached a screen grab.) The problem is that when I apply Master C, that page then loses its page number. If I reapply the page numbers, then the graphic disappears. How can I make them live together? Many thanks
-
Dan C reacted to a post in a topic:
Cannot get Artistic text tool to work over text frame
-
Thanks as I noted above I worked around it by splitting the page into 2 text boxes. It's working for now! Thanks all for your input
-
Thanks h_d - I m going to take a bit of time to work through your suggestion. I have tried using text wraps so the text is pushed above and below the image, and then tried to insert a text box and no go. I think you are suggesting something a little different so I will run through it and see where I get to. because I have pages of text with the occasional picture I think as suggested by Fixx I need to create a clean page part, so I've created text boxes top and bottom of the page (so 2 of them) and dropped the image in the clean space.
-
Hello. If I can explain what I am doing here: I am making a book with images. I use the frame text tool to fill each page with text. Then I insert an image, in this case in white space created by pushing forward the text with the return key. I want to insert a caption next to the image, using the artistic text tool, but it does not work. Does the ATT work on top of the frame text tool? There must me a way to insert captions for images? Any advice to get me going is appreciated. Thanks.