

Janabanana
-
Posts
34 -
Joined
-
Last visited
Posts posted by Janabanana
-
-
Hello all and I'm so sorry if this has been covered in the forum already. It's just that my search term was so vague - 'blue lines' - that I got about 1000 posts in reply!
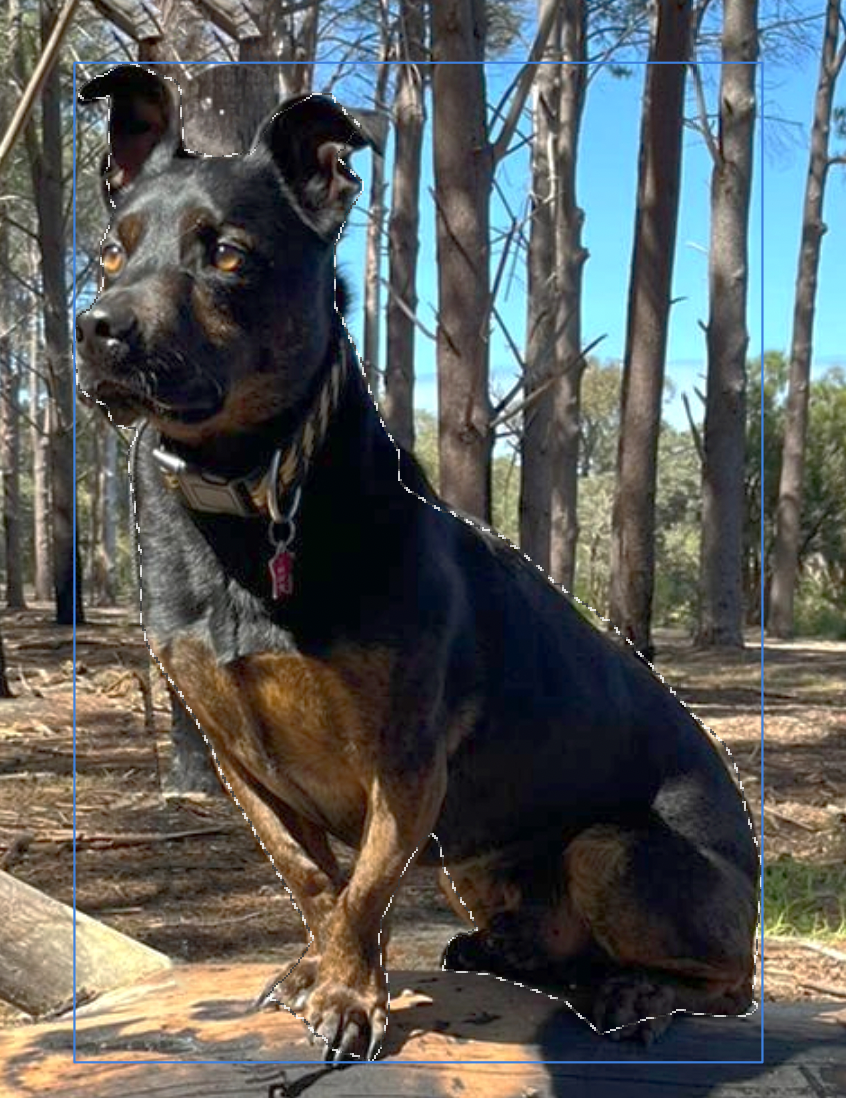
Anyway, I'm a real amateur, just do simple background blurs that sort of thing. I've noticed that every now and a line will appear - usually a green vertical one and a red horizontal one - they're obviously measurements of some kind but I don't know how to use them. I don't know what they're for.
I also get a outline in blue around the image I've selected (see picture of majestic yet dopey-looking dog) and I can't figure out what that's for either. Would really appreciate some help - would be great if you could link me to some very basic tutorials that cover these questions.
Thanks very much

-
Hi there
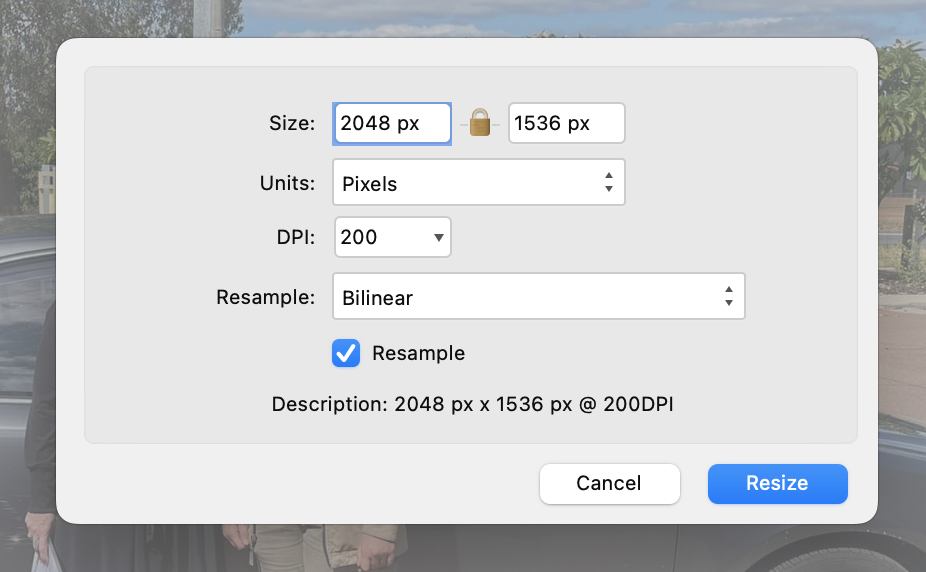
Just wondering if there is a way of changing the default measurement from pixels to centimetres when re-sizing pictures please?
It's not a big inconvenience I will admit, but when I'm resizing a whole batch of pictures it would save me time if I could just resize them and see the new size in centimetres immediately.
I've gone into the Preferences panel but I can't see anything that would allow me to do that.
Many thanks everyone.
-
23 hours ago, Janabanana said:
Hello everyone and Merry Christmas! I'm a beginner on Affinity Photo and need some really simple steps to correct the colours in this photo please. The guys at the top are bathed in too much light and the women at the bottom are slightly dark. I can live with the slight dark, but really want to correct the over-exposure in the top row. Thank you so much for your help

Thank you so much for replying...I'll give the dodge and burn a go!
-
3 hours ago, v_kyr said:
If it's just for the lighting, then CIELAB mode is a good way to adjust only that then aka the lighting from dark to light or vice versa. You have to assign LAB mode and adjust just the lightening settings there then (make a copy/duplicate of the layer you work on then, deactivate the org layer and use the duplicate one).
Here's how to get into LAB mode and make some curve adjustments only for the lighting portions of the image then ...
Thank you so much for taking the time and trouble to send me your video. I'll give it a go, but I was looking for a way to just zero in on specific faces which have too much light. is there a way to do that using your method? Thanks again
-
Hello everyone and Merry Christmas! I'm a beginner on Affinity Photo and need some really simple steps to correct the colours in this photo please. The guys at the top are bathed in too much light and the women at the bottom are slightly dark. I can live with the slight dark, but really want to correct the over-exposure in the top row. Thank you so much for your help
-
thank you so much for all your help everyone. At least I have some basic knowledge now!
-
Thank you PixelPest...how do I pick up the color I need?
-
Hi there everyone, thank you for your help.
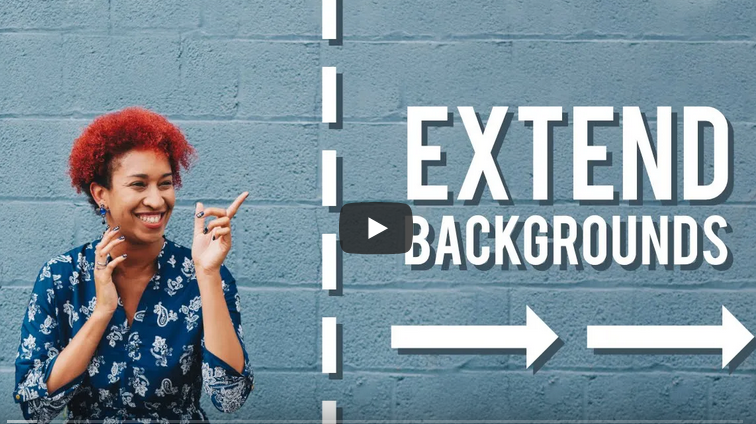
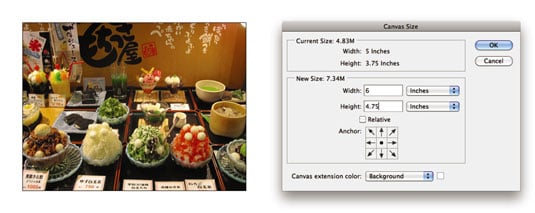
I used to do something in Photoshop that I would like to replicate in Affinity. In Photoshop, I was able to extend the canvas size by typing in the new dimensions in the 'Change Canvas Size' dialogue box. I used this when I wanted more space in the picture to add text to it (as in the image below) but the original picture didn't allow it.
In Photoshop there's a 'Change canvas size' function that allows you to dictate the width and height you want (second photo). Then you select which edge you want to extend,whether top, bottom or either side and use the eyedropper tool to select what color you want to fill the extended canvas, and then use the brush tool at about 30% to tone it down if necessary.
In Affinity Photo you can extend the canvas quite easily, but how do I tone down the color? And how do I blur the 'join' line so that you don't see a definite demarcation between where the original picture ends and the extension begins? Sorry if I'm not making myself clear..I'm such a newbie I don't know all the right terms.
Thanks so much!
-
hello there, how do I get the old, much cuter and sassier cat tool please? The new cat tool is verrry boring.
-
4 hours ago, firstdefence said:
It might be you still have the adjustment layer selected in the layers panel, so check you are not still on an adjustment layer and/or the new adjustment layer isn't a child of old adjustment layer, I've done this several times.
Thank you! I'll make sure I check
-
Hello everyone! Thank you for taking the time to help a newbie. My question is : how do I move on after finishing a task/adjustment?
I've selected and brightened a portion of a picture and I've saved it but when I go back to the picture to make another selection and adjustment, Affinity makes those changes to the original section I worked on. I can't get it to recognize the new selection. Is there something I need to do to 'quit' the old selection and move on to the new one?
Thank you!
-
Hello everyone, I'm new to Affinity publisher and would really appreciate it if someone could link me to some good, step by step tutorials please? I've been onto YouTube but I end up selecting random videos so there isn't any real continuity and flow to the tutorials. Thank you very much 😊
-
Hi Ron..thank you very much!
-
Hi Callum, I'm Janice and I have the same question as Cmajor7. I tried clicking on the links in your reply but they brought me to a dead link in vimeo. Would you mind please posting them again or giving me the title of the video so I can search the vimeo site? Thanks so much
-
Hello, is it possible to edit an Affinity Publisher file in InDesign? Can I export the Publisher file into InDesign - and then edit that file in InDesign - using the export menu or do I have to use a third-party application? Thank you
-
41 minutes ago, Pšenda said:
The exported image will, of course, contain all the adjustments made, which is easy to try.
okay thank you!
-
Just now, kaffeeundsalz said:
It's not really clear what you mean. If you modify an image with Affinity Photo and then export it als JPEG or PNG, the exported image will only contain the final result of your editing process. This means that you will lose all your adjustment layers and live filter layers that you may have applied to your image as well as the entire undo history. If you want to keep these, you'll indeed have to save the image as an Affinity file. Note that the undo history is not part of an Affinity file by default unless you choose File > Save History With Document prior to saving the image.
Okay thank you! That clarifies it well.
-
Hello everyone
If I make changes to a picture in Affinity Photo and then export it as a .jpg or .png to my computer, does that exported copy retain all the changes made or do I have to actually save the modified picture as an Affinity file? Thank you
-
Hi there, I recently created a new color and saved it as a Global Color so that I can use it for future documents. how do I find the colors I've saved and use them in a new document? Have I even saved it correctly? Should it be saved as a Global color, as registration color or something else please? Thanks very much
-
On 4/20/2020 at 9:56 AM, mikerofoto said:
cmd “s” on mac to save, not sure for Windows but you can check in the top menu / File / save (for shortcut)
Thank you...I've figured out that I can export a jpeg directly to my computer so that's what I do now.
-
On 5/21/2020 at 2:49 PM, firstdefence said:
You need a document open to Click - hold +drag the stock image into.
The new file templates are just that, preset dimensions for types of documents you may want to create, so if you wanted to create an A4 flyer, you would select the A4 template, modify the settings in the right side panel if required or leave as is and click Create.
The photo presets are common image dimensions, you can export them after your creative masterpiece is done and know that when printed it will fit into a commonly sized picture frame.
thank you. I'm slowly getting the hang of it
-
20 minutes ago, Janabanana said:
How do I get rid of it though? I did a hard reset of the program and now that doesn't happen anymore, but how do I get rid of it if it happens again please?
Ah I see..thanks very much
-
31 minutes ago, R C-R said:
If you mean the grey & white checkerboard pattern, that is how the Affinity (& many other) apps display transparency. It isn't part of the file.
31 minutes ago, R C-R said:If you mean the grey & white checkerboard pattern, that is how the Affinity (& many other) apps display transparency. It isn't part of the file.
How do I get rid of it though? I did a hard reset of the program and now that doesn't happen anymore, but how do I get rid of it if it happens again please?
-
Gosh I don't know what I'm doing wrong, but now when I create a new document it appears with these gray-ish pixel shapes? The pages just used to open completely clear. Thanks so much all


What are the lines that sometimes appear on my image?
in Affinity on Desktop Questions (macOS and Windows)
Posted
Thank you all very much for your replies - they're all very helpful and give me a really good starting point. Much appreciated guys