

crabtrem
-
Posts
401 -
Joined
-
Last visited
Posts posted by crabtrem
-
-
So I am assuming your measurements aren't in pixels, because you have fractions (decimal places). So the first thing I guess I would check is the dpi settings between the documents, and the measurement value settings between the documents too.
-
If you are familiar with Blender at all, then I that would be my recommendation, although the learning curve might be above the desired level.
If all else fails, I would suggest consider just using Affinity to make a series of animated raster outputs, and then use any editing program to make the series into a movie or animated gif. You might group the project together, duplicate the group, adjust, and use the layered groups like an onion skin. Then export each group separately to a sequenced file name, import into GIMP for example and create an animated GIF. I like GIMP's method of making an animated GIF file, and there are some good tutorials on YouTube.
-
I do not believe Motion has ever supported a layered PDF file. You can import a layered Photoshop file, it can be a little tricky, you have to get a pop-up window with options to import the layers. Here is a link to an Apple Support article, https://support.apple.com/kb/PH16869?locale=en_US&viewlocale=en_US
The short answer is drag your file from the directory listing into the layers section. Do not release the file, but hold it until a pop-up window shows your options.
The article will also show you which attributes Motion will not support.
I do not believe Motion has ever supported SVG format.
-

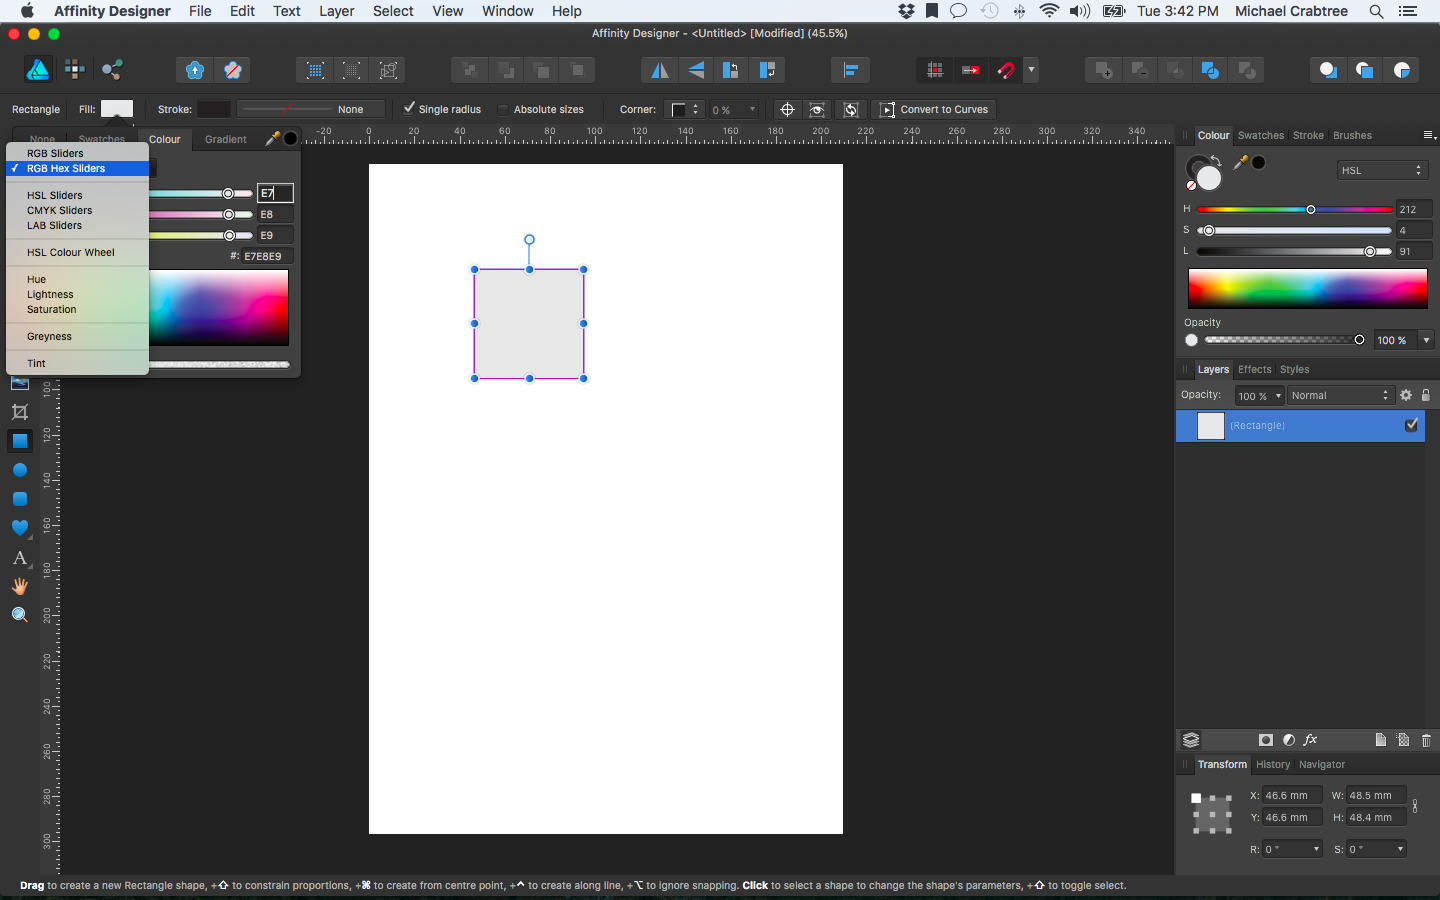
If I understand what you are saying, you realize you can switch to RGB Hex in the drop down of the color palette on the left hand side, right?
-
I am not sure I understand what you are asking for, so forgive me if I get it wrong.
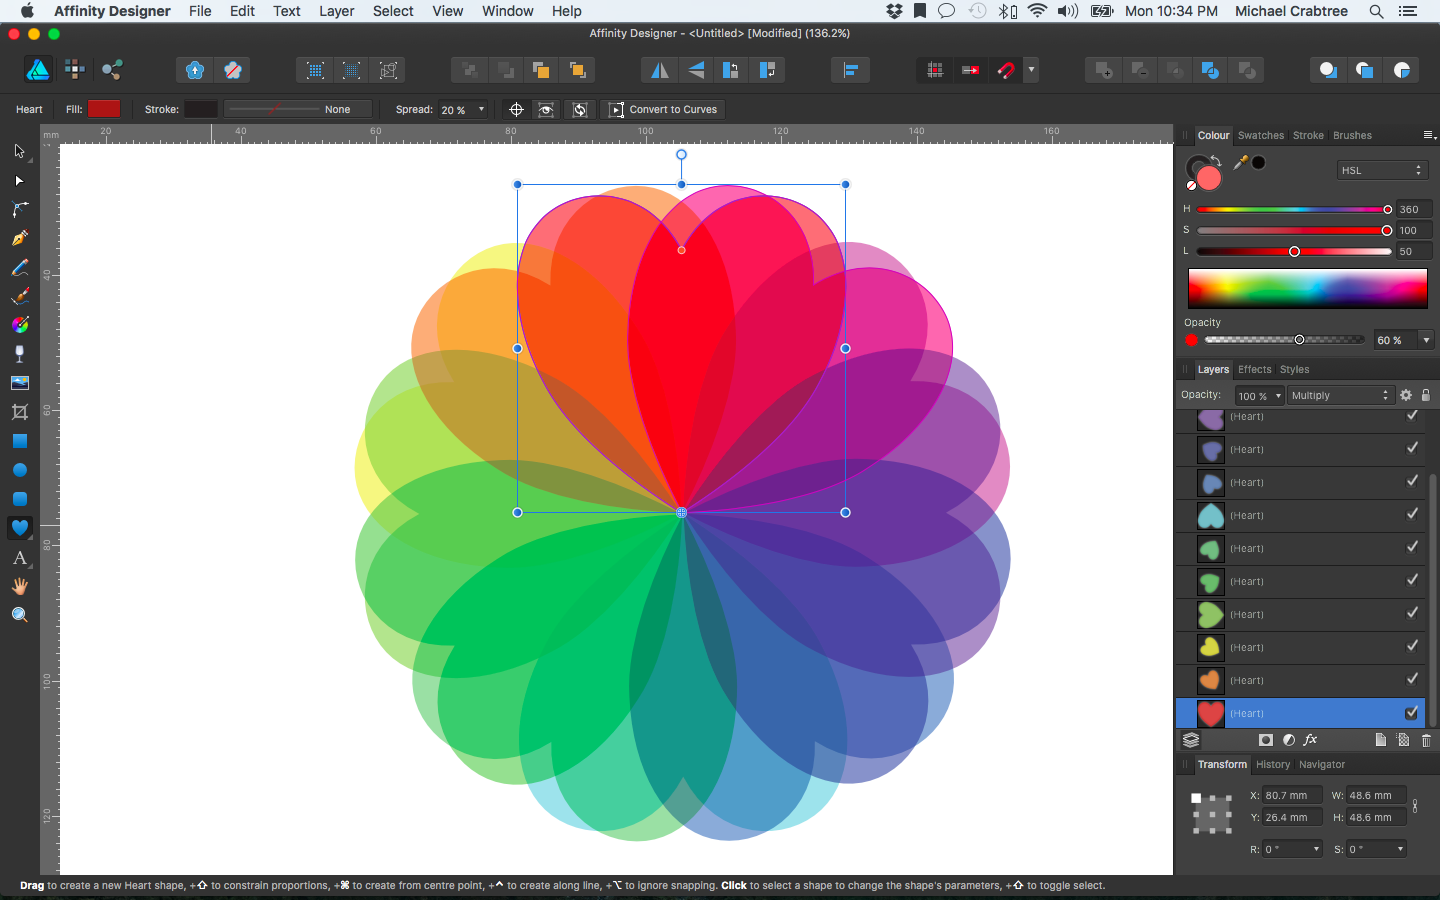
My guess is that what you are looking for is a result of using the blend modes.
There are many options, so I will only show one.
In my example screen shot I have an overlapping heart, rotating around a circle in 30 degree spaces.
Each heart has a color offset by the same degree of rotation.
I set all layers at 50% opacity, and in this case I used the Multiply blend mode.
You can see the overlapping sections have different colors dictated by the blend mode, and layer position.
If this wasn't what you were asking for, I apologize in advance. Good luck.
-
-
I am really missing something. Forgive me. I cannot figure out what your question is. I am looking for an angle in an elliptical gradient that I cannot adjust, and it seems like they are all covered. At least to maintain the elliptical criteria. Maybe it's this flu I have, or some other distractions, but I can't figure out what you are looking for? Forgive my ignorance on this.
-
Please check out this tutorial. It is for photo.
-
These are only my observations.
For all intensive purposes the bleed areas are invisible in the program, but show up when you export.
You do not need to readjust your document size, but you do need to expand the graphic you want to bleed over the size of the document to cover the added area.
Your exported file dimensions will be adjusted. The export will be the document size plus the bleed defined.
I believe that covers it. Trying to group multiple Artboards together as a pamphlet brings unique problems where bleeds are concerned. But for a single document, Artboards not grouped, the results should be consistent.
Hopefully this has covered all your questions. I make no guarantees as to the accuracy or completeness of my observations though.
Good luck.
-
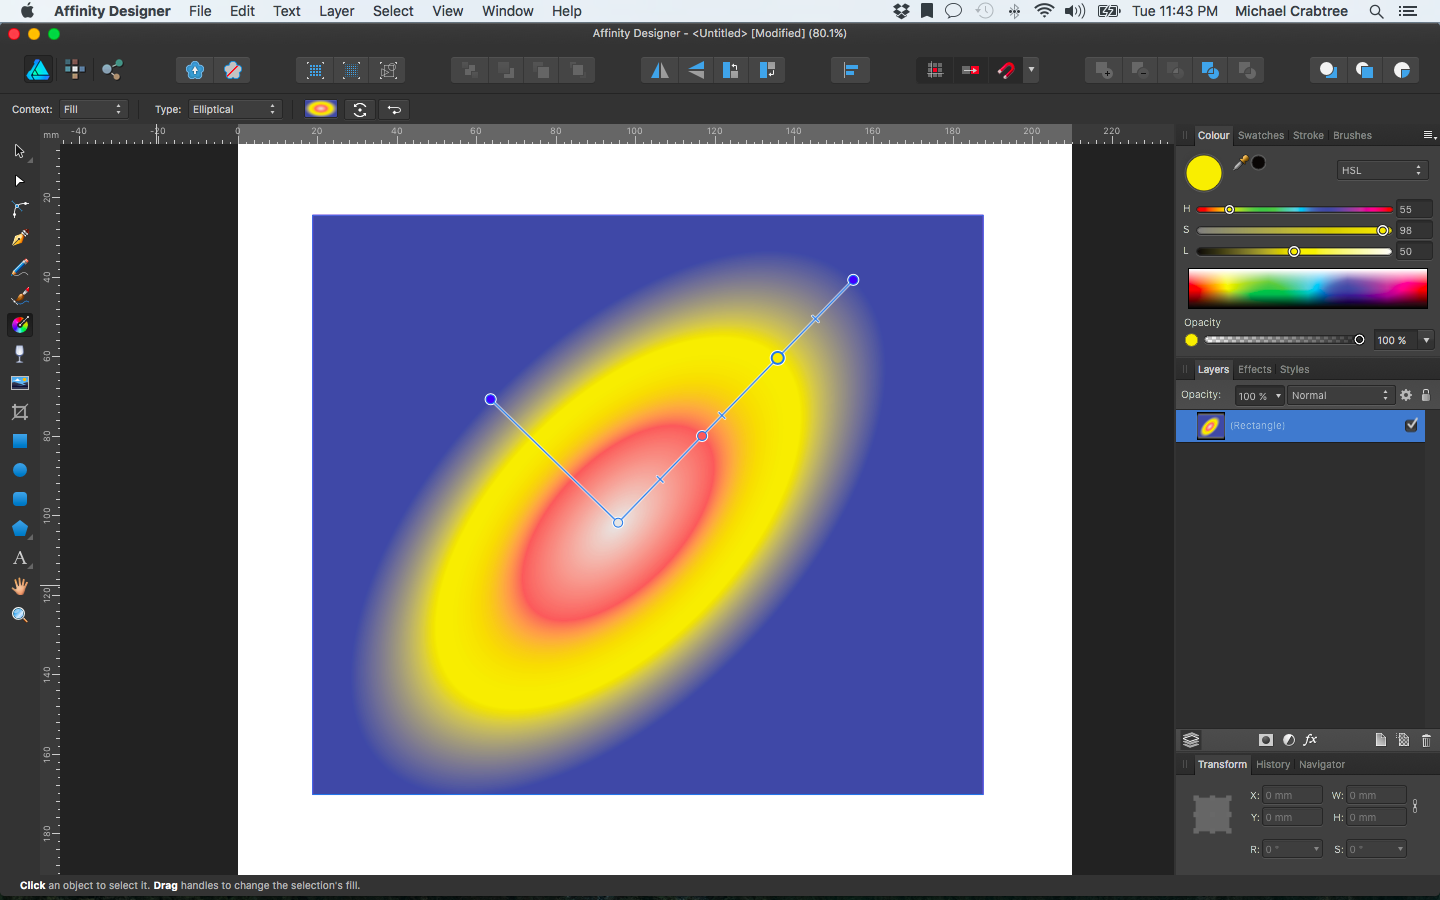
So from what you are discussing I am going to assume that you are setting a gradient most likely from the fill, or stroke context menu color selection pop-downs. There is a gradient tool in the tools panel on the left side. Any gradient you have set, once you select the layer, (or object) the gradient is tied to, the gradient tool will give you all the controls you need to change size, angle, direction, midpoint, etc. etc. etc.
Say you make a circle, and under the fill set a gradient. With the circle's layer selected, (move tool), select the gradient tool. With an elliptical gradient you should see two perpendicular lines.
If I misunderstood your question, please forgive any errors.
-
Good news and bad news. At least from my limited knowledge. I see the issue is actually because you are using the color replacement brush. The bad news is I don't know enough about the intricacies of the color replacement brush to have a complete solution for you. I am still messing with it.
Hopefully, someone that knows a lot more about the color replacement brush and its usage will jump in. I did try a variety of methods all with varying results. But from what you described, it is clearly the use of the color replacement brush. How to resolve it, I'm not sure.
My best results so far was to add a pixel layer, paint with the color replacement brush, and use a soft light blend mode. But the total outcome was really unsatisfactory. I'm sure it must be my limited knowledge of the workings of the color replacement brush.
I made some progress when using the erase brush first, but that seemed what I assumed would be an unnecessary step.
My previous attempts had all used the standard brush tool.
Sorry I couldn't be more help.
-
The only thing I can report, is that I had no problems sampling a color, and painting over the sky area.
I painted on the layer.
I painted on a duplicate of the layer.
I painted on a blank pixel layer.
All worked.
I am going to think that in your case, a screenshot of your UI might hold the answers. I'm just guessing, but I can't find anything wrong with the file you sent.
When you encounter the same problem, I would suggest using Shift-Cmd-3 to take a full screenshot. Maybe the problem will be evident by seeing your panels, toolbar, and context menu.
Sorry, I couldn't be of any help.
-
I have had good results varying the border width selection. That in combination with the ramp tool usually gives me the results I can live with.
One other thing that I find many people overlook is that the refine selection brush has options for painting matte, foreground, background, and feather. All good limiters for different refining situations. For me, I find it better to start by refining the background first, and then either matte or foreground.
-
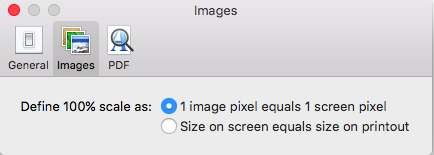
I am no expert. But, everything I have read indicates that taking a screenshot, the resolution is dependent upon the screen's resolution. There are some options you can adjust in Preview, Preferences.
There is a selection area for defining what 100% means for a screenshot. This may help you.
There are also various options on how to capture and store screenshots, with the keyboard shortcuts discussed here:
https://support.apple.com/en-us/HT201361
-
Okay, keep in mind, I am no expert. If I offer any advice at all, it is based upon an effort to help.
But I did observe some things I thought might help you if I shared.
First, I did notice that the slice box is very sensitive in the export persona and can be changed very easily.
One key point I did note was that the, "revert to auto sized" button in the context bar is active when resized.
I would recommend you check that first. If it is active, you resized the slice, and it can be reset by hitting that button.
It was really easy to change the dimensions, so I could see that happening very easily, and without noticing.
If the button isn't active, then that is not the problem.
I noticed that the adjusted size of the slice is the output file's dimensions, but the original picture is not adjusted, so the output just has padded pixels in it. It can be hard to see, especially with only 1 pixel being added to a side.
So you may not notice a problem visually, but the modified dimension is the output.
You keep saying how only one pixel has been added. This is misleading. You are not just adding 1 pixel.
If your Width setting is adjusted by 1 pixel, that actually means 1 width segment. In your example, if your original artboard is 1080x1920. By having your width changed to 1081, you are actually adding 1920 pixels to the overall file.
Think of it like a spreadsheet. If you have 1080 (width, columns) x 1920 (height, rows), if you add another column, you are actually adding 1920 cells. And vice versa.
There may be more considerations and scenarios for this to happen. But I can only comment on those that were apparent to me.
Good luck with your issue.
-
Looking at your screenshot, I am curious as to the blue line going across your screen. I am wondering if you background sky layer doesn't need to just be moved up? Or may resized?
-
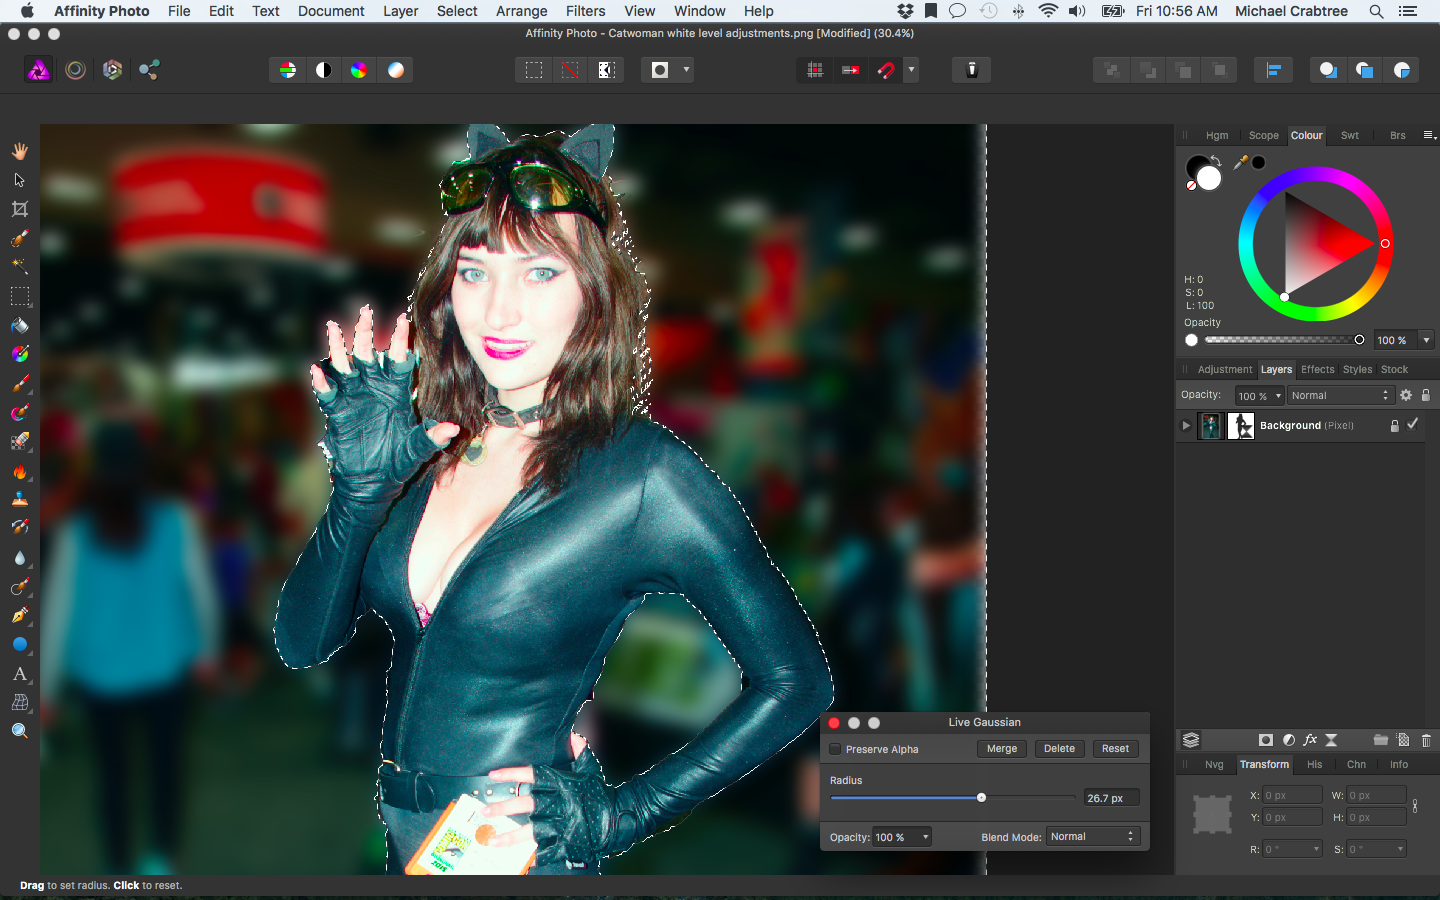
Have you tried using the FX on the rectangular object? There is a Gaussian Blur FX, along with some others you might also consider. You could also place a Live Filter on the rectangle too. But I find the FX are often overlooked and under appreciated.
-
I am no professional, so my workflow is pretty light. I have my photos grouped by category. So I have templates for 3D modeling, textures, blueprints. I also group my photos by date and or subject area. Tags are supported so subgrouping is pretty easy. One thing many people overlook in a MAC, CMD-Drag will move a file across all paths. So in Slides when you just drag a file over, the default is to make a copy. This is nice when I want to organize photos for an idea or project. But many times I am looking to reorganize and I wanted to move files not copy them, the CMD-Drag works wonders. You can drag photos from the display, or open with. Since there is no database, changes are immediate, although I try and never overwrite my original.
The only problem the last time I checked is that just like the media viewer in Affinity, it doesn't view Affinity files. And it is primarily focused on pixel formats, so I don't believe it will recognize EPS, or SVG files either.
-
I wanted an App that didn't use a database. I wanted an App that would work directly with the directory structure and files.
I found that in the Slides App.
https://itunes.apple.com/us/app/slides/id825754391?mt=12
I have actually stress tested this App pretty hard, and it does take a lot to bring her down. It has to be able to read the folder each time, and I expected that delay. Not having a normalized database in the middle. It isn't bad though, and the display, sorting, and viewing options are outstanding. I don't have to worry about some database, and organization is reflected directly by my directory structure. Viewing various levels of directories is easy. Overall I am very happy with this program, and would highly recommend it.
-
I found this pretty interesting based upon the topic of this conversation.
http://www.fastcodesign.com/3039564/the-difference-between-ppi-vs-dpi-explained-by-a-google-designer
-
I am not sure I am following what Garnick is trying to say?
I am no expert. So please help me out.
From my limited knowledge, this is what I perceive:
If you resize a document at all, you are either going to add or remove pixels. You will have to resample in some way.
If you aren't changing the pixel dimensions. If there is no size change, then I believe the resampling process will do nothing because there is no change in pixel relationship. It is a 1 for 1 ratio, and therefore has nothing different to compare, and will therefore do nothing. So if you don't change the size of the file/document, you don't need to uncheck resample method. The algorithms will default jump to the end of the program, because there is nothing to resample.
Resampling algorithms are specifically designed and in place for analyzing the resizing of a file/document. The nearest neighbor algorithm being what would be synonymous with the resizing method in Photoshop, and the other resampling methods in line with Photoshop's resampling methods.
Resampling has nothing to do with the compression algorithms used within JPG. So the example of a degraded JPG image seems to be unrelated to the discussion.
The only thing I really comprehended from the dialogue was if you were going to resize your document/file for printing, and you are changing the file's original properties/dimensions, don't write over your original file. Save it as a new file with a different name. In fact in all conditions I can think of, always save your original file untouched. Don't ever write over it.
I am no expert, so I am probably missing something to this dialogue, or misunderstanding something. But unchecking the resample method for a file whose dimensions haven't changed, would do nothing from what I have seen. And if you do resize a document, you will have to resample in some way, except Photoshop calls nearest neighbor resampling, resizing, and the rest resampling.
-
One method to consider is to use the selection brush. Select your foreground element (the easiest to select), refine it, keep the selection. Invert the selection from the select menu. Add a blur filter.
(not my photo)
- chrismay99 and akl
-
 2
2
-
I am no expert. Have you tried, unchecking the layers you don't want affected by liquify on the layers panel?
-
I am no expert at this. And assuming I understand your requirement.
For the circle and dividers. First go through each object and Layer-Expand stroke. This will make the stroke into an object.
You can then select the 4 line segments, and the circle and use the subtract boolean to make a vector with 4 arcs.
You can further convert that to curves if you want to do more.
I am not sure what you want to do to the representation of the paper plane.
Assuming I understood your questions in the first place. Good luck, either way.
help with Real time editing for a box
in Pre-V2 Archive of Affinity on Desktop Questions (macOS and Windows)
Posted
I know that demonstration/tutorial videos have been created in the past from things demonstrated in "introduction to" videos. This is a capability demonstrated, and has garnered enough interest, I would think the Affinity Staff would be working to create a video to cover this. The potential interest in what they have demonstrated is enormous.