Christian S.
-
Posts
17 -
Joined
-
Last visited
Everything posted by Christian S.
-
I came here with the same question. Making the same settings again and again is tiring. This has been a frequently asked for feature in 2017 already but sadly hasn't been addressed yet in 2020. A custom preset feature where dimensions, quality and ICC profile are sticky would be really helpful.
-
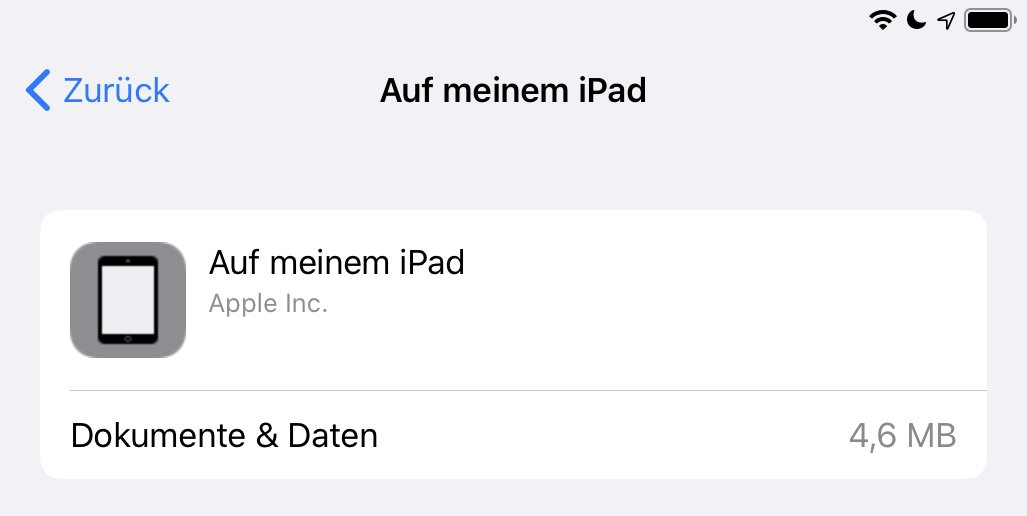
It's not an iOS issue from my point of view but an issue of the Affinity iPad app not cleaning its dedicated storage when you remove (close) a file from the internal storage. See here for more discussions. You are not the only one experiencing this issue. You may be able to reclaim some of the storage by manually erasing files through iTunes/MacOS connection from the Inbox folder of the app. Next best thing is uninstalling.
-
Did you remove the files from "recently deleted"? I did the same as you and had 84GB of files on my 64GB iPad: Like you said this works because APFS doesn't copy physically as long as the files are not changed. Then I deleted the files, still 84GB reported. Next I removed the files from "recently deleted" and everything is back to normal: But all of this doesn't explain why the Affinity app doesn't clean up its own folders properly.

-
And this random defect (if it's even technically possible) causes a perfect working iPad with just one and the same issue in the Affinity apps for many users? Wow, that's what I call a coincidence... 🤣
-
I don't believe it is an iOS issue when the app shows files as deleted but the files are still around in the space of the app, just as brebro demonstrated in October: https://forum.affinity.serif.com/index.php?/topic/72647-affinity-designer-using-hundreds-of-gigabytes-of-storage/&do=findComment&comment=539531 The app seems to lose track of the files. It shouldn't be required by users to use iTunes/MacOS finder to clean up after the app. I'm not an developer on iOS, but I think I understand enough of this to believe the following link describes the problem and hints to potential solutions well enough: https://stackoverflow.com/questions/15707874/good-way-to-manage-the-documents-inbox-folder-in-an-ios-app
-
Is any other proof than this video required that this default setting of basic brushes is confusing to users? Even if I understand the difference between "Do not set" and "Set to No" I would still be confused why a preset brush behaves differently for no apparent reason. Another thing users have to understand is the difference between preset settings and the current settings in the toolbar. Yes, it all makes sense and is useful. But for new users and the 80% of users who only use and understand 20% of the functionalities, the default should be: no surprises. To be constructive: "Don't set" should be renamed to "Don't change". That's the least the UI designers could do to make more sense.
-
Hi Leonela, in your video you hide the low frequency layer by adding an empty mask. The high frequency layer, which is as usual nearly all grey, is still visible. This works correct. When I look closely at your first post I can see that it is also a high frequency layer of a face with glasses. Perhaps the issue is in understanding what frequency separation does and how to use it?
-
Blurring Mask - Buggy Workflow
Christian S. replied to Nicole Hurst's topic in V1 Bugs found on macOS
Hmm, if I get this right you apply the blur to the background layer, not to the mask. I assume you want to mask the blur filter so that it doesn't affect the face? I don't see any difference in the effect between #3 und #4 of your images. When I have the mask as a clipping layer (not sure if this is the right term), see my picture #1, then I can apply a blur directly, if the assistant is set to create a filter layer as sub-layer. When I move this blurred mask to be an actual mask (see #2), then it is still blurred, but I don't see the blur filter layer any more and can't change it. #1: #2:
-
Affinity Photo for macOS - 1.8.1 (was 1.8.0)
Christian S. replied to Patrick Connor's topic in News and Information
Starting the App, loading a file and updates of the layer thumbnails works a lot faster now on my machine than with 1.7.3! -
Irrationales Verhalten bei Copy & Paste
Christian S. replied to Sunny Burnett's topic in V1 Bugs found on Windows
This topic attracted me only because of the German title. I don't find the current behaviour illogical. It is in line with e. g. the behaviour on a shape layer. (For adjustments and live filter layers the copy is created with a mask, which is also good but probably not what was asked for here.) As a new feature request there could be a new assistant option to rasterise a layer automatically when someone tries to copy a part of it. It behaves this way today when you try to paint on an image layer. Regards, Christian. PS: "Make it work the same as in Photoshop" is not an argument. -
Export bug: white box in picture
Christian S. replied to Christian S.'s topic in V1 Bugs found on macOS
I can confirm: Just by converting to 16bit the issue was solved. Thank you! -
Export bug: white box in picture
Christian S. replied to Christian S.'s topic in V1 Bugs found on macOS
Thank you for the explanation. The origin of this picture was an HDR. I will try that solution and report back here. -
Export bug: white box in picture
Christian S. replied to Christian S.'s topic in V1 Bugs found on macOS
Sure. Note that the effect is biggest when using Lanzcos interpolation and a long edge of 1200px. But once you've seen it you can find the white dot in every export at the same place. Also the top layer contains the final picture, all other layers could be removed and the issue is still there. I just left them in case they help you with the investigation. Thanks for taking care! Christian. PS: I just noticed I wrote "PDF" in my first post. Actually I want to export to JPG of course, not PDF. -
Sounds like this is an uncompressed 16 Bit TIFF. Does it work any better if you create the output from DxO as compressed TIFF? Note that compression on TIFF is lossless, so there will be no reduction in quality.
-
I have an Affinity Photo file where a white box shows up in the exported picture that is not visible in Affinity Photo 1.7.3. I've tried numerous things to get rid of this: Merge all layers to one pixel layer, export while only this is visible Crop the picture a little bit Use different formats (PNG, PSD) instead of PDF Use different algorithms (bilinear vs. my preferred Lanzcos). With bilinear the box is only a small spot of 1px, but still there. Use red background color on export, but the box is always white. So it doesn't seem to be an issue with a transparent pixel in the image. Use different color spaces (sRGB, AdobeRGB), has no effect Copy the pixel layer into a new document (no white box), then export (white box appears) Change resize on export (I want 1200px at the long edge), but regardless of output size original or smaller, only the absolute size of the white box changes, e. g. 1x2px instead of 6x7px with 1200px export. The white box is always at the same place in the picture. It would be helpful to know if this a known issue and how I can possibly avoid this.
-
I've tried this with Affinity Photo 1.7.3. I'm pretty sure I've got the EXR conversion right because if I open one of the single EXR files I can still recover the highlights and see in the histogram that there is data beyond 1. (It doesn't work correctly when I use the batch method for conversion. This seems to be a known limitation of the batch.) But if I create the panorama from the EXR files I can already see in the histogram that all highlights have been contracted into the normal dynamic range. When I process the panorama then I can't recover any highlights in the photo or tone mapping persona. The histogram has no data beyond 1. Do you have any idea if I got some setting wrong? I check the info panel and I see the "RGBA/32 (HDR)" information all the time.
-
Hi, I'm very new to Affinity Photo, so please ignore me if this is nonsense... I also own a 77D. I have this effect (dull picture, low saturation) if I have the "Tone Curve" setting in the development assistent disabled.