stroiman
-
Posts
17 -
Joined
-
Last visited
-
Arg, just created a badly sized print again (fortunately on cheap luster paper) because yet again I forgot to unlink dimensions when resizing canvas. Fortunately, the original pixels were still there in the file, so I could easily fix my mistake. That is one of the reasons why I love Affinity Photo. I'm not suggesting that the default behavior should change, just that it can be adapted to the individual user's workflow. Could also be that it remember the last used setting (it seems that the resample option for resize document now does that).
-
 stroiman reacted to a post in a topic:
Focus stacking with Affinity Photo
stroiman reacted to a post in a topic:
Focus stacking with Affinity Photo
-
Mikeg57 reacted to a post in a topic:
Focus stacking with Affinity Photo
-
Richard Fillebrown reacted to a post in a topic:
Focus stacking with Affinity Photo
-
GaryRS reacted to a post in a topic:
Focus stacking with Affinity Photo
-
lepr reacted to a post in a topic:
Focus stacking with Affinity Photo
-
jmwellborn reacted to a post in a topic:
Focus stacking with Affinity Photo
-
GripsholmLion reacted to a post in a topic:
Affinity Photo - Different defaults for clone stamp and inpainting source layer
-
BobMoyer reacted to a post in a topic:
Focus stacking with Affinity Photo
-
John Rostron reacted to a post in a topic:
Focus stacking with Affinity Photo
-
Alfred reacted to a post in a topic:
Affinity Photo - Different defaults for clone stamp and inpainting source layer
-
NotMyFault reacted to a post in a topic:
Focus stacking with Affinity Photo
-
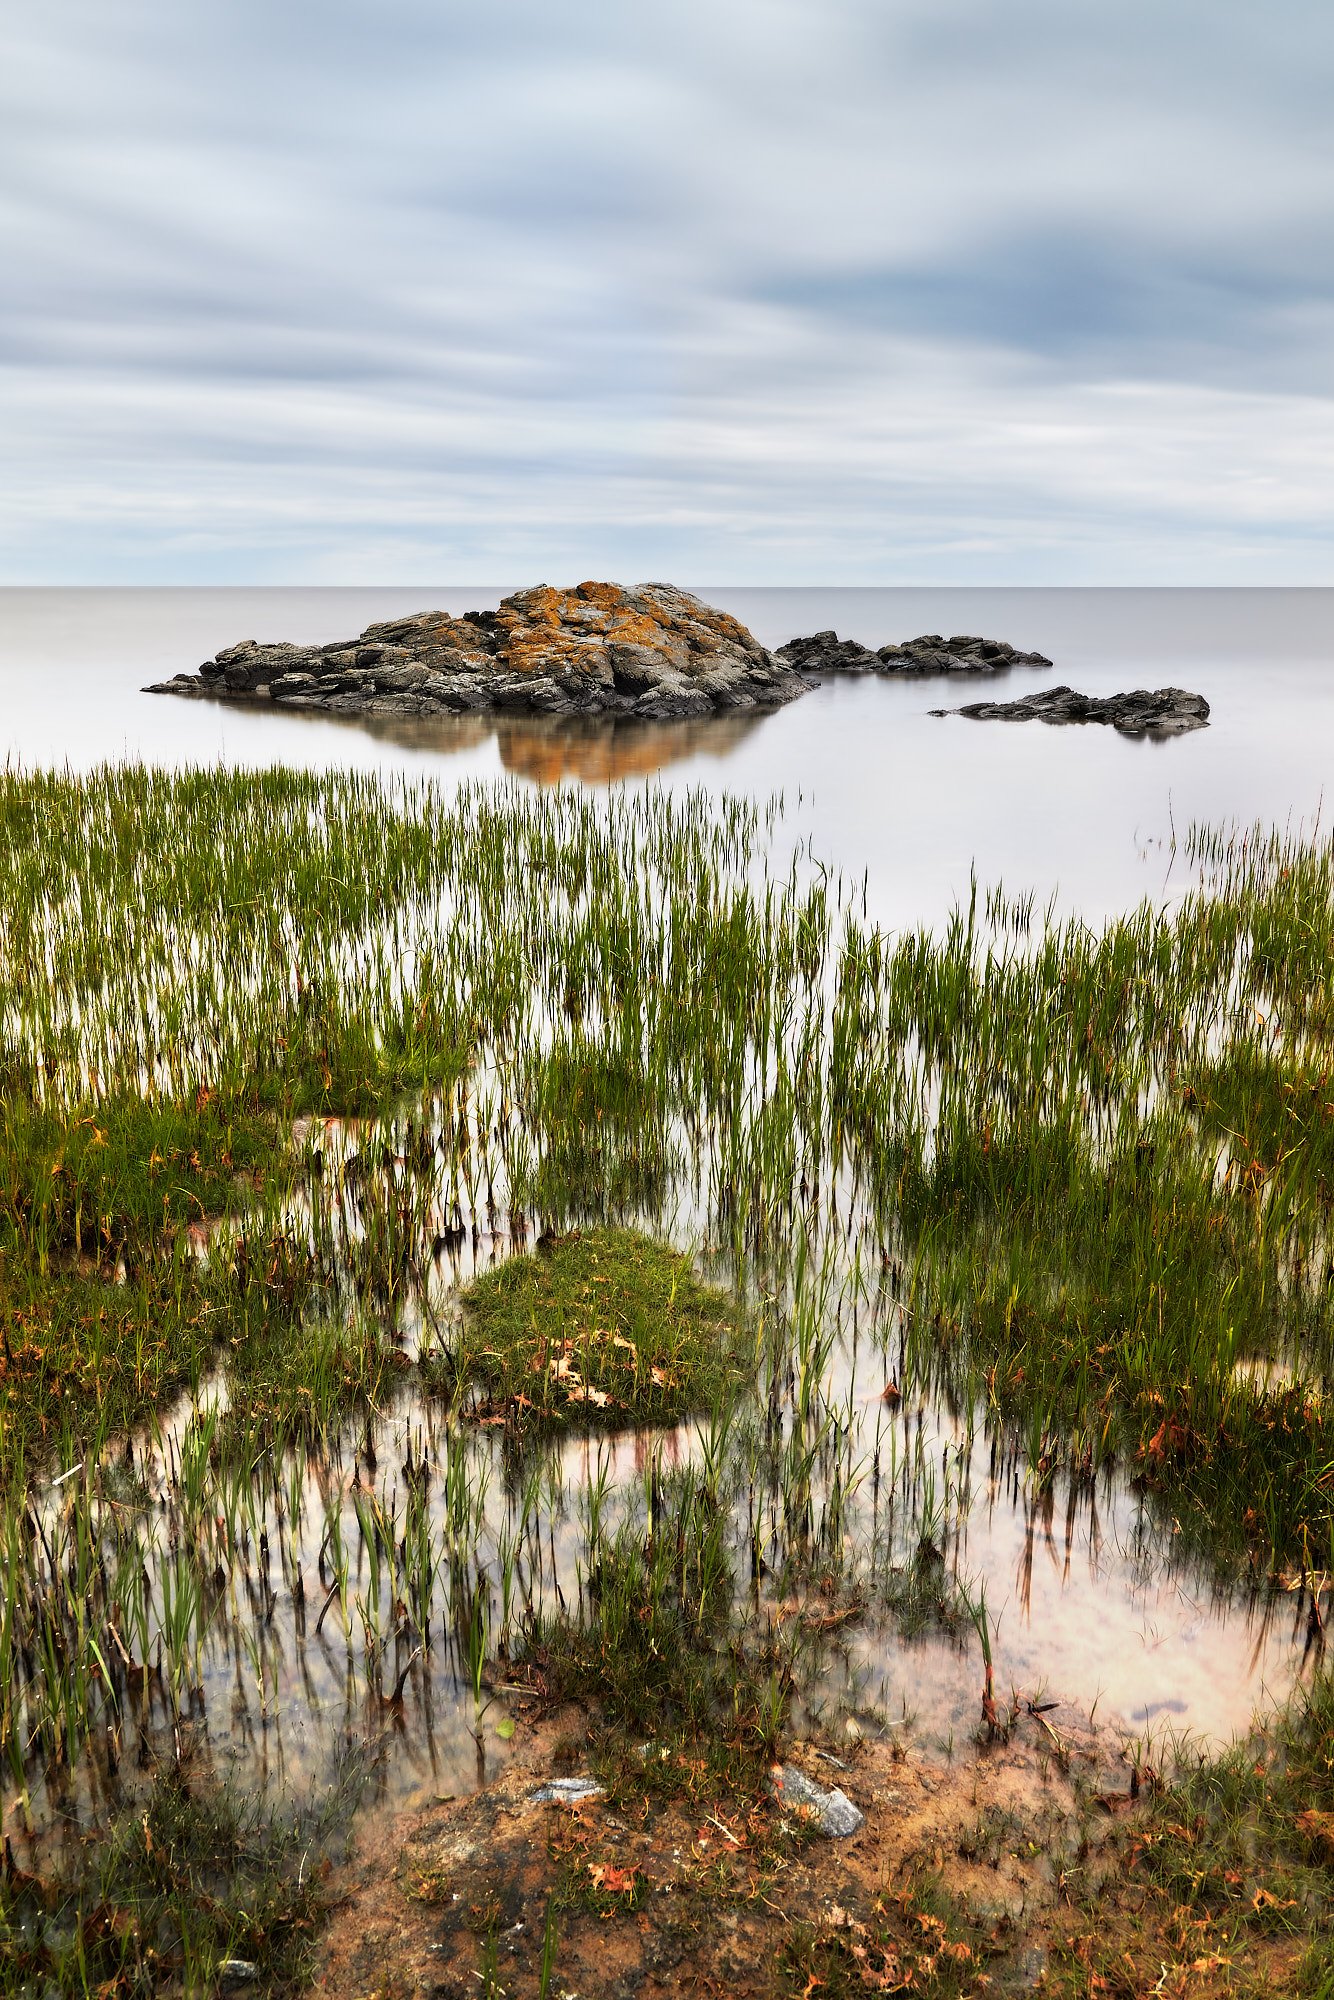
A 2-shot focus merge working absolutely beautifully in creating a sharp image meeting my vision for the shot. I used luminosity masking to help in the edit - to separate water from reeds.

-
When I retouch with e.g. the Clone Stamp tool or Inpainting Brush Tool, I always create a new empty pixel layer for the retouching, leaving the original image untouched. This means that I always need to change the source layer every time to be "Current Layer & Below" It would be nice if I could set that as my preferred default.
-
My printing workflow normally involves Create a copy of the file for printing. Resize the document matching the final output size at 300PPI (my printer's native resolution), often leaving one size overflowing a bit compared to the final print size. Resize Canvas to trim the remaining part of the photo down to final print size. Selectively sharpen the areas of the photo I really want to stand out on the print. By default, the dimensions are linked in both resize document and resize canvas. However, I have more than once created a print that was cropped on the short edge because I forgot to unlink the dimensions. So it would be nice if they could be unlinked by default, or you could set you preferred default in the options.
-
stroiman reacted to a post in a topic:
Tint slider in develop is way off - offset at magenta instead of the middle.
-
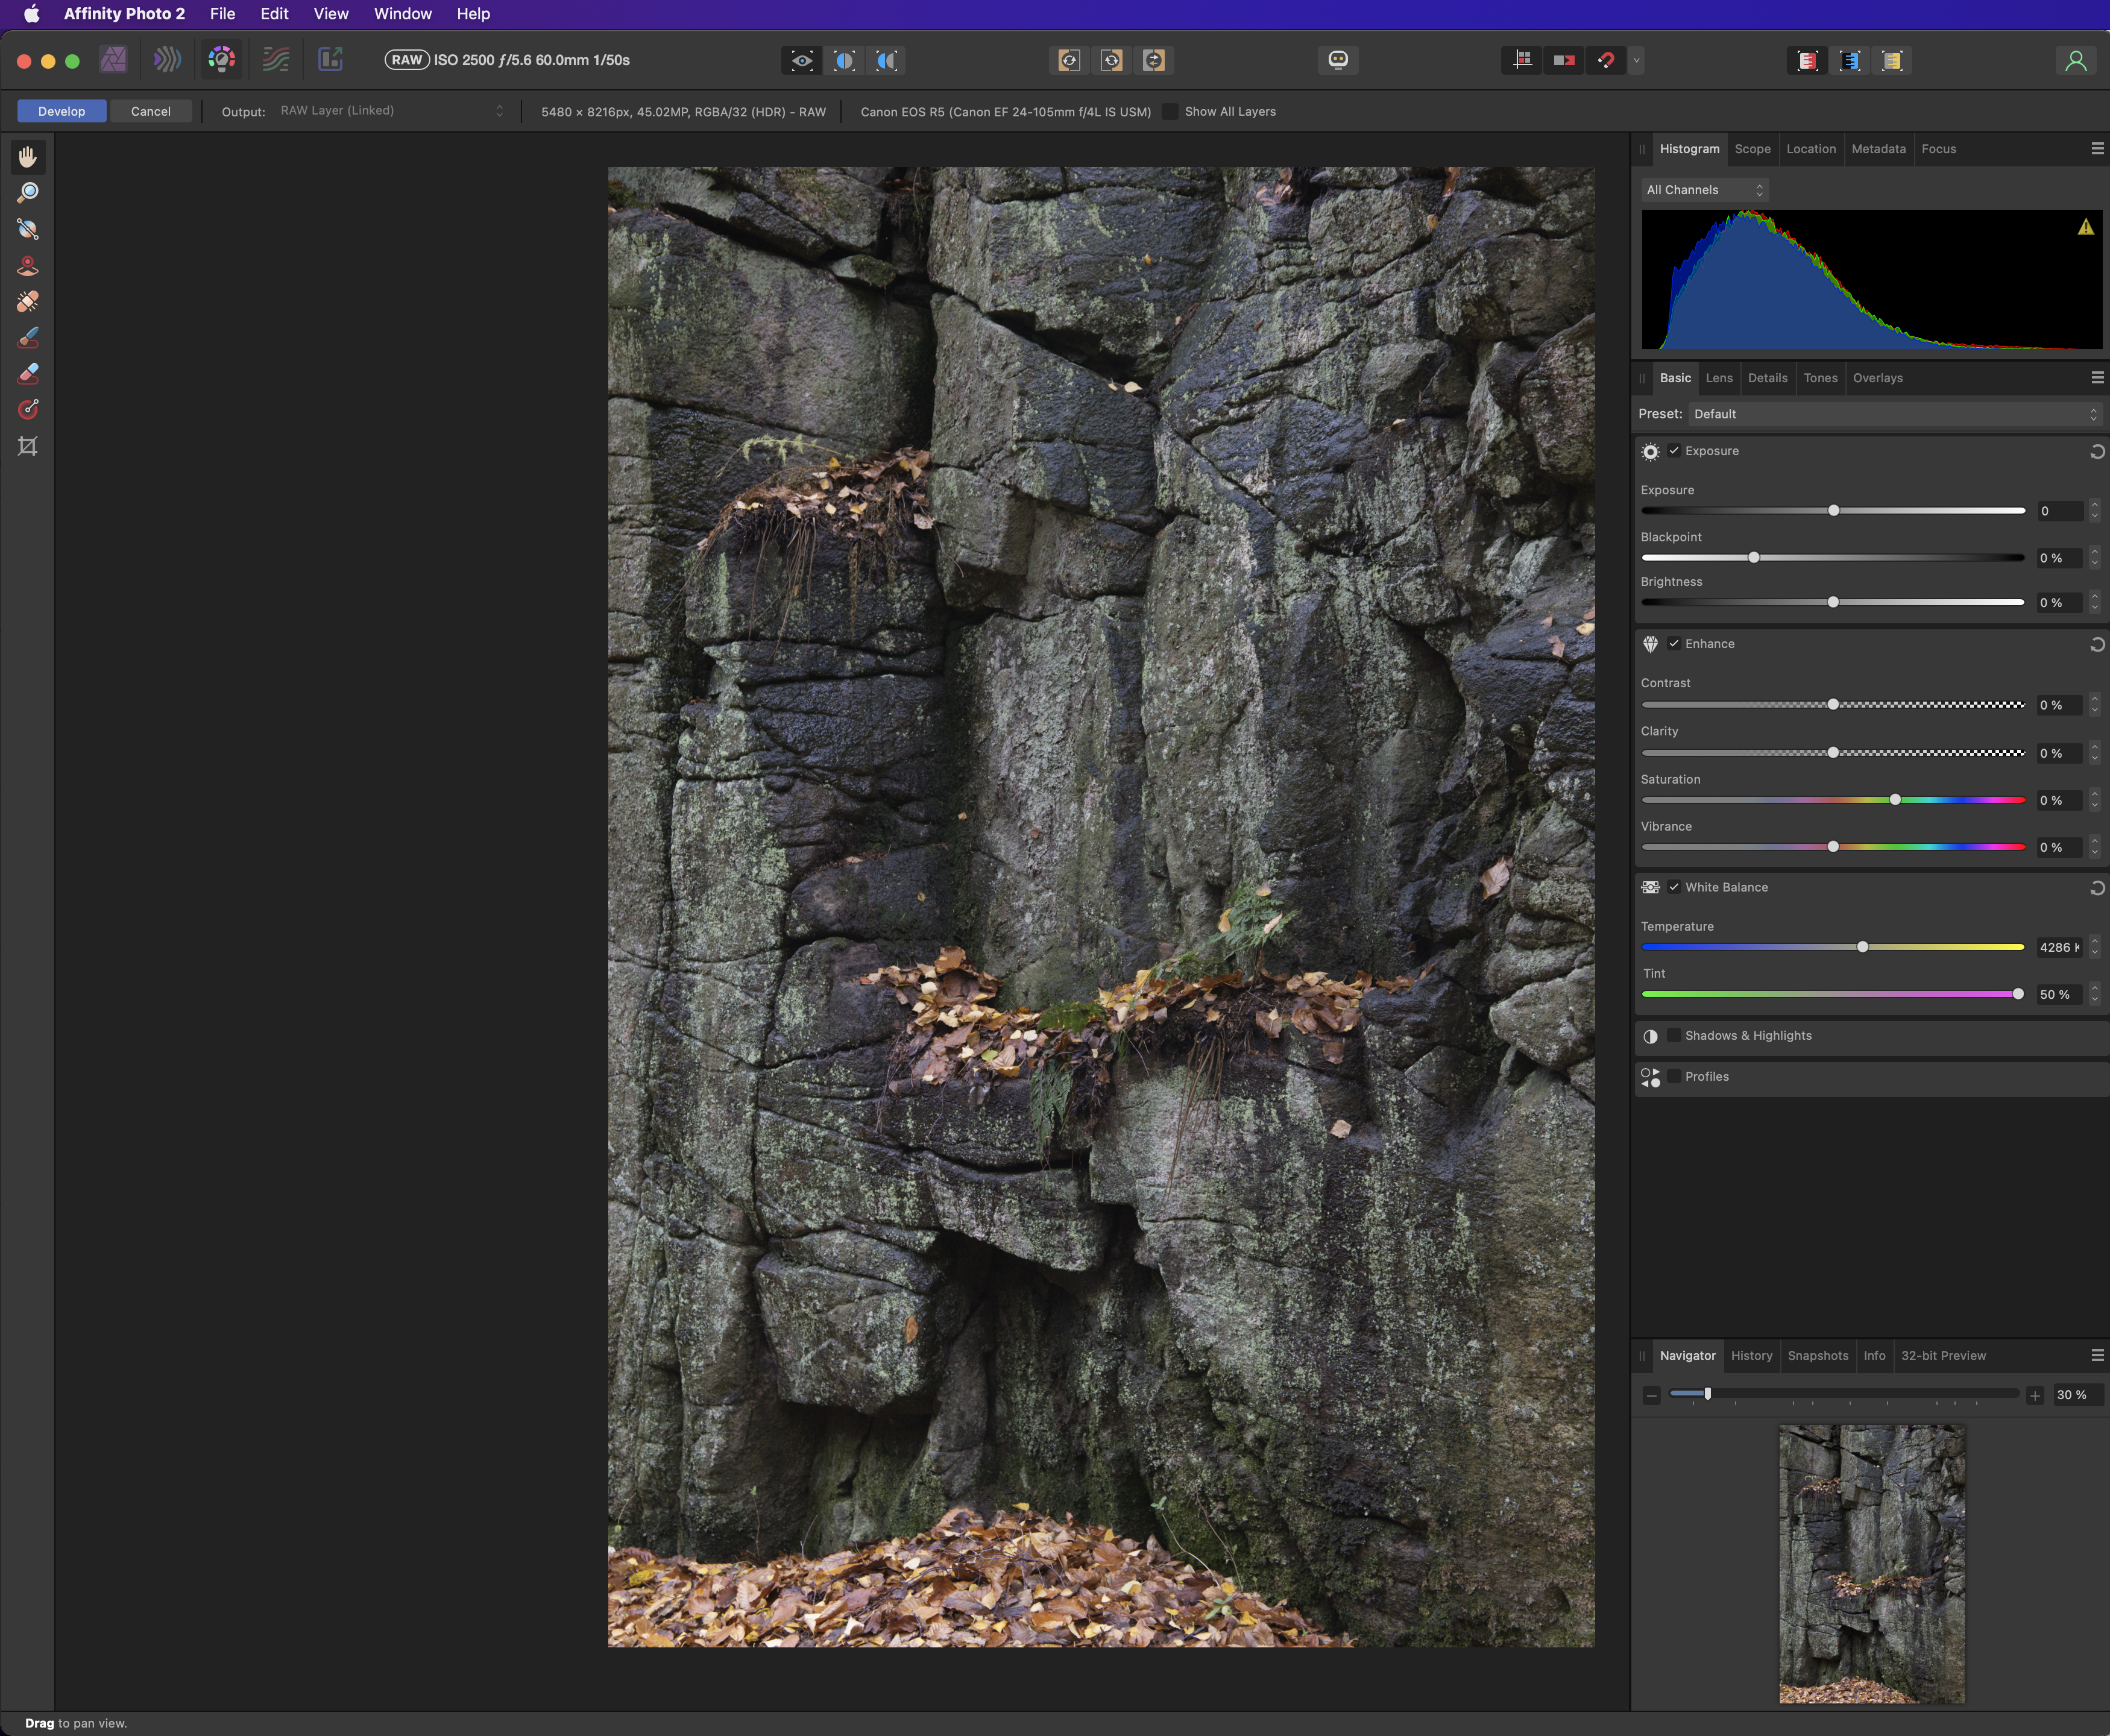
I don't see this issue with .cr2 files from my EOS 7D. But I see that this is not a new issue, it's the same in AP 1.10.5 (Didn't notice it before, because AP raw processing just wasn't that attractive to me until now that it's non-destructive)
-
Does the 60D produce .cr2 or .cr3 files?
-
The tint slider is pulled all the way to magenta to begin with (But obviously not adjusted to be all magenta as you can see). I can pull it towards green to make it greener, but I cannot take it the other way. It's a EOS R5 C-RAW file.
-
stroiman reacted to a post in a topic:
The photo that won me the gold medal.
-
stroiman reacted to a post in a topic:
The photo that won me the gold medal.
-
stroiman reacted to a post in a topic:
The photo that won me the gold medal.
-
I recently won the gold medal in the competition "Den Nationale" (The National) - the National Danish Championship arranged by SDF - Selskabet for Dansk Fotografi (Danish Photography Society) The photo won in the Colour Prints category (There were 7 categories in all, but I only participated in 2) Obviously the photo was edited in Affinity Photo. I have shared the before and after to give an idea about how I edited it, but generally I Removed a lot of distractions in the foreground. Removed some of the snow from some of the front trees Enhanced contrast (obviously) Enhance the colours of the leaves, and desaturate most of the background to make them stand out more. Enhanced the sense of mist in the background. This was accomplished primarily with blur and curves layers carefully masked with luminosity masks. I took advantage that I could place these in a group, and place a mask layer before these to control what goes into there filters/adjustments, something I couldn't have done in PS AFAIK. Feel free to check out my other work Facebook: https://www.facebook.com/stroiman.photography/ IG (Only pictures from Bornholm): https://www.instagram.com/stroiman.photography/ IG (My other pictures): https://www.instagram.com/stroiman.art/ Web site and shop: https://stroiman.photography
-
I know this was reported for AP version 1.x also. But I cannot run a macro when "clicking" on it with my Wacom intuous pen. If I click on it using the mouse, it works. Weird thing is, it seemed to work on my MacBook (on 1.x), so I though it was a OS/driver and I completely reinstalled my iMac - but it still doesn't work - and still an issue in 2.0. In the attached video, you can se the macro flashes when I click it. I can expand/collapse the groups, and reorder with the pen, but not trigger. Only in the end does the macro run, because I put down the pen, and grabbed the mouse. The tablet is an Intuous Pro S PTH-451 And I see the issue both with and without hardware acceleration. Hardware Overview: Model Name: iMac Model Identifier: iMac17,1 Processor Name: Quad-Core Intel Core i7 Processor Speed: 4 GHz Number of Processors: 1 Total Number of Cores: 4 L2 Cache (per Core): 256 KB L3 Cache: 8 MB Hyper-Threading Technology: Enabled Memory: 32 GB System Firmware Version: 170.0.0.0.0 OS Loader Version: 540.120.3~22 SMC Version (system): 2.34f3 Screen Recording 2022-11-09 at 16.24.52.mov
-
Hi there. After seeing a video with Nick Page using Lumenzia in Photoshop, I was inspired to do luminosity masks in a new and much more customizable way than the much used 5 levels of brigths, midtones, and darks. With these macros, when you create a light, midtones, or dark mask, it doesn't create the mask immediately, but applies 3 adjustments: a B&W, a Curves, and a Levels adjustment. Now you can adjust the three fine tune whatwhat you want in your selection. And using B&W adjustment you can more easily target specific colors. The only difference between the 3 that the curves layer is inverted in the darks, and peaks at the halfway point in the midtones mask. When you are happy with the selection, select the "Complete" macro, which will create a selection, and a new spare channel from the selection. Hope you find this useful. Stroiman's Luminosity Masks.afmacros
-
I have an Intuos Pro S (model PTH-451 - driver version 6.3.38-3) It works most of the places in the application, and pressure sensitivity works correctly. But on some elements in the application, it doesn't react when I "click" with the stylus. E.g. adjustment presets often has to be clicked multiple times before they are selected, and I cannot play macros at all using the stylus. In both cases, if I click with my mouse, it works fine.
-
Yes, that is perfectly fine. When importing the tiff file into my C1 library I see the end result (i.e. flattened file). I can then right-click and select "Open in Affinity", to continue working on this file. When saving in affinity, any changes I've done is automatically reflected in C1. When I'm done working on the picture, I normally flatten the image in Affinity (Merge visible, and then delete all the original layers). I would assume that similar behavior would be experienced in Lightroom.
-
I use AF in a workflow with Capture One, which by default recognizes, and can create .tiff files. There are however two minor annoyances When I select "Edit in Affinity" from C1, the raw file is rendered as a tiff, and opened in Affinity. If I create new layers, Affinity will prompt me if I want to save the layers. I always want to save the layers, so the popup is a slight annoyance (and a risk that I accidentally choose to not save layers). If I create a document inside AP, e.g. by Panorama stitching, the default file format is .afphoto. It would be nice if I could choose layered .tiff as the default file format.
-
stroiman reacted to a post in a topic:
File Default Save As, Export Save As in Source Folder
-
Currently, editing an already recorded Macro is extremely limited. I would love to see some really basic functionality, such as the ability to reorder steps, and delete unnecessary steps.
-
I came to this post exactly because I was attempting to create a marco for Luminosity masks. In addition to be able to specify a name when creating the channel, it would also be beneficial that you can specify a name when "selecting" a channel. E.g. I was following this guide, and to create the "Midtones 1" masks, it suggests to select the entire image, and the first subtract "Lights 1" from selection, then subtract "Darks 1". This will be a lot more stable if you can select the channel by name.