chriscaldwell
-
Posts
219 -
Joined
-
Last visited
Everything posted by chriscaldwell
-
Thomaso and GarryP, you guys are great for helping me so quickly. Thank you. Thomaso, that's brilliant. Wow. The line comes from a logo, which is about a pool product. I was thinking that maybe I could use it as a subtle design element in this top banner area for more interest, or maybe elsewhere on the site I'm building. So I guess it needs to be vector so that I can manipulate the size and color without losing anything but retaining the look? I'm just experimenting with some creative ideas on this. Screenshot attached to give you an impression. I've discarded so many idea, and then just thought keep it simple, maybe? I'm so grateful for this forum and these products. You have no idea how much I appreciate it. Chris

-
Hello, I'm trying to find a tutorial on how to make a wavy line similar to the attached. I'm using Designer. There are some tutorials on YouTube, but not quite like this shape where it looks like the sea. Thank you for any help! Chris
-
Thank you so much henryanthony, this is a great solution, too.
-
This is fanastic! And so much appreciated. Thank you for the explanation and for doing this!
-
Hello, Can someone please help me to remove the background from the attached image? I tried using remove white paper, but of course it made parts of the item transparent, too. I just want to get it as accurate as possible so it looks good when placed in another image. Thank you so much for any help and suggestions. Chris
-
Hello, I'm attempting to crop a vector image in Designer that will be used in a Publisher document. In Designer, I've selected the crop tool, then clicked on the image and adjusted the handles to size the crop. There's nothing that says "Apply" on the context tool bar, so not sure what to do next. I thought maybe click File>Export and then export as an .svg. But when then attempt to Place the exported image in my Publisher document, I get a large space on top of the placed image. Two screenshots attached will hopefully make this clear. Not sure how to proceed with removing the space above the image. Thank you.
-
Hi Carl, That did the trick. Thanks so much. What a relief to have that behind me. Thank you, Chris
-
Thanks for taking a look. Hoping that maybe the screen recording might help.
-
Here's a screen recording of what I'm doing. Not sure what I'm doing wrong. thank you. Screen Recording 2023-03-11 at 5.45.32 PM.mov
-
There are two screenshots, one shows the image selected and the settings for text frame are set to none. The text is not selected.
-
Thanks Walt. In this attachment, text wrap for the picture is indeed off. You can see that the text frame is dropped on top of the image, but the text stays in the same spot under the picture. Not understanding why. Thank you.
-
That's it, but it doesn't work for me. In the attached screenshots, I have turned off text wrap, then dropped the caption on top of the picture just to try as an example. The text vanishes, but the text frame is visible. Thank you for your help.
-
Thank you, Lee. I appreciate your help. I have cropped my images and reduced the space around the images, but was wondering now if there was a way to overlap a text layer on top of an image in Publisher 2?
-
Hello, I'm stumped. I hope someone can help me. I have been working on a Publisher 2 document. I want to place pictures on some pages, and then add some captions. When I put the photos on the page, I notice It puts this little slider under the pic, and when I try to adjust, I sometimes end up with a border around the pic? I like the adjustment ability, but don't want a border around the pics. Also, I cannot even put captions nice and close under the picture. I experimented by creating a caption in a separate text box, then I choose one of the text wrap options, for example "tight." I then move the caption under the picture, but cannot get close enough without the caption disappearing?! I just want to be able to control how close I put captions. Any ideas of how to fix this? I've attached the project. Specially it's on Page 3 of this document where the issue presents. Thank you so much for any help. Chris Data Storage in Space.afpub
-
Thanks again, Walt!
-
HI Walt, It's Affinity Publisher Workbook, page 236, "Add page furniture". This is where you put some vertical lines next to text columns. Thank you so much.
-
Ps. In this tutorial in the Publisher Workbook, it says to "Reduce the narrow text frame's width by 2mm on each side to make room for the column guides." I cannot find anything on the context menu, or by right clicking on the text frame that will allow me to do this. Do you have any idea of where I'd do this? Thank you, Chris
-
Bingo. Thank you so much, Walt!
-
Hello, I'm working on a brochure and having some difficulty with leading adjustments in the Text Styles panel. For example, the initial style "SP-Body" has 10.5 font size applied with a leading of 11.339. I want to set the text to 12pt, and the leading to 13.5, so I click on Edit Text Style for SP-Body, and change to 12pt font size and enter the 13.5 for leading. While this does increase the leading, I can't seem to fine tune it to 13 or 12.6, or 14, or 16, etc. It's like there is no ability to tweak or fine tune. From leading 12 to 20, there is absolutely no change in leading. It's only when I got to leading 24, there a change. I attached the file. Thank you for your help. Chris TEST2.afpub
-
Never mind, it's working now.
-
Hello, The link indicated in the Affinity Publisher Workbook https://affin.co/KBAAnnualReport takes you to a page promoting Affinity 2 software. Where do I find the Publisher resources now? Thank you.
-
Thanks, David, this is so helpful and is how I imagined it. BTW, I have used all of the affinity programs but only sporadically, and sometimes need a little reminder of where to start. It's sort of like when I cook. I do it so sparingly that I sometimes forget how to use the digital control pad on the stove. I know what I want to make, and once my memory is jostled, I'm usually off to making something interesting. Thank you so much for understanding and for your kind help. Chris
-
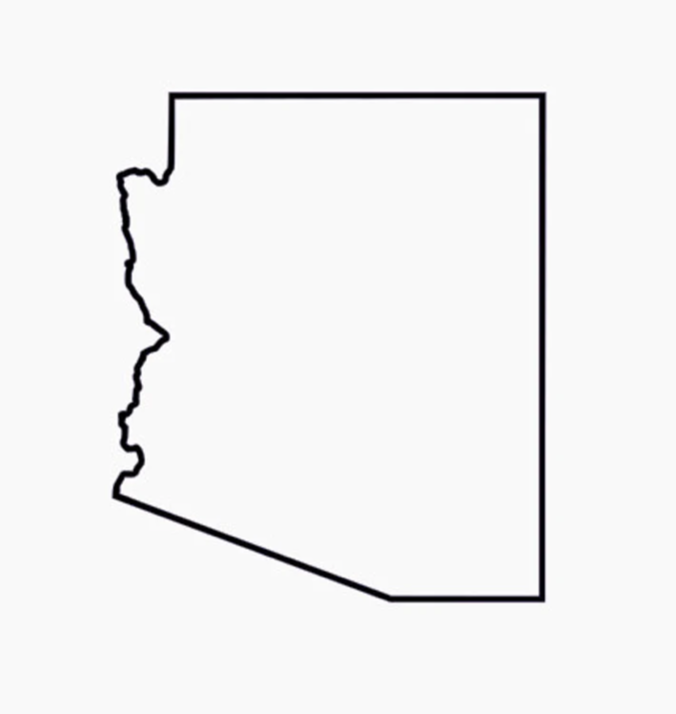
Hello, I'm brainstorming on some logo ideas. The objective is to ultimately develop a logo for a photoblog about travel and beer tasting/breweries throughout the state. It may be used on instagram, too, so I have to sort of contain things in a circle since Instagram logos are circular. Was thinking that since the shape of the US state of Arizona (pic attached) sort of resembles a mug, I'd maybe fill it with some beer and add a handle. Probably corny, but I just need to start somewhere. I'm not sure of how to go about filling the shape with beer, and adding a handle. I'm assuming Designer is the appropriate software, but I have Affinity Photo and Publisher as well. Can someone could get me started and perhaps share some thoughts on how to add a mug handle and a beer-like fill? Or any other ideas would be great, too. Thank you so much in advance for any help. Chris
-
Hi. I'm creating a document in Publisher. A part of this document has a diagram with part numbers. I created this diagram in Affinity Designer. I export at high resolution as a PDF, even selecting 400 dpi since small text is involved. I placed the image, and printed and all was good. Then I spotted a typo, so I fixed the image in Designer, exported again as a high res PDF, then tried Placing the image in my Publisher document again. What is happening is that the document is now not as crisp. I've done this many times and can't figure out what is causing this. Publisher doc is attached. You 'll in the layers are the original pdf titled part nos 2, and the corrected pdf titled part nos. 9. If you toggle both on and zoom in, you will see the problem with the fuzzy-ness in the letters. The pdfs look perfectly similar when viewed in Designer. It's only when placed in Publisher do I see this difference in resolution. Thank you for any help! MASTER .afpub