

Angelramos
-
Posts
20 -
Joined
-
Last visited
Posts posted by Angelramos
-
-
2 hours ago, Butler To Cats said:
What DM1 said, and see the Help under the Node tool for all of those icons (leftmost 5 are snapping, rightmost 4 are about transform. Note: you're missing a couple of transform icons that may not show up in portrait view).
Accessing the help on an iPad: go back to the gallery and tap on the question mark in the top right corner. Type node into the search box i the top left corner, and tap on Node Tool, scroll down to see the icons and their explanations.
Not sure if this will paste properly (note: if you hold Ctrl, or Cmd on a Mac, and rotate your mouse wheel, you can zoom your browser for a better view):
-
Action—Manipulates the curve(s):
-
 Break Curve opens the shape at the selected node.
-
Close Curve joins the start and end nodes to create an enclosed shape.
-
Smooth Curve modifies a line or shape, by adding and removing nodes, to make it more aesthetic.
-
Join Curves connects two separate curves together to make one curve. Curves need to be both selected with the using either the Node Tool or as you draw.
-
Reverse Curve lets you draw from the opposite end of the curve—The start node becomes active, ready for further drawing.
-
-
Transform—Transforms the selected node(s):
-
Transform Mode—when selected, creates a bounding box around the selected nodes, allowing them to be transformed as a grouping.
-
Enable Transform Origin—displays a movable transform origin about which the selection box can be rotated.
-
Hide Selection while Dragging—when selected, the selection box is temporarily hidden when transforming. If this option is off, the selection box remains visible during transformation. The selected behavior persists across all objects unless it is manually switched.
-
Show Alignment Handles—when selected, displays alignment handles at the center and edges of the selected object. Hovering over these handles displays a floating guideline across the page. You can drag the handles to position the center or edges of the selected object in line with this guide.
-
Transform Objects Separately—when selected, where multiple objects are selected, they can be be resized, rotated and sheared independently of each other instead of transforming the bounding box.
-
Selection Box From Curves—when selected, the selection box encompasses and includes all curves that extend outside the array of currently selected nodes.
-
Cycle Selection Box—after reshaping, rotating, or shearing the shape, this option resets the selection box to vertical.
-
-
Snap—Controls node snapping:
-
Align to nodes of selected curves—aligns any moving node you drag to any other node on the same or a different curve.
-
Snap to geometry of selected curves—will snap moving node to the same or different curve's path or node.
-
Snap all selected nodes when dragging—will snap multiple selected nodes, when dragging, to a "target" node on any selected curves.
-
Align handle positions using snapping options—will snap a control handle to a curve's path (or node) or shape's geometry. With global snapping's Snap to Grid enabled, you can also snap control handles to grid.
-
Perform construction snapping—allows control handle snapping:
- inline with adjacent node.
- to 90° from inline.
- to reflected angle with adjacent control handle.
- parallel to adjacent control handle.
- 90° to parallel control handle.
- to logical triangle.
These options are independent of the global snapping options.
-
Alright this is a lot of intake but knowing the description is really useful. I really appreciate this. I have the affinity workbook and it surprisingly doesn’t bring these up. Definitely going to experiment with these tomorrow, thanks!
-
Action—Manipulates the curve(s):
-
So, I’ve been using affinity for a while, but I haven’t really messed with these functions, I know they’re actions and snaps but I can’t tell the difference. If there’s any tutorial I’d love to figure these out, thanks!
-
3 hours ago, A_B_C said:
Hi Angelramos,
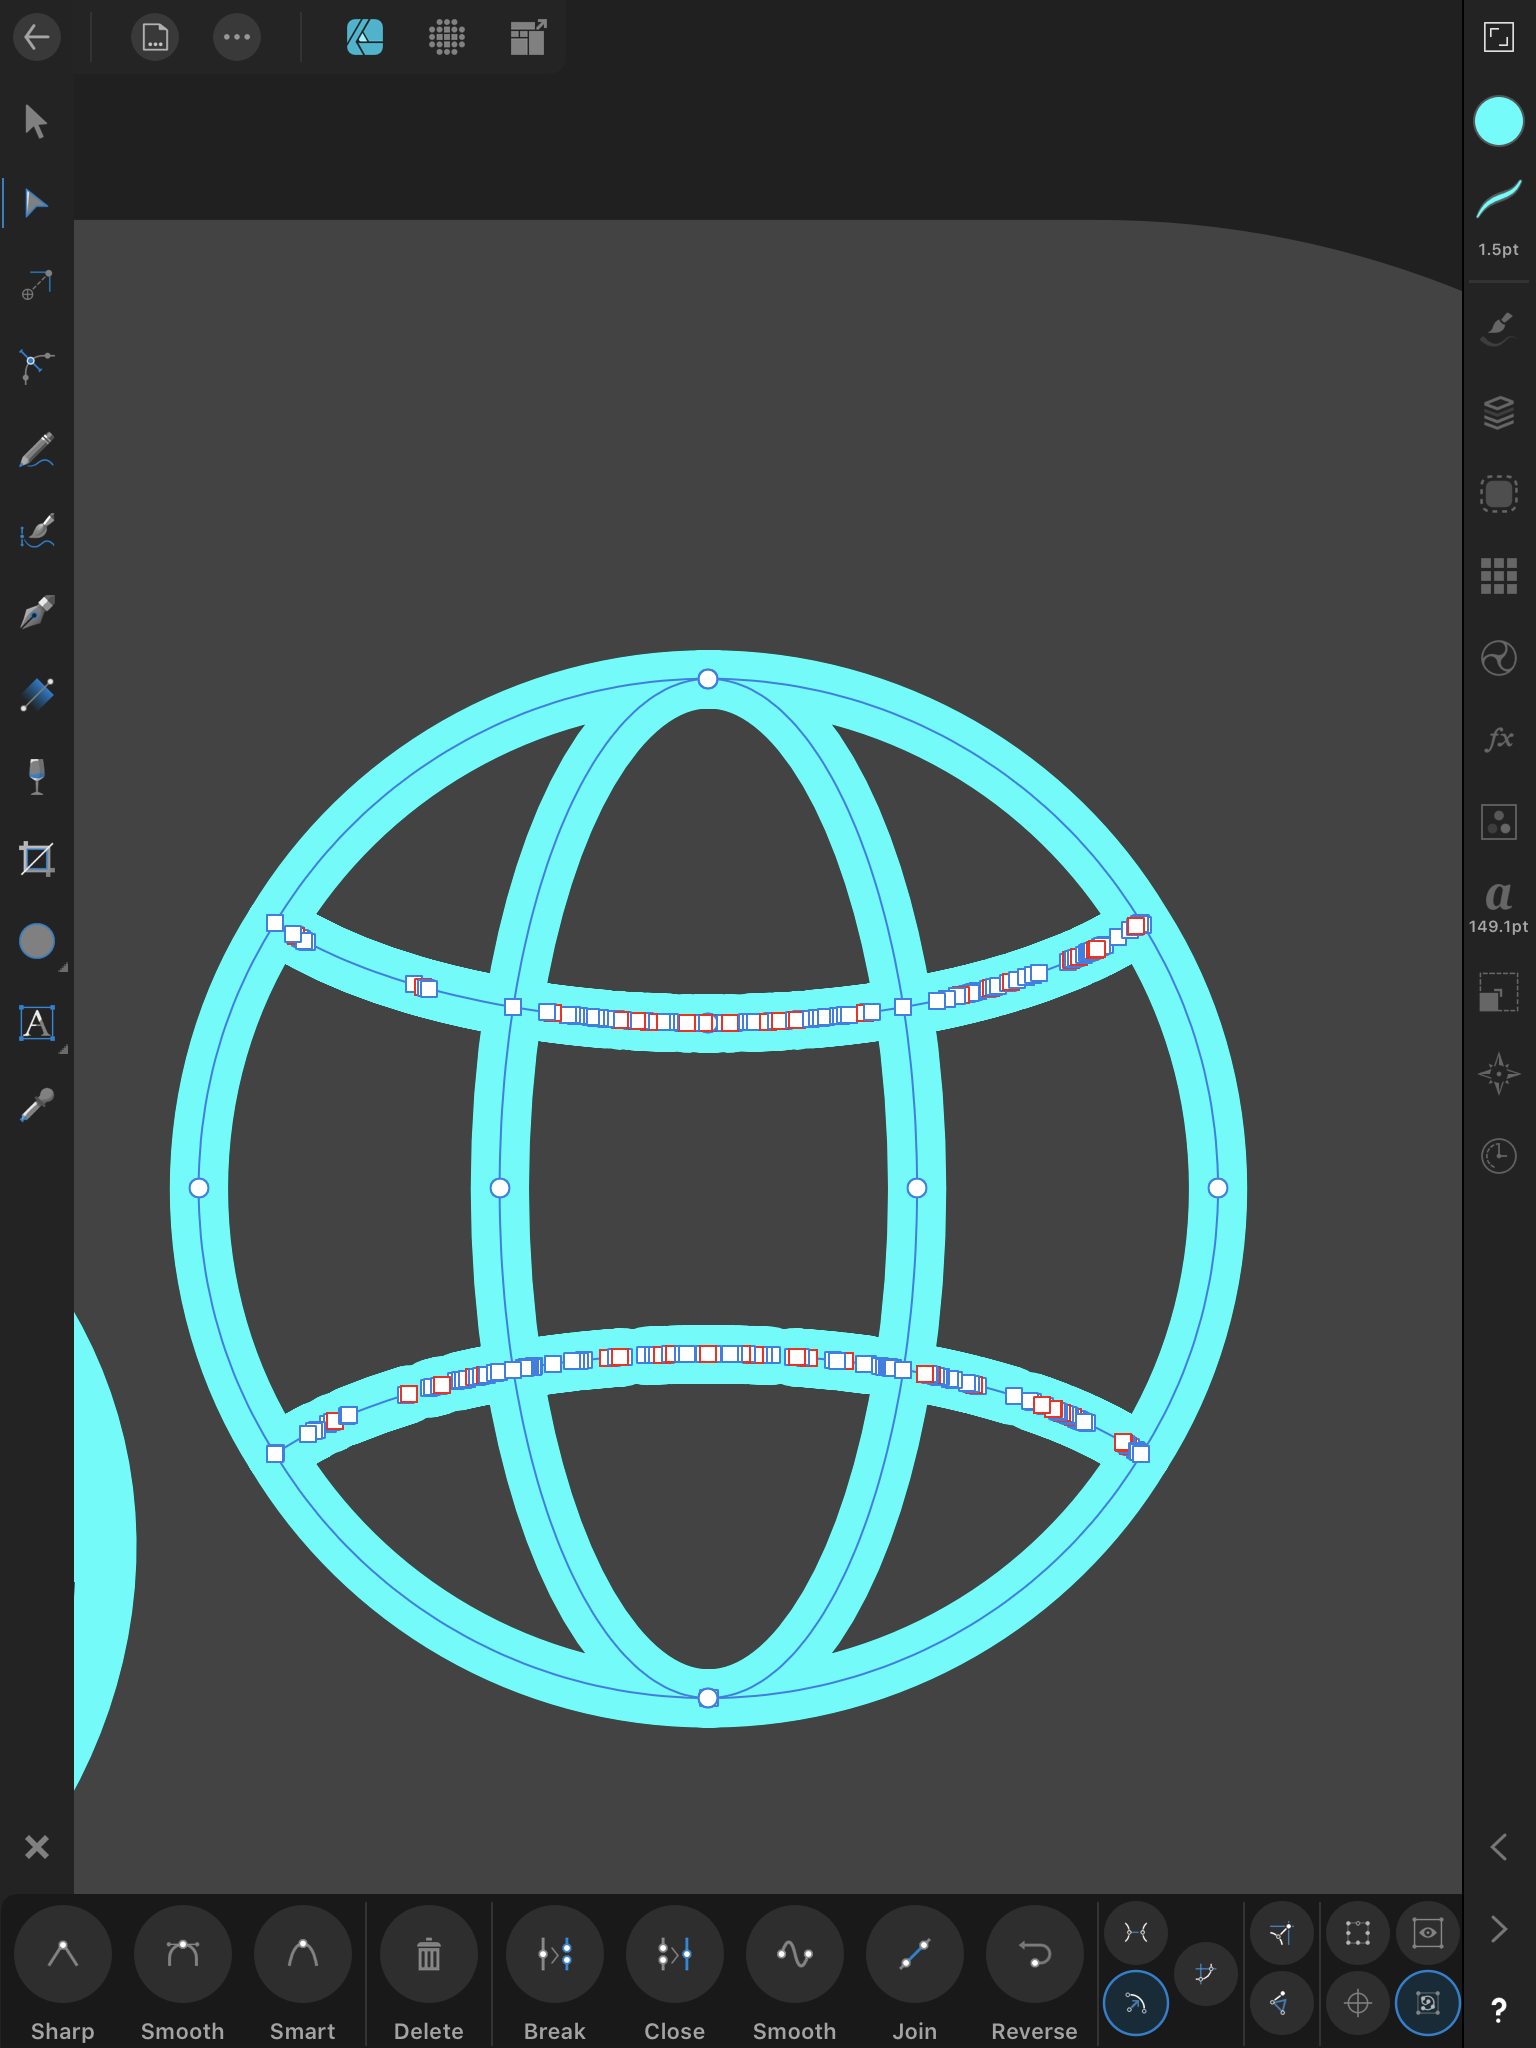
you will have to expand the strokes of your paths, before you can add the shapes together and retain the appearance of your icon. But be aware, the Expand Stroke function is currently under review. So your results may look similar to mine below. However, this situation should improve soon.
Alex
Thanks, really appreciate that help, I hadn’t realized the expand stroke tool was still in development. The lines come out a bit bumpy but much better than previously. Thanks so much for your help!
-
6 hours ago, Dan C said:
Hi Angelramos
Sorry to see you're having trouble. Could you please provide a copy of the .afdesign file before the Add operation for me? Many thanks in advance!
-
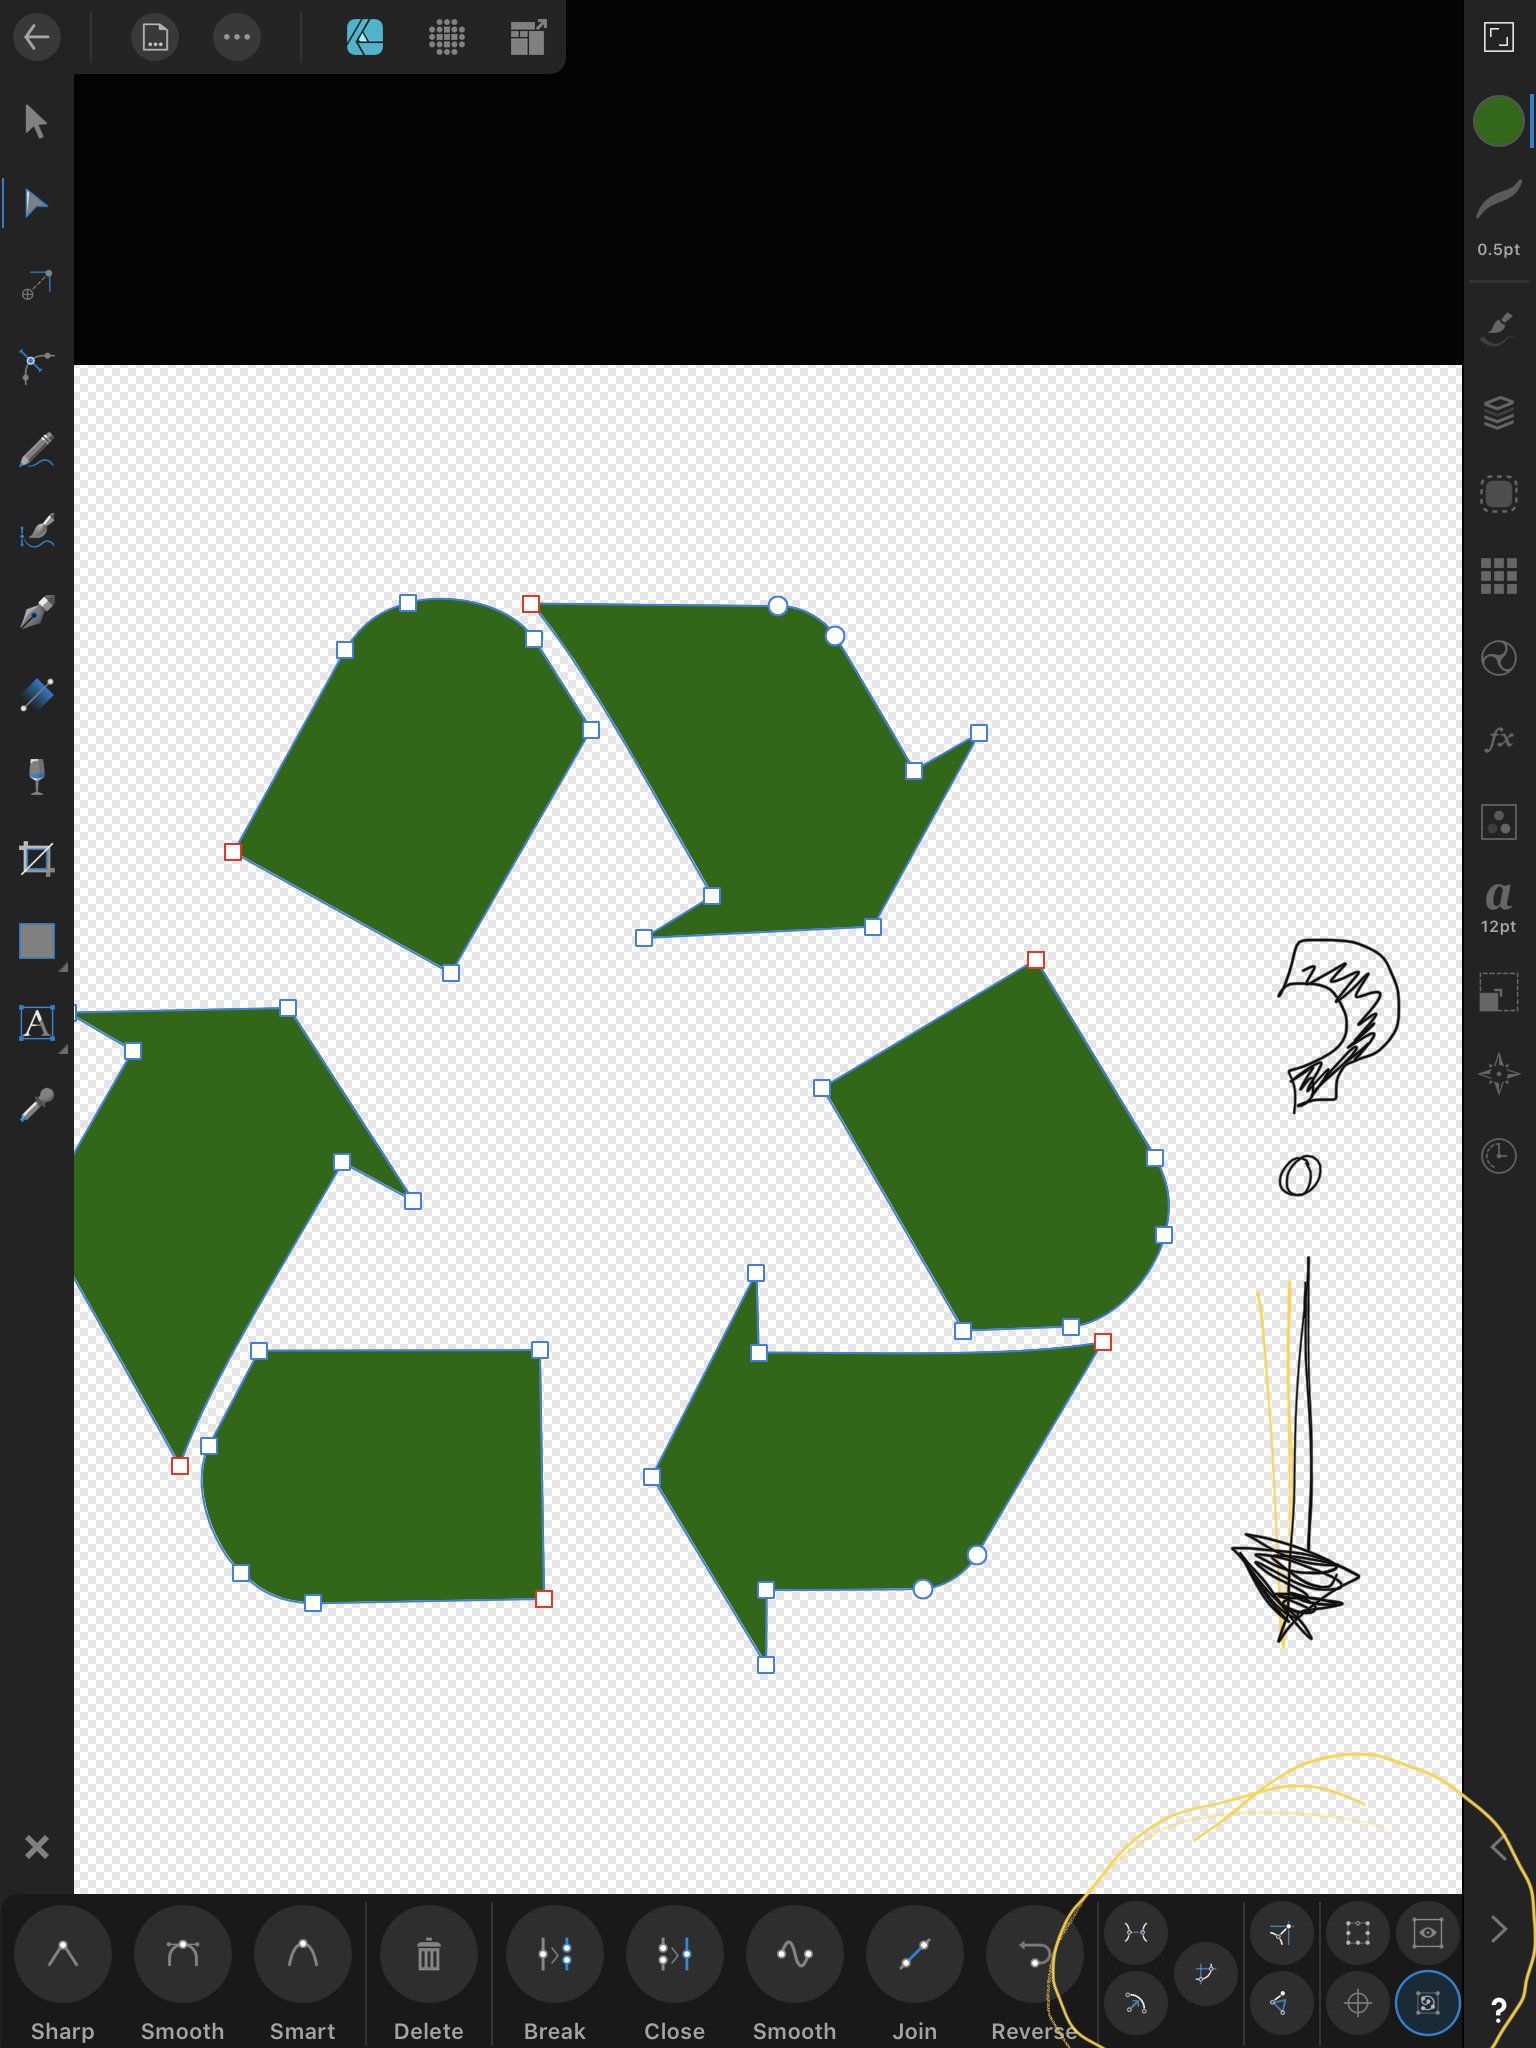
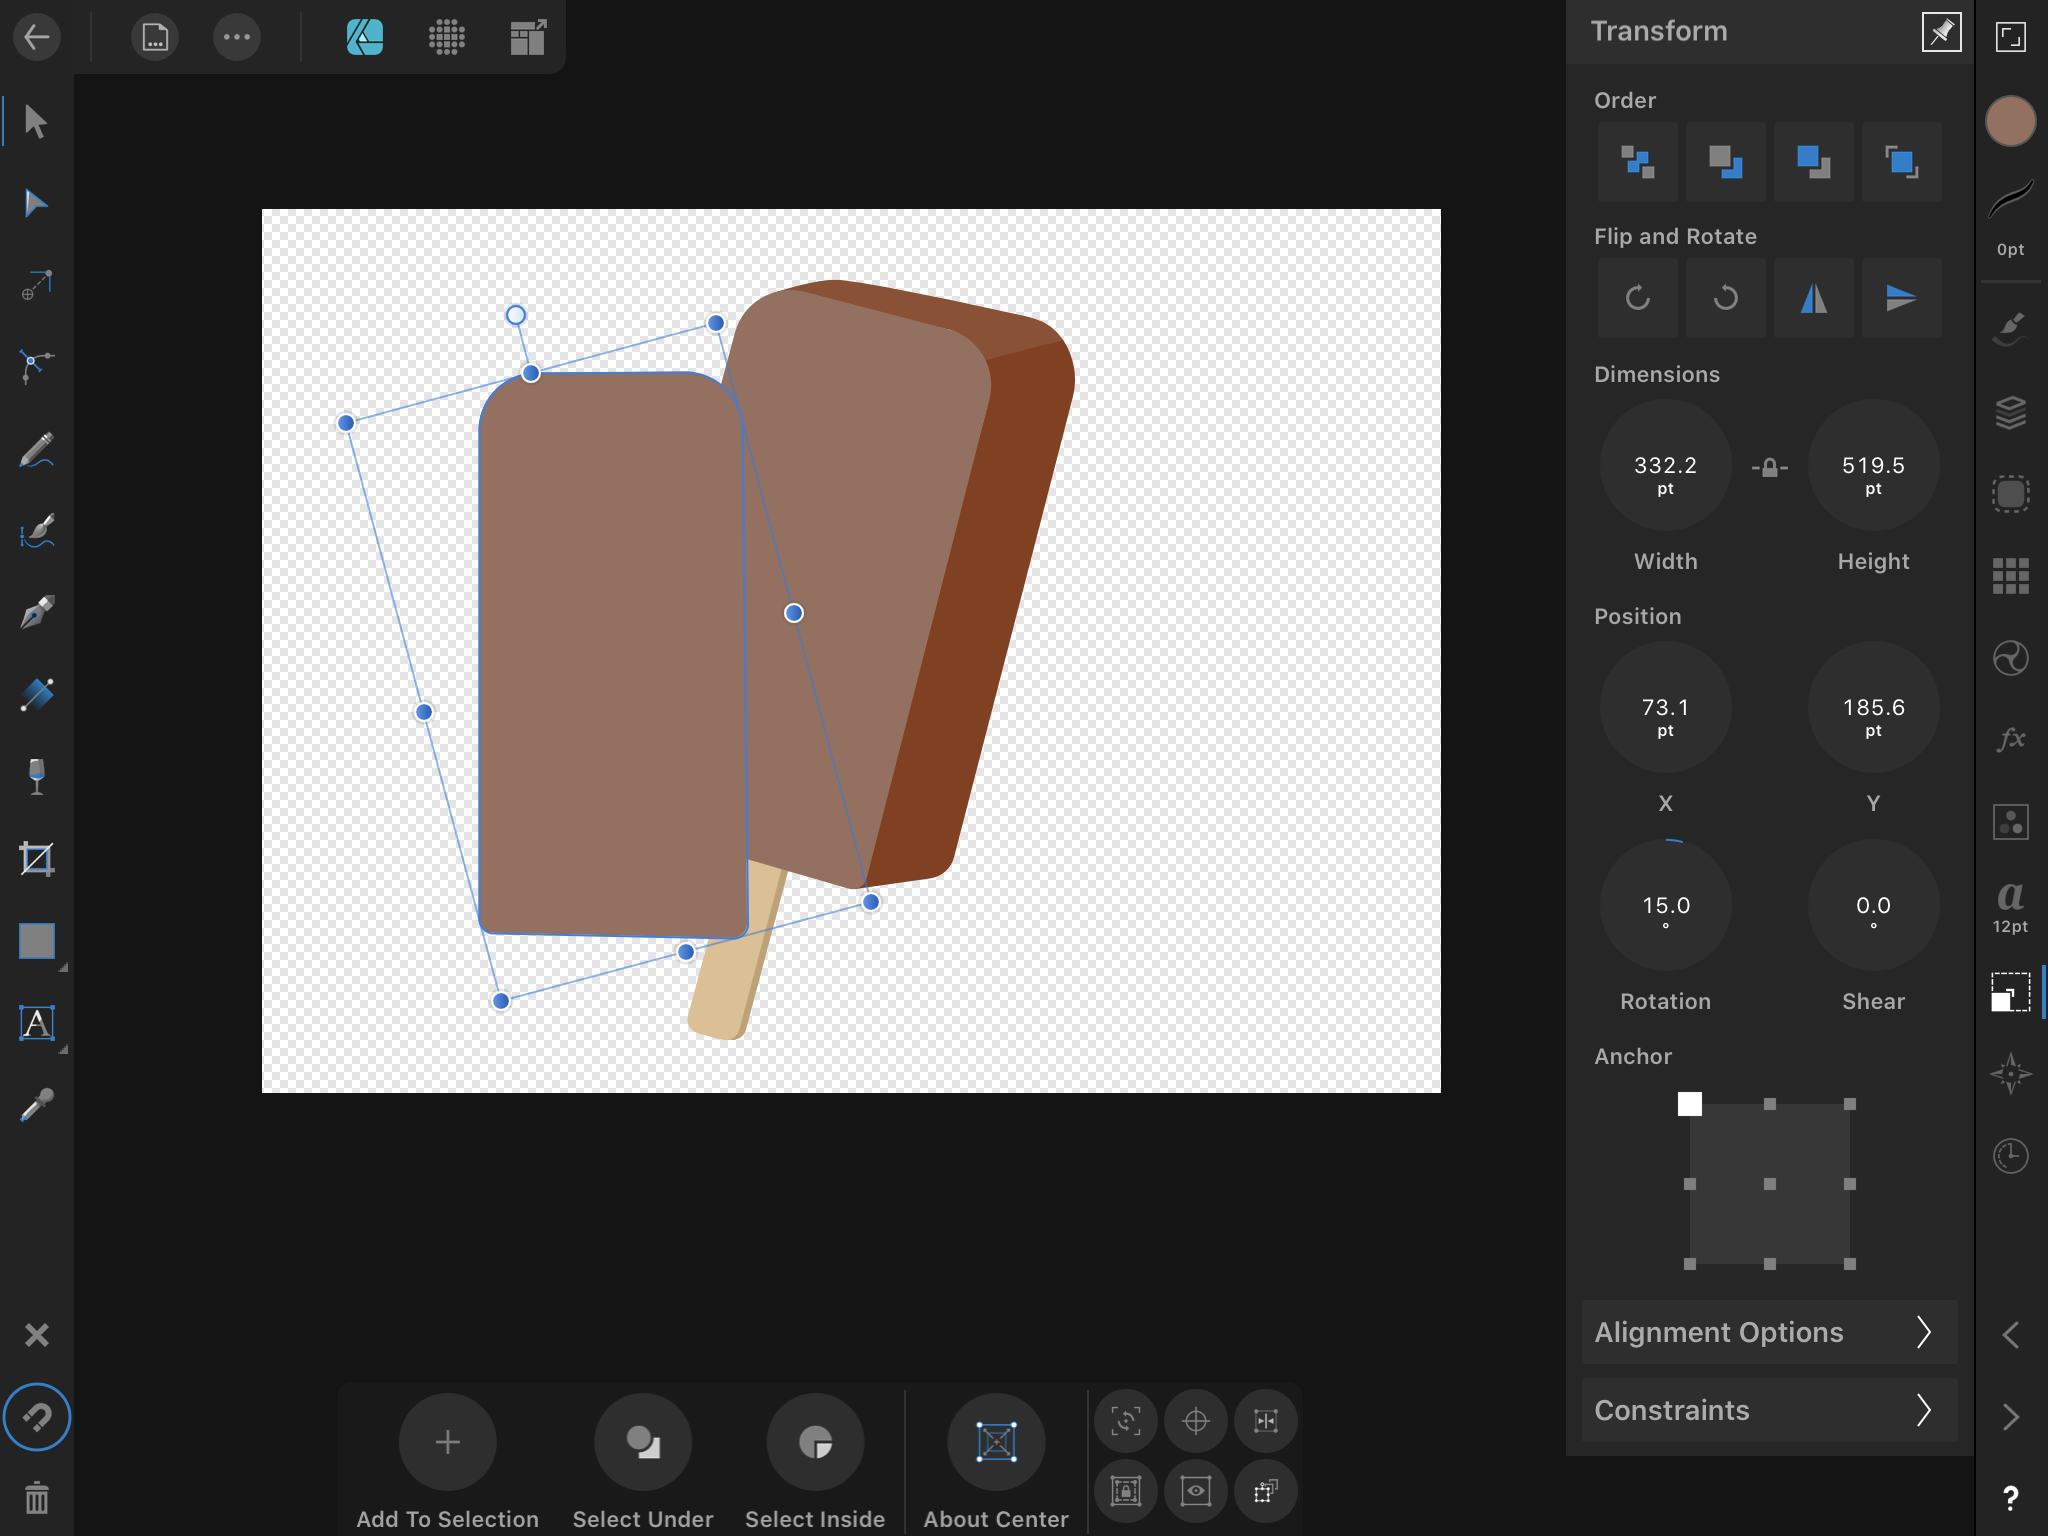
Trying to add these two shapes into one shape, not sure what’s going on. Would like as few nodes as possible.
-
xor Is good but it makes it very bumpy and not smooth
-
You can adjust spacing of text using the text positioning panel. Kerning individually spaces each character individually. Hope this helps.
-
it looks like your accidentally selected some of the photo with your subjec;, if you invert the subject from the background (1:45) it should select just the plane inside, hope this helps!
-
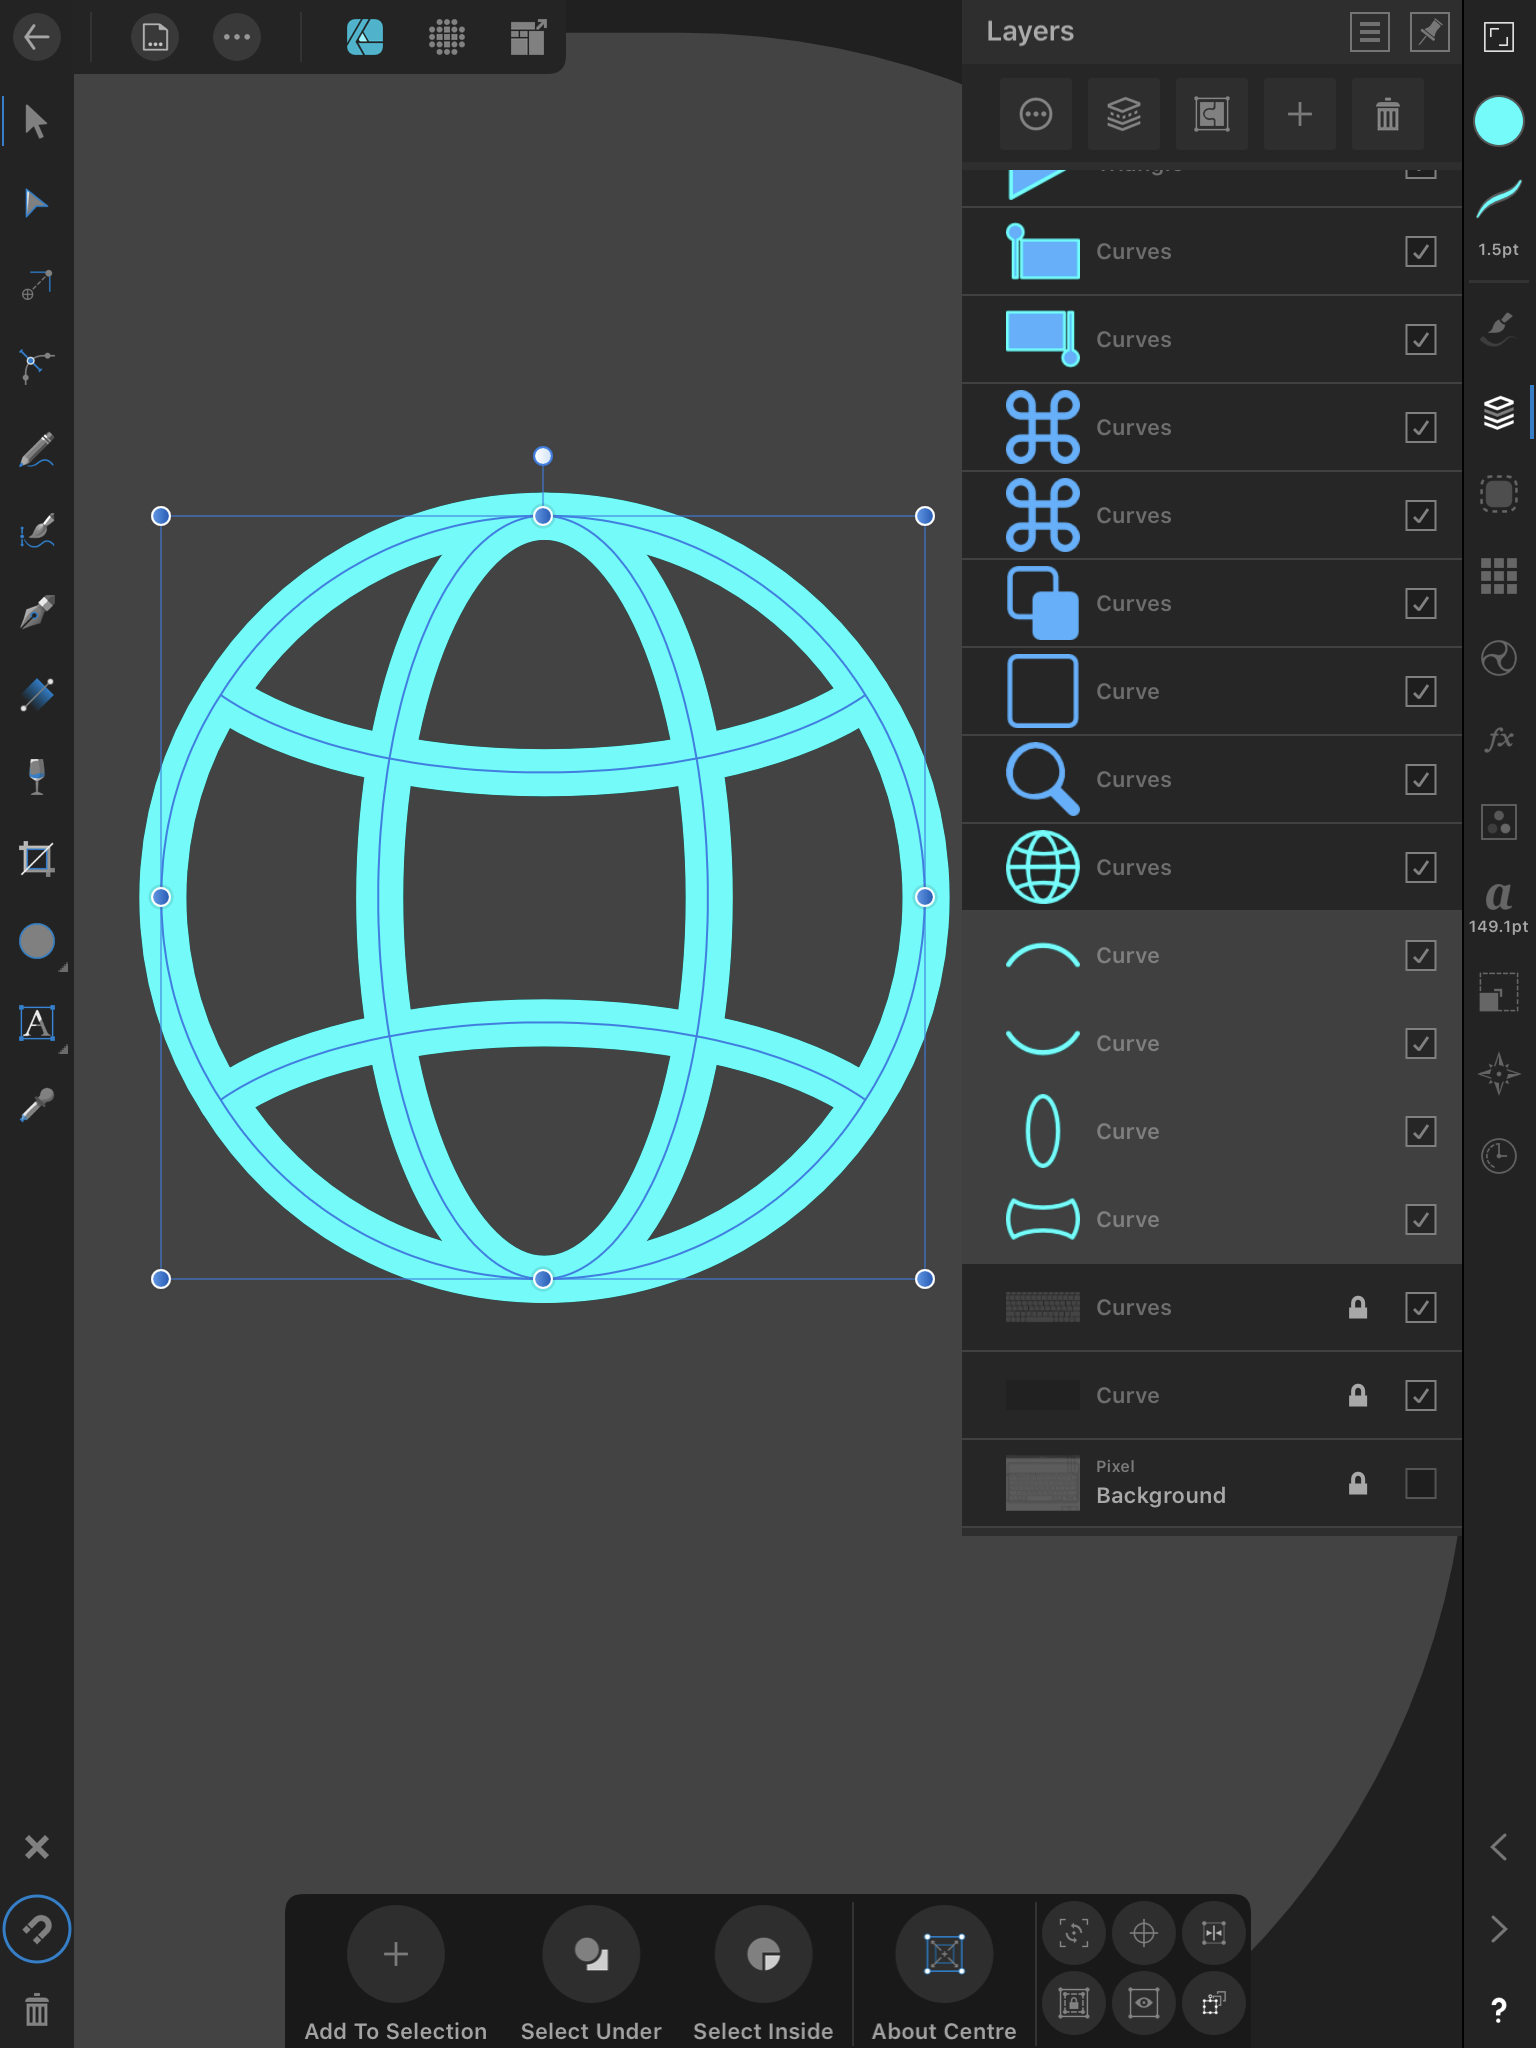
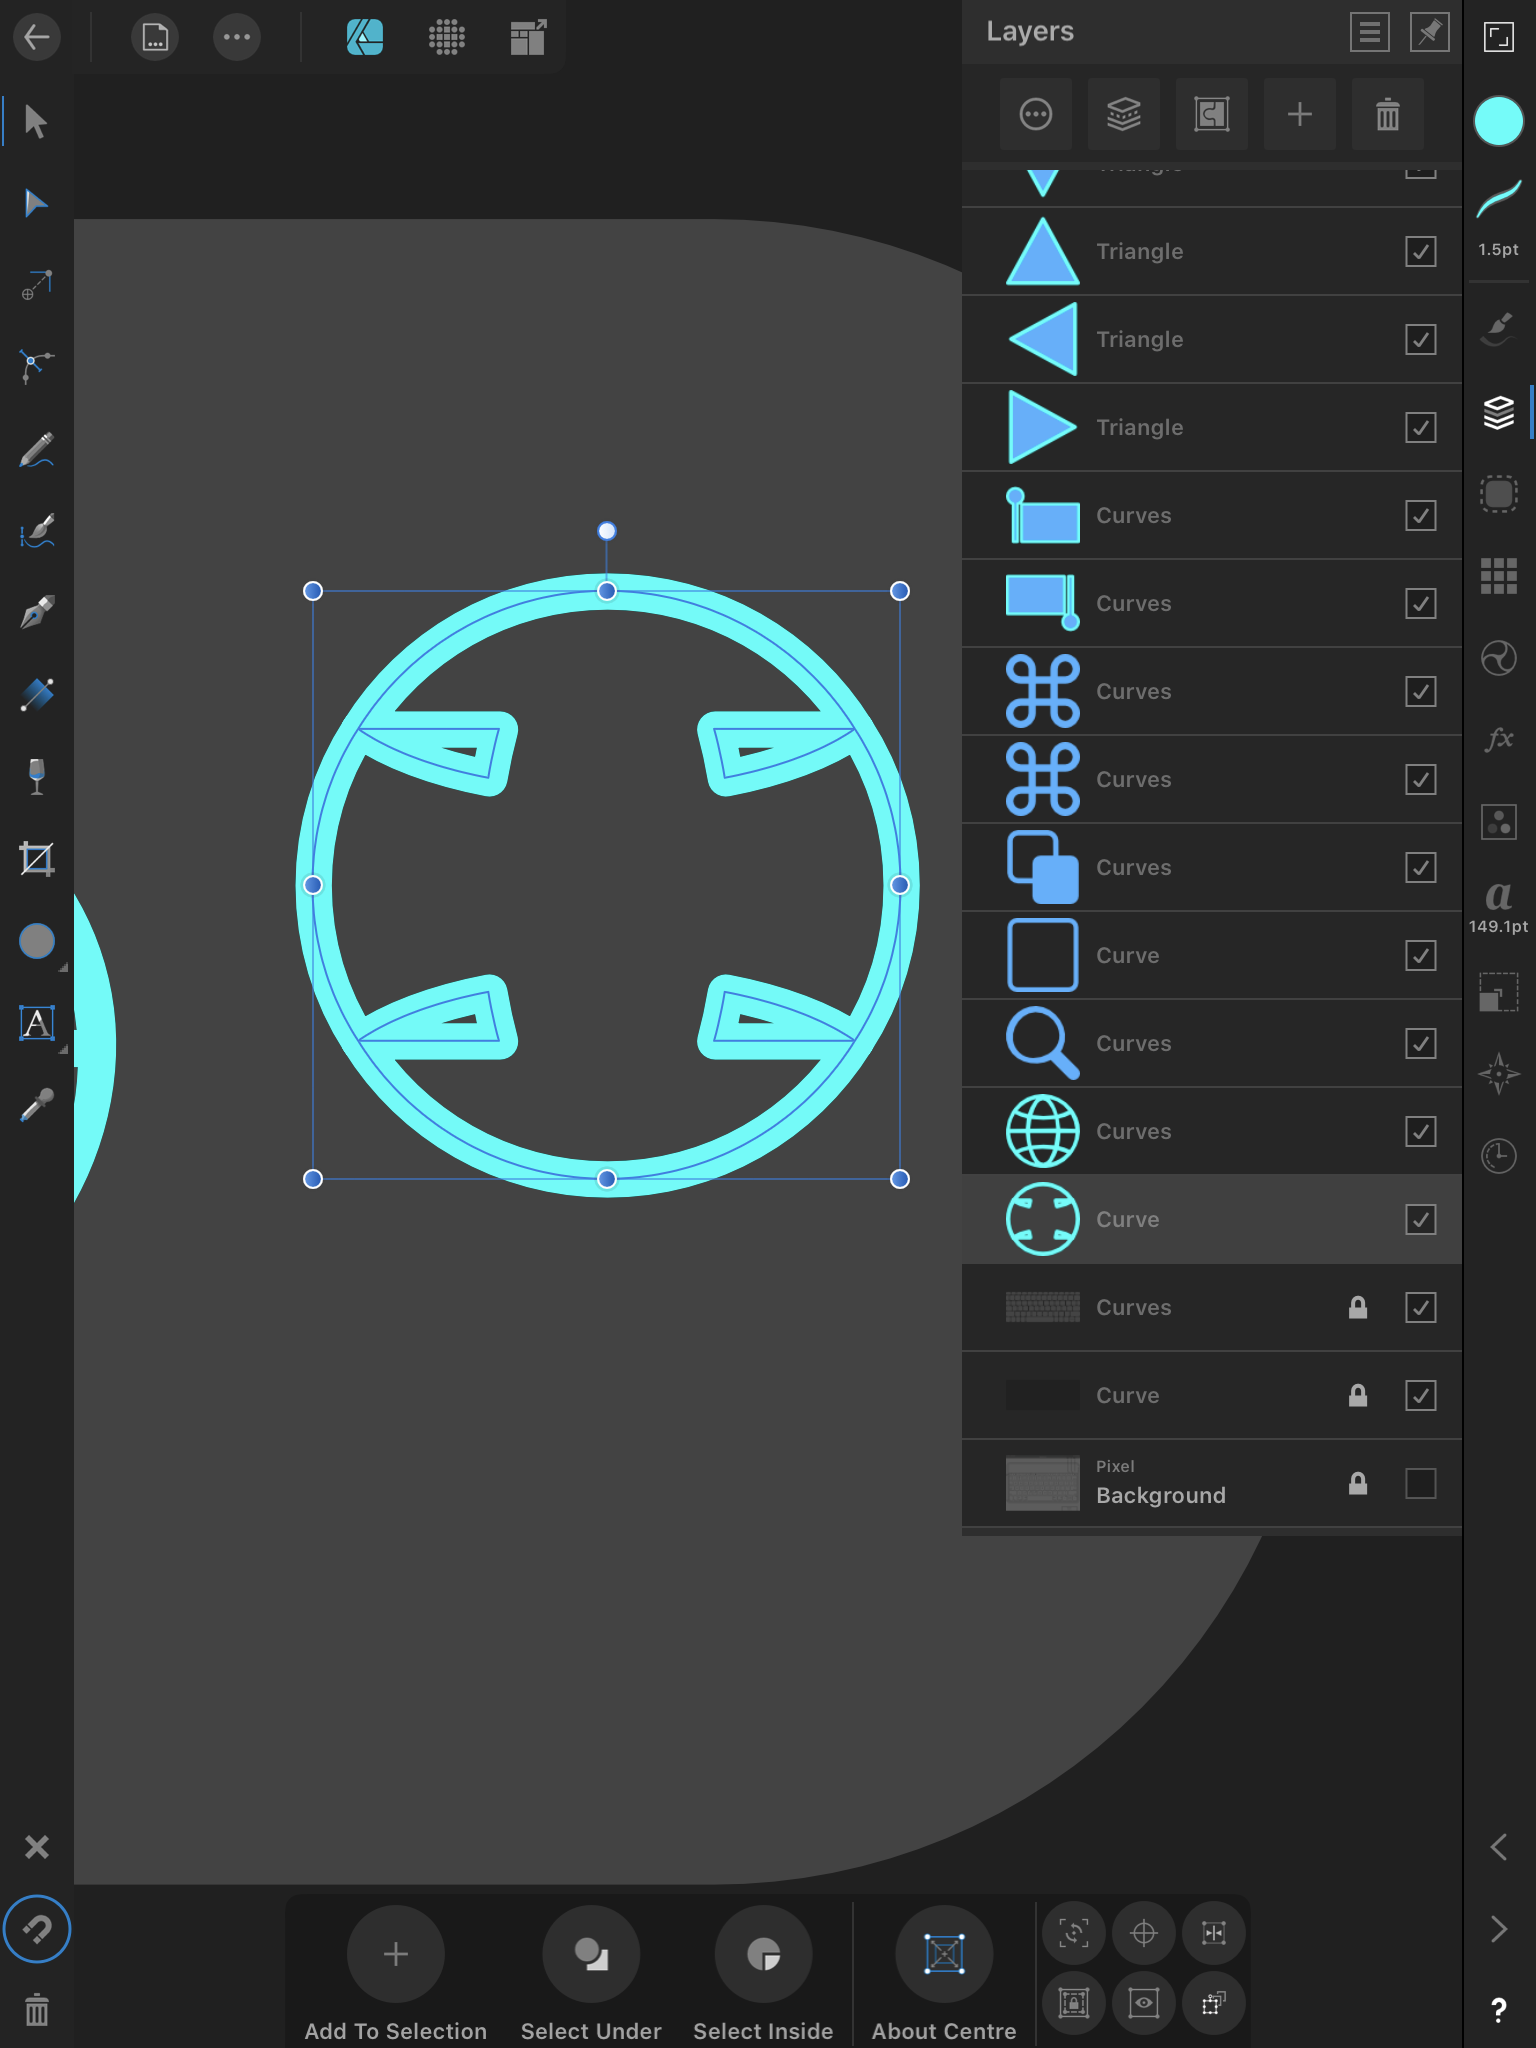
Hi, I’m trying to add all these shapes together, but when I use the Boolean property I get something totally different. Any help? I know I can expand strokes but then I no longer get a perfect shape.
-
Trying to split a shape into 3 piece, would there be any method of resting the binding box?
-
Thank you so much for the reply! I was always afraid I was using the wrong tool, I never even knew about that feature.
-
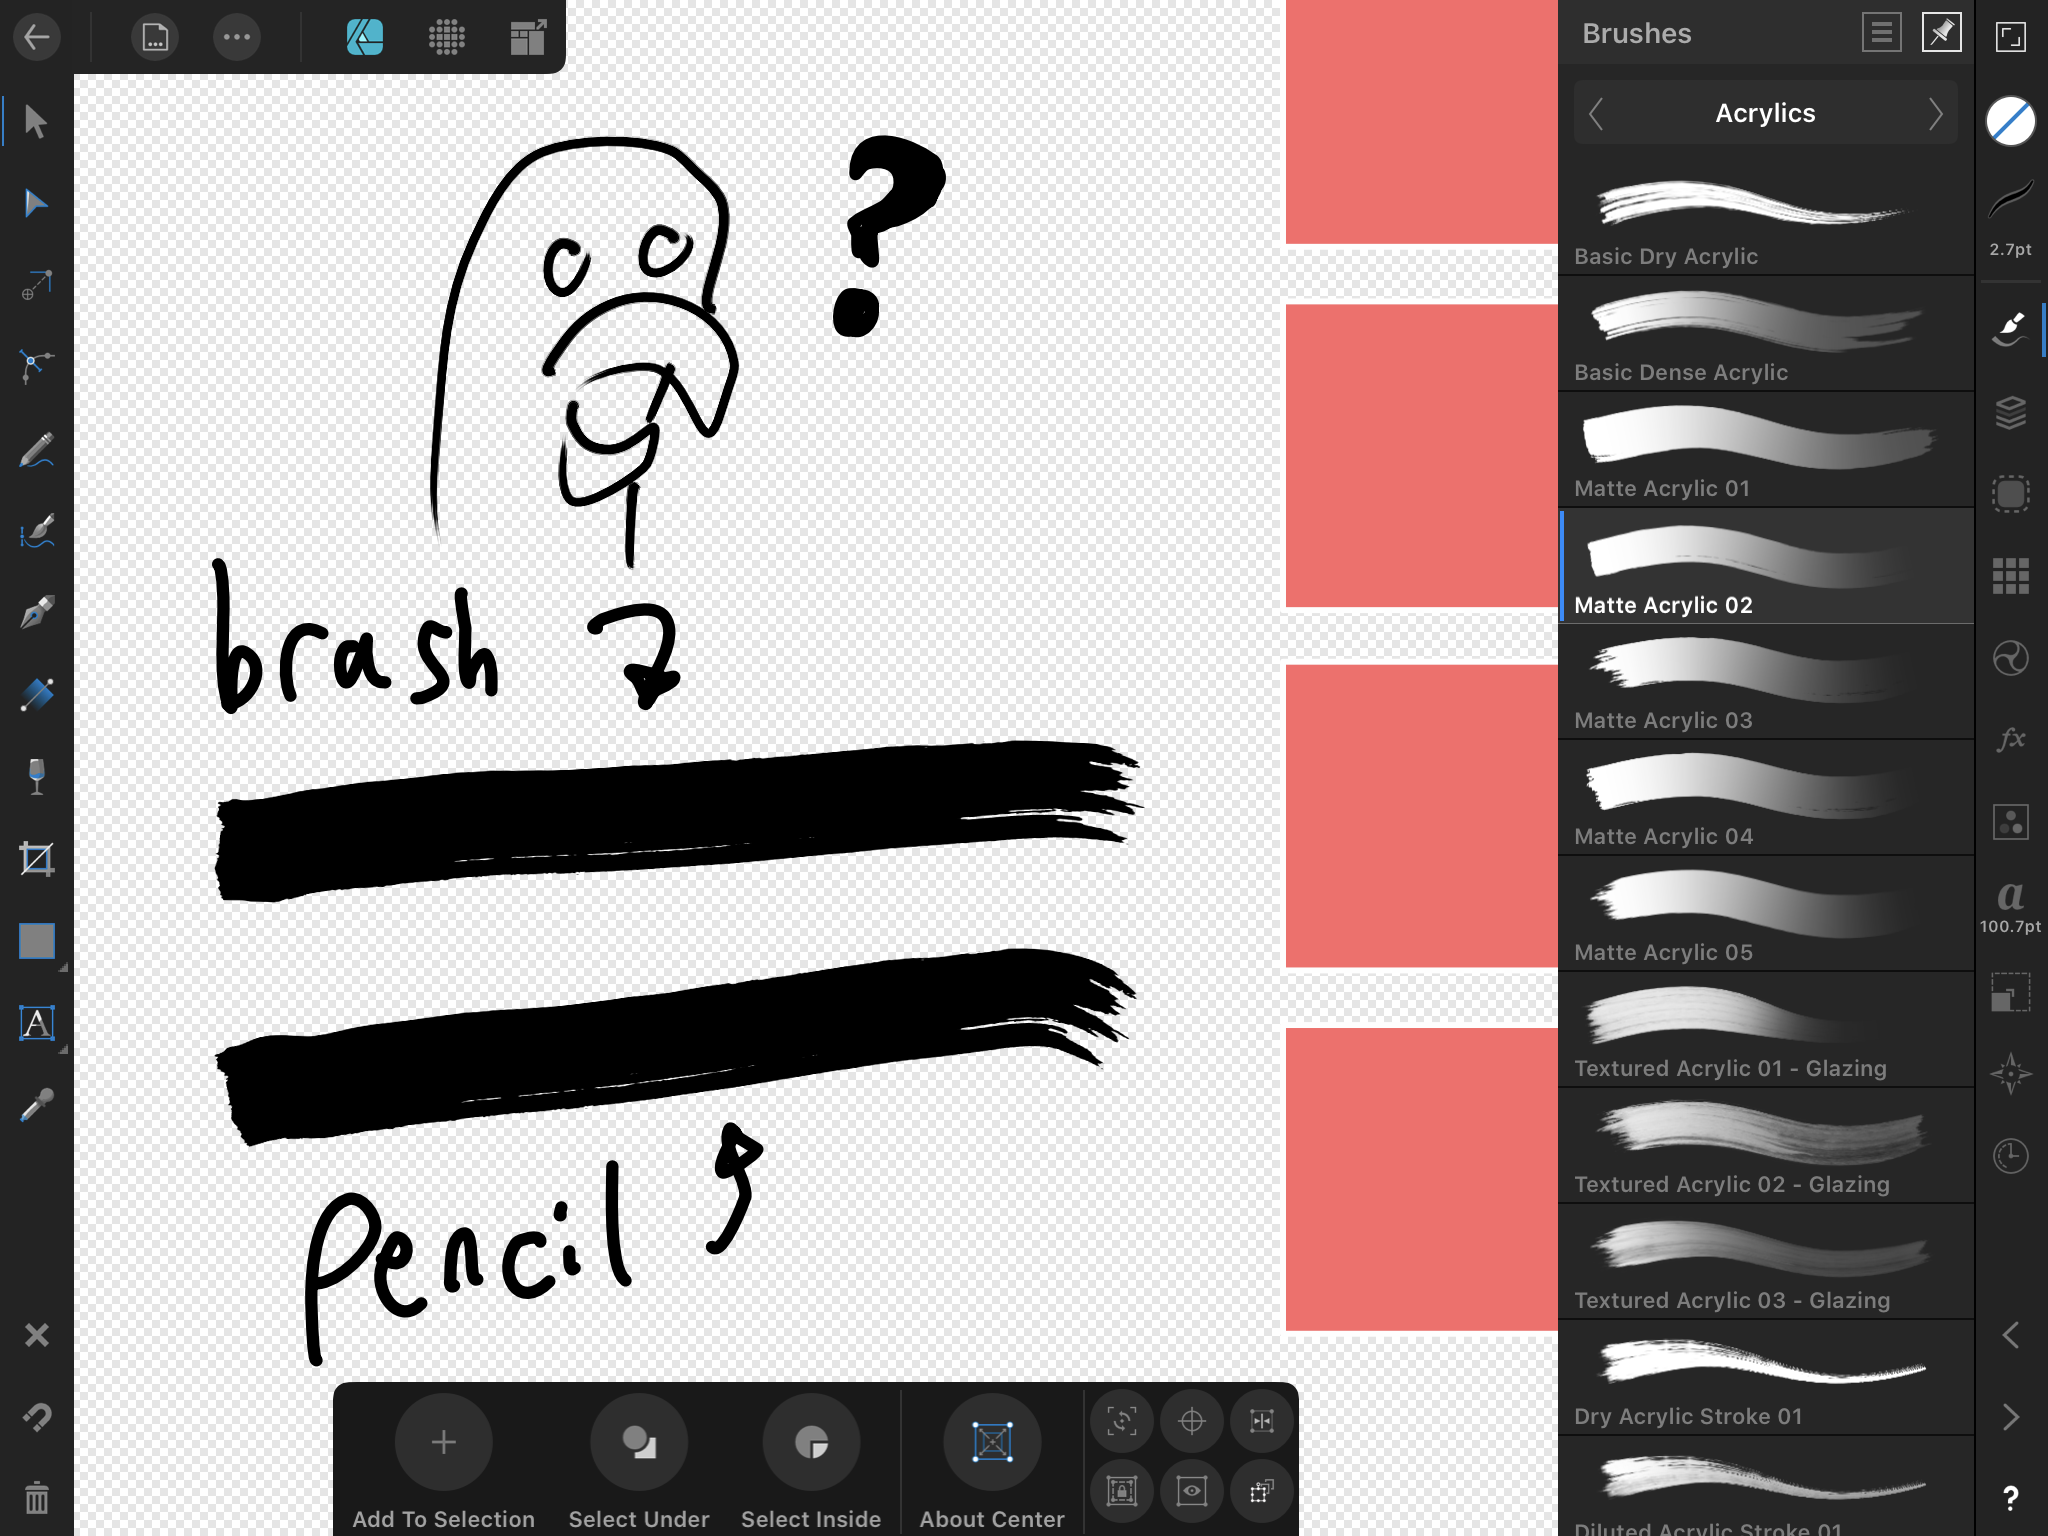
Just curious if there’s any differences I’m missing between these two tools? They seem to do the exact thing with the exception of the pencil tool starting off as a normal line and then being able to turn into a brush later?
-
You are the MVP! Definitely a feature I noticed was missing but I thought it was just hidden. Hoping hexadecimal comes soon as well. Really really appreciate this.
43 minutes ago, Ulysses said:Fixed this using the appropriate Background Color tool in Designer for Mac and making it transparent again.
Now you can create text in the document again without any background color.
-
Text layers all seem to have the same white fill behind them unfortunately.
-
-
Yeah that’s exactly what I did @DM1, I hadn’t realized it was a bug, there should be a way to set fill to text as well I would assume just didn’t know if it was in the iPad version.
-
All made on iPad, I think it may have been because I copy/pasted a symbol, but now I’m not too sure how to remove it.
-
-
Not entirely sure how I activated this, does anyone know how to deactivate it? I’m getting a fill behind my text that blocks other layers


How to reset text tool? My text keeps overlapping when I press “enter”
in Pre-V2 Archive of Affinity on iPad Questions
Posted
Hi, I’m not sure what I messed with, but every time I press the “enter” key my text returns to the beginning and overlaps on the same layer. Would there happen to be a way to reset the text tools?