jdrux
-
Posts
18 -
Joined
-
Last visited
Everything posted by jdrux
-
This is along the lines of what I'm trying to do, but still its not as "editable" and easy to create as I would like.

-
Thanks for your help. This method would not work for my needs as I don't want to be left with with ends (either rounded or squared off). I want to have a mask that I can adjust. I've done it before, but I'm not quite sure how I did it. The layer says "mask" not curve, but is still a vector object that is fully adjustable.
-
Thanks yes this is the effect I want, and I did figure this out myself. However it seems a little backwards as usually black hides and white shows in masking. So one would think you can drop a black shape on exactly what you would like to hide, but that is not the case with curves. I do this all the time in Affinity Photo and other applications.
-
Hi there, I'm racking my brain trying to figure out how to do what I think should be a very simple task. I have created a rectangle (curve) and I would like to use that to mask out another curve, so the 2nd curve is visible except the rectangle on the top layer is not. I have been trying to drag the upper layer to the right of the lower layer's thumbnail, but I get the opposite result of what I would like. It shows lower layer within the rectangle bounds and hides everything outside the rectangle. Is there an easy way to reverse what is masked? or do I need to go about this in a different method? Thanks for all you help!
-
Publisher Tabs/Tables
jdrux replied to jdrux's topic in Pre-V2 Archive of Affinity on Desktop Questions (macOS and Windows)
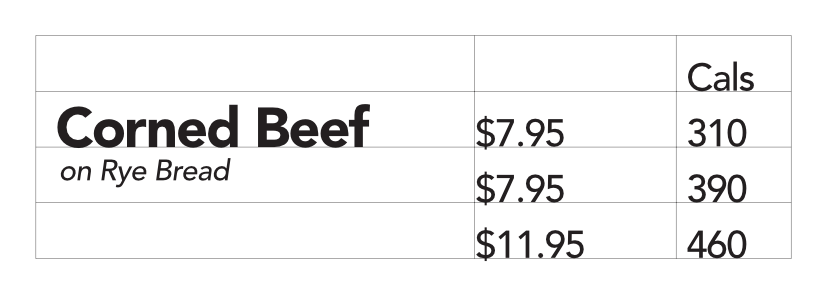
Thanks so much for your help! I'm pretty happy with how it turned out with tabs. The only problem I ran into was if I wanted to adjust the tabs I would have to copy/paste the text from the table into a text frame, make the adjustments, then copy and paste the new tabbed text into the table.
-
Publisher Tabs/Tables
jdrux replied to jdrux's topic in Pre-V2 Archive of Affinity on Desktop Questions (macOS and Windows)
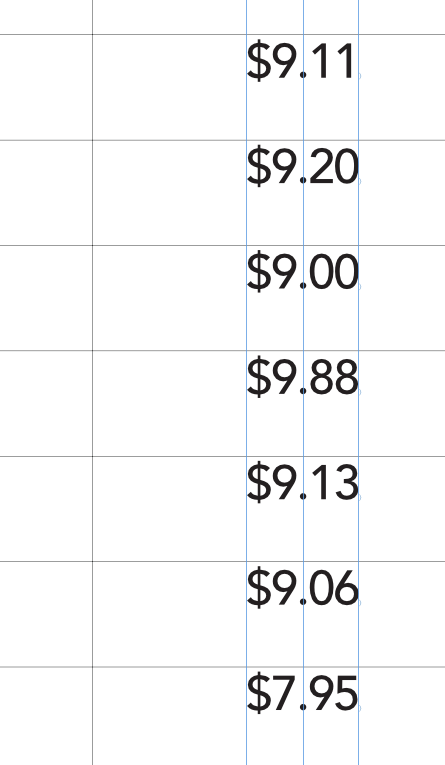
Thanks! I figured out another way around it. Using a right justification the decimal point seems to line up perfectly even if the 2 numbers after the decimals are different numbers. Something I don't think Adobe does...
-
Hi there, I'm trying to figure out how to align text within a table so the columns are aligned to a decimal point. In Adobe InDesign this can be done using Tabs, but I can't seem to access Tab Stops within a table in Publisher, only when using the Text Frame Tool. Does anyone have an idea how I could accomplish what I'm trying to do? Thanks!
-
WOW! Thanks for this. Very valuable information
-
OK Interesting, How to do you "copy the FX" to then "paste" it? Are you able to do this with adjustments as well? so all layers can have the same adjustments and FX? I'm not sure how to use/ access macros.
-
Hi I'm just looking to make my process more efficient. I have to create numerous images all the same size and with the same layer effects (outer shadow with the exact same settings for all). Is there a way to set the default layer effects to a custom setting so that when you create a new layer it automatically adds, say, a specific outer shadow setting to the new layer, without having to go into each new layer and create the same layer settings. In photoshop with is done by copy/pasting the layer style. Thanks for your help!
-
Thanks for the suggestion @Dazmondo77. Like @walt.farrell the video didn't work for me either. I didn't really understand your first suggestion and what I tried din't work. But the 2nd suggestion of creating a pixel layer with the desired shape fill and then dragging to the right of the image worked a treat! I'm interested to hear more about how you use this with multiple masks to create interesting depth of field effects. Thanks!
-
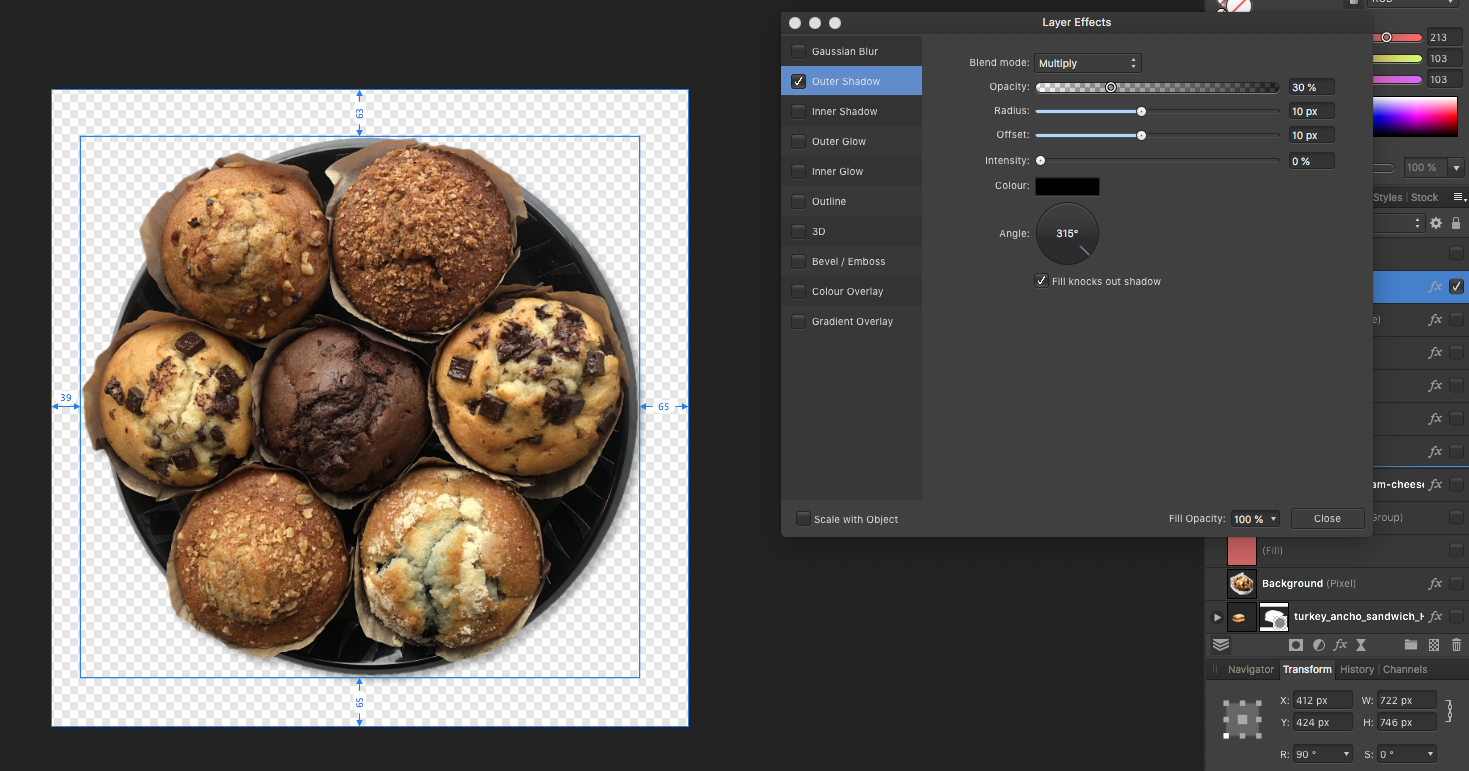
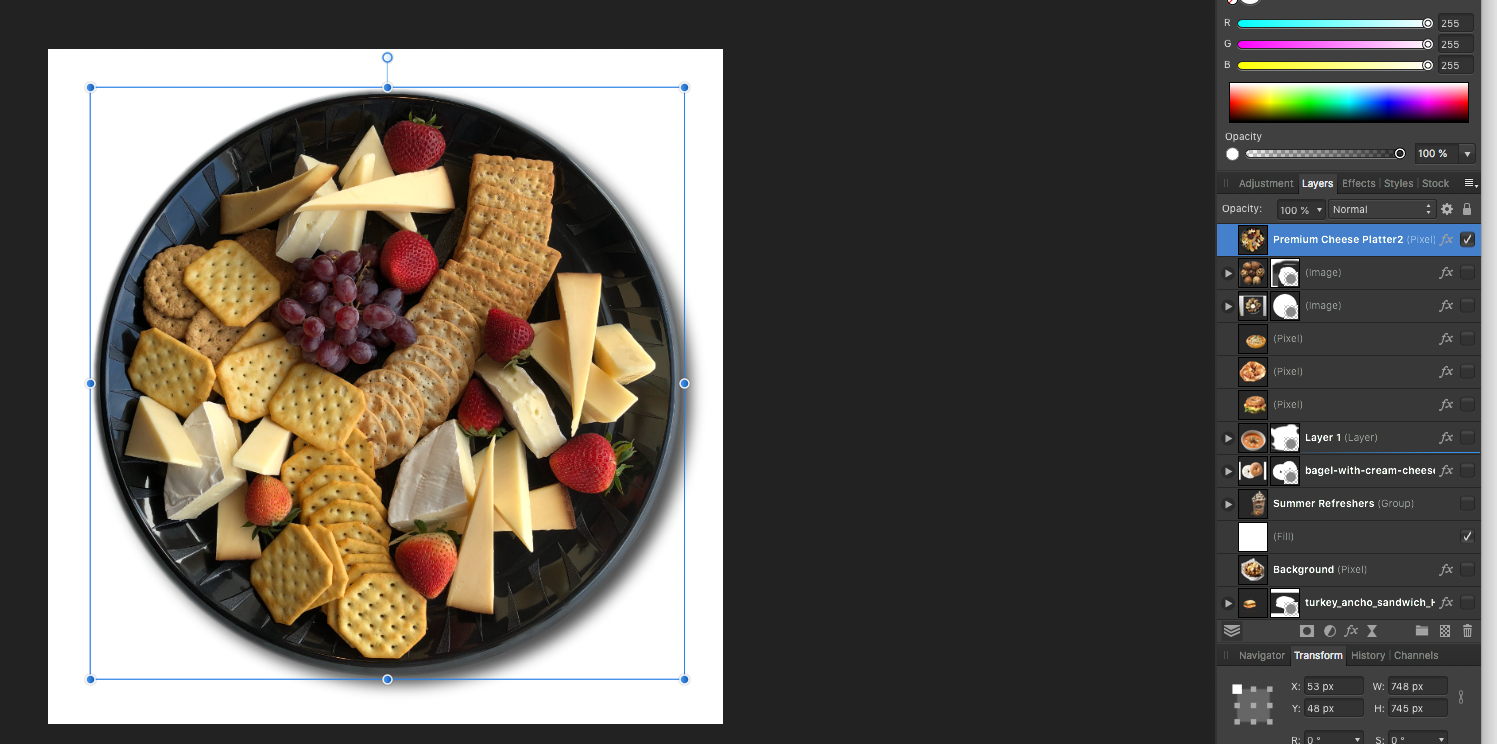
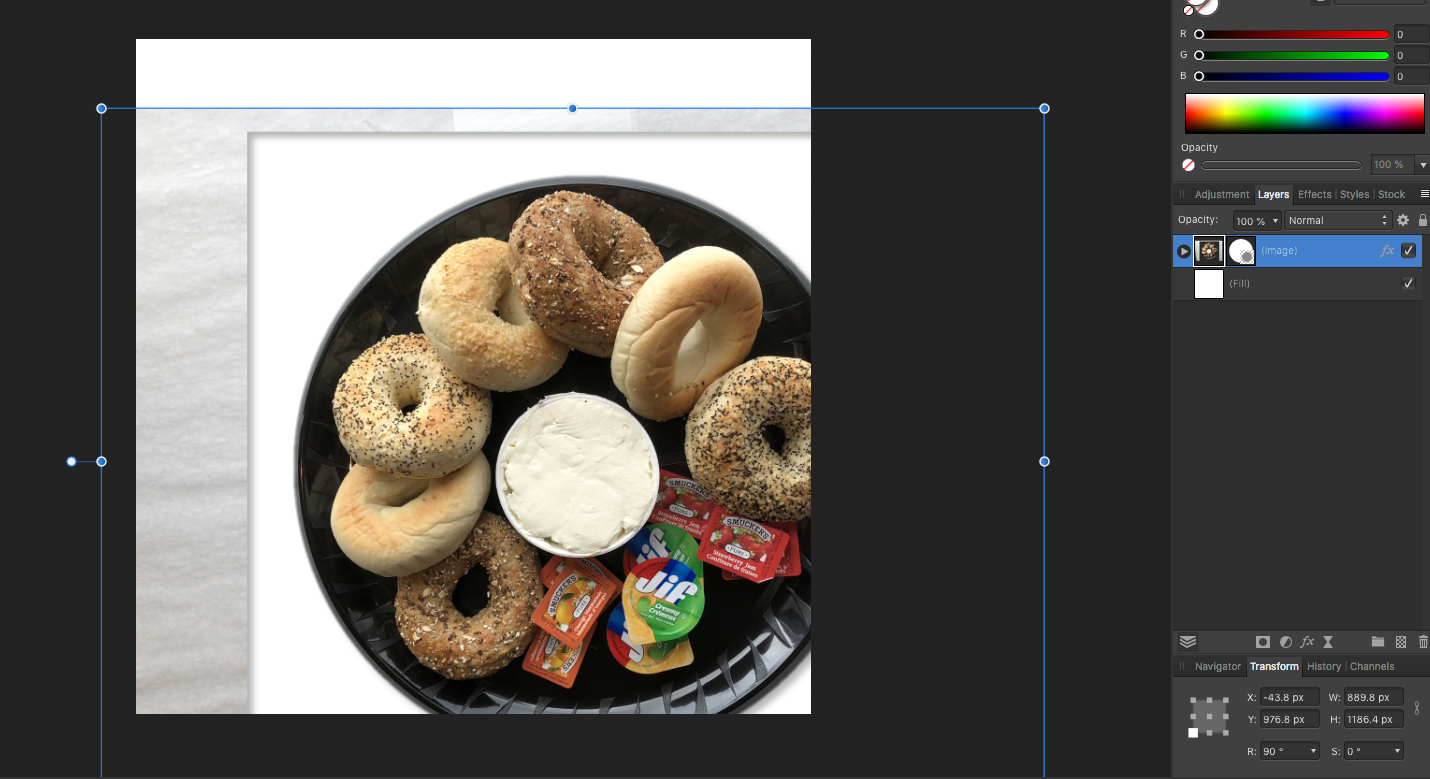
Thanks, I just tried some tests with the rasterizing and the one that worked the best was "Rasterize & Trim" after creating the mask, not before. Then, after rasterize and trim I could add layer fx that only effected the masked area. You can see from the screenshot how the selected layer has a bounding box around the image only. Thanks for the tips! So again, for anyone else having this issue: Rasterise & Trim after creating the mask, then add layer fx to the trimmed layer.
-
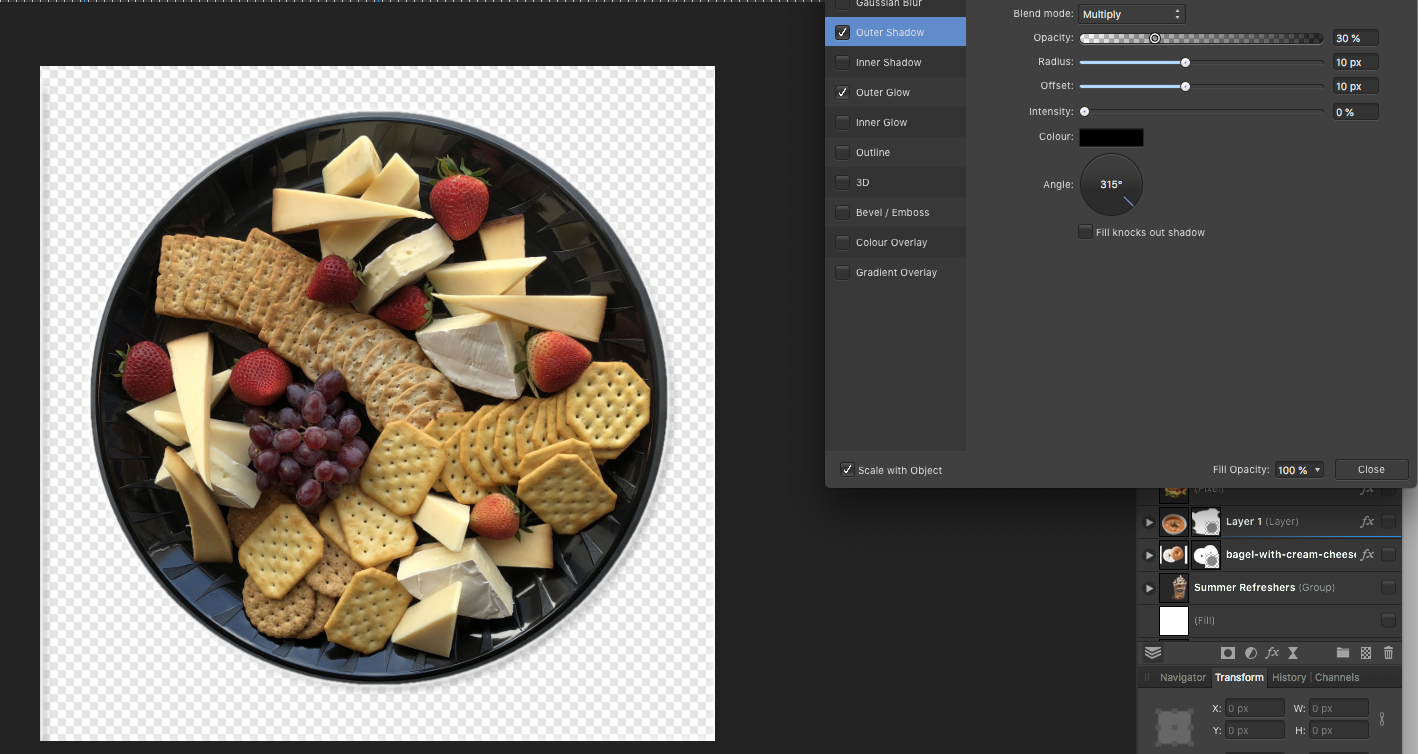
I guess I figured out what the issue was, but I wish there was a way around it. The issue is that I am trying to add Layer FX to my masked layer (Outer Shadow or Glow), which affects the edge of the document as well (an unwanted result). What I had to do was save the masked image as PNG and then do the effects on the separate PNG file. Unfortunately, this ads a ton of extra time and steps to my workflow.
-
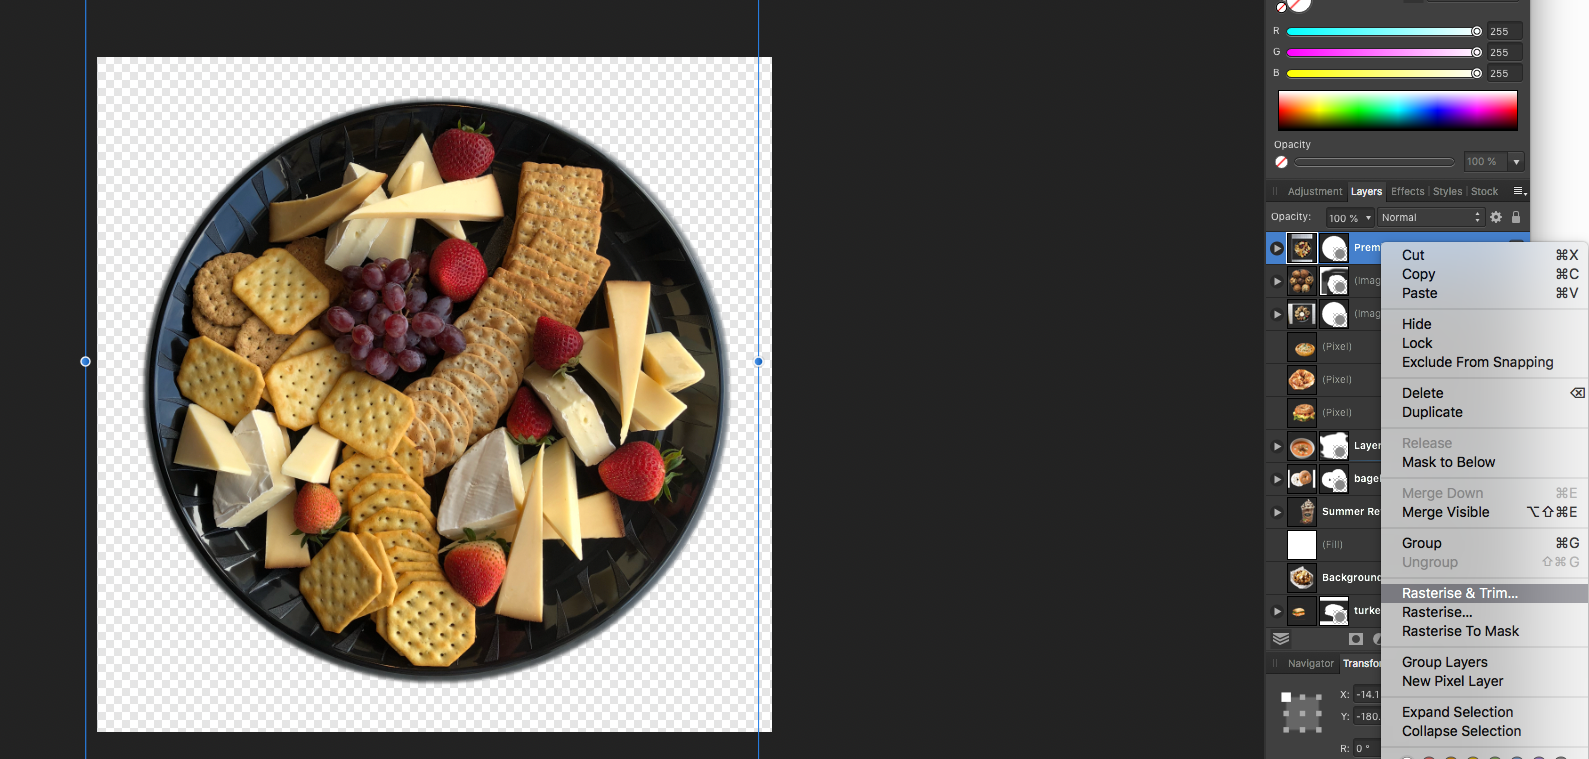
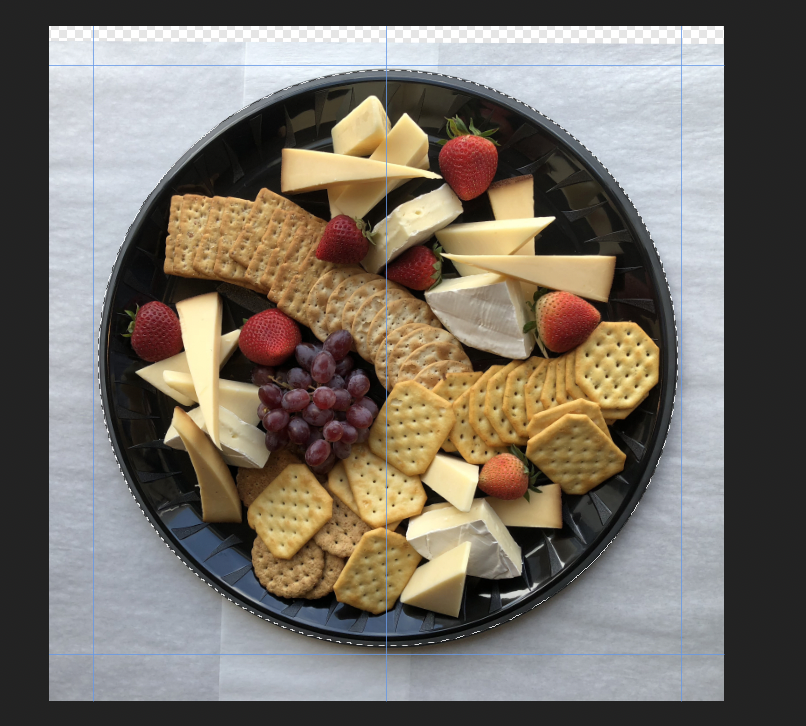
I've had this issue for a long time and haven't been able to figure it out or find any help topics about it. I mask an image (that is larger than my document size) in Affinity Photo. I select the object in the centre of the image and then use Refine Selection to adjust the selection. I then hit Mask and it masks the object onto a transparent background, which looks the way I would like it until I export it as a png or put layer effects onto the masked layer. When I export it as png i get the transparent background, but for some reason the mask didn't get to the very edge of the document, so I'm usually left with a sliver of the image. This gets really frustrating as I have to manually go back in and move the image around to mask off past the edges of the document. Does anyone have an idea why this happens or how I can resolve the issue? I doesn't happen with Photoshop. The only thing I can think of is opening the the original document and masking that to the edges, then copying the masked image into my final document, but I feel like this extra step shouldn't be necessary. Anyone else have this issue? I've attached a couple of screen shot to show you what I mean. Thanks for your help!
-
Table Cells Question
jdrux replied to Coffee's topic in Feedback for Affinity Publisher V1 on Desktop
Is there a way to split cells in the latest version of Affinity Publisher? I just purchased and really need this function as I use it daily. Thanks! -
It only seems to happen when I take my pen away from the screen, enough for it to lose connection, and then return connection. I don't use the buttons on the pen much, if ever. This is something that has happened before, all of a sudden. It has also gone away all of a sudden. It usually lasts for a while in either state. I will try restarting my computer to see if that does anything...
-
Hi there, I've been struggling with this issue on and off for about a month or so. When I use my pen display (XP-Pen Artist 15.6 with updated drivers) the tool switches from whatever I'm using, brush, blur tool, etc to the eraser tool. This specifically happens when my pen goes out of contact with the display and then comes back into contact - so whenever my pen moves about 1"-2" away from the display. Is there a way to disable this? It is happening the the most recent version of AF as well as the Beta. Thanks
-
Thanks for posting this. I was having the same issue exporting a file to .PNG. Its strange because it just started happening. One minute I was able to export and the next the app just kept stalling and crashing. The beta works great, thank you!