hwarwick
-
Posts
5 -
Joined
-
Last visited
-
 k_au reacted to a post in a topic:
Selection PLUS doesn't exist
k_au reacted to a post in a topic:
Selection PLUS doesn't exist
-
Selection PLUS doesn't exist
hwarwick replied to hwarwick's topic in Feedback for Affinity Photo V1 on Desktop
AAaaaaaaaaah - got it. Holy cow how unintuitive. Thanks! -H -
Selection PLUS doesn't exist
hwarwick replied to hwarwick's topic in Feedback for Affinity Photo V1 on Desktop
Hi! Nope - still doesn't work. Sigh. H -
Selection PLUS doesn't exist
hwarwick replied to hwarwick's topic in Feedback for Affinity Photo V1 on Desktop
Thanks for that. I know about the "Add" tab, but that's really poor UI design. A simple shift would be vastly more efficient, intuitive, and productive (viz every other image editor out there). I didn't know Right Click would do that, but right click for this seems VERY counter intuitive, as right click is normally used for information or alternative uses of the mouse. I just tried the right click, and it didn't work. I opened an image. Clicked on Elliptical Marquee Tool Click-Drag selected part of the image. Right Click-Dragged to add to it. Result: nothing happened. Again, I could click on "Add" button, but wow - what a lame UI design / workflow, especially when a simple "Shift-drag" would suffice.... But thanks for the info. If I can get the right click drag to work, that would be excellent. -
To replicate: 1. open an image in Affinity Photo. 2. click Elliptical Marquee Tool (or another other Marquee Tool, but Elliptical is how I found this) 3. Select a part of the image with Elliptical Marquee Tool. 4. Add to that selection using the Elliptical Marquee Tool. Result: Nope. Expected: 1. A key command executed in conjunction with Mouse Down that will select part of the image using Marquee Tool without "letting go" of what is already replace. 2. For this key command to be noted through the application of a plus sign (+) next to the Marquee Tool Crosshair. Note: Affinity Photo will DESELECT part of a Marquee Tool area using the alt key, which is noted by the appearance of a minus sign (-) next to the Marquee Tool crosshair. Note: This is not unusual for image editing software - Photoshop has this, as does Paint.net and Pixelmator. That one can Deselect part of a Marquee Tool selection shows that there is the ability to edit a Marquee Tool selection negatively. This should be able to be done positively. That it doesn't is kind of embarrassing. Note: The following keyboard combos were tested (Results): Shift (nothing), CTRL (nothing), Windows Key, Alt (invokes negative selection), Shift Alt (also results in negative selection), Shift CTRL (nothing), Shift Windows (nothing), CTRL Alt (also results in negative selection), CTRL Windows (nothing), Windows Alt (also results in negative selection). System: HP laptop, i7 / 8GB / 1TB, Win 7
-
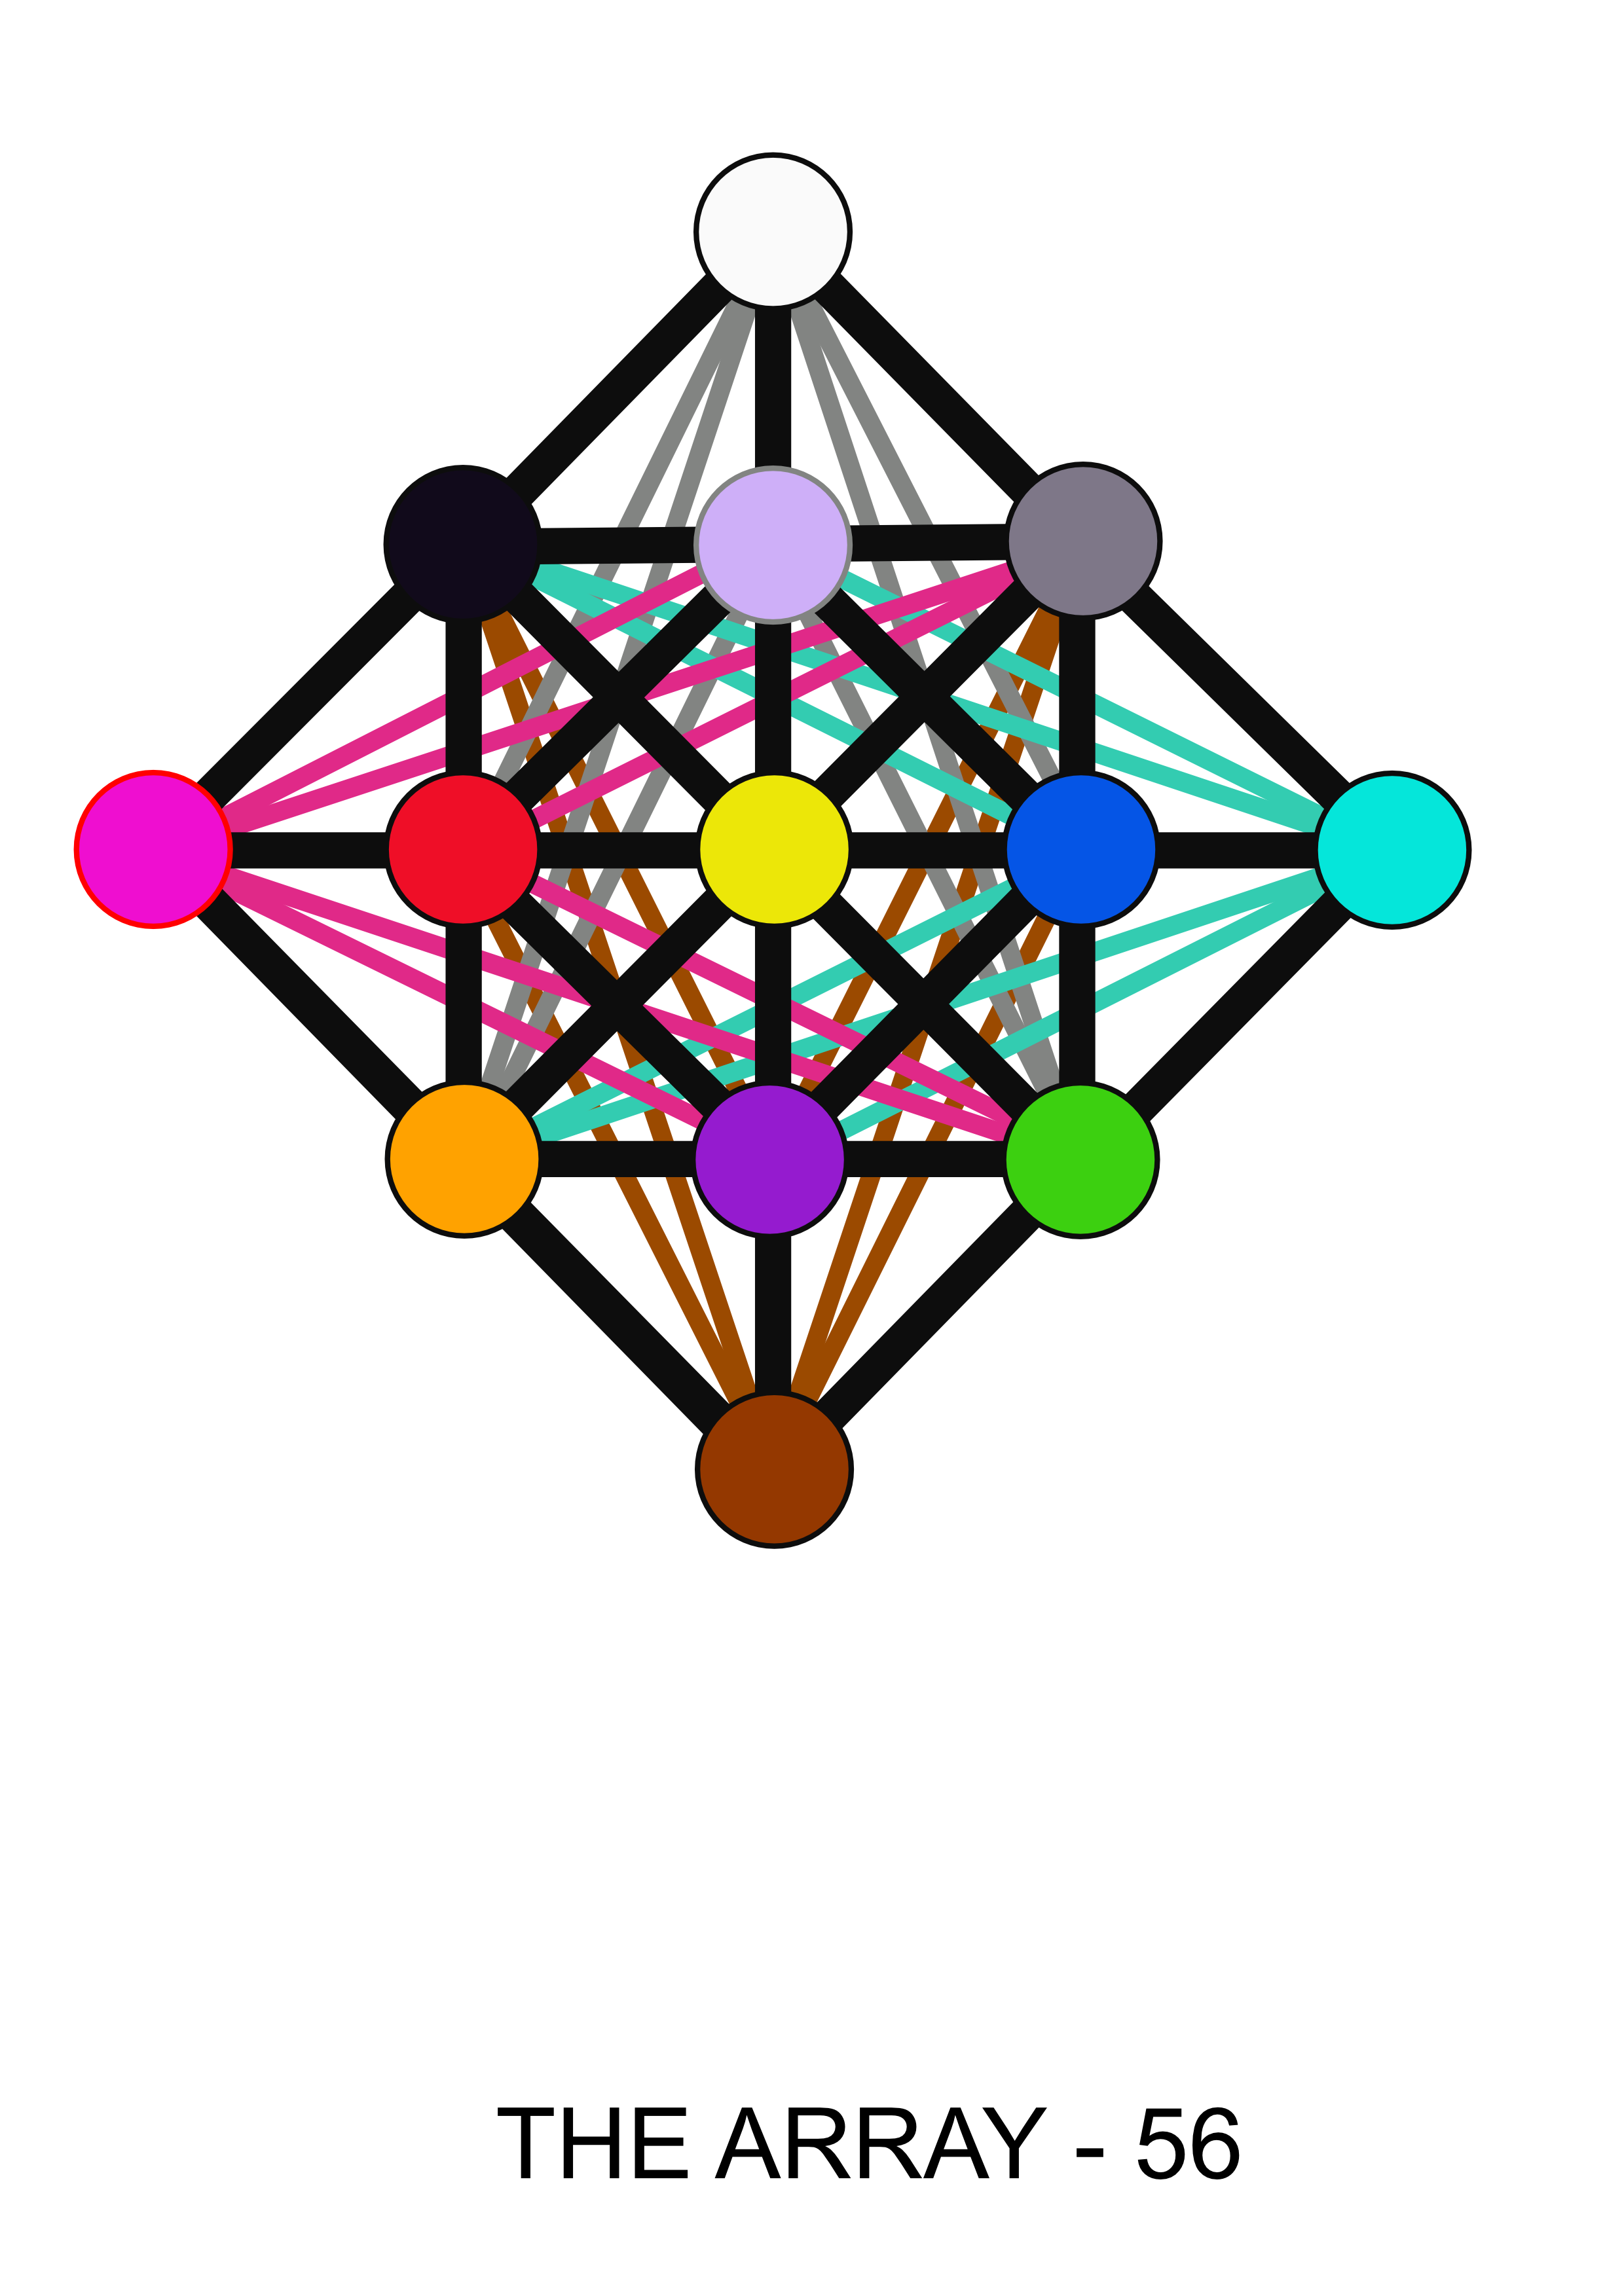
Hi! Affinity FB told me to post here. So: here: I made a fairly simply drawing of circles and lines that create a kind of pattern / Array. (see ARRAY-56paths.afdesign attached) The way I made it was to arrange 13 circles in a diamond shape. I then connected the circles with paths, a different colour depending on direction. The way I did that was to start create black coloured paths for the lines that were 0 or 45 or 90 degree. Then I made coloured paths that make connections between circles at lower angles of incidence relative to the corners. Starting at the top (North) with 6 paths painted black, I rotated them and changed colour a few more times to create the Array. I then wanted to see this on paper, so I printed directly from Affinity to a standard issue HP color laser jet pro MFP M177fw - a mediocre but not bad and certainly reliable printer - about as bog standard as they get. RESULT: The low incidence paths from the East and West printed as skinny little lines, even though they appeared as 7pt stroked on screen. EXPECTED: For all the low incidence angle lines to print correctly as 7pt colored strokes on my HP Laser Jet Pro... TROUBLESHOOTING TO PROVE PROBLEM: I then exported the file as a png and opened it in paint.net. I printed the png from paint.net and it was fine. (see ARRAY-56paths.png, attached) I then went back to Affinity and exported it as a pdf, and it printed fine from my pdf viewer. I tried printing the original ARRAY-56paths.afdesign again from Affinity, and it failed, again. I also tested printing the png file again, this time from Affinity and it printed correctly (!). Which means that the problem is in Affinity printing an Affinity native file to the Laser Jet Pro. This is suboptimal, esp. given how simple the image is, and the fact that if I export it as png it will print correctly. My system: HP Elitebook 8540w, i7 620M processor, 8GB RAM, 1TB HDD, Windows 7. Printer: HP color laser jet pro MFP M177fw Attached is the ARRAY-56paths.afdesign file. I tested it again just before attaching it here, and it failed again. Also attached is the png which prints correctly. I look forward to your response - feel free to email me directly. best, H ARRAY-56paths.afdesign