
Duwikki
-
Posts
3 -
Joined
-
Last visited
Reputation Activity
-


-
Duwikki reacted to SAW in Astrophotography processing, anyone ? help !
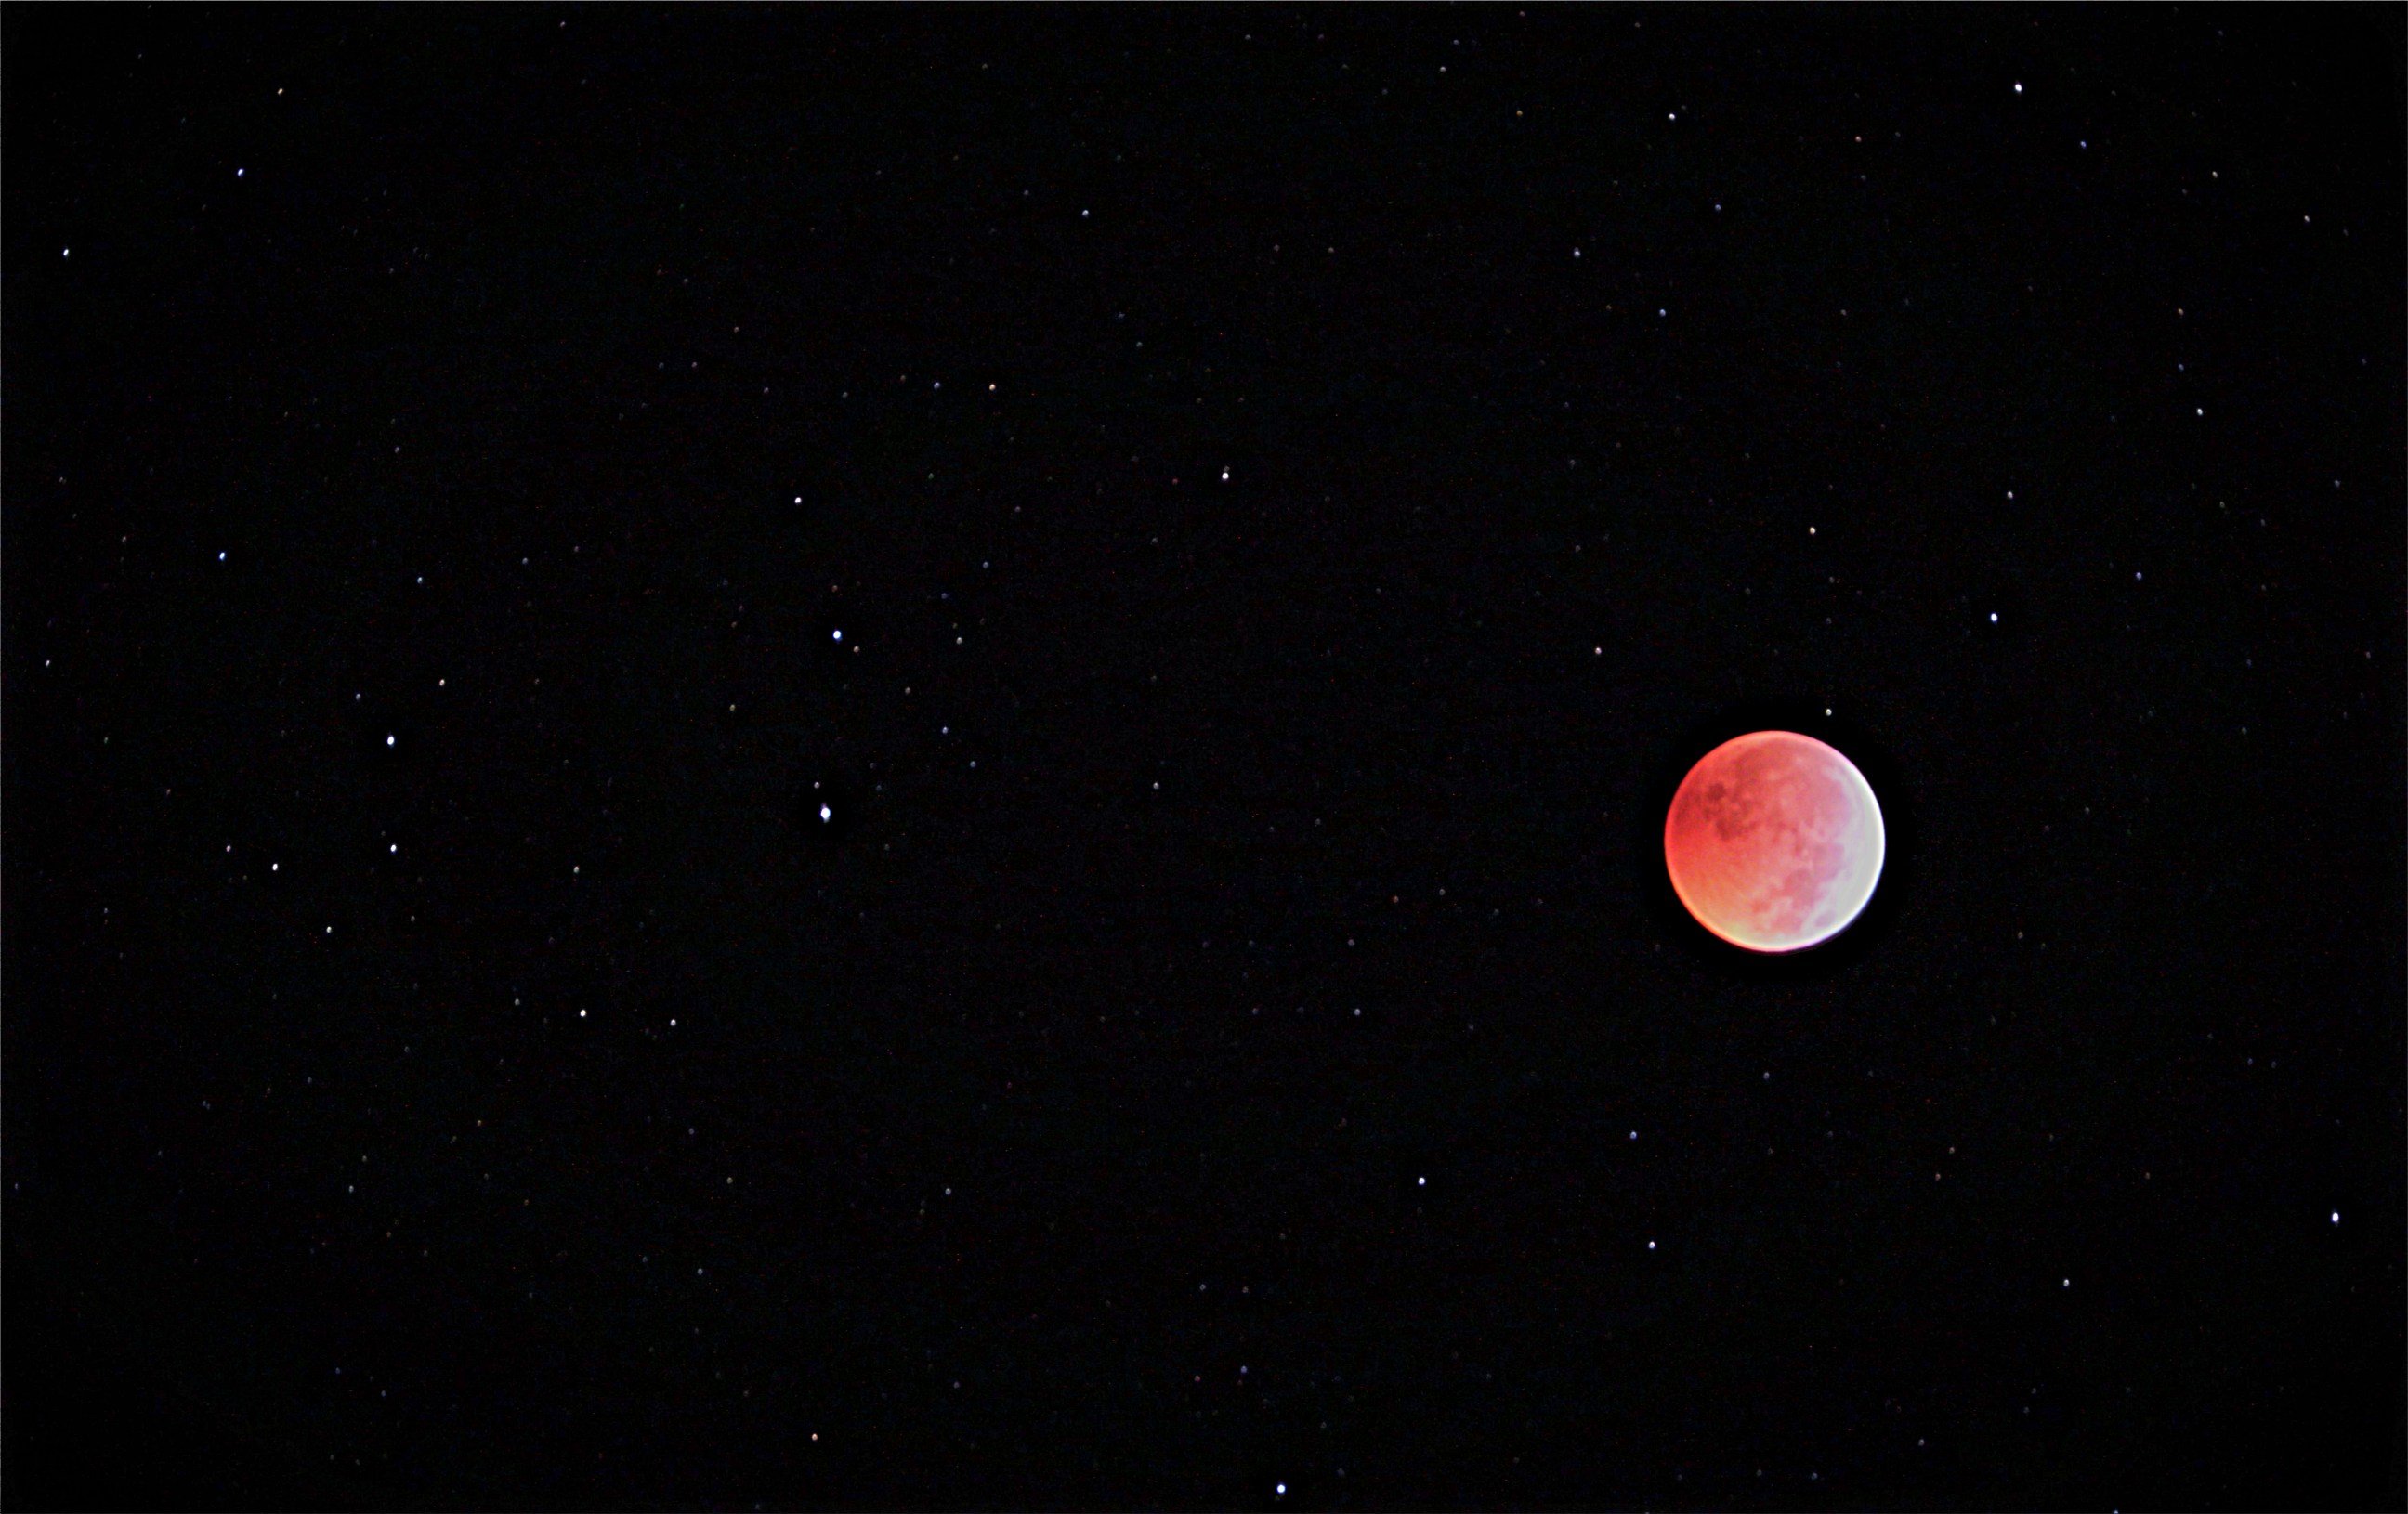
Hi,
I do a lot of Lunar and deep space imaging but struggling with the processing in Affinity as most people use PS. I could do with some help with final lunar processing. I currently use a ZWO224MC colour camera to get my images (.avi file) of the moon before stacking them in AutoStakkert and processing them in Registax. I am then looking to do the final processing in Affinity to bring out some of the colours. I have a guide on how to do it PS but not sure how to it in Affinity. The workflow in PS goes like this,
1. Filter, Sharpen, Smart Sharpen.
2. Layer, Duplicate Layer.
3. Re-name new layer 'Luminosity'
4. Keep the newly created layer selected and from the drop down change 'Normal' to 'Luminosity'
5. Once that layer has been changed click back on the original layer to select it
6. Image, Auto Colour.
7. Image, Adjustments, Hue/Saturation.
8. Adjust Saturation
9. Repeat the increase in saturation until the colour is revealed.
10. Layer, Flatten Image.
11. Save file.
-
 Duwikki reacted to John Rostron in Astrophotography processing, anyone ? help !
@SAWThe workflow would be much the same in Affinity Photo.
Filters > Sharpen > Unsharp Mask or Layer > New Live Filter Layer > Unsharp Mask Filter. This second option allows you to go back to the filter (double-click on the icon in the Layers panel) and re-adjust any time before you finally flatten the image. Layer > Duplicate or Control/Command-J Re-name new layer 'Luminosity' Keep the newly created layer selected and from the drop down change 'Normal' to 'Luminosity' Once that layer has been changed click back on the original layer to select it Affinity does not have an 'Auto Colour' command. From what I can see from using Photoshop many years ago, this seems to be a Layer > New Adjustment Layer > Levels Adjustment (or Control/Command-L) applied to each of the three R, G and B channels. You just have to apply the Levels Adjustment to the composite image. Bring the Black Point slider right, to the minimum value on the histogram and bring the White Point slider left, to the maximum value on the histogram. Layer > New Adjustment Layer > HSL Adjustment (or Control/Command-U). Adjust Saturation Repeat the increase in saturation until the colour is revealed. Note that because you have live adjustment layers, you can come back to this adjustment layer (double-click on the icon in the Layers panel) and re-adjust any time before you finally flatten the image. Document > Flatten. File > Save as or File > Export if you want to use a different file format. John
-
Duwikki reacted to John Rostron in Astrophotography processing, anyone ? help !
The padlock does not prevent you from applying an adjustment. It does prevent you from moving or deleting the layer.
John
-
Duwikki reacted to GMPhotography in Learning Astrophotography: Andromeda
Andromeda M31 shot with Pentax K3II and William Optics ZS 71ED APO 20th Anniv. edition.
Stacked in Beta of Starry Sky Stacker finished in Affinity Photo and Lightroom.
Made from 11 images x 3 minute exposures, ISO1600, f5.9, 418mm
GREG6874-compositewhite by Greg Murray, on Flickr